While attending the Video Woodworkers Skiatook Adventure, Ted Alexander milled some Osage Orange with his WoodMizer LT15 Bandsaw Mill. He had a full length section of the tree milled to nearly 5″ thick and 13″ wide to cut into blanks for bowls. On the day of departure, he cross cut part of that slab into 4 pieces and gave some to Ty Moser, Moy Perez, Braxton Wirthlin, and myself. Initially I thought of turning 2 carving mallets from the section I had but I felt that it would have been a great waste of wood. So I decided to retire my old chisel beater and make a new one, from ultra dense and heavy Osage Orange.
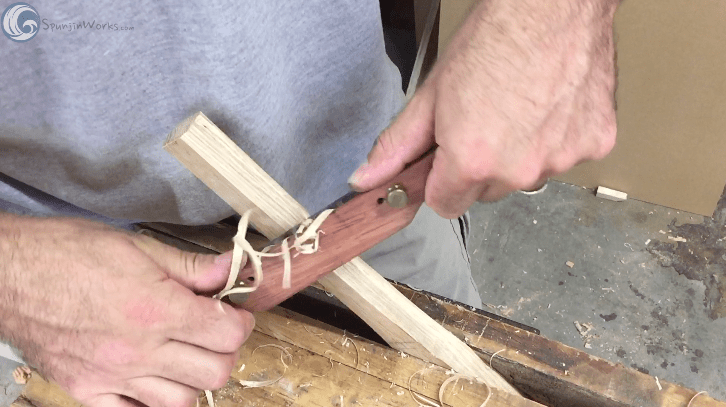
I looked around for some straight grained material to use for the handle and I found two pieces of white oak and a piece of black oak which was left over from a mantle I made for a client. It had a nice portion which was straight grained and 1″ thick which would leave me with a minimum of 3/4″ material after milling. I made 3 pieces of various length and milled it all to 3/4″ thick and 2″ wide. This allowed for a good taper to fit into the mallet head and have a nice rectangular grip after shaping. I prefer a rectangular grip as it is more familiar than a round handle so when I pick up the mallet I am sure to strike the chisel on the face (end grain) of the mallet and not the side (long grain).

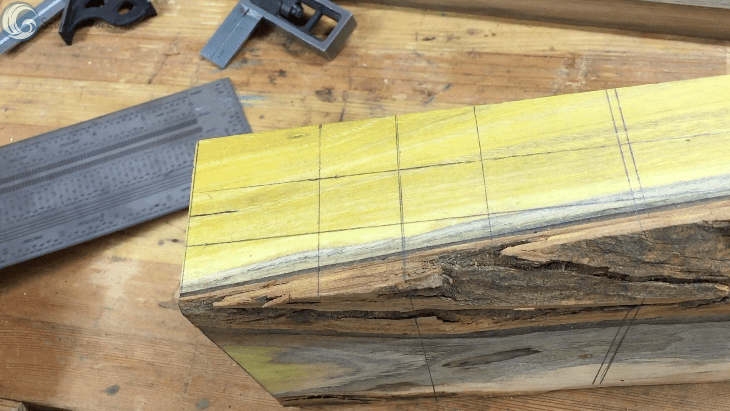
Back to the topic at hand, I began by laying out and chopping the tapered through mortise in the head. Some folks would first cut the taper on the handle and then use that as a template to lay out the marks for the mortise, but not I. I have a tendency to do things the hard way so I made mine in the reverse order. I started by laying out center lines and then marking the ends of the mortise on the top and bottom. A bevel gauge set at 5 degrees helped determine the angled mortise and later the handle. Using a 3/4″ auger in a brace I bored halfway through the mallet head, flipped it over, and bored through the other half. You know you’ve done well when your holes match up.


Now chop out the remaining waste with a mortise chisel by sighting down the markings on the side of the mallet. If you aren’t confident in sighting down a line you can make an angled block for the chisel to reference on. You only need to start about 1/2″ to 3/4″ using the block and then reference on the walls of the mortise. Chop half way through, flip the piece over, and repeat. Then shape the edges with a block plane or router bit to the profile that appeals to you. I used a block plane and made chamfers on all edges.


If you made the mallet handle first now is the time to test the fit. Drop the handle through the top of the mallet head and drive the handle through until there is resistance. Remove the handle and check the inside of the mortise for areas where the handle burnished the wood. You can remove those areas with a file, flat rasp, or a float (my preferred tool for the job). Keep checking until the handle slides in easily without too much coercion.
Apply a few coats of your favorite finish and complete it by buffing on some wax. Now enjoy smacking your favorite chisels around.
