

For the past several months my wife and I have been trying to decide on a good bed design for our eldest son, Vinny. I could have made a racecar or a boat but who knows how long my son would like that sort of bed so I was looking for something a little more “timeless.” Insomnia, or just plain eagerness, yielded a few late nights of searching the ether for ideas. I happened across a site called tatamiroom.com and found the style of platform bed I wanted to build (here is the link to the page I used as a guide and I have plans available here <—Click for a downloadable PDF plan with a 3D SketchUp Model, and detailed measurements for a twin bed but can easily modified for a Queen or King). Unfortunately, searches on woodworking forums and YouTube for plans or detailed builds were fruitless, thus my journey began with the simple photo from tatamiroom.com. I knew there was going to be no bed hardware for this build so all the joints needed to be interlocking. This meant all dimensions were to be taken individually to fit each part. No big deal, just a little more time investment in getting the joints just right.
I needed some starting guidance so I surfed over to thewoodwhispererguild.com and reviewed Marc’s Dogon Platform Bed video series to see where he started with his project. The foot board was the genesis and then the headboard, followed by the rails. This was the extent of my “plans” for this build. Everything else came from the dimensions of the mattress and how high off the floor I wanted the bed to be.
The Wood
I had several board feet of alder in thicknesses from 5/4 to 8/4 and widths up to 11″ on my rack so naturally this was my wood of choice, since it is what I had on hand.
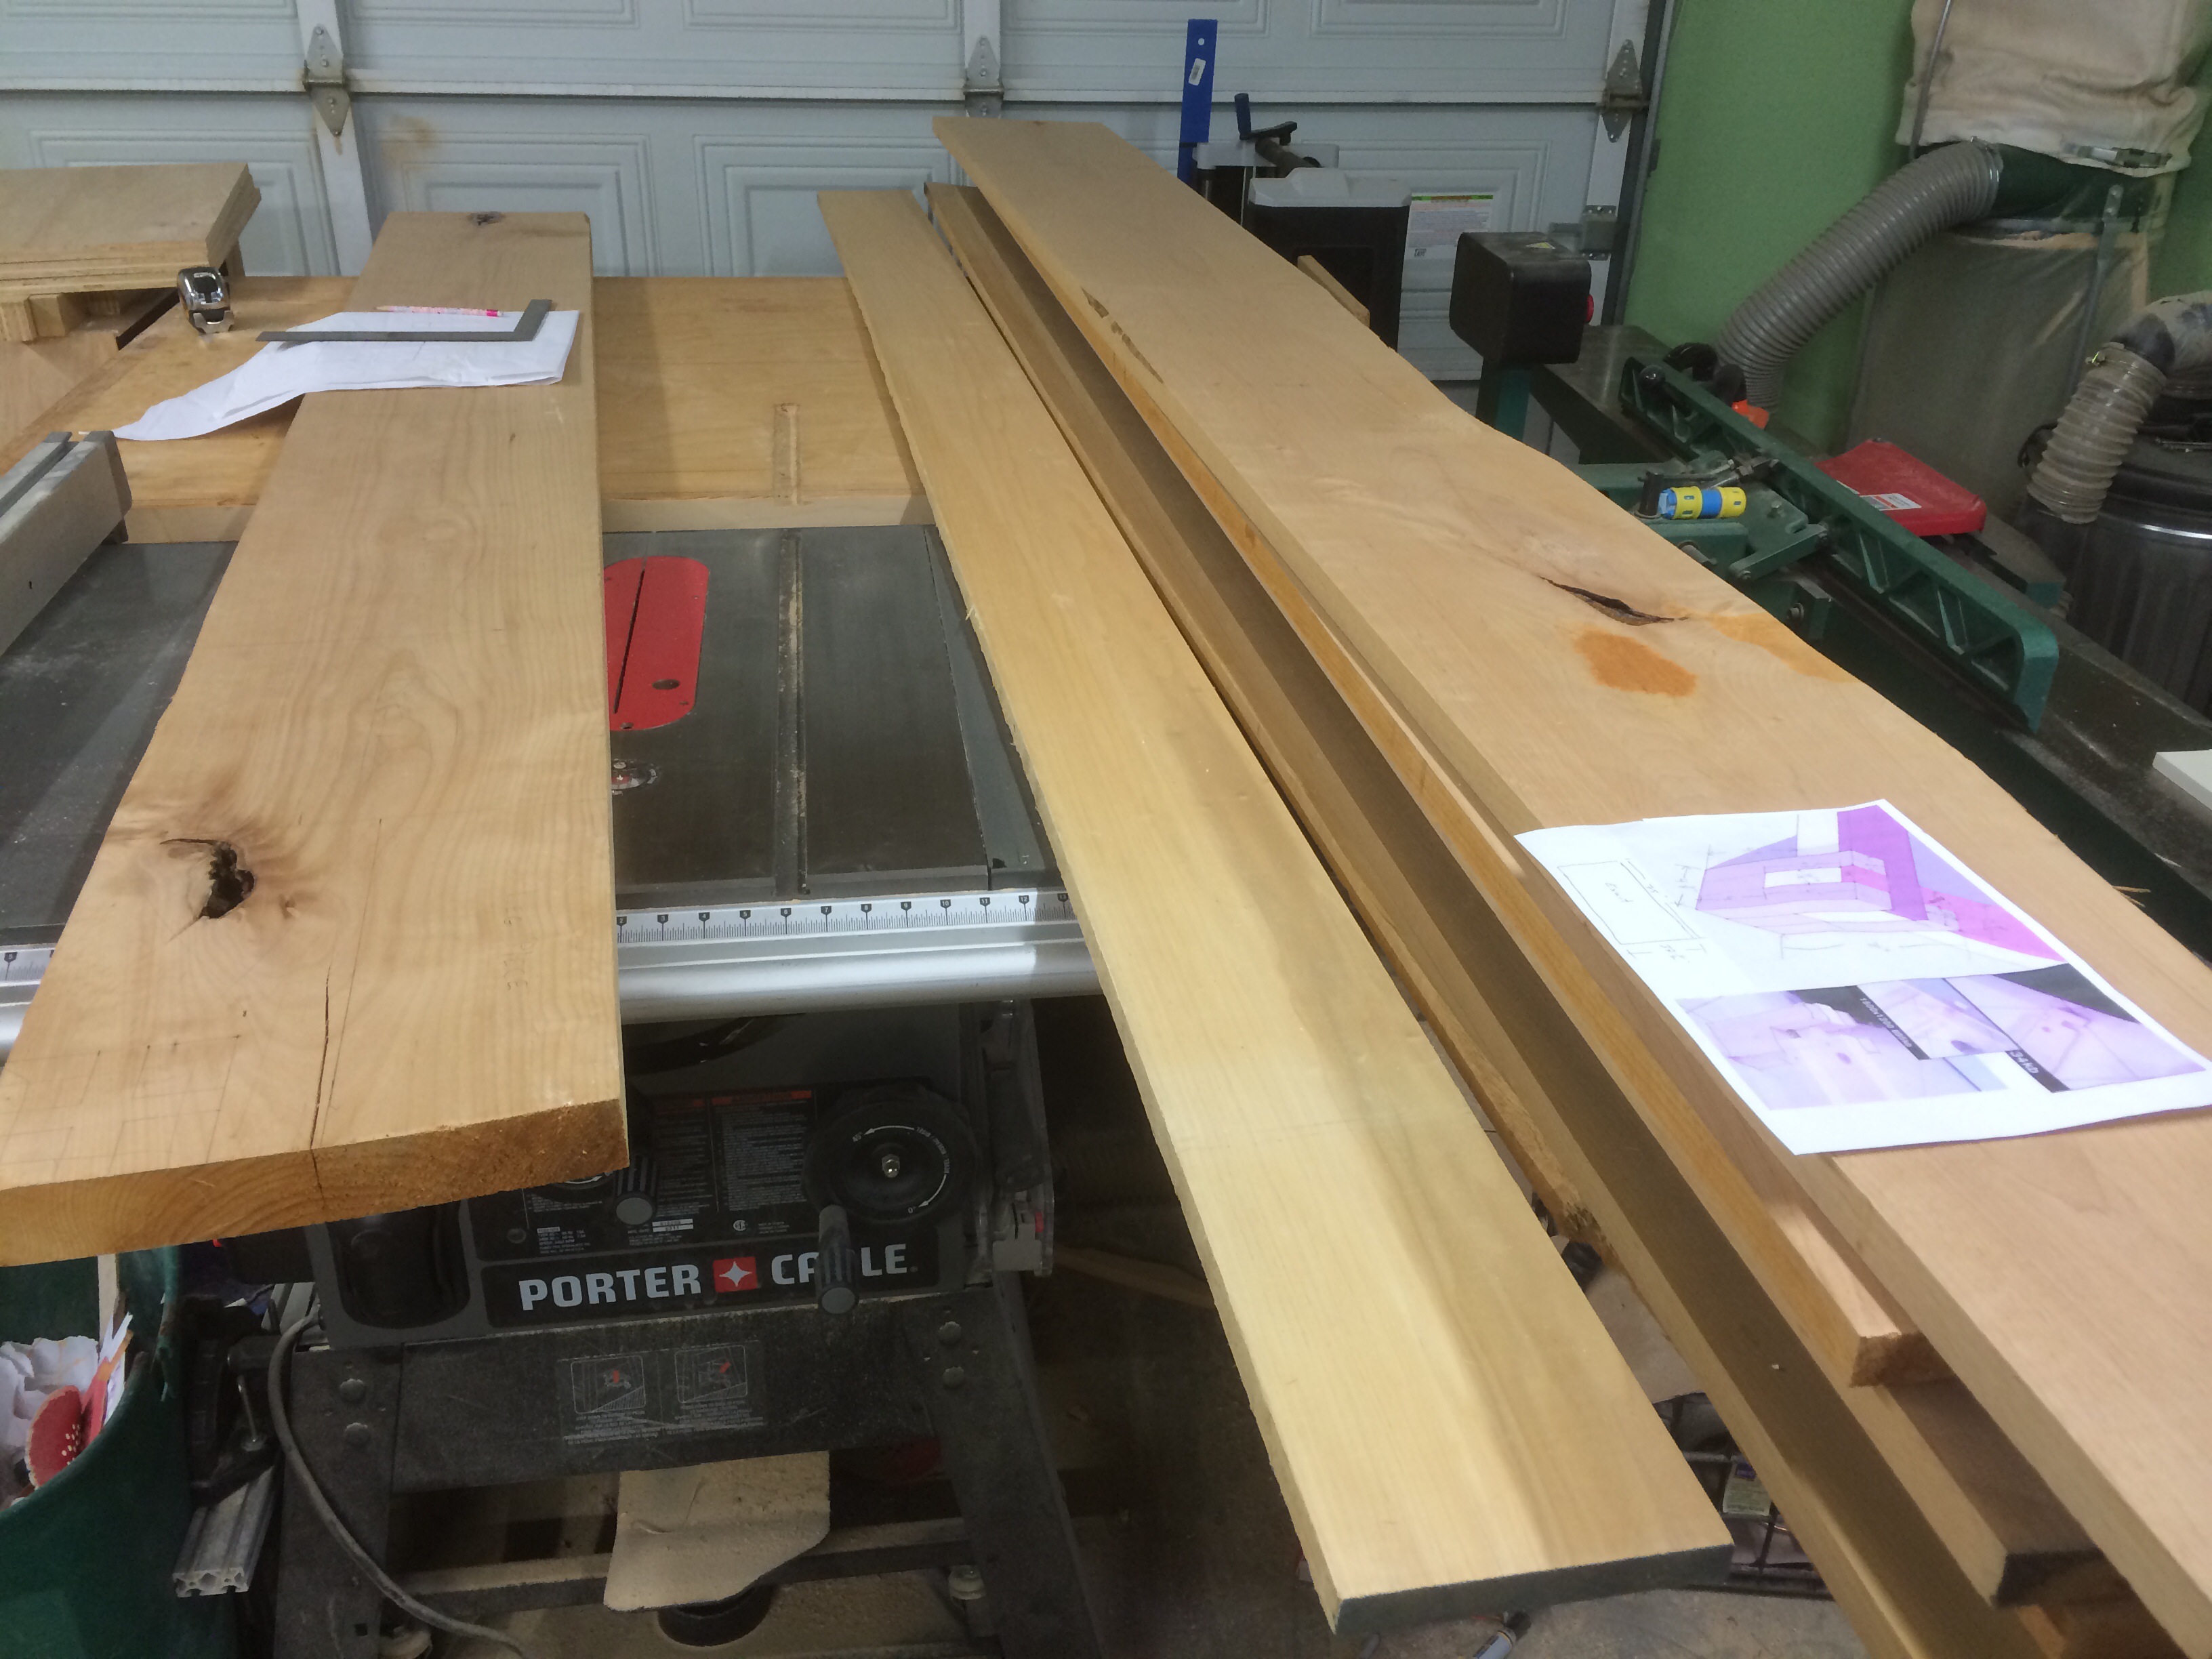
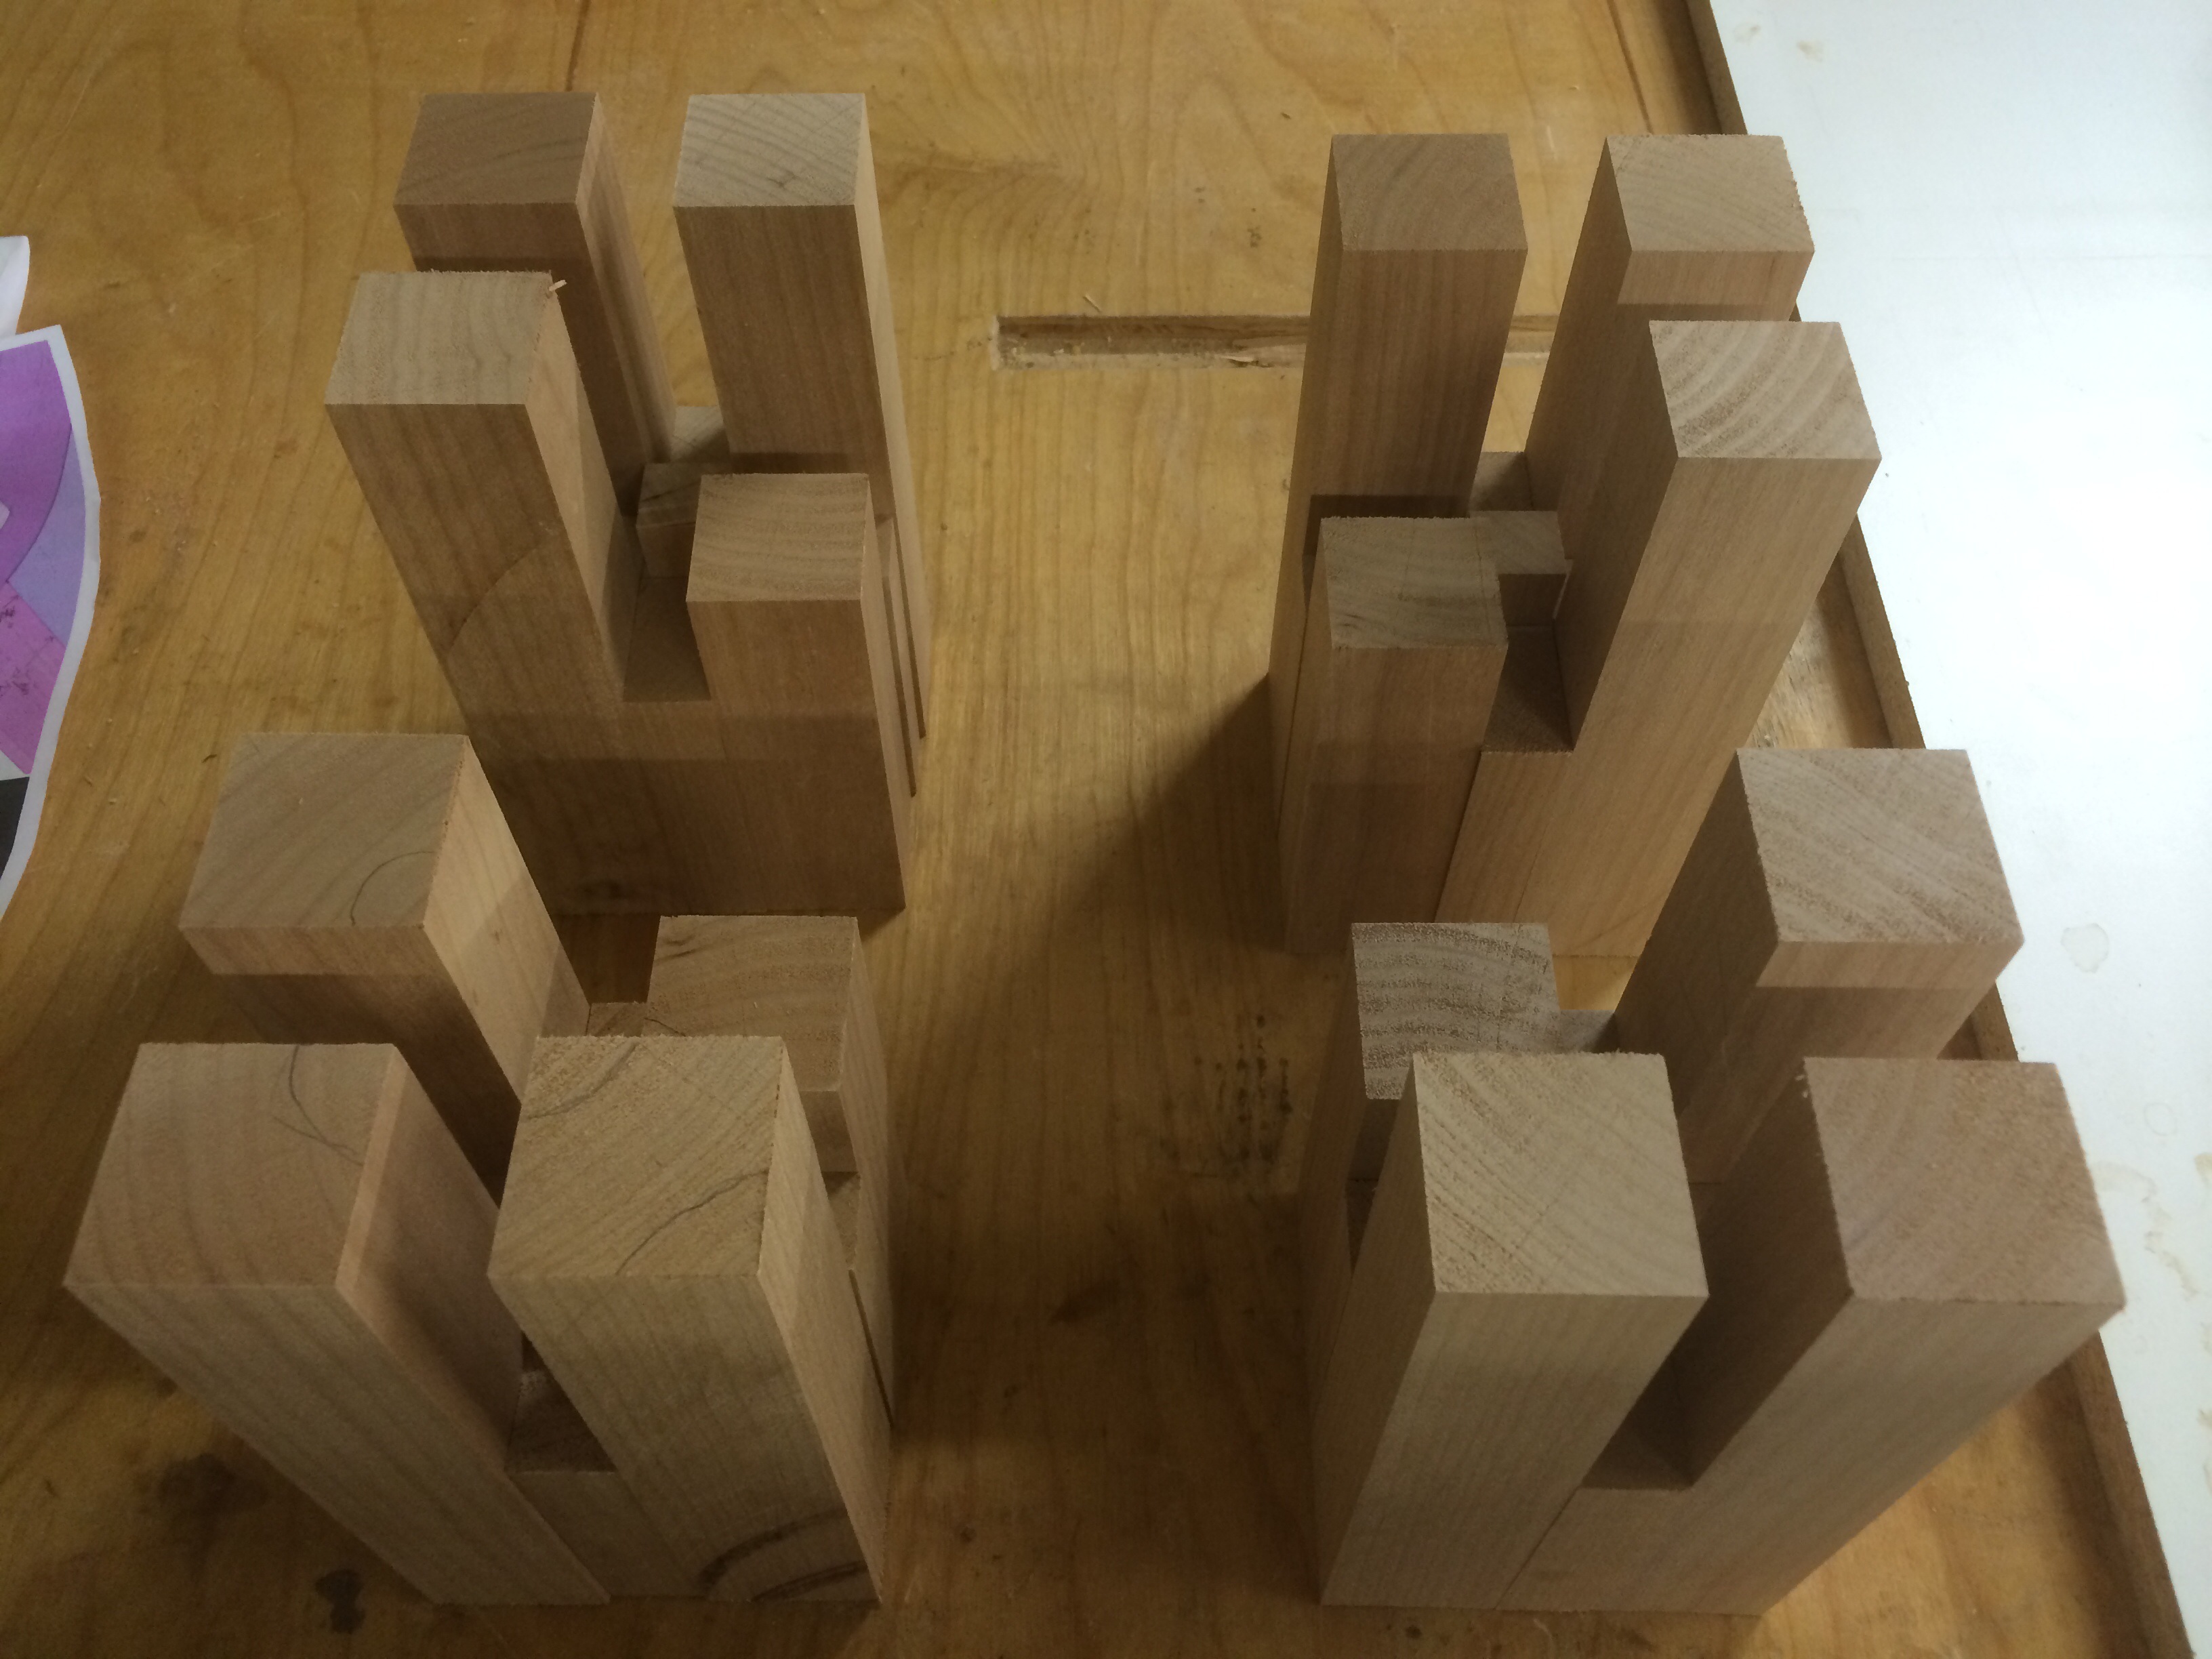
I laid out all my foot, headboard, and rail parts taking care to avoid all knots and defects as possible. Then I used a jig saw to rough cut the foot parts to prepare for milling. I started by cutting to rough width at the band saw, then jointed one face, planed the opposite face to final thickness (true flatness was not necessary for all parts), jointed one edge, and finally ripped to a final width of 1-5/8″. I then set up a stop block on my crosscut sled for a repeatable cut for a final length of 8″ for twelve of the 1-5/8″ square pieces and 5-1/4″ for the other four 1-5/8″ square pieces. These sixteen pieces make up the bulk of the feet. Then I milled a piece of alder to 1-5/8″ wide, 7/8″ thick, and then cut eight 4″ long pieces at the table saw using the stop block and crosscut sled. Lastly, I need four pieces that were 7/8″ thick, 4-1/8″ wide and 4-3/4″ long for the piece to hold the feet together.

Below is a view of how the feet go together. I glued up the feet in two stages. First, the grain was matched for the most pleasing view of the faces and the end grain. Notice how the growth rings almost look like the foot is made from a solid piece of wood. Next, thick square pieces were glued to the small “spacer” blocks ensuring that the “inside” faces were flat. When the glue was dry I lightly sanded the inside faces to clean any squeeze out and then the two pieces were joined with the wider “spacer” block. The wider spacer has a 3/4″ square by 3/4″ tall “key” in the middle. This was made to lock the foot and side rails into the feet so they would not pull away when setting the bed up. I could have made the height of that key much shorter in retrospect.

Cutting the Rail Joints
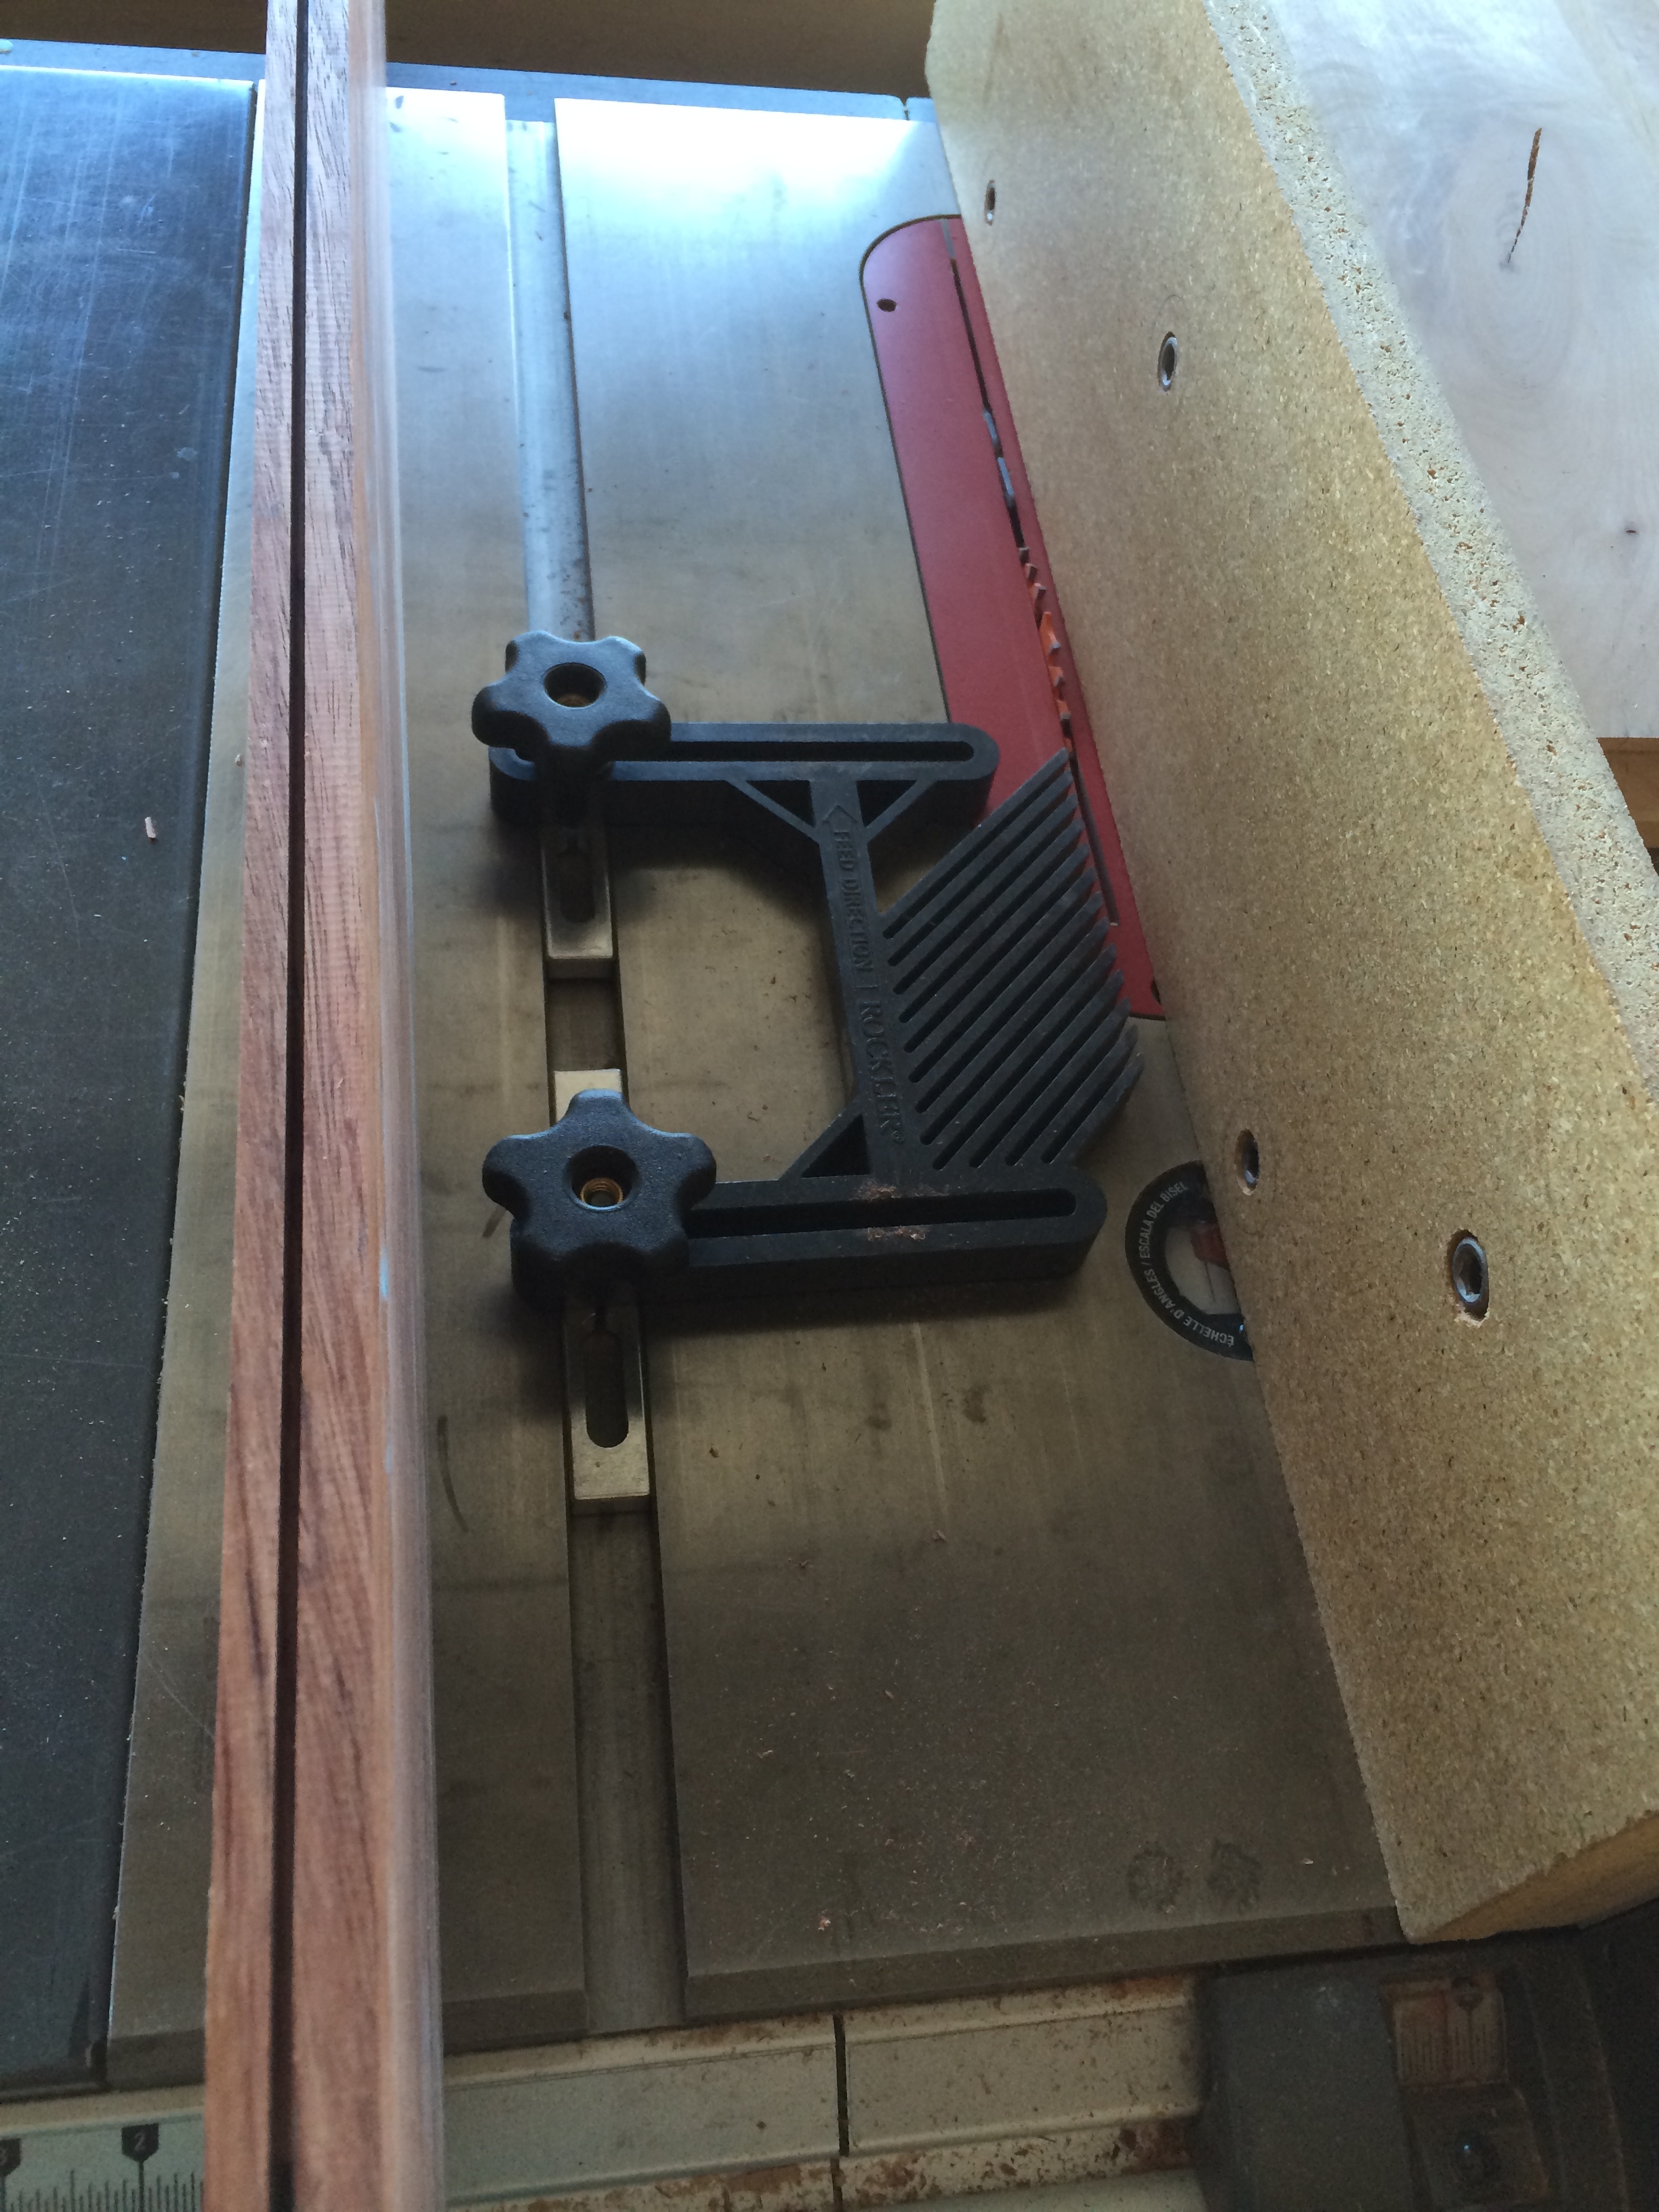
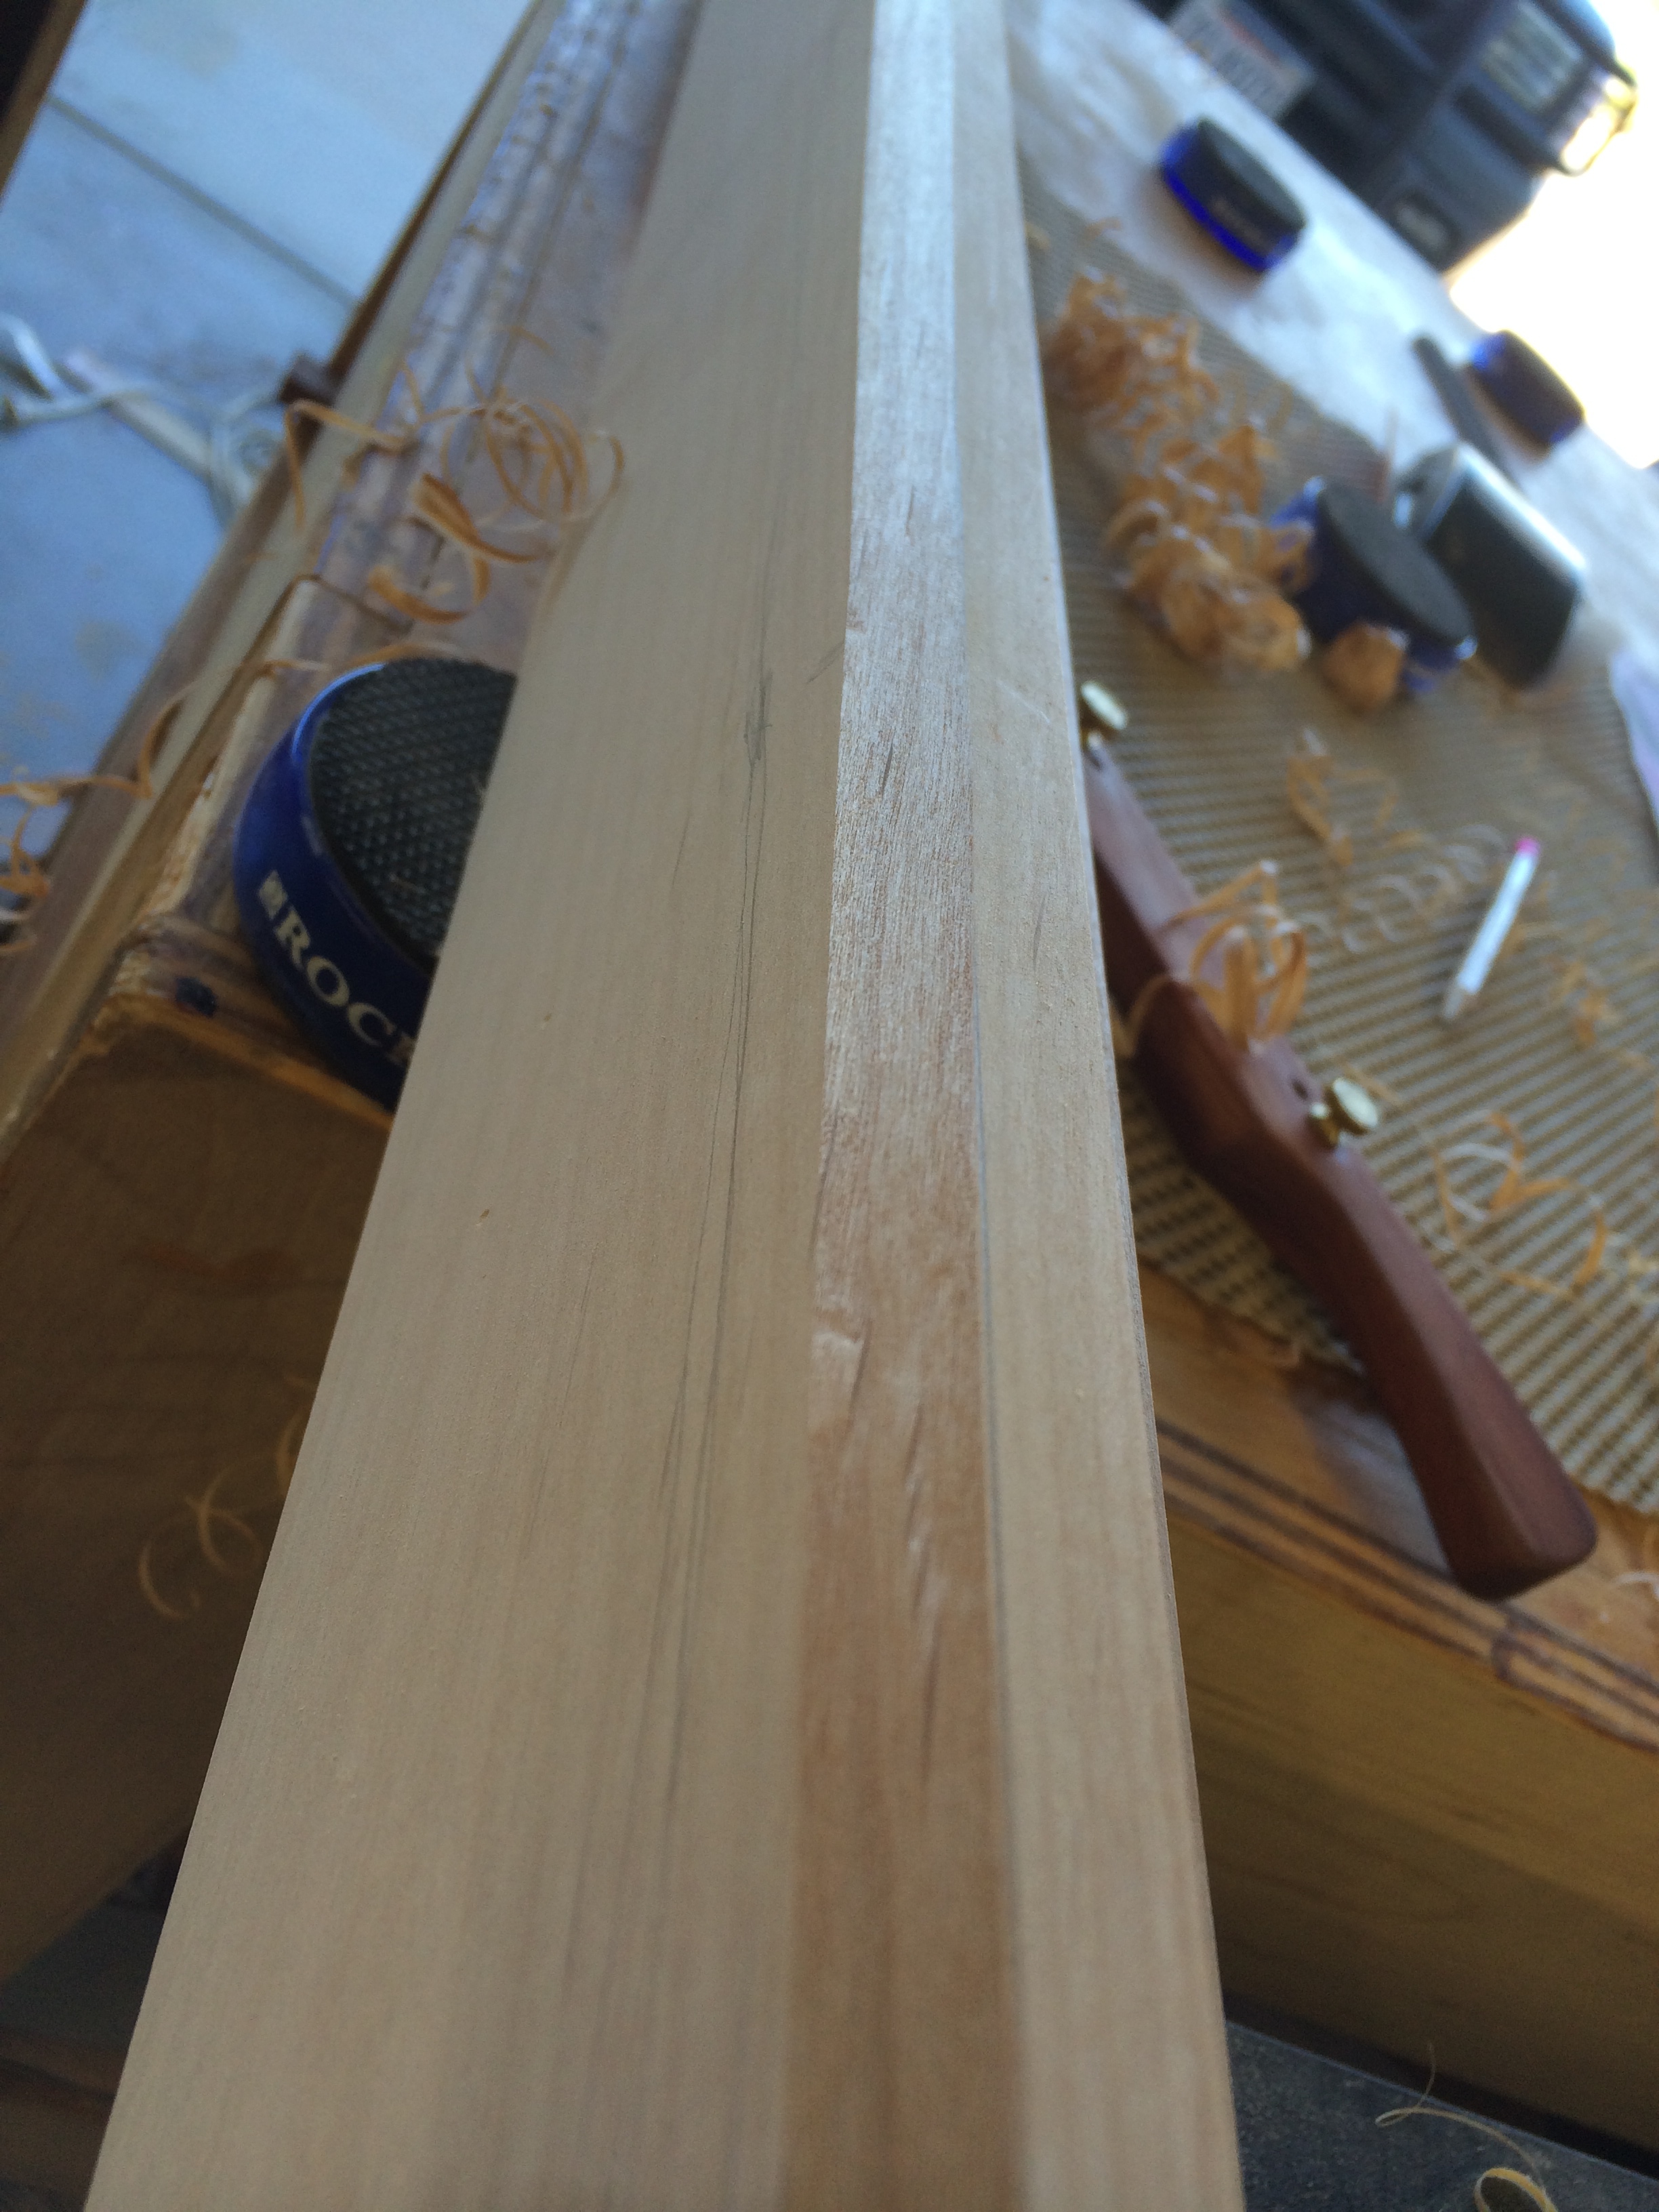
When measuring the width and length of the bed rails, I made a mattress template out of 1/8″ hardboard. Then I added some room, about 5/8″ on either side and end, for ease of making the bed and added the required length to accommodate the size of the feet. Then I measured in 1-3/16″ from each end, to allow for final trimming, and made my joinery cuts at the table saw (see the photo below). This was done for each joint individually. Also, note that each rail end was milled to be a tight fit in it’s foot position and then block planed to about 1/32″ thinner. This allows for easy test assembly but allows for finish build up to make it a nice slip fit when completed.

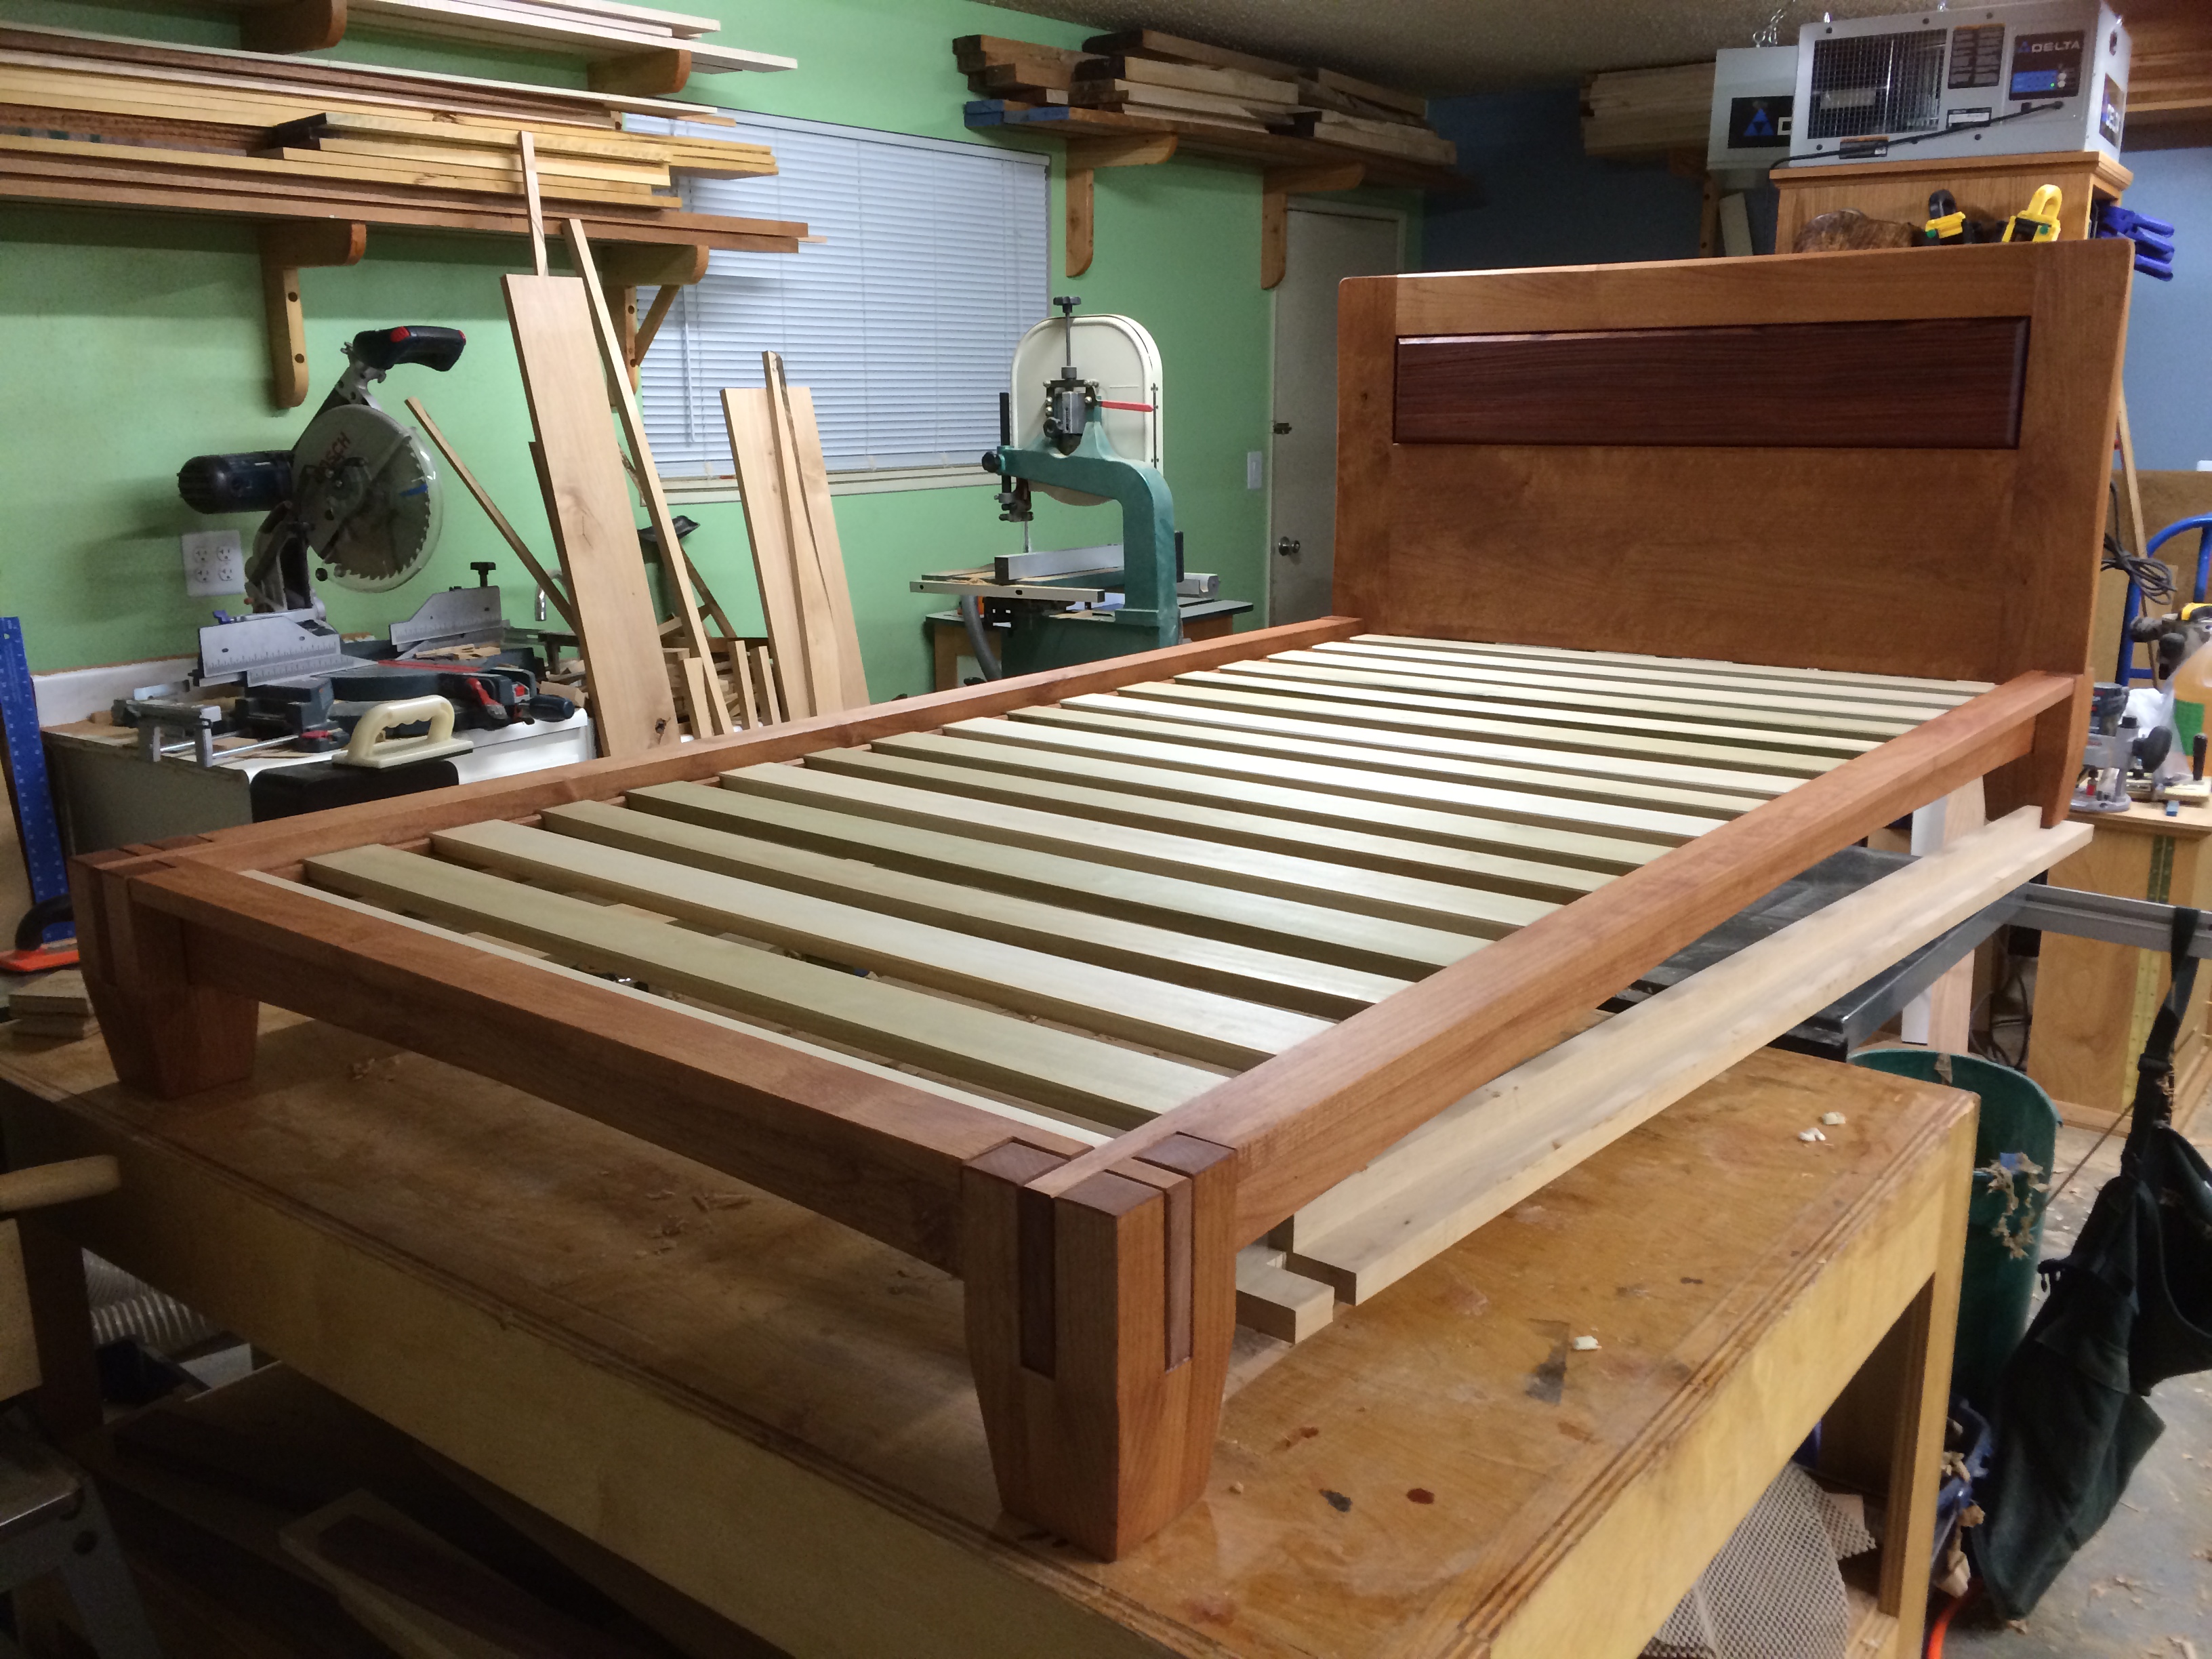
Notice how the top of the rail is proud of the foot and is bottomed out.

Here is a view of the feet and rails all set up. Also, the headboard stiles are in place.

Here you see the stile of the headboard inserted over the side rail and into the foot.

The Raised Panel
The next order of business was to build the headboard. My original plan was to make a solid alder panel with some square hole details (similar to what is seen on tatamiroom.com). I then realized I had an unused piece of bubinga that had been sitting in my shop for 2 years. I measured and it turned out to be long enough and have a good width for a nice raised panel.

Next I had to decide on a profile. I purchased a raised panel bit from MLCS Woodworking only to find I was not satisfied with the particular outcome of the test board. I placed the bit in my bit cabinet and moved on to practicing making a raised panel on the table saw.

I set the blade height to 3/8″ and put on my auxiliary fence (plan from Fine Woodworking Magazine issue #231 by Bob Van Dyke) and set the feather board to the distance for thickness of the bubinga panel. Keeping in mind that the new fence throws off the measurement tape on the fence rail, I used a steel rule to set the fence 1/4″ to the right of the blade. Then the first kerf cut was made all around the board referencing the back of the panel on the fence.
After the relief kerf was cut I then removed the auxiliary fence and feather board, set the blade angle to 45 degrees and positioned the fence and blade height such that the bevel would be cut and not engage the 1/4″ tongue that was made in the previous step. This was done on each side several times adjusting the fence as needed to remove material.

Now the headboard was glued up and ready for some detail work. After some thought, I realize I should have pre-finished the bubinga with the oil I used on the rest of the bed just in case contraction and expansion revealed a bare streak on the edges.

Now that the entire perimeter of the bed was made, the mattress supports could be attached. I set the rails and headboard in position, measured, and cut the mattress supports. They referenced off the short posts of each foot and were 3/4″ thick and 1″ wide. Glue and screws attached the supports and tapered face grain plugs (using this from leevalley.com) were cut to cover up the screws.

I was toying with the idea of adding a curve to the headboard rail and stiles but I had a thought. If I were to cut a long subtle curve in the parts, then the whole thing may look odd because of the rectangular raised panel. The curves and straight lines would conflict. So I decided to employ a trick I learned from my buddy Marc Spagnuolo, The Wood Whisperer. That was to use light to bend the wood. I started by marking out where the curve would have been and then using a spokeshave I cut a long tapering bevel such that the widest point was in the middle of the rail and stiles. I was thoroughly pleased with the result. Incidentally, the Hock Spokeshave was a prize from the “Shop Stool Build-Off” in an earlier post.

The Details (15 hours of work)
Once the foot and side rails were ready for the trim piece to be glued on I needed to add the curve on the bottom. I made a template that had just a slight peaking at 3/8″ to 1/2″ on the foot and side rails, respectively. I removed the waste at the band saw close to the line and template routed flush to the line. I then clamped the piece to the table and gave it the same treatment as the headboard rail and stiles.
Now it was time to work on the trim pieces to tie the feet into the rails. I milled four pieces to 7//8″ thick and 1-5/8″ wide then measured each length individually relative to its location. Glue and clamps attached these pieces to the rails. When the glue was dry, I scrapped it clean and planed it all flush with my Bailey 606 foreplane.

The last thing I added to the bed were two pieces of alder that would keep the headboard from leaning back and possibly splitting either the feet or the headboard itself. They rest against the wall and act like stops. These were cut about 2-1/8″ wide and tapered to the same width as the trim pieces at the bottom and glued and screwed to the back of the headboard stiles. They were attached in the same fashion as the mattress supports then sanded by hand to 220 grit.

To blend all the lines together I chamfered all the edges that met at the feet. This was done with file and block plane.

I also made a taper on all 4 sides of each foot set 1/2″ in from the bottom to give a little more clearance when walking around the bed. This was done at the band saw and cleaned up with a block plane. The ends of the rails were not sanded but were planed with a newly sharpened block plane. I found this to be the easiest way to smooth out all the end grain on this project including the tops of the feet.

One thing I did not capture an image of was the mattress cross supports and the cross support spacers that were glued into place on the side rails, however, they may be visible in the photos during assembly. The cross supports were made from poplar and milled to 5/8″ thick and cut to length. All edges were chamfered at the router table and got one coat of spray lacquer and sanded lightly with 220 grit.
The Finish
I fully intended to just do a spray lacquer finish on the bed but after doing a few test pieces I decided to first apply Cherry Danish Oil first (paying close attention to the headboard panel to get into the grooves), then Tung Oil, followed by a week of curing, and finally the lacquer was sprayed on. I used Sherwin Williams Hi-Build Semi Gloss Lacquer and the initial coat was full strength, followed by a light sanding with 320 grit and vacuumed the dust off. This was done twice. The final coat was mostly lacquer thinner with a little bit of lacquer, about 80/20 thinner to lacquer. This last coat smoothed out the finish nicely.
The Assembly
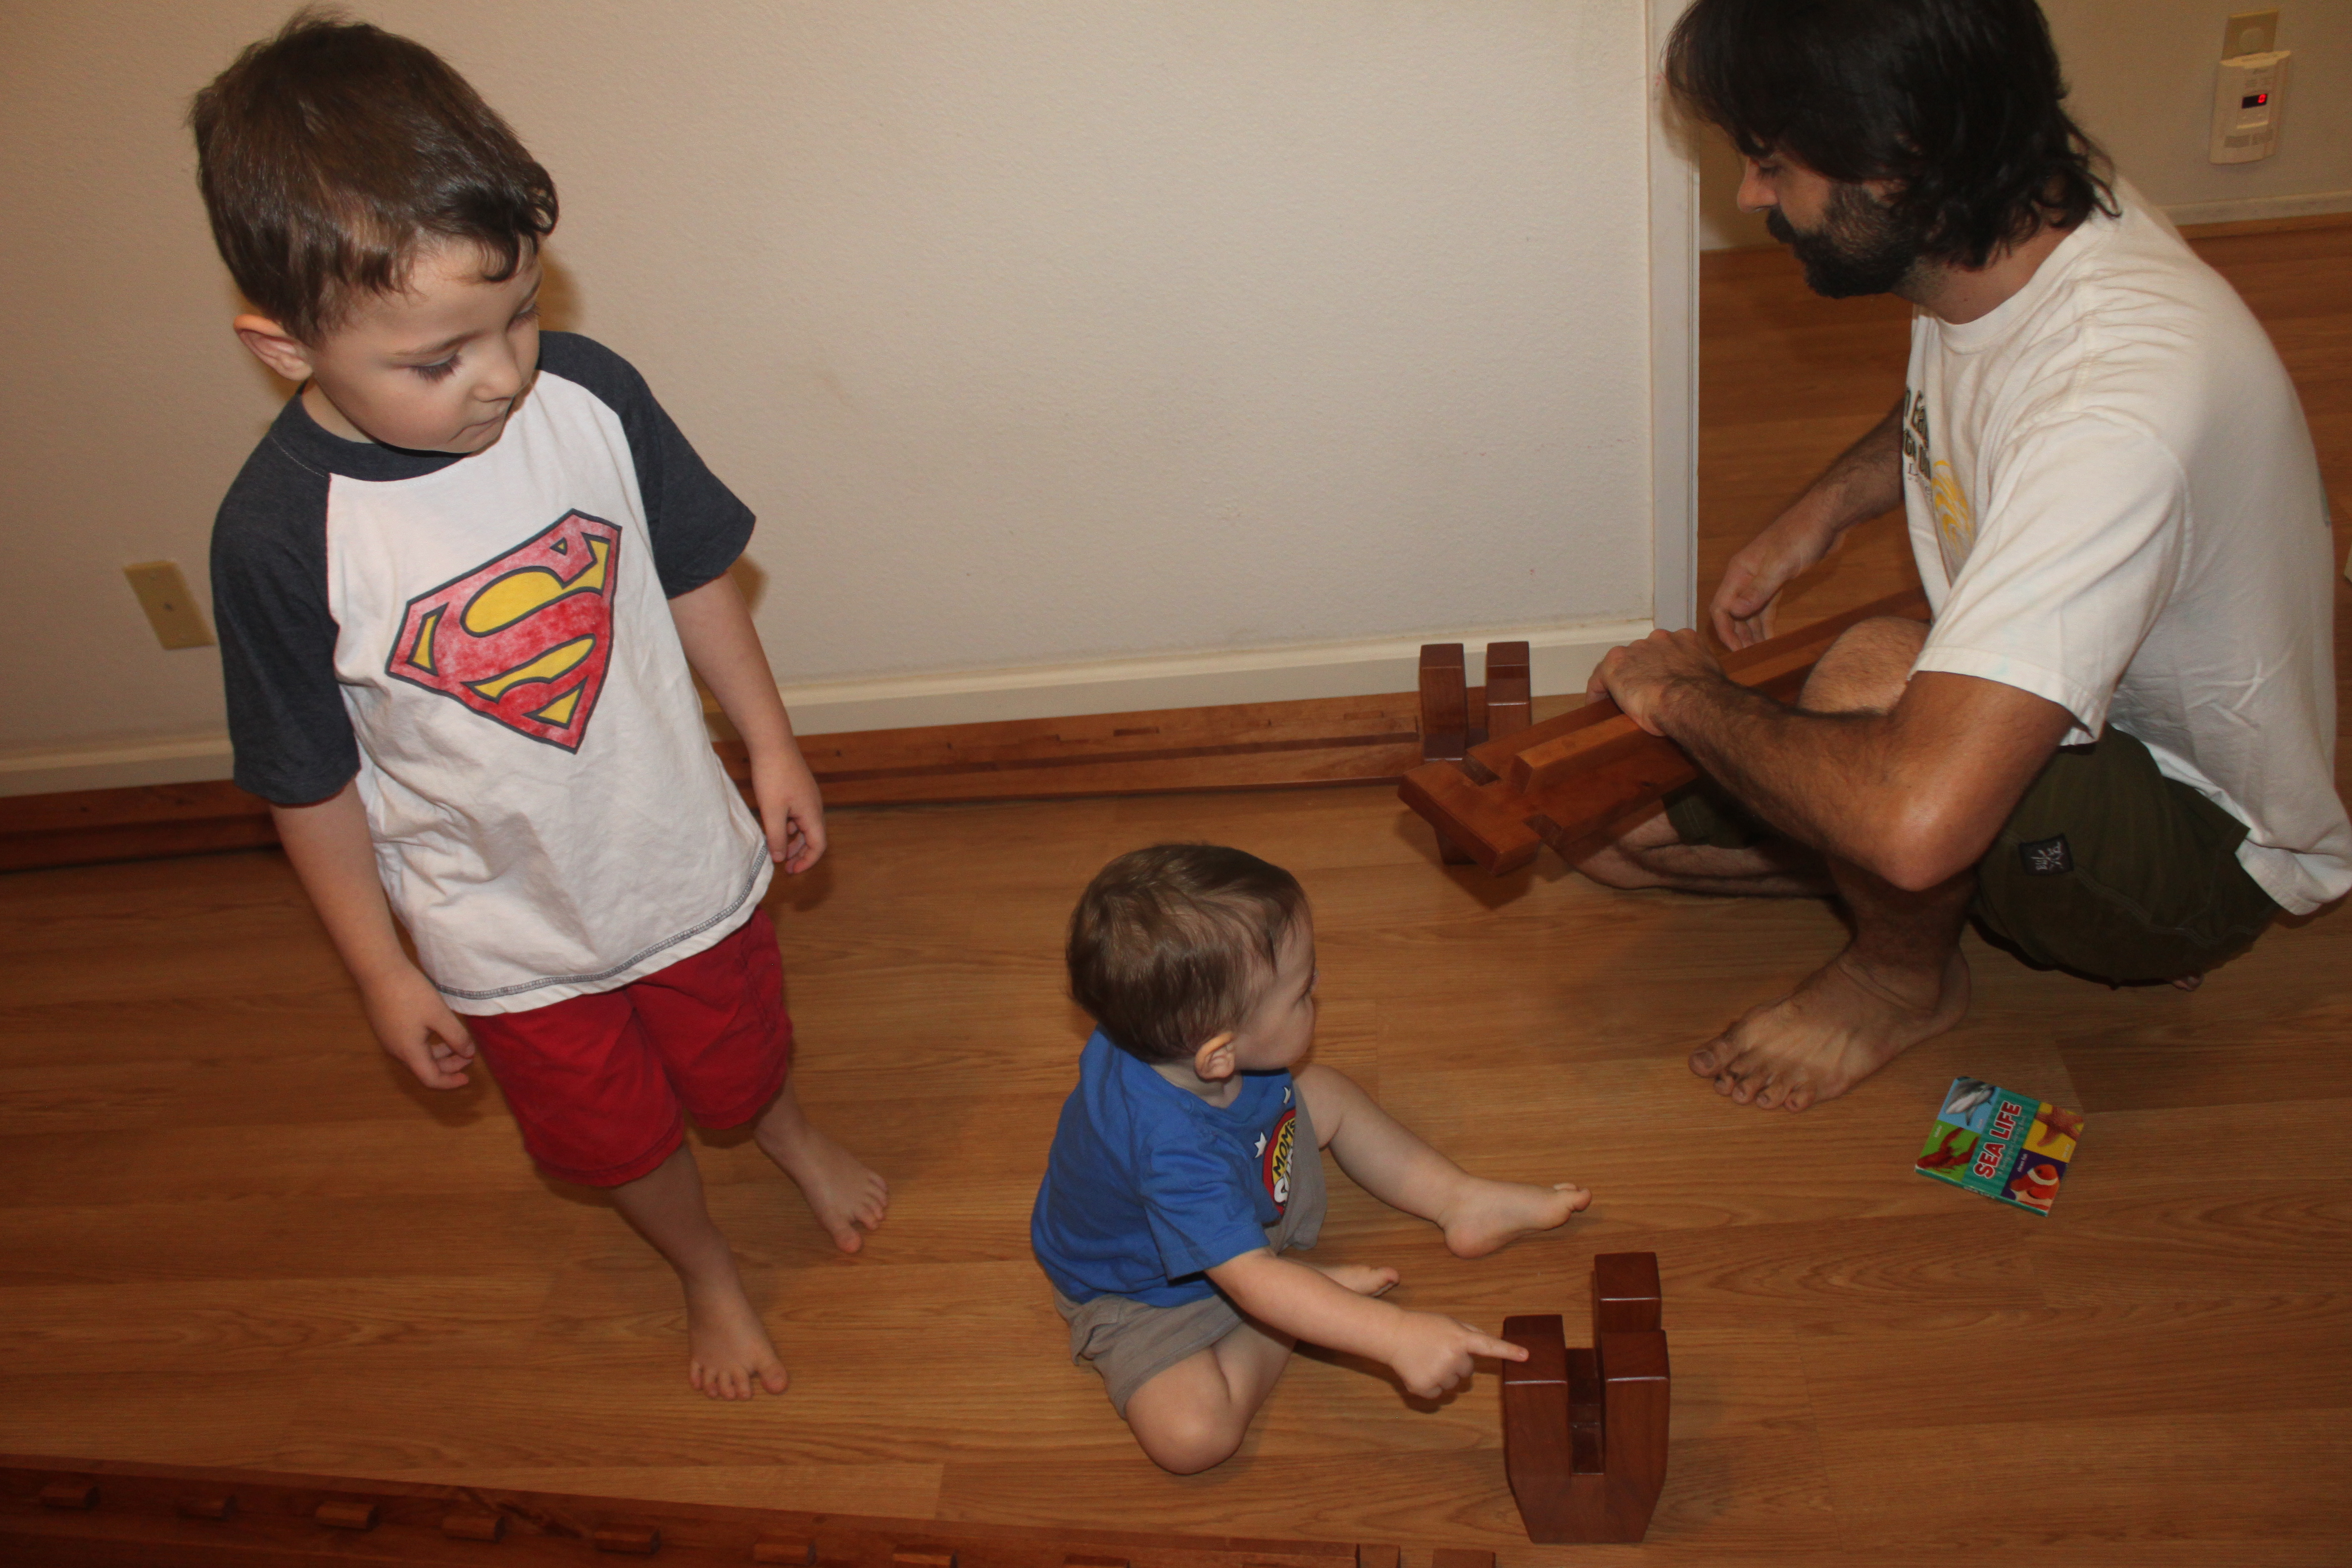
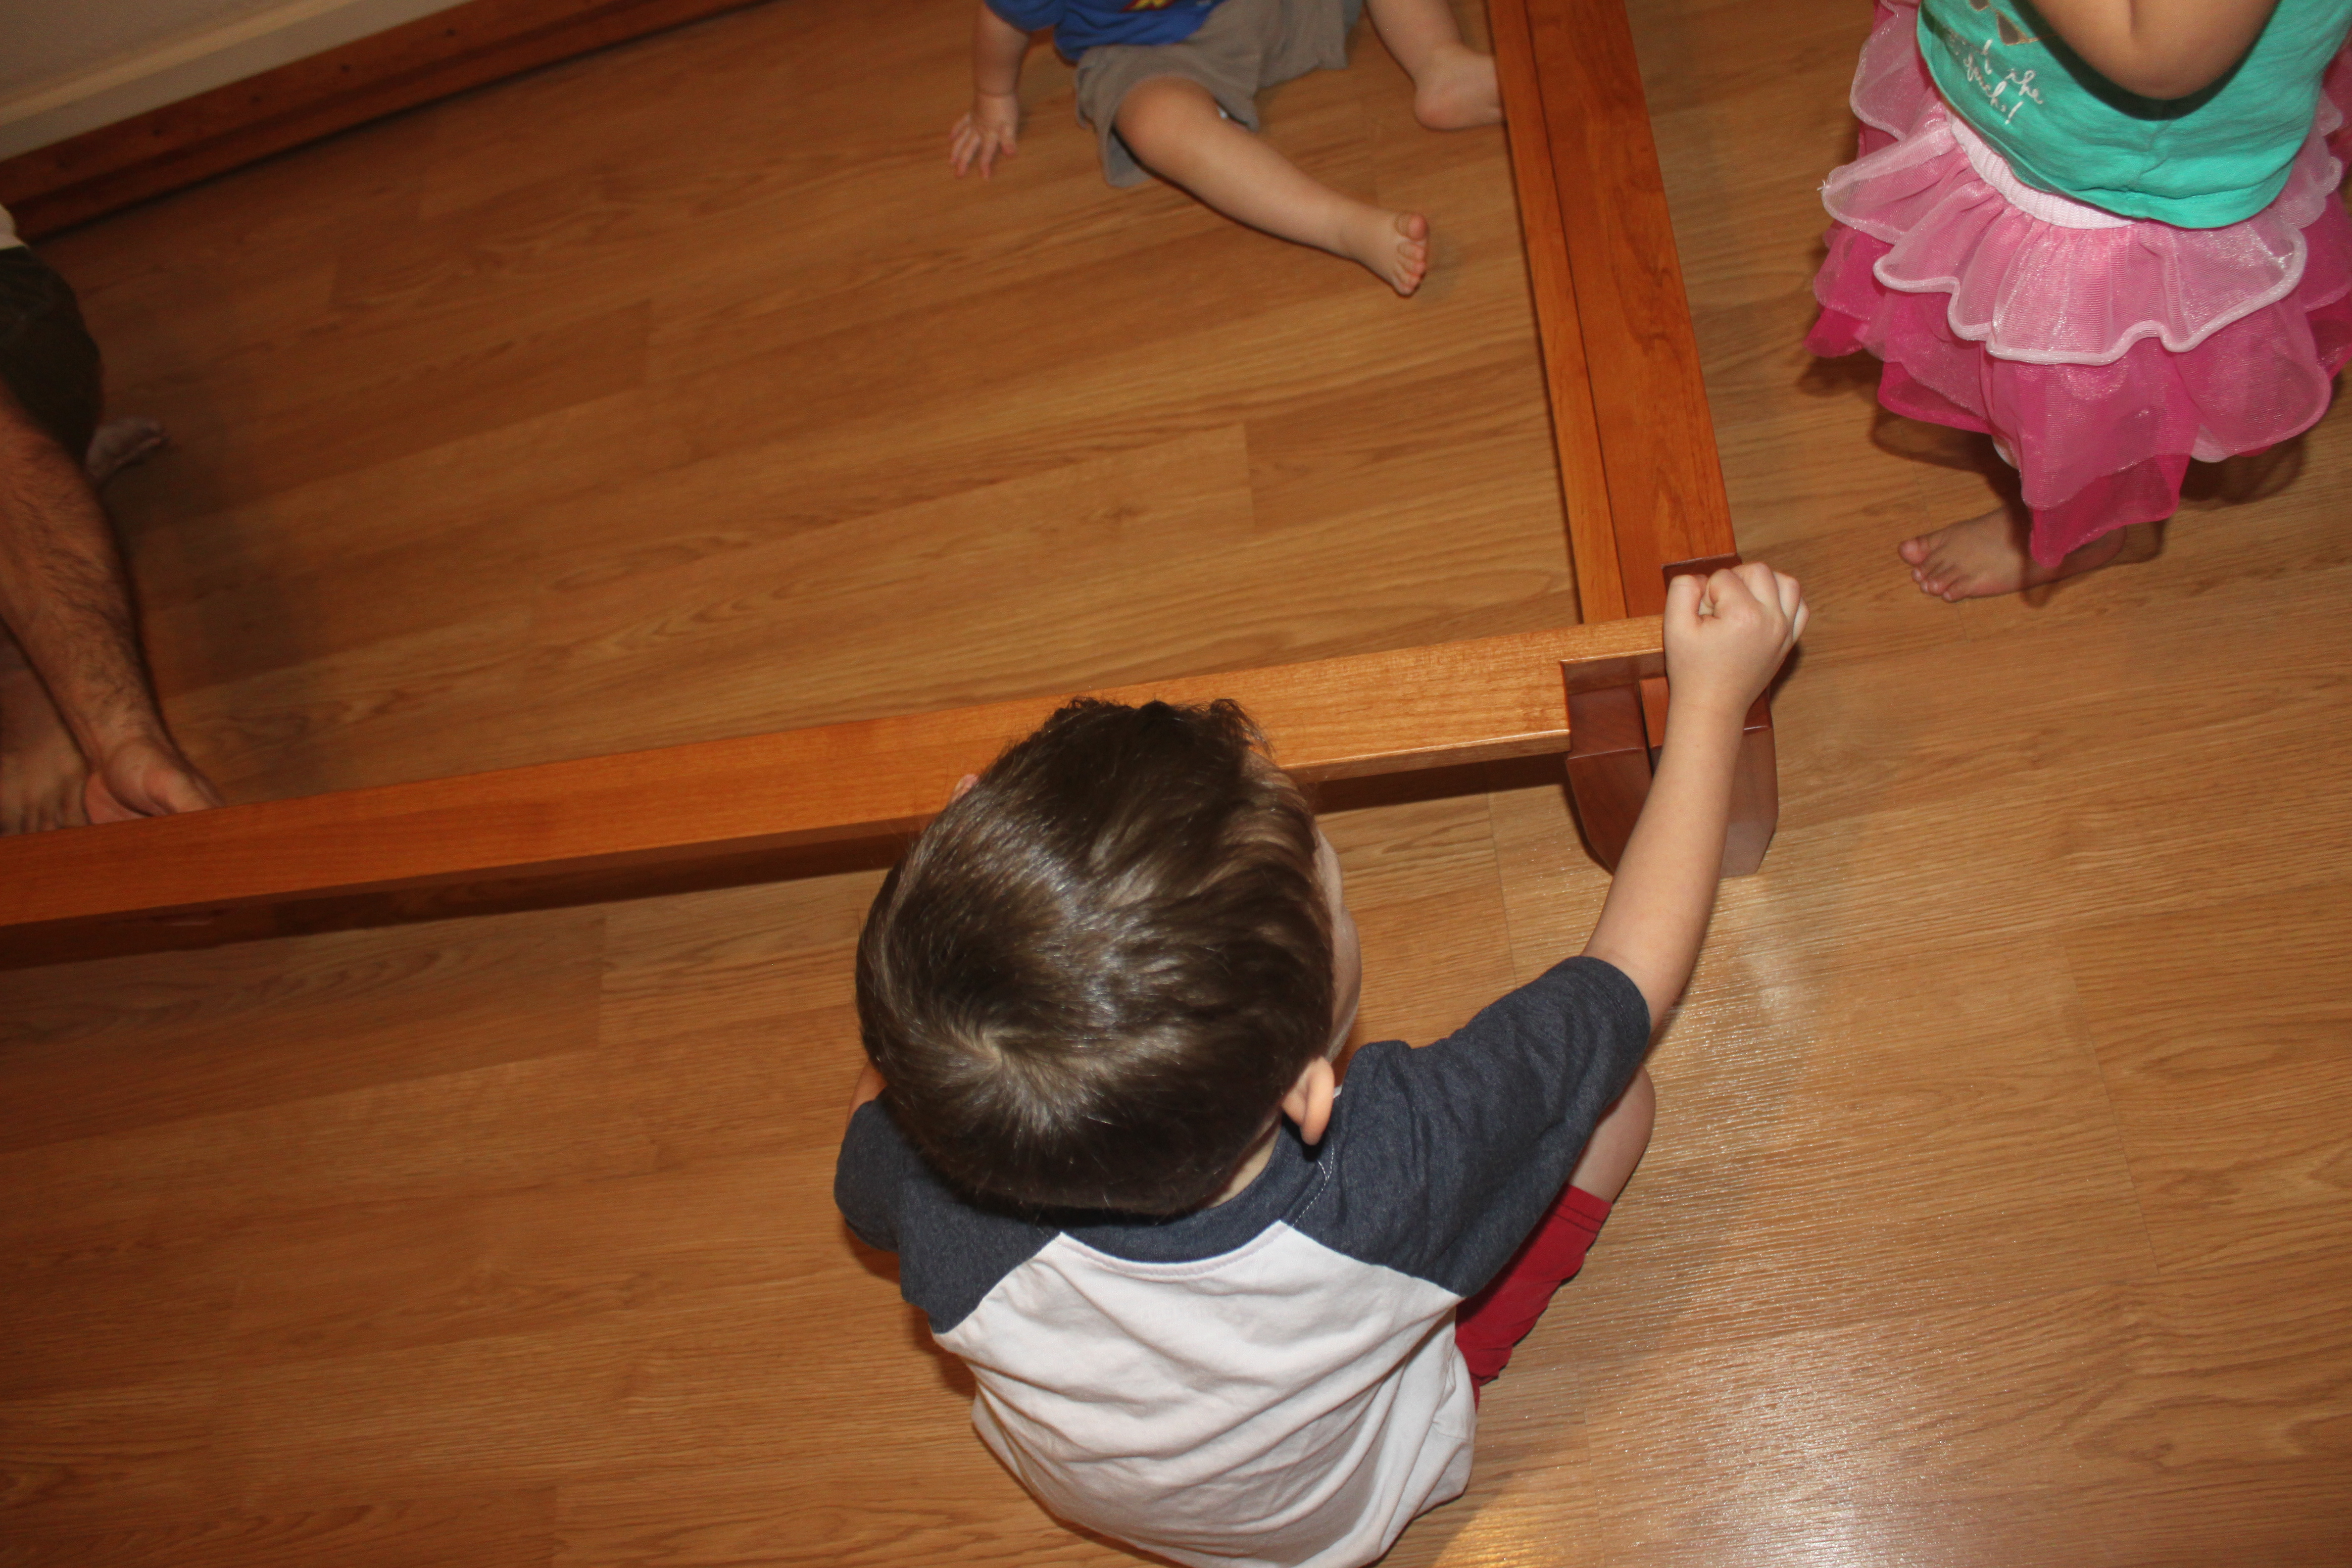
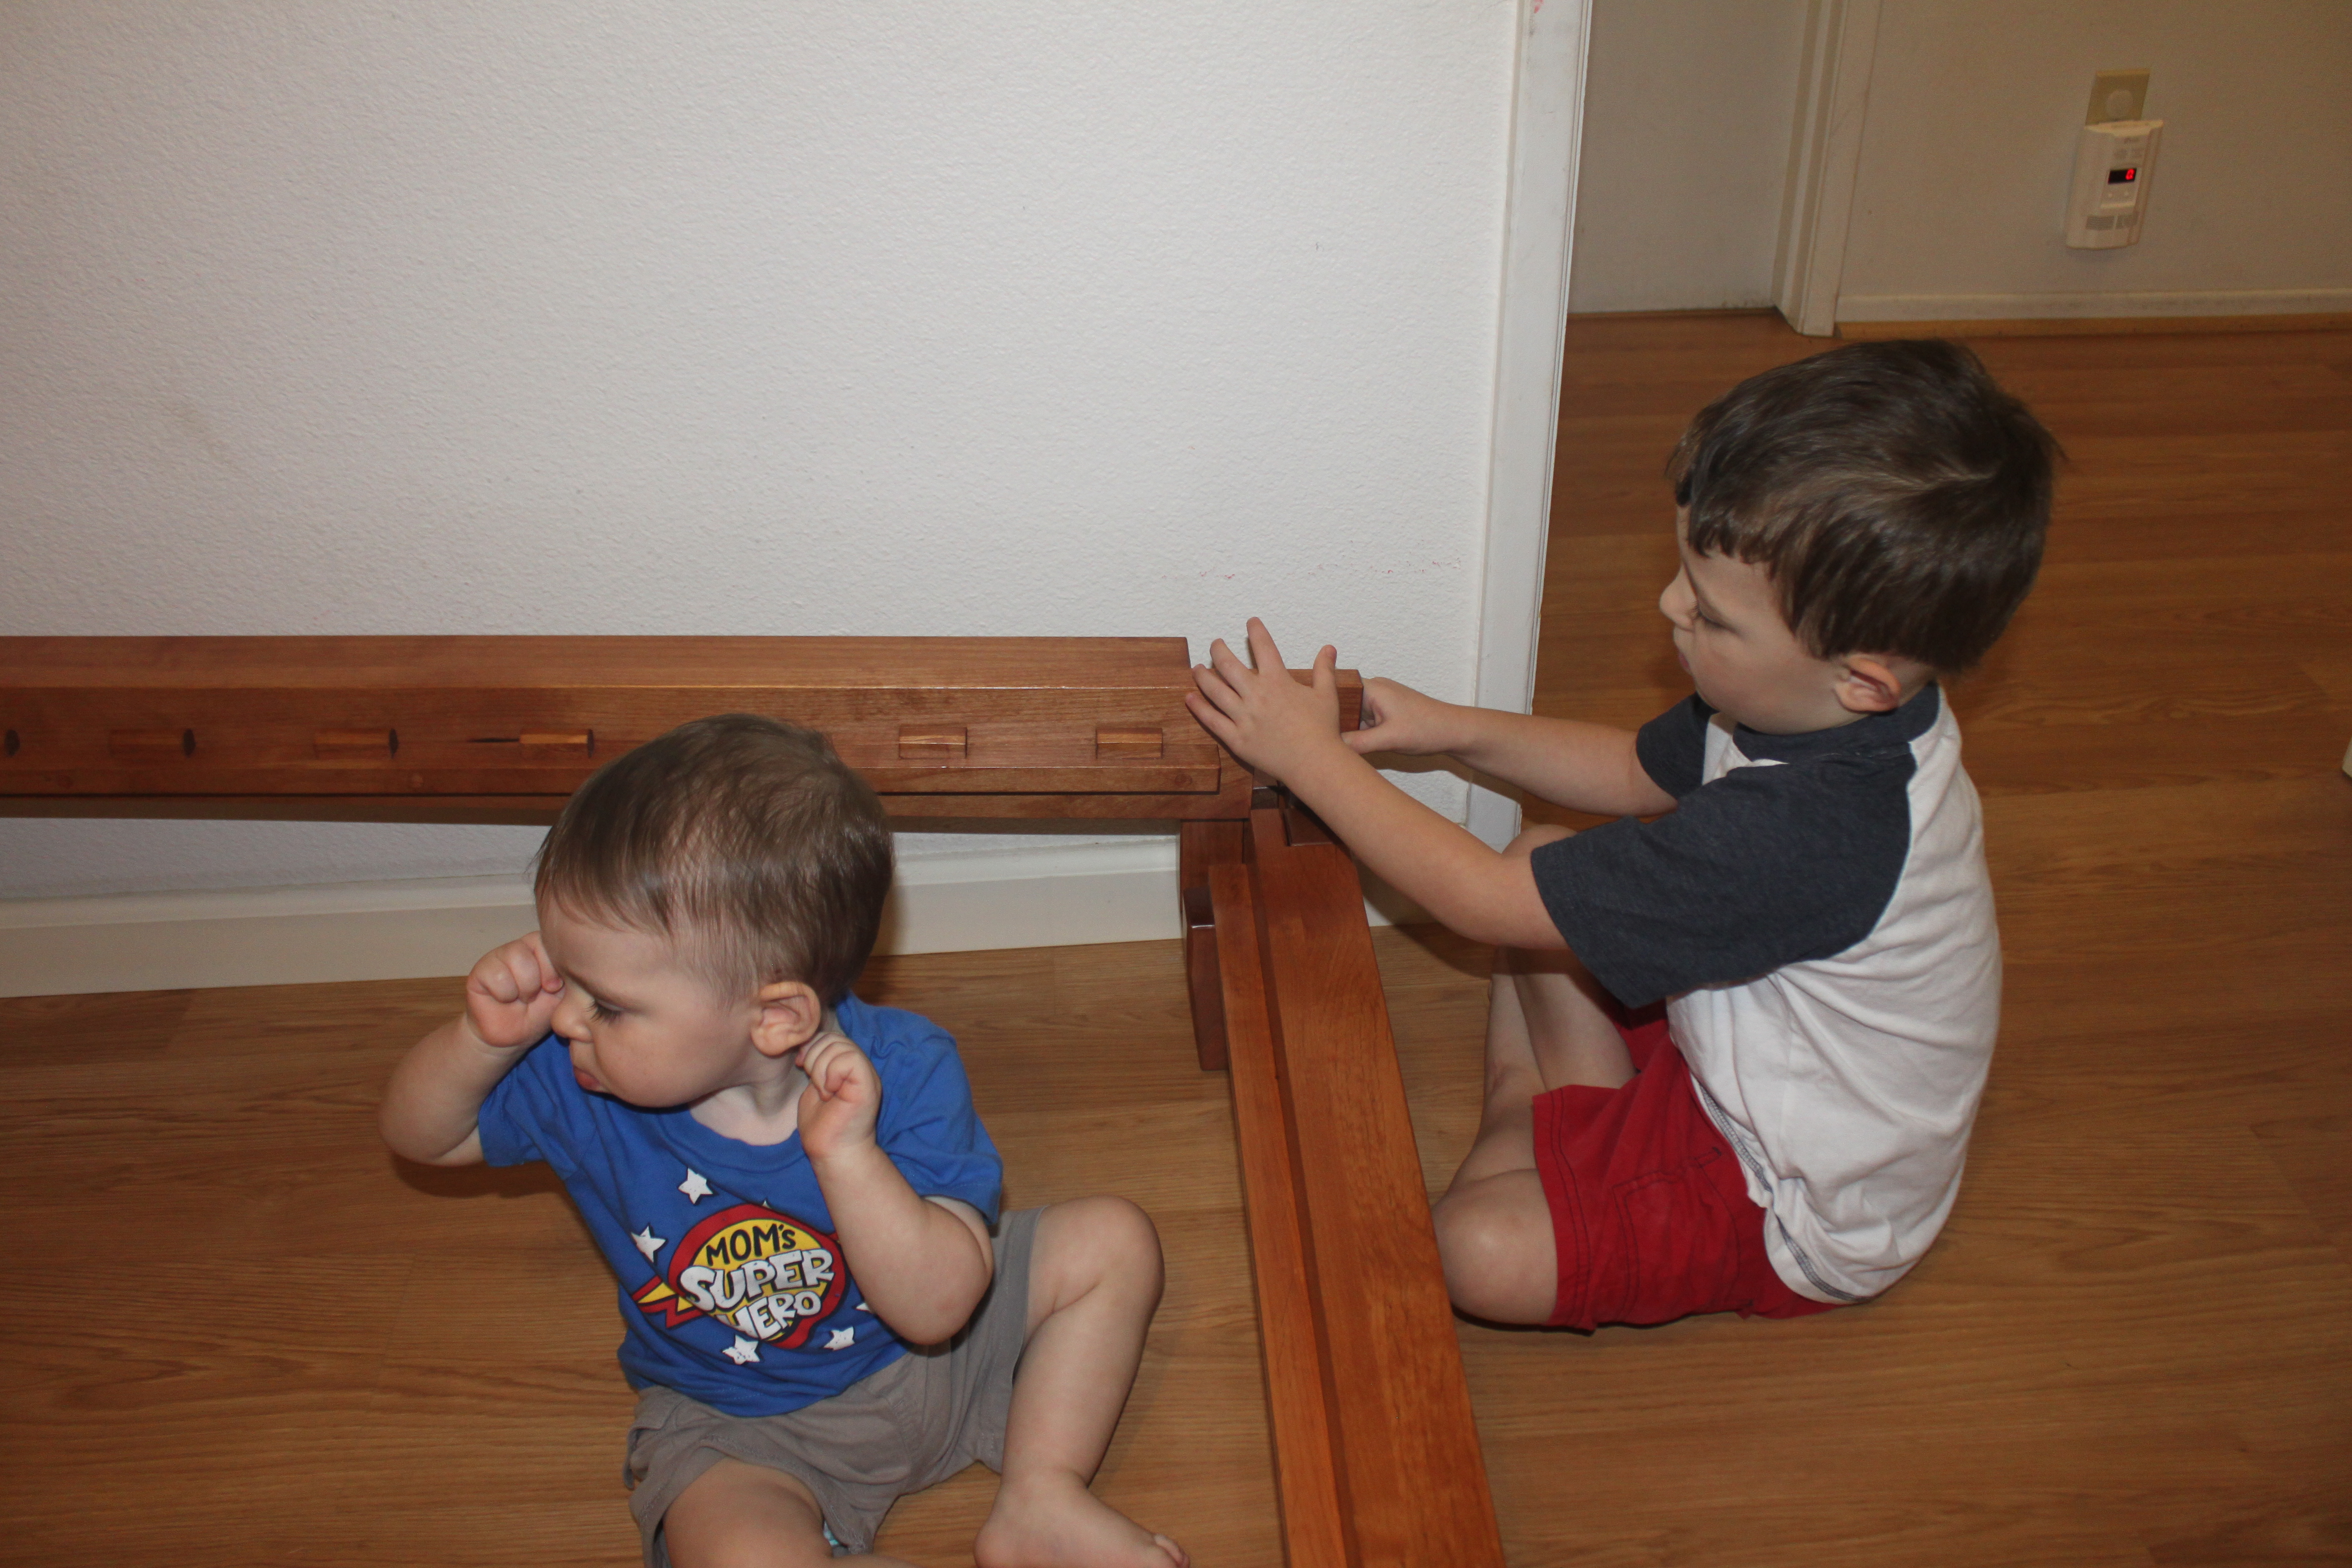
This is straight forward so I will just caption the montage of photos.


This was quite the build for me taking most of the summer in 110 degree heat with an even hotter shop. I don’t know who is more excited about the build though, myself or my son.
I hope you found this to be an interesting and inspiring post. Thanks for watching.
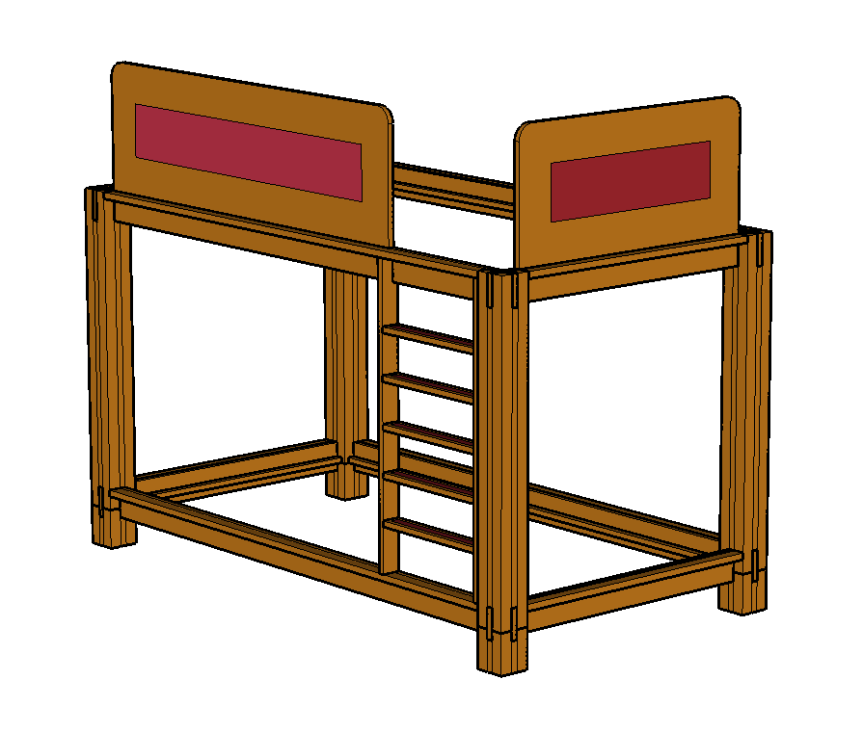
Tatami Style Bunk Bed coming mid 2017.

Very nice Spunjin, it will serve your family for generations. Nice design and assembly. Really nice woodworking!
Thank you, Ken. It truly was a fun build.
Dido that my friend!!! Beautiful!!!
That’s a neat bed. Love to make one like this for my son, when he’s old enough
Thank you, Saliya. When it’s time to make a bed for your son you now have a more detailed guide than I had. Also you can improve on it using mine as a reference on “what not to do.” Thanks for looking.
Hello Spunjin
I hope ur able to assist me. I am looking for plans to make a sleigh bed. Do u perhaps know where i am able too search for these plans.
Cliff
cliffclegg1@gmail.com
Great looking bed! Love the design & execution.
Thanks, Neil.
Beautiful work! I was searching for a good joint for a waterbed frame when I ran across your website. I love the Japanese inspired joinery you used. I’ll make some alterations for my project but will use yours as the inspiration. Thank you!
Thanks for capturing all of this. I’m wrapping up a build of my version of the bed and had a question about the finish. What made you decide to apply the cherry Danish oil instead of going straight to Tung oil? How many coats of Tung oil did you apply?
Again, thanks for documenting your build. The Sketchup model was priceless.
Thanks, I’d like to see your version of the bed when you are finished. Nice to hear my SketchUp Model came in handy for you.
I chose to use the Cherry Danish Oil first merely for the color aspect. I didn’t want to use a full on stain but I wanted to color to go on easy so I didn’t have to worry about witness marks as the pieces would take a good deal of time to wipe down. The Danish Oil allowed me to apply a coat of oil and color at the same time, and since it was the first coat, I didn’t have to worry about wiping off quickly.
I put the Tung Oil on after just because I thought the Danish Oil looked a bit dull. My test board had a bit more chatoyance with the coat of Tung Oil but I never tried a second coat of Danish Oil so I’m sure that would have been fine too.
I just applied one coat of the Cherry Danish Oil and one coat of Tung Oil. I let it all cure for a few days and then sprayed each piece with Hi-Build PreCAT Lacquer about 3 times.
Hope that helps.
Now that is a work of art. Wish I had the tools to make one of my own.
Hello!
Awesome design and construction, really came out beautifully. I am building a queen size bed frame like this and had your same issues in finding online resources for design specifics. What a treat to find your post! I noticed in your sketchup design that the rails were 1/16″ thinner than the space left for them in the foot posts. I also saw you wrote that you planned down the rails after having a tight fit to leave room for finish build up as well. I was planning to make the short spacer blocks the same width as the rails for a tight fit, (im mainly basing this off of experience making dovetail joints and having little to no wiggle room). Should I cut the spacer blocks a 1/16″ wider than my rails? And then still plane down 1/32″ for finish build up?
Also, would you suggest that I put a center beam for a queen bed? /would I need a support foot in the center of the bed? I made the bed pretty hefty, using walnut, 1 1/4″ rails, larger feet blocks are 2 1/4″, rails that the stiles and mattress will rest on I was thinking to make 2″ wide, (this might be over kill, but I just want it to be sturdy, please let me know if you think this is too much, dont want to spend too much on lumber).
I hope my questions aren’t too difficult to decipher. I sincerely appreciate any guidance you can provide for me! Thank you so much for posting this! Its quite amazing!
Best,
A
Thank you.
I would make everything fit snug first and fine tune as needed. Start there and remove material as needed.
Definitely make a center beam with foot support for the queen size bed. The thicker you make the rails the better, in my opinion. For the bed I made I used what I had on hand. No special trip to the lumber yard to pick up thicker stock. If you have it then use it. Stock milled to 5/4 should be fine. It’s on edge so the strength is there.
Send a picture of your finished work. I would love to see it.
If you have any further questions during your build feel free to ask.
Regards.
Thank you so much for your advice! I should refresh my web pages more often… I would have known you responded haha. I redid my sketch up design to be tight fit, and I will shave down to fit later as you suggested. Also adding in a center beam with foot for support. I will also be making the bed pretty high as EZ was saying, so dovetail slats seems pretty involved, but probably best for the long run, maybe one dovetail per 4″ pine slats or something. I would love to run my design by you if it wouldn’t be too annoying, never made a bed before, so there might be some things I’m overlooking or looking to much into. All your help is greatly appreciated! Thanks for the tips!
Best,
A
I would be delighted to see your design.
I wish I had made my slats dovetailed as that would also keep the rails parallel. You could do a few and that would be fine. It wouldn’t be hard at all. Start them as you would cut the shoulders of a tenon at the table saw and then cut the angle at the bandsaw or with a handsaw. Pretty simple. Then fit the spacers accordingly. It would also add a handmade touch and the extra thought of a craftsman.
Sweet, great tip using the table saw and band saw. That will really fast track things! I’ll send over the design in just a bit when I get it all finished. Thanks so much!!
Best,
A
Same here regarding not being able to locate any good plans or step-by-step instructions. This is a great tutorial.
I plan on making a bed very similar to this one taking note of the things you learned. I want to make it taller though, to allow for (unattached) storage drawers. Any thoughts on how raising the height of the bed another 4″-6″ will affect stability?
Thanks!
It’s my speculation, perhaps if you make the slats that connect the rails lock into place, think dovetails, it would keep the bad from racking if the legs are taller. You could also make the feet wider but I think making the slats match with dovetailed spacers it would be better. Also it would take less material.
Thanks for checking out the article. Let me know if you have any further questions.
Great feedback. I hadn’t considered the contribution of the slats to stability.
Thanks!
Your design is great!, Nice job man, I think I’ll made something similar. Nice
Great platform bed. Your attention to detail is awesome. Thanks for documenting this. I am building my own tatami bed (California king size), but like you I have scoured the internet for plans and ideas and have come up pretty short (except for this blog of course!). I am having trouble locating your sketchUp file. I would love to see what you have for sketchup concerning your design for this bed. Can you help a fellow woodworker out? Thanks!
Erik
Thank you, Erik. Glad you are taking inspiration. You are right about having trouble finding the sketchup file. I removed it as I was planning on selling the plan for the bed but I am having difficulty setting up the digital download item. I’ll put it back up for free download. Check back in a few hours. I’ll try to put it on the front page at the top or back in the article. Thanks for checking with me. Cheers!
Hi, Erik. It put a link to the SketchUp file in the article. Enjoy!
Thanks so much. These plans are really great. I’ll shoot by your store and purchase something. Thanks for your plans. Its much appreciated.
Thank you, Erik!
Excellent article. I, too, found the bed on tatamiroom.com and very happy with your build. Unfortunately I cannot find the Sketchup plan you reference in the comments.
Are the plans still available (for purchase)?
Thanks!
Thank you, Russell. Yes the plans on on the side bar of the site. You will see them in the column with the other plans.
Cheers!
Ah, I see the plans now. I was viewing your web site on my tablet and the side bars/columns didn’t show up (or I didn’t know where to look).
When I view your site on my full-screen computer, the side bars are there with the plans.
Thanks for the quick response.
Sure thing! Yeah, on tablets and mobile all the sidebar items are at the bottom of the articles. I’ll have to work on making that more mobile friendly.
Hi Sean,
I purchased your plans and the design is great! I’m also wanting to make a queen and had the same questions that AMKING47 had last year. I was thinking that 2 1/4″ rails seems a bit excessive but your opinion would be appreciated. I would also be curious to see AMKING47’s final photos if you have them or if there’s any way to get in touch with him so I could ask, that would also be very appreciated! The bed looks great!
Happy New Year!
Robert
Hi Robert,
I don’t have a final photo of AMKING47’s bed. The 2 1/4″ measurement that was referenced were for the feet blocks not the rails. 2 1/4″ thick rails would be excessive, I agree. There isn’t any reason you couldn’t laminate a couple rift/quarter sawn boards together for endgrain matching and use them for wider rails though. That would be super cool. Especially having bigger feet for a bigger bed. It may look more proportional.
When you finish I’d love to see the final product.
Regards.
-Sean
Hi Sean,
Thank you for your quick reply. It seems that even 2 1/4″ feet blocks seems like it would be a bit unnecessary, but for me it also depends on what lumber is available to me locally. I also don’t want to break the bank. I will definitely send you a photo or two once I get it finished, whenever that may be. Figuring out the supply and cut list is always the most time consuming part of the process.
Thanks again,
Regards..
Robert
That is the tough part. Trying to upscale the bed will be the most time consuming part of the build. Looki g forward to seeing the finished product.
Very very nice bed.
Thank you!
Would like to make one myself but in Queen size. What mods would be needed?
I would probably beef up the rails a bit more and add a center rail with a middle foot. That’s all that would be necessary.
k ty
What would be your recommendations?
I would leave everything the same but use a stronger material like ash, white oak, maple, or cherry, and add the center rail with a foot in the middle (foot probably not necessary).
Hey Sean. Just came across this after our Ikea Malm bed decided it wasn’t going to hold up. Look like I may be building a queen version of this in the very near future.
Yeah man. Build it up.
Los planos siguen disponibles y para comprarlos hay que registrarse?
Yes the plans are available for purchase. After purchase is complete I email the plans to the email address associated with the purchaser’s PayPal address.
Los planos siguen disponibles?
Para comprarlos hay que registrarse con usuario?
Yes you can buy then without registering for anything. A simple PayPal payment and the plans are emailed.
Ok, gracias
Hi Spunjin,
Echoing everyone else here about what a beautiful bed you’ve built and how great it is to have this as a reference for our own projects, considering the lack of resources online (at least, from my searching) for this kind of joinery.
I’ve actually got all of my foot pieces ready to glue up. Wondering if there was a reason you decided to do the glue up in two stages (attaching the taller posts to the spacers, then combining with the wider center spacer) rather than gluing it all up at once, with four clamps providing pressure on all sides?
Thinking I might do it that way, to cut my glue time in half, but trying to think through what the consequences might be.
All the best and thanks again.
Riley
Hi Riley,
Thanks for commenting.
I did it that way to mitigate slippage of the parts. I felt less pieces glued at one time would be easier to manage. Also poly glue cures fast so I didn’t have to wait for 6+ hours for glue to cure. 3 hours and it was ready for the next stage.
Regards.
Hi, I’ve been looking though the plans and have a few questions.
1) it seems the length dimension of the mattress support must be wrong, either for the side rail *or* the foot rail. The length shown in the cut list, which matches the drawings, shows the support ending flush with the “notch” for the joint, in both the side and end case. If both foot and side rail have the mattress support flush to the notch, they will interfere with each other, no? Seems one must be shortened by 3 1/4″ (1 5/8″ each end) to eliminate the interference (or alternately, all ends should be cut w 45deg miter; perhaps this is better, since both end and side rails could seat on the 5 1/4″ tall inner segment of foot). Or am I misintepreting something?
2) how confident are you in the strength of the “fingers” of the rails at the joint, especially in the case of taller feet or queen bed? I ask this in part because the photos at tatamiroom.com and thuma.co both illustrate rail ends with a lamination (sort of a “tenon” w grain 90deg off from the rail “mortise”). Replicating that lamination seems difficult w/ my tools (though I’m open to suggestions). Sizing up to 1 1/4″ thick rails and stronger wood species could help. I bought 13/16″ cherry for the rails and am concerned it may be inadequate for a queen bed.
3) Was there a structural reason that you alternated the orientation of the castle joint from end rail to headbaord rail? (ie, why not have the end rail slide down from above on assembly, like the headboard, rather then up from below).
Thanks!
Hi Tom,
I’ll try to answer your questions the best I can if I am understanding them correctly.
1.) The cuts in all the rails allow for them to cross each other. Just like a half lap joint only the cuts are in the edge of the boards rather than the face of the boards. There is a short stub in the middle of each foot to secure the first rail so it doesn’t slide around during assembly. That stub can be 1/4” tall it does’t have to be any taller than that honestly.
2.) For a Queen bed I would definitely use thicker material than 3/4”. If you mill up your lumber you can laminate them to get a thicker rail. The more “meat” the stronger that end past the notch will be. There is a fundamental short grain problem with that part of the rail in each foot. To avoid breaking the wood size the rails to fit just loose enough that you wont have to pound the rails into the feet. You want a slight bit of slop after you have done your finish sanding because the finish you apply (lacquer, poly, danish oil) will build up and make the joint fit better. You can sand just the areas that will be fitting together in the feet to get the fit you need.
3.). No reason the foot rail went in under the side rails other than that was the way I wanted to assemble the bed. Foot first, then rails, the. The head board locks it all in. Its really your preference on the order. Keep in mind if you change the order you may need to change notches in the rails to match.
I hope that helped.
-Sean
Thanks for the reply Sean. Regarding topic (1) I’m apparently not communicating the issue well. I’m not talking about the primary rails or the castle joint itself. I’m talking only about the mattress support piece (77 1/4 x 3/4 x 1 in side rail, 39 1/4 x 3/4 x1 in end rail). These bits are at identical height, but are sized to go all the way to the rail slot, so by defnition they must interfere at the last inch adjacent to the slot, no?
BTW, my math *was* wrong in my first attempt to convey this (thinking the interference was 1 5/8″, rather than 1″). So it seems the end rail mattress support, for example, would need to be 2″ shorter than spec’d.
Hi Tom,
I see what you are saying. The inside corner of the “castle joint” is short and the mattress support attached to the foot and head rails sit on top of that corner. There is no interference. Check the feet again and you’ll see there are three “posts” in each foot and the inside one is short so the mattress supports are all coplaner. The mattress supports for the side rails are cut short of the feet.
Did that clear it up?
-Sean
We’re getting closer to understaning each other! 🙂
I have no confusion on the foot dimensions, or the shorter inside segment of the foot assembly. Let me try one more time to explain the issue I;m seeing.
You state that mattress supports on the side rails are cut short of that inner segment of the foot, but the end/head supports extend over the short/inside segment foot. That clarification is getting exactly to my issue.
In that case, the length of the side support, if its truly short of the foot, should be 74″, not the 77 1/4″ defined in the cut list. But it doesn’t need to be short of the foot; it only needs to be short of the 1″ wide end/head support piece which is extending across the top of the short/inside segment of foot, so 77 1/4″ – 1″ – 1″ = 75 1/4″ would fit.
Also, the drawings for the side rail assembly show the support extending all the way to the slot, which is consistent with the 77 1/4″ length, but overlooks the fact that the last 1″ on each end will interfere w/ the support on the end/head. If the side rail supports were cut short as you decribe, the support on side rail would stop well shy of the slot.
For clarity, it seems the side rail support bit should be spec’d at 75 1/4″ length instead of 77 1/4″, which would allow them to butt aganst the end/head supports, and also seat onto the remaining 5/8″ surface of the inner short foot segment which is left exposed to the side of the 1″ wide end/bed rail.
Any clearer?
Hey Tom,
I’m going to email you some shots of the model. It may be different there (updated a few months ago and forgotten in the cut list).
HI,
Now that I have paid my money for the plans for the Tatami style platform bed via PayPal as per the link in first paragraph of your discussion above – I would like to download the plans – please advise how I do this
thanks
Thanks, purchase shows 5:03 pm, plans sent at 5:05 pm. Check your spam folder.
Regards.