
In August of 2013, Woodcraft Magazine, Issue 54, published an article called Power Tower (also on sawtoothideas.com) which looked like a great way to gain space in the shop and store those seldom used hand power tools, e.g. power planer, multi tool, jig saw, circular saw, etc. You can buy the plans from sawtoothideas.com for $11.99 or buy the issue 54 of Woodcraft Magazine for $5.99 and get more than one plan. I will not be providing plans for this since I do not want to mess with anyone’s income. But with even the slightest amount of knowledge about case construction, one should be able to see a photo or two and make it themselves and save a few bucks.
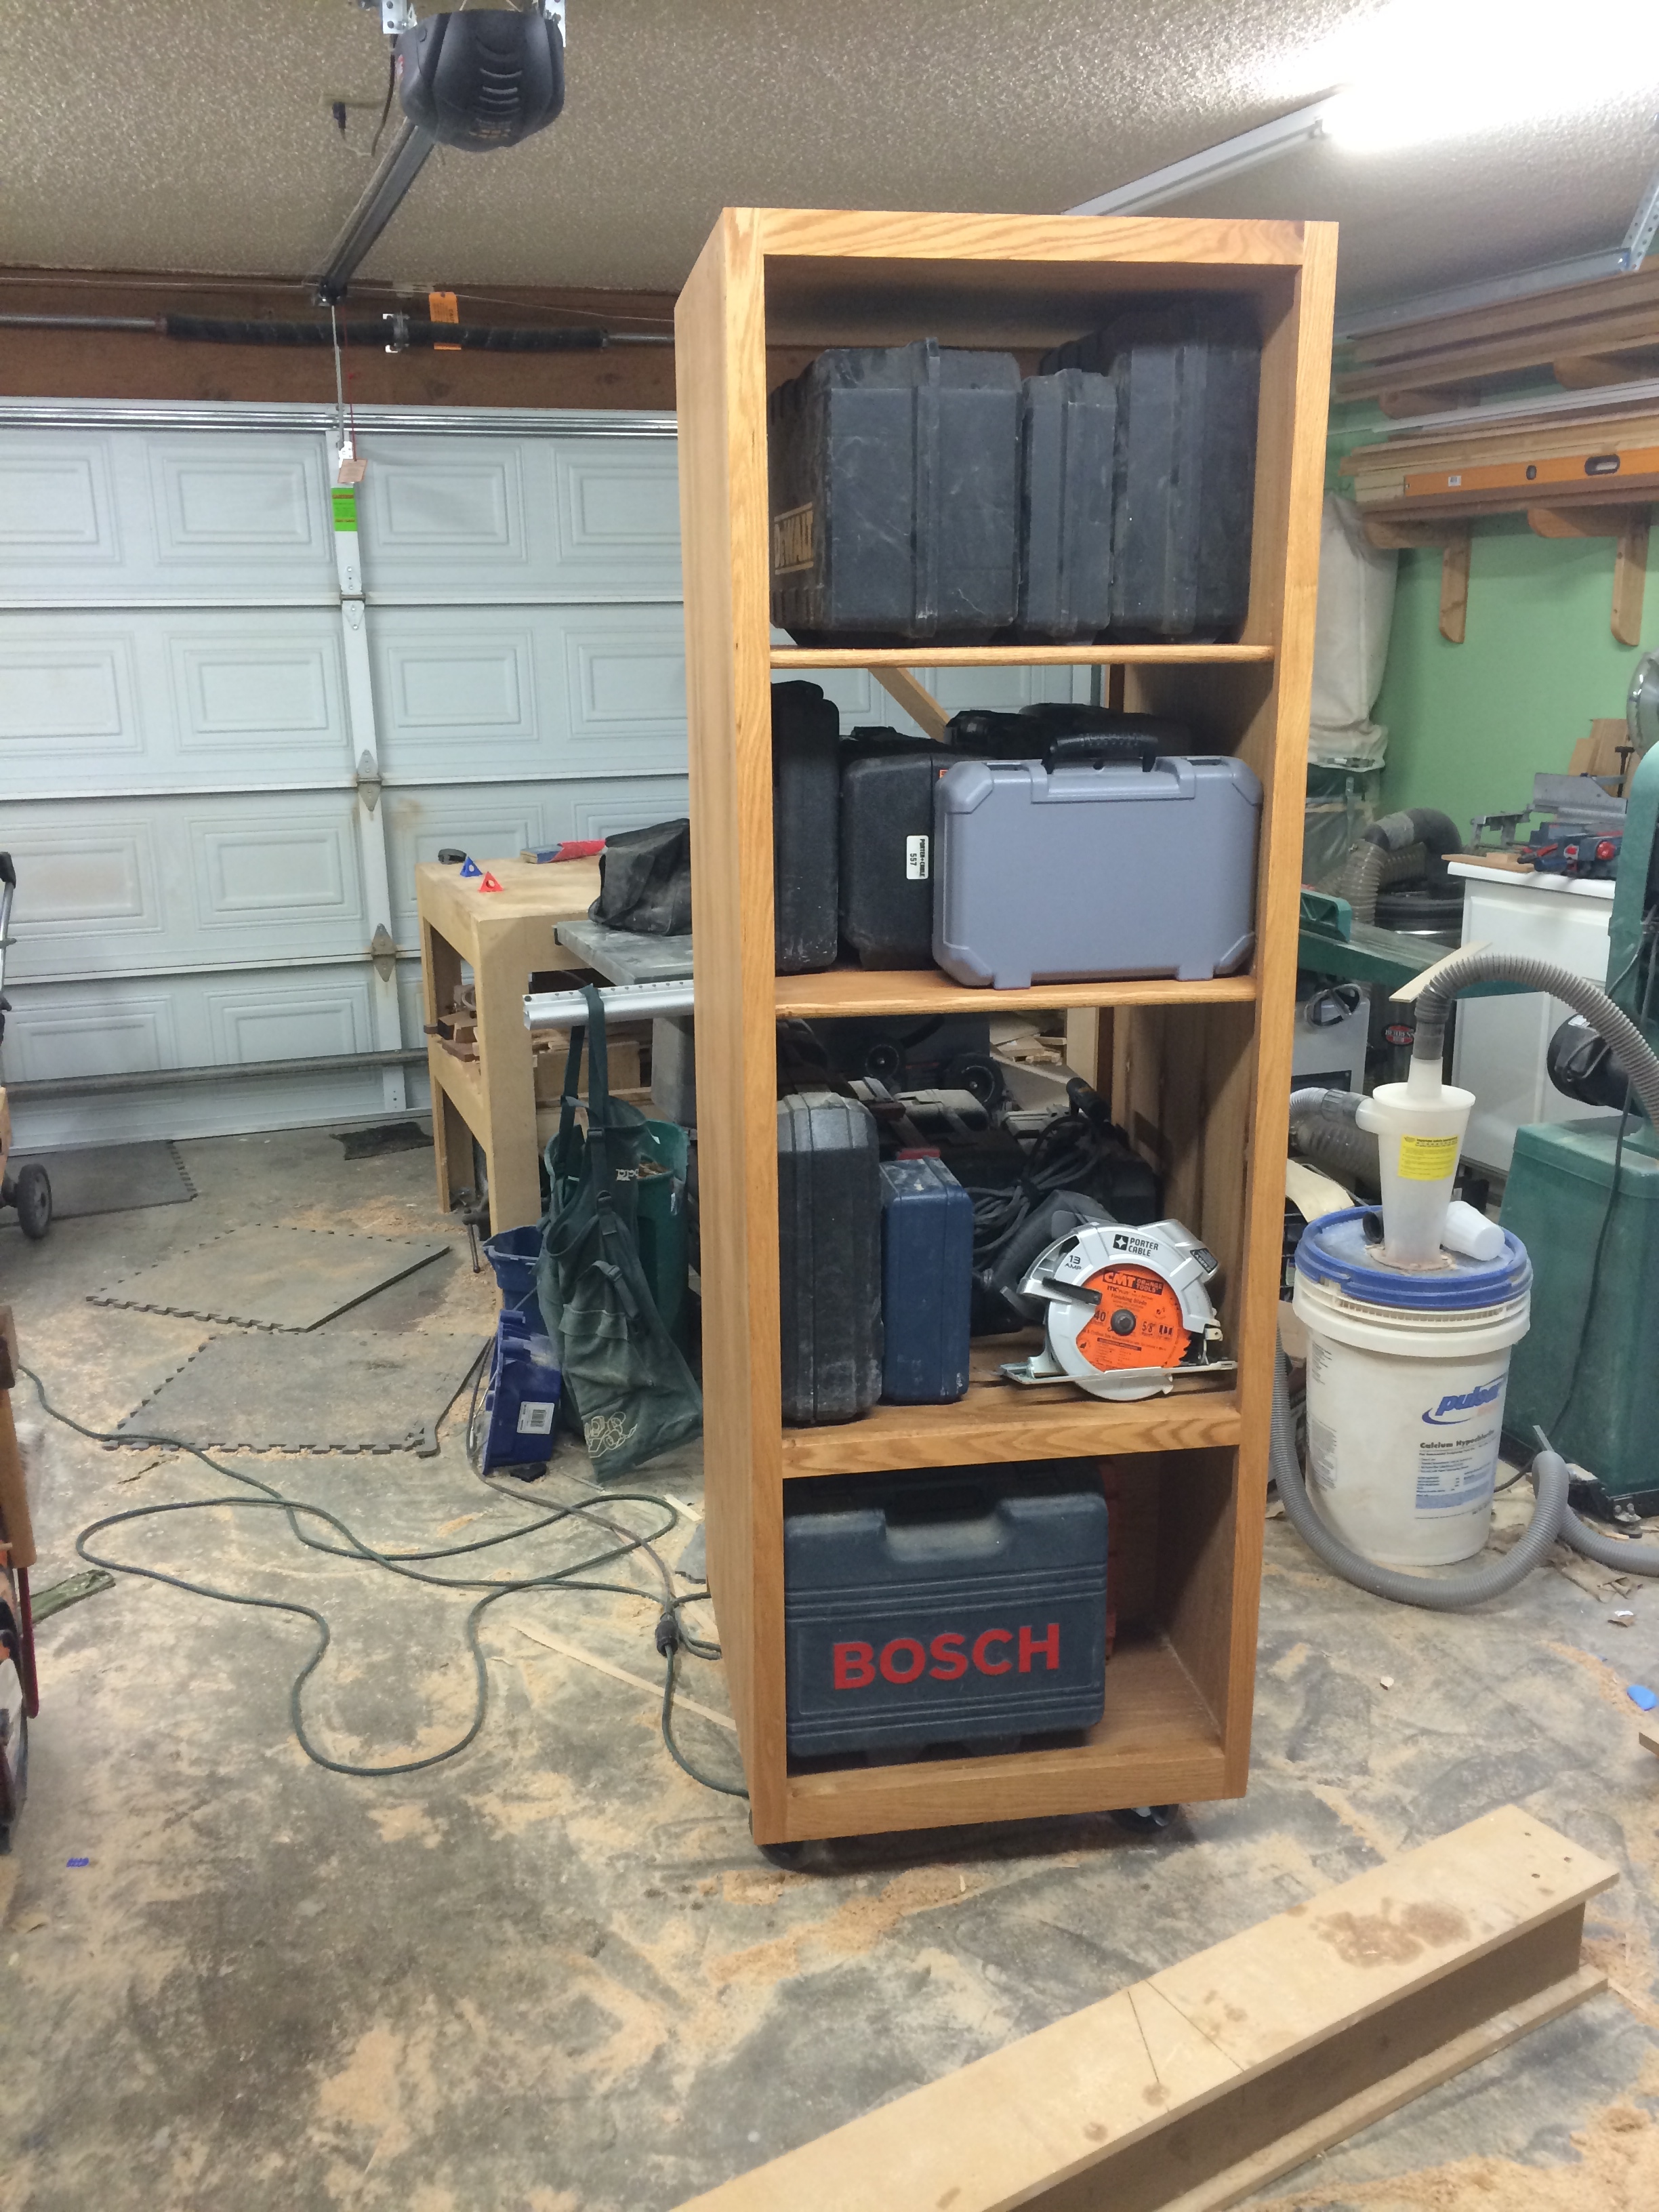
In an effort to make more usable space in my shop I decided to make this storage unit figuring it will give me 16 sqft. of space in a 4 sqft. footprint and allow me to place one of two air filters on top. I also could use the two sides as organization shelves or clamp storage in turn adding to my overall wall space. So the decision was made and I began the build using two sheets of oak plywood from Home Depot, more appropriately Home Disappointment.
I made my first cut by cross cutting the plywood to about 72″ in length. Then I routed a dado in the bottom about 1″ from the edge to accept the bottom shelf. The top of the plywood received a rabbet for the top of the case. Finally a dado was routed about 20″ up from the bottom dado for the fixed shelf. Now that the case joinery was cut the next step was to cut the sheet into two equal parts at the table saw. Make sure you have plenty of in-feed and out-feed support for the plywood. I made my out-feed table from Marc Spagnuolo’s plans here.
Now it was time for the shelves. The only dimension that must be fixed is the width of the shelves. They must be the same width as the case sides so keep the table saw fence in place and rip another sheet of ply into how ever many shelves are needed. I made 5 shelves for mine, the bottom, top, fixed, and two adjustable shelves.
Next order of business was to make the bottom partition between the bottom and fixed shelf. I made a spacer that was square to the case sides and the dadoes that would guide the router to make a groove connecting both dadoes.
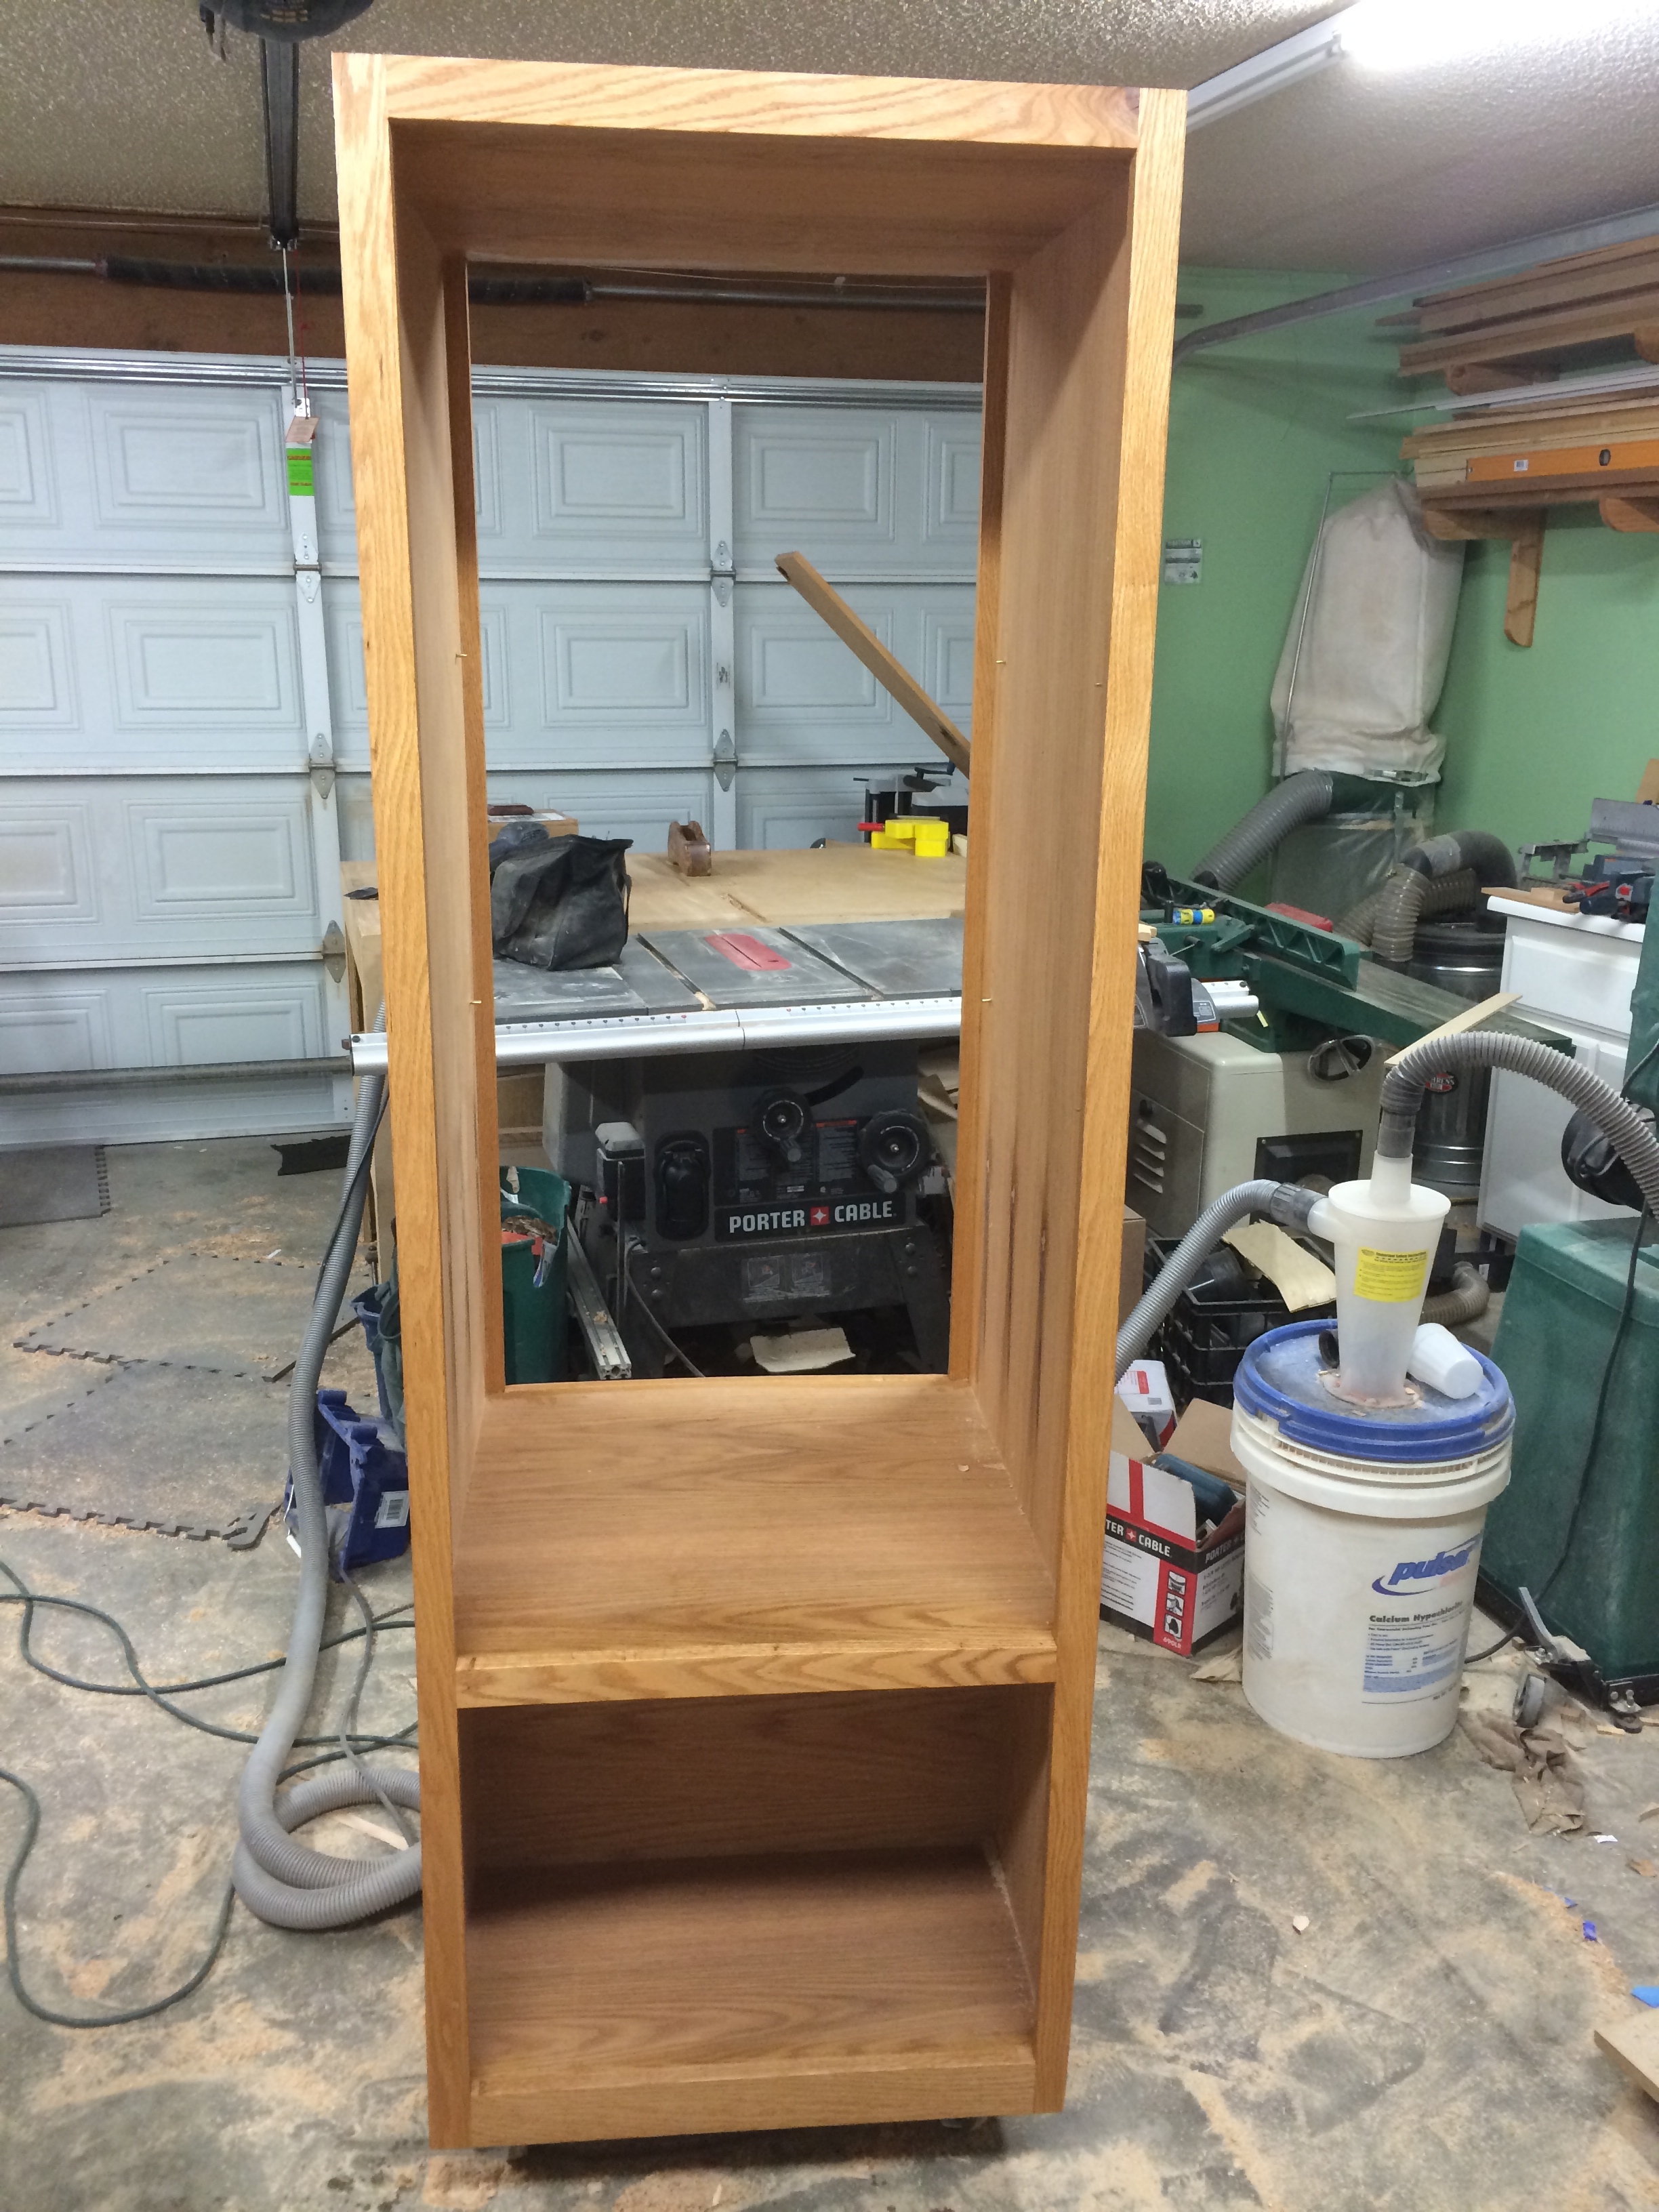
That is pretty much all there was to it. I used my Shelf Pin Jig from Rockler.com with the 1/4″ centering bit to make the holes from both edges of each of the case sides. Now it was time for the construction. I laid one panel face up on my out-feed table and started by gluing in each piece in place using these assembly squares from Rockler.com to keep them balanced. First the bottom, then the partition, then the fixed shelf, and ending with the top. Then the other side was placed on top and the pieces were glued into the dadoes, rabbet, and groove and left to dry over night.
Next up were the face frames. I cut these to 2.5″ wide from oak and measured each piece off the case its self then used a Kreg pocket hole jig to attach the rails and stiles. I purposely set the face frame proud of the sides so I could flush trim them with the router. Glue and clamps attached the frame to the case one side at a time.
The adjustable shelves were cut to size about 1/2″ smaller in dimension to allow for a 1/4″ edge banding around the perimeter of each shelf. Then they were sanded, profiled on the show edge, and finished with boiled linseed oil (BLO).
I tipped the case on its side and attached some castors then vacuumed all the dust off the case and wiped on a coat of BLO.
I still needed to add the air filter on top so I made a shelf for it to sit on and trimmed it out with some oak I profiled with an ogee bit at the router table.

I then needed to make a better storage for my clamps so I made a rack for my current (and future) parallel clamps ranging from 12″ – 24″. I added another rack on the other side for 36″ – 50″ clamps.

I am semi-satisfied with this storage unit. The down side is the castors I installed are a bit too tall. I will eventually buy some shorter ones to install at a later date but for now this works out well. My shop floor is now clear of tool cases and I have better access to all my clamps and other accessories.
