Like many hobby woodworkers I have a lot of wood cut offs and scraps saved, well, hoarded. In efforts to thin my seemingly never ending supply of shorts I had a few projects in mind.
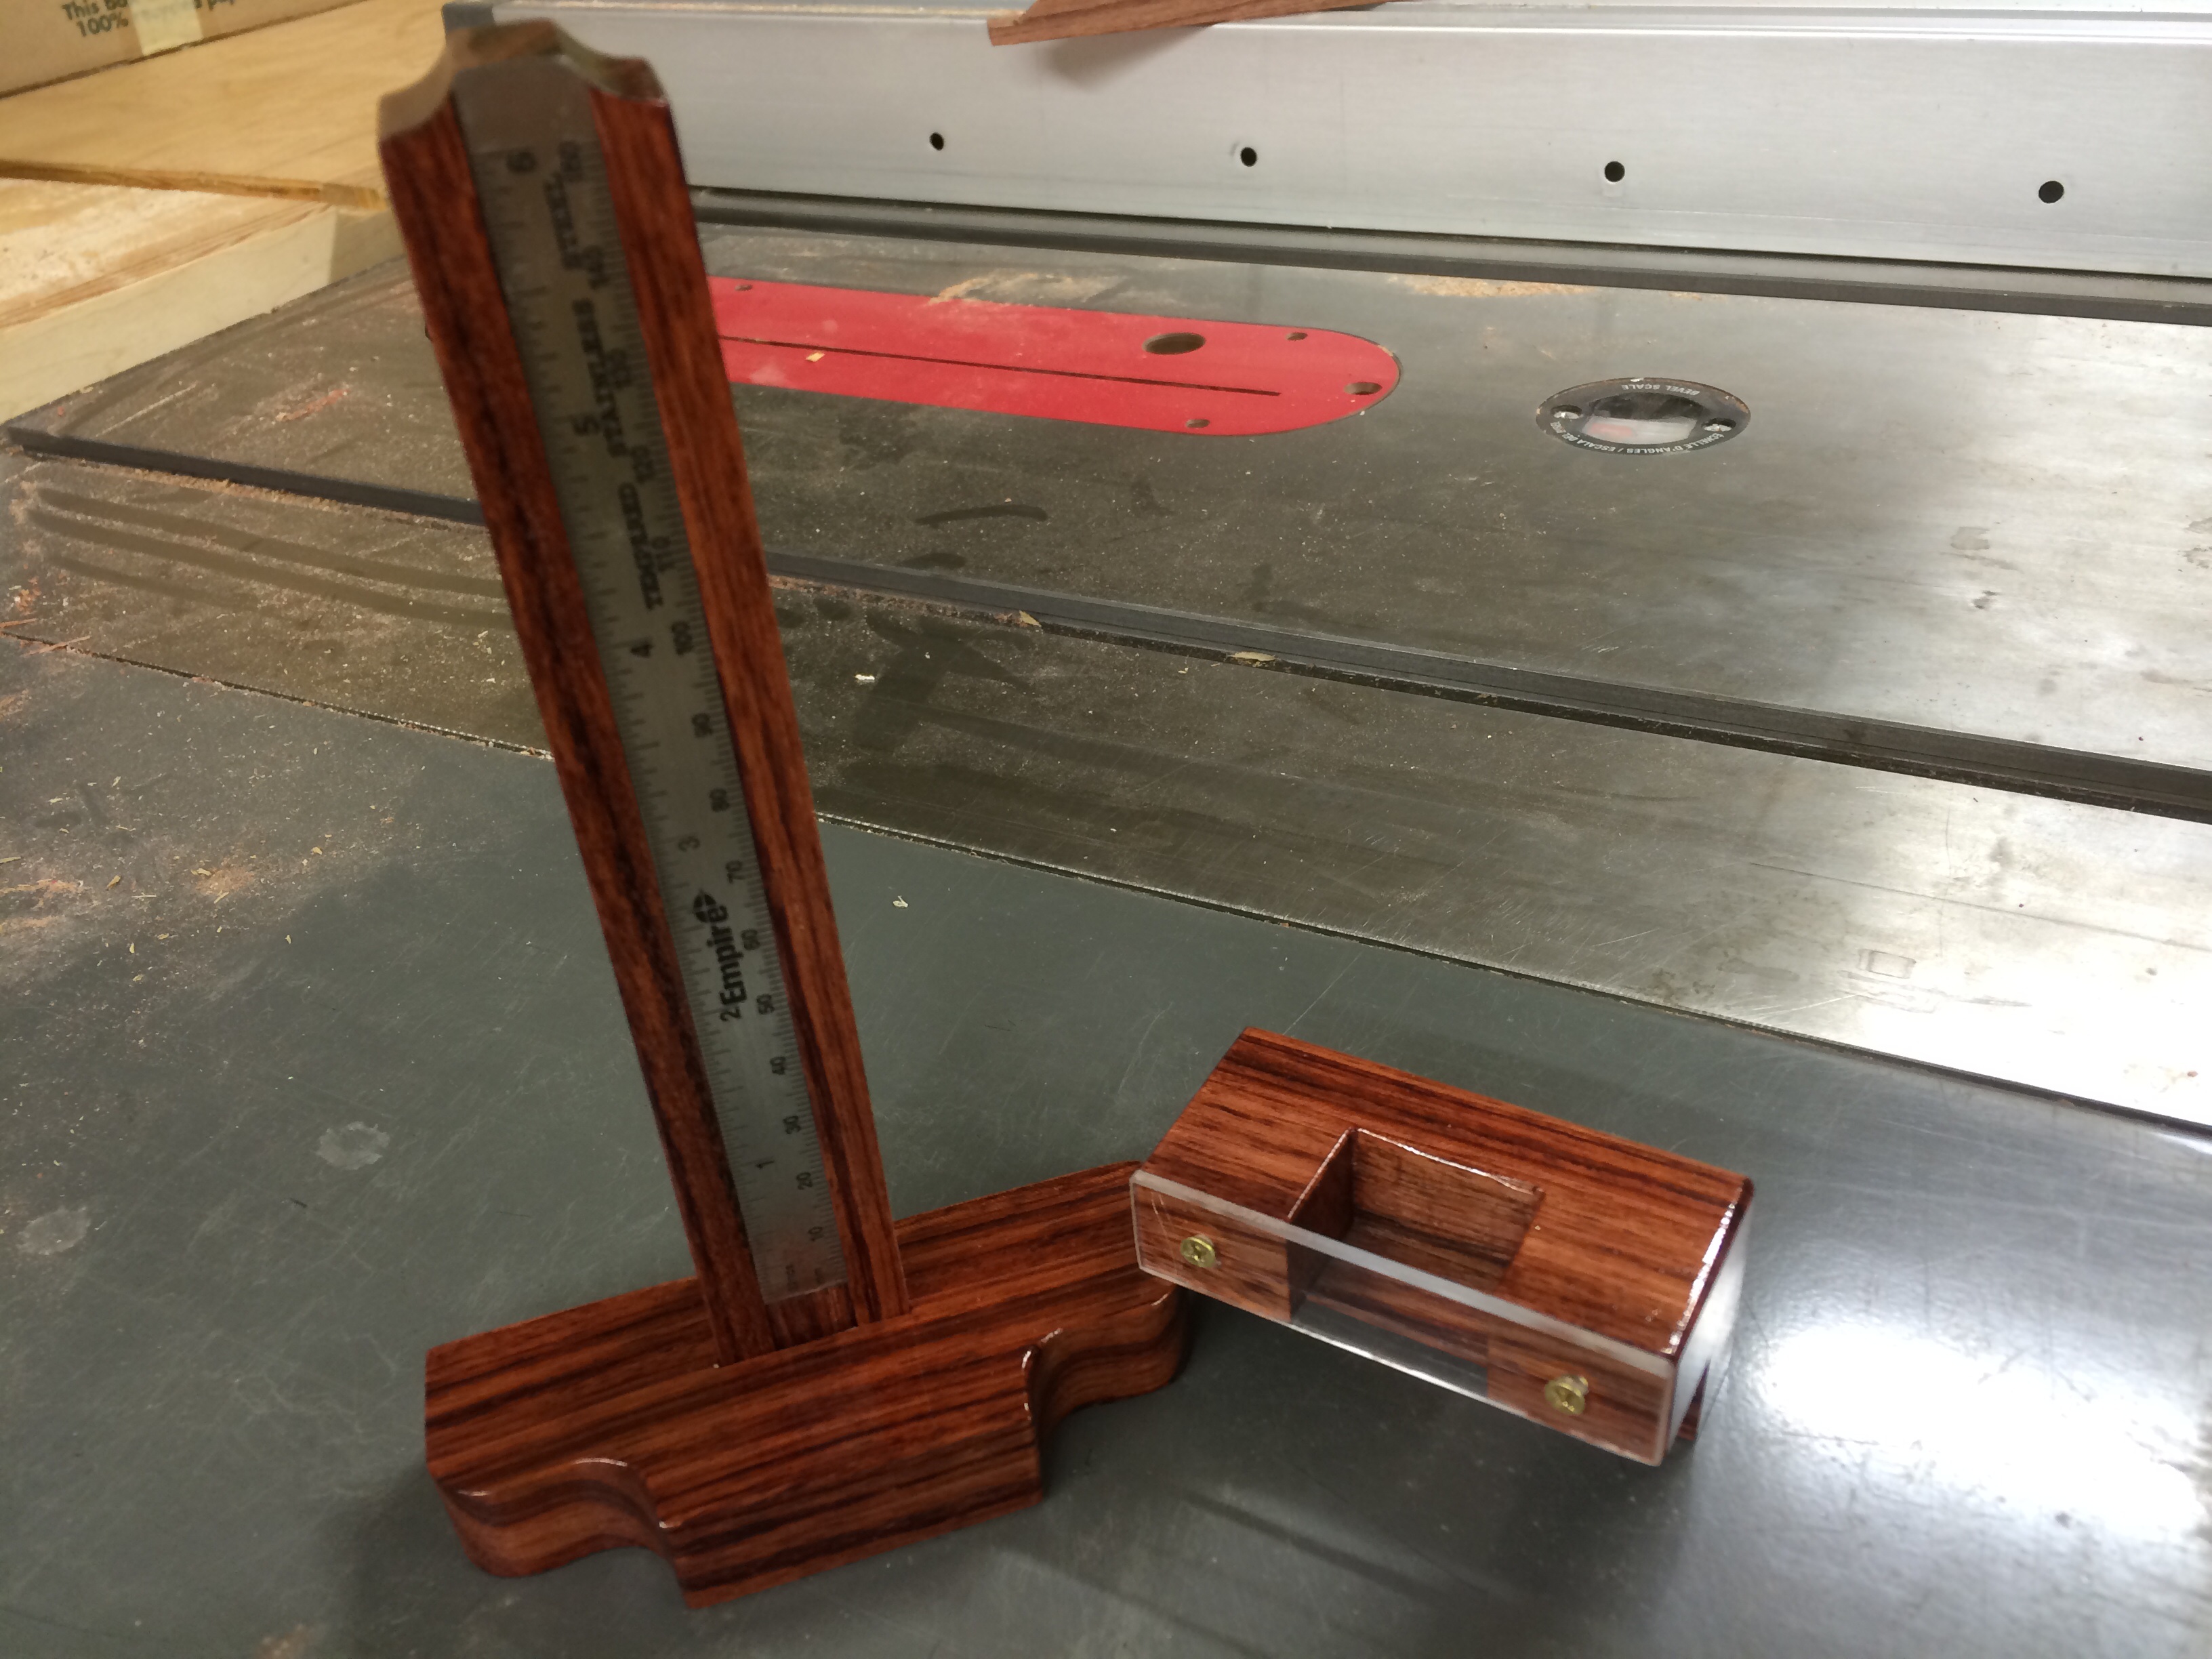
I saw a video on youtube by Jack Houweling on making a height gauge and I thought that was a perfect way to use a small piece of bubinga I had left from the Tatami Bed project. The project required the wood, a small 6″ metal rule (I chose a thin Empire rule from Home Disappointment), two small brass screws (or stainless depending on your taste for the project), and a piece of thin acrylic sheeting.
I won’t bother going over the entire process because Jack did a great job doing that. I will just show you my work as I made this gauge.

The surface of the rule is flush to the surface of the upright. I used the rule to set the saw blade height based on the thickness of the rule. Needless to say the blade was just barely above the surface.

When marking the base for the upright be sure that the upright is flush with the back.

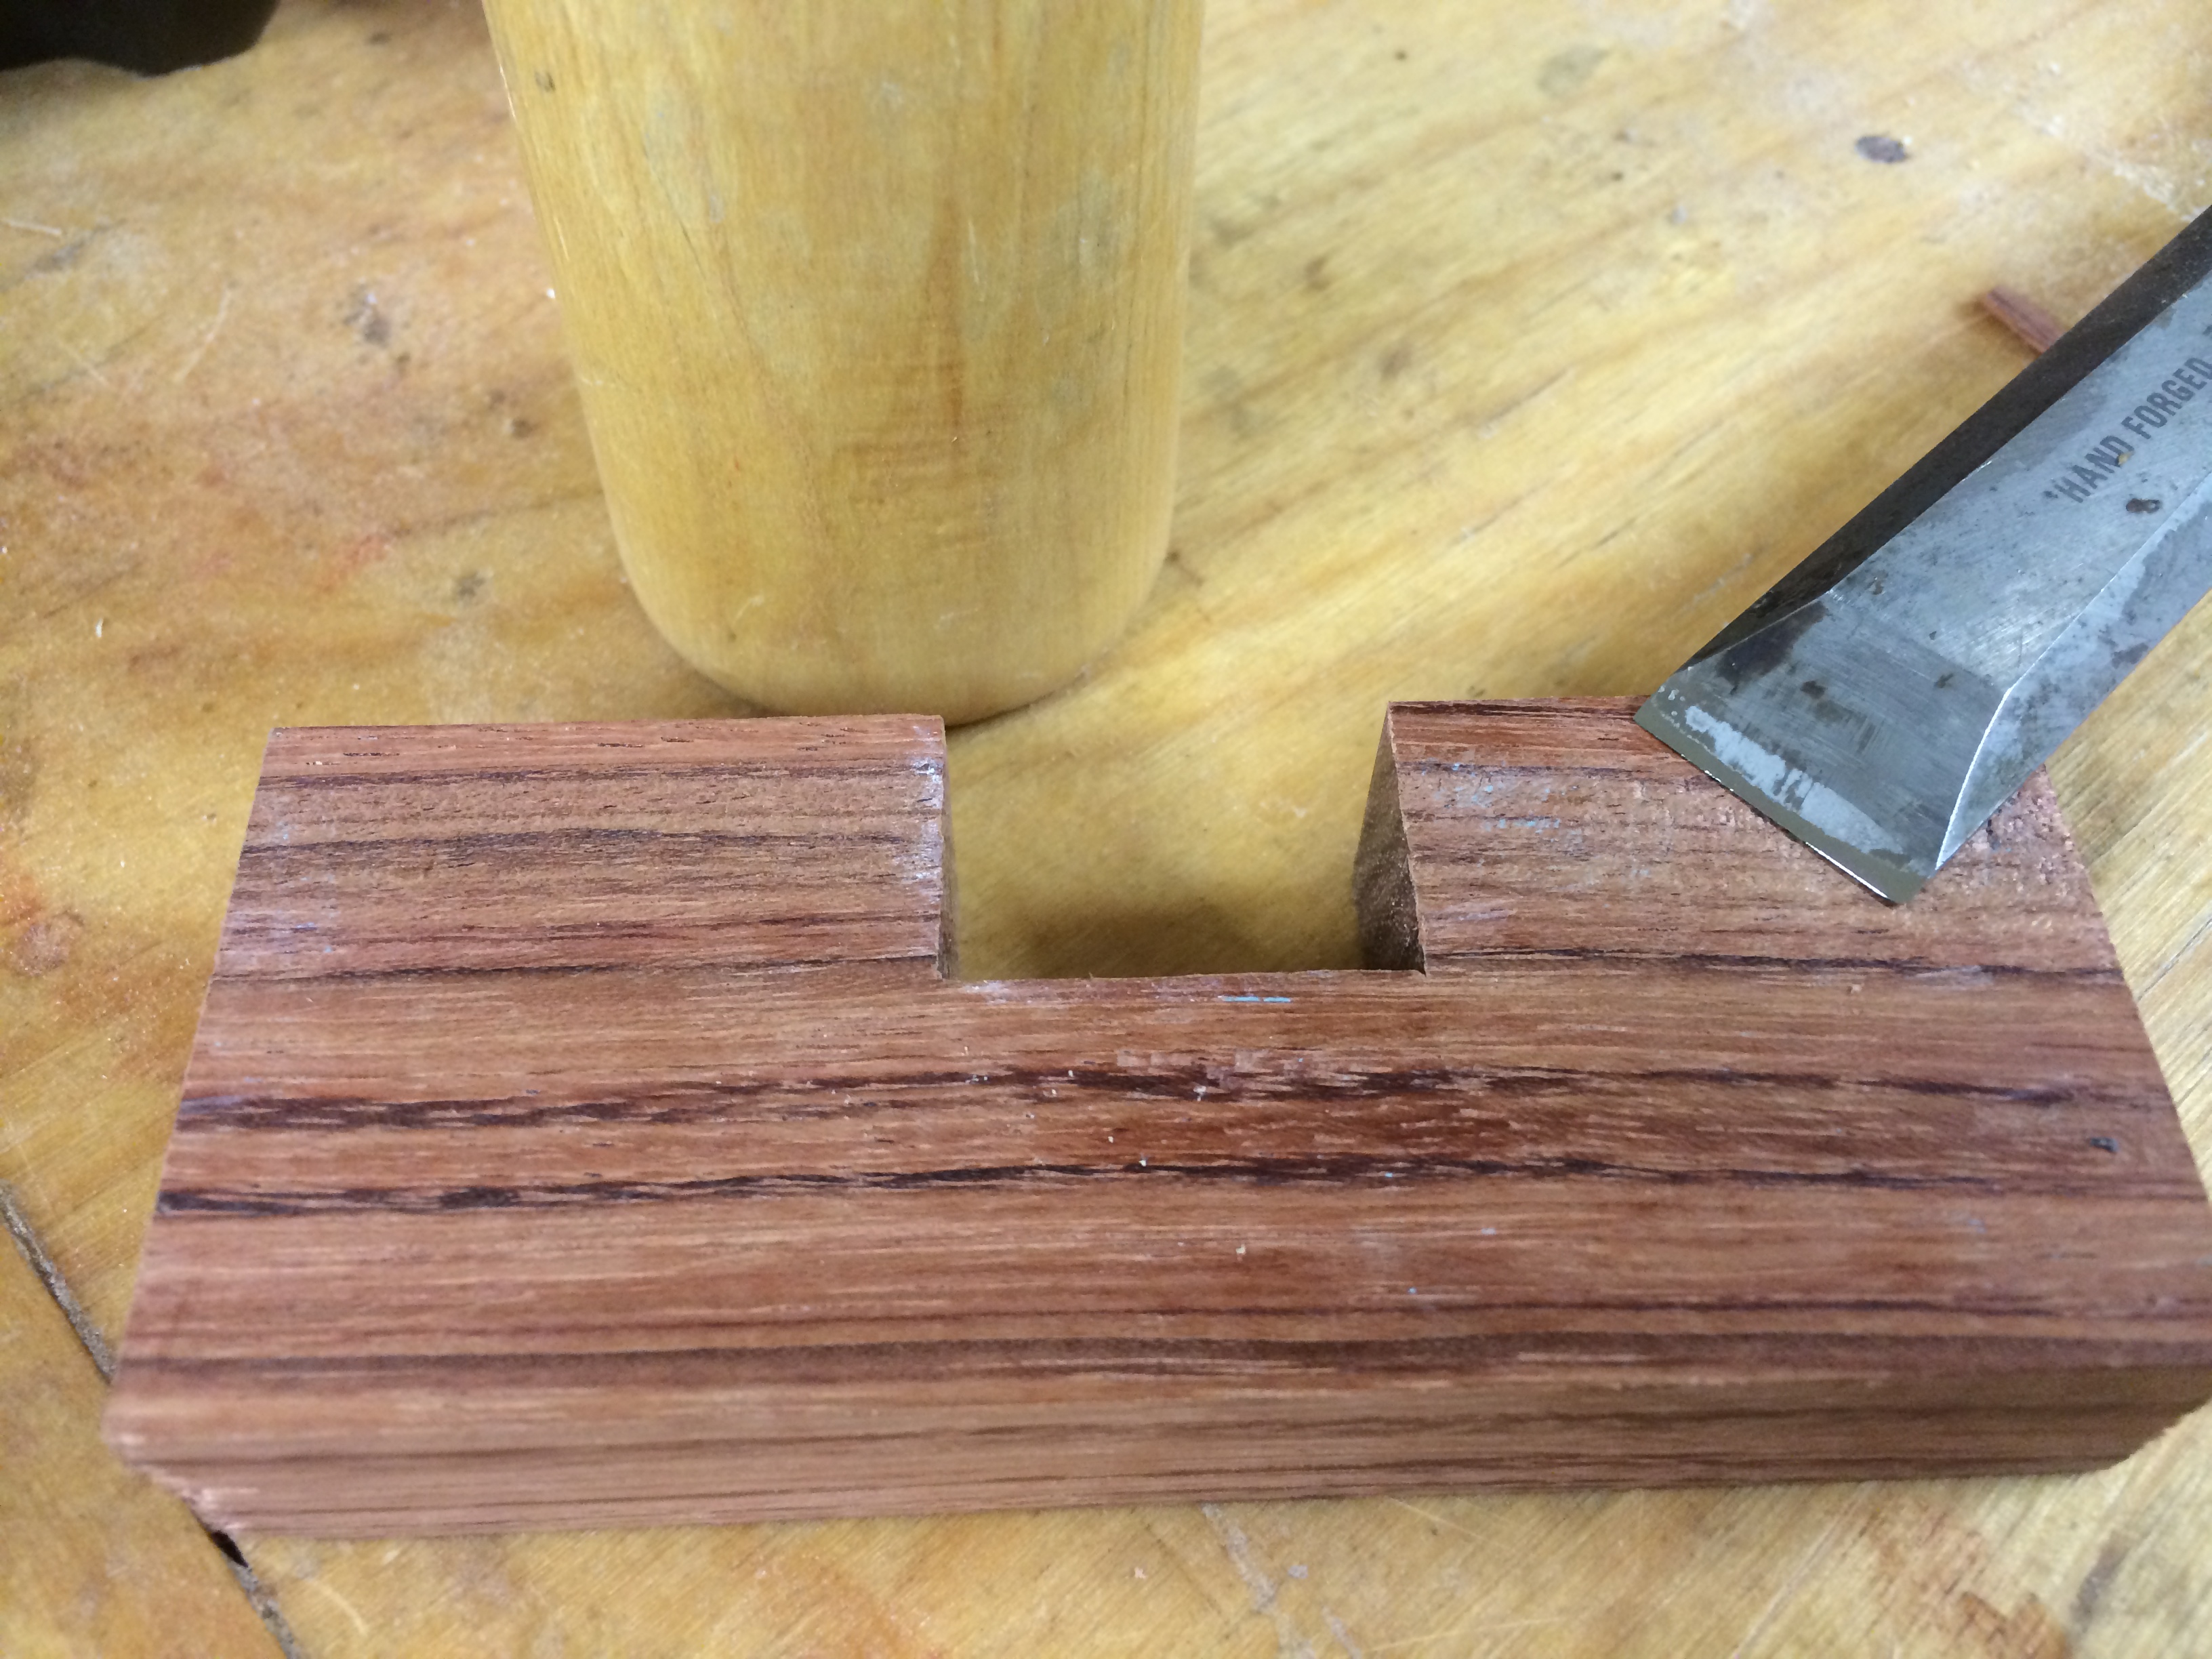
I set the band saw fence to just remove the inside of the marked lines and cut just to the base line. Then I made a few kerf cuts to all the 1/2″ blade to move more freely as I removed the waste.

I moved the base piece perpendicularly across the band saw blade to come close to the base line and then chiseled the rest of the waste with a sharp chisel and a mallet.
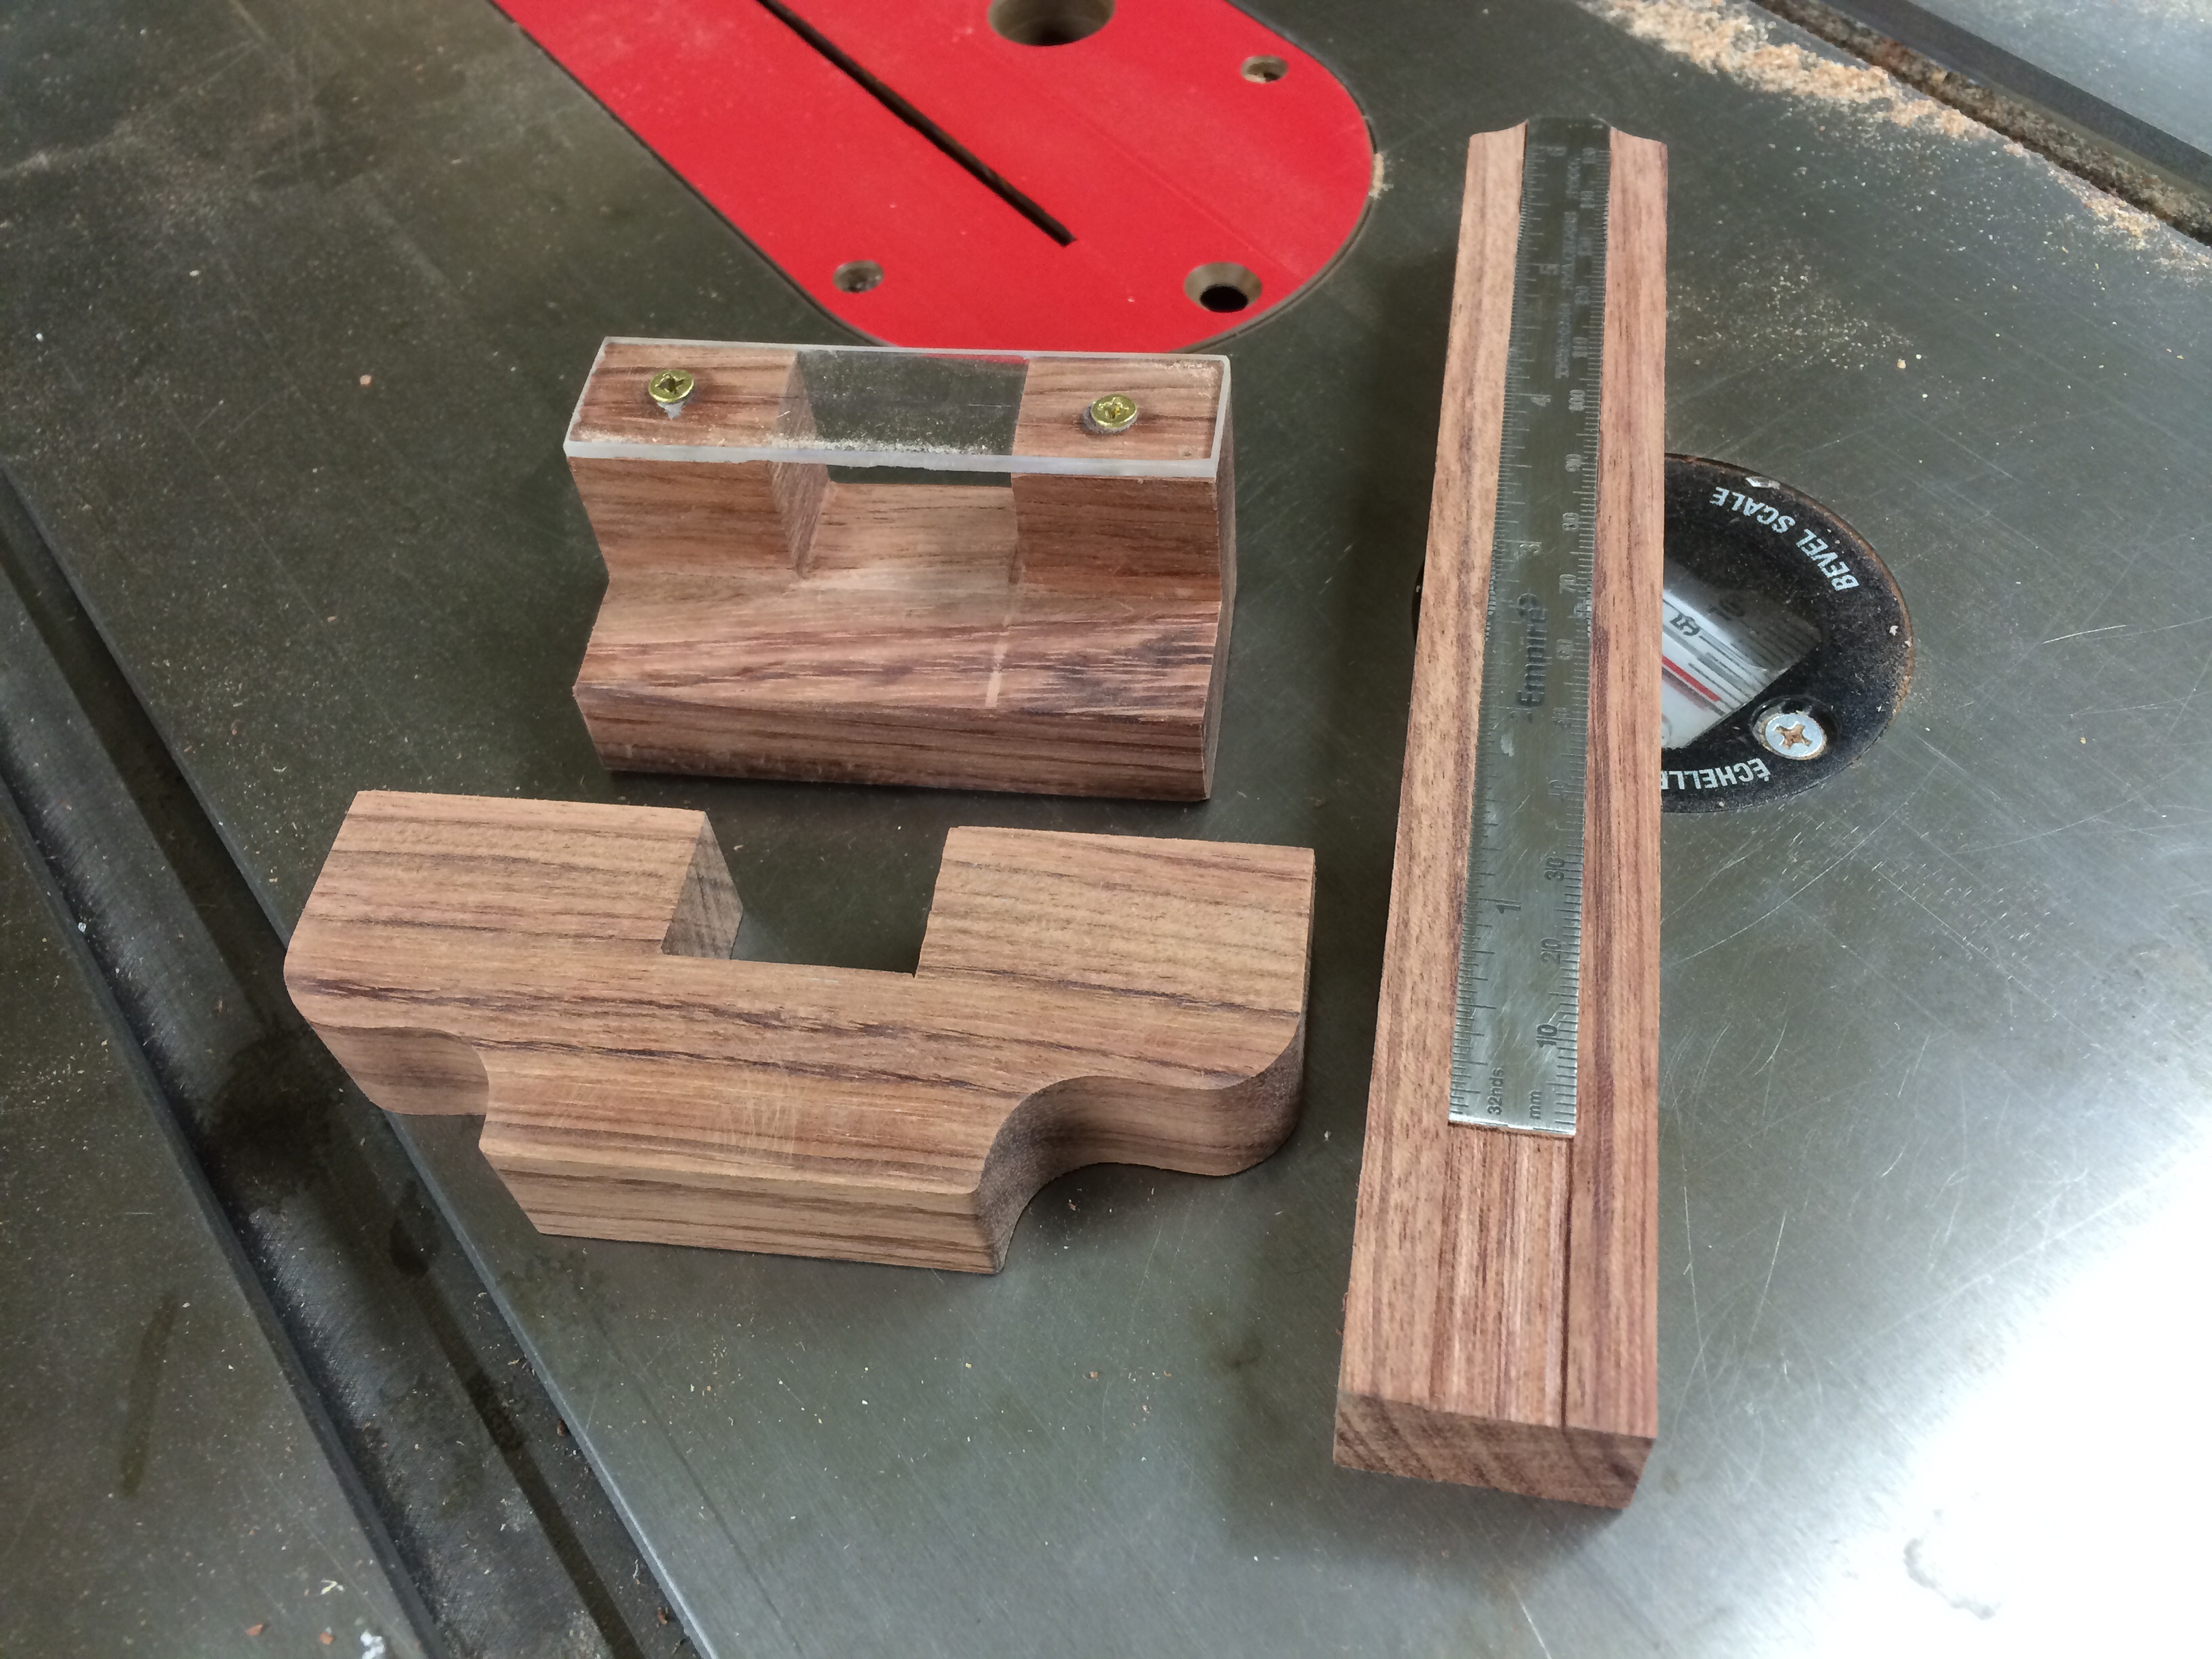
Now the raising block needed to be made. I did not have any bubinga thick enough so I had to glue two pieces together. This worked out nicely for obvious reasons. Both pieces being glued were the same dimension as the base piece so I did not have to mess with making a rabbet. I just needed to mark for the notch for the post to loosely fit into. The loose fit allows the riser to function properly. Too tight a fit and the riser will bind and move the gauge out of position. The notch was made the same way as the base notch.

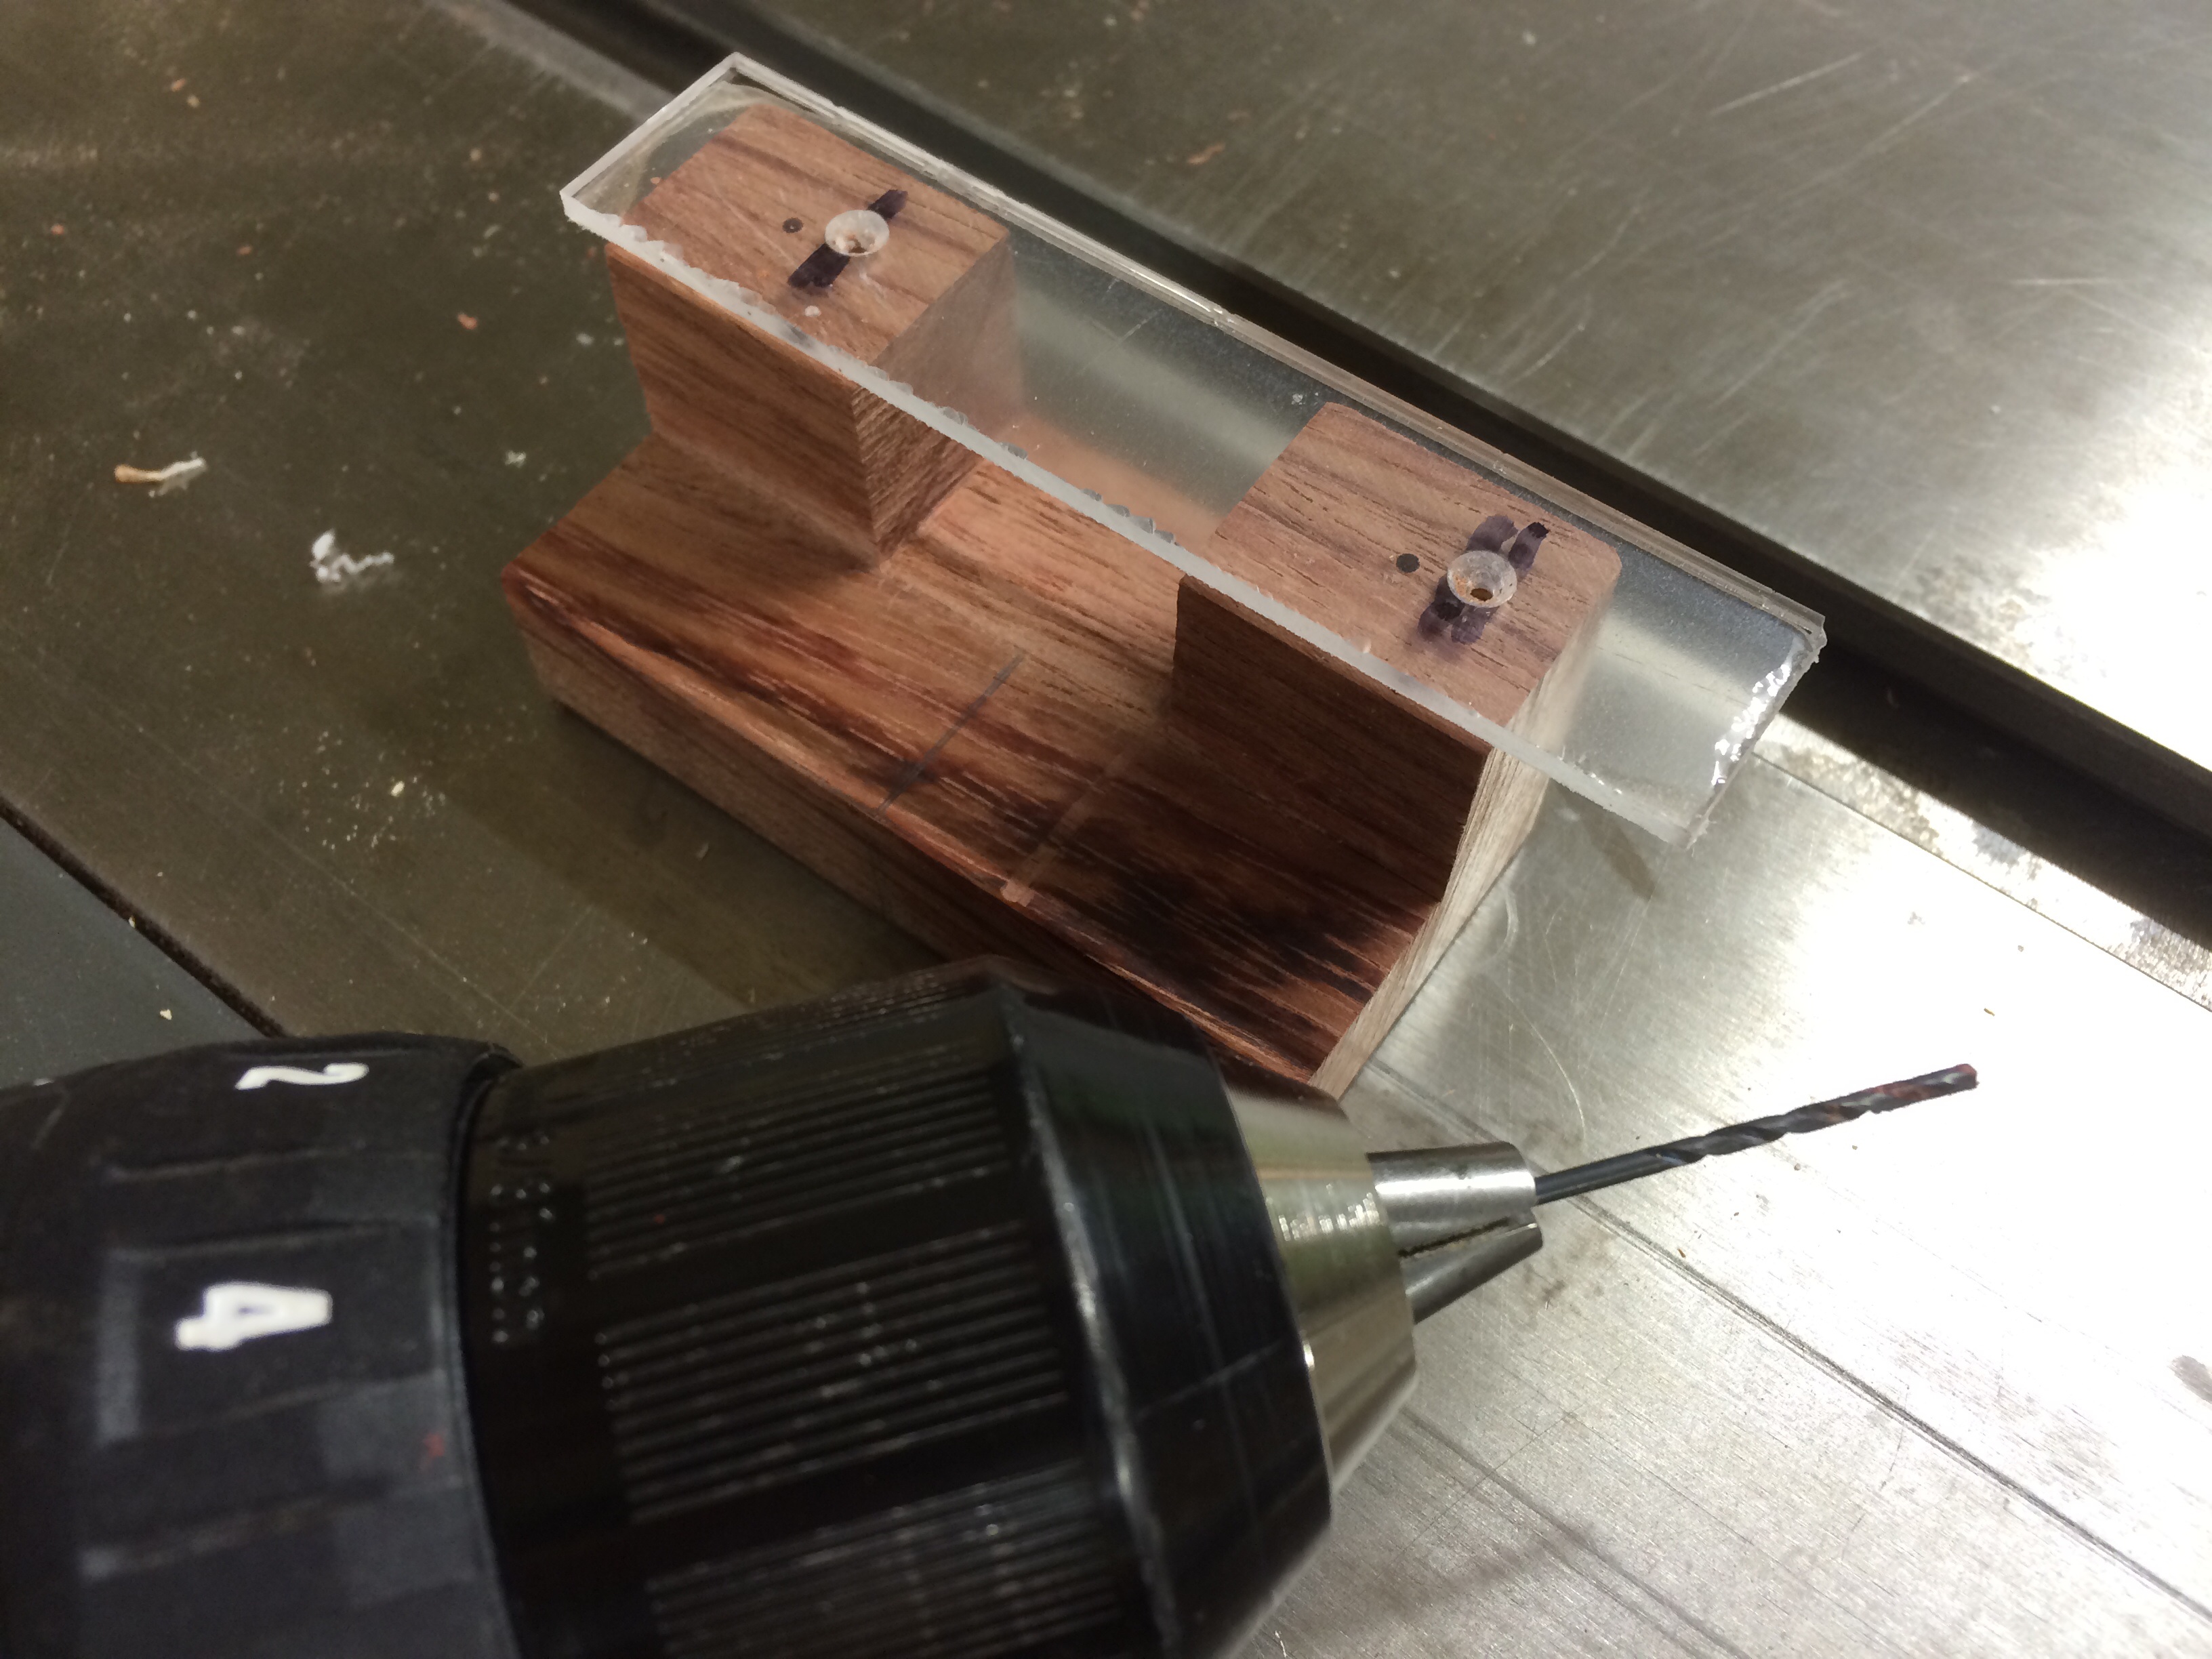
Now cut the acrylic to rough size and find the center of each side to pre drill holes for the brass screws.

Remember to countersink the holes in the acrylic and to use a steel starter screw as to not break or strip the brass screws. Remember, tighten until snug not tighten until spins freely.
For the acrylic piece it is important to get a straight edge at the top of the riser block so you can mark a line with a cutting gauge or marking gauge. Scratch the line and darken it with a Sharpie pen and wipe the excess away. The result is a hair line mark to set to the rule.
When calibrating the height of the rule, I pressed the base and the post together making sure they bottom was on a flat surface and the post was square to the base. Then I placed the rule in the groove and used my 4″ double square to set the table saw blade height to 1″. I placed the gauge riser block on the blade and moved the base to reference off the table saw surface, not the throat plate. I moved the rule to the 1″ mark on the hair line of the riser block, clamped the rule in place and added a few drops of medium super glue to fix it into position. I added a few more spring clamps up the length and set it aside to dry.
Using a compass I made a few arcs to draw a detail that was pleasing to me on the base. I removed the waste at the band saw and refined the curves at the oscillating spindle sander with a 1/2″ spindle with 150″ paper. The rest of the parts were sanded to 150 grit since I was finishing with rattle can lacquer. I glued the post to the base, removed the acrylic plate from the riser, and sprayed two coats of lacquer with a 320 sanding between coats.
I was pleased with the results of the lacquer on the bubinga. Now I will have to test it out and perhaps perform some calibrations if it is not as accurate as I would like.
If you have scraps that you do not know what to do with, I suggest making one of these. I used one board about 8″ long, 6″ wide, and 3/4″ thick and still had wood to spare. Now I have to figure out what to do with the piece that is the size of a deck of cards.

