About this time last year I was in the middle of building a new router table. The router table I was using up to that point was less than accurate for anything other than profiling edges. The insert plate opening was too sloppy for any accurate mortise or groove routing operations so a new table was becoming more and more essential to my progression as a woodworker.
After salvaging some old 2x4s from my garage, I found they were old growth Douglas Fir and they were 16′ long so I had a fair amount of this higher quality construction grade material. Not to mention they were very dry and very straight.
I began by chopping the 2x4s to rough length and rough milling at the jointer and planer. Once the parts were cut to length and milled I began laying out the frame parts and designating each piece. Then the joinery was cut. I chose to make this router table without using a router table so all the joinery was made at the table saw and with a biscuit joiner.

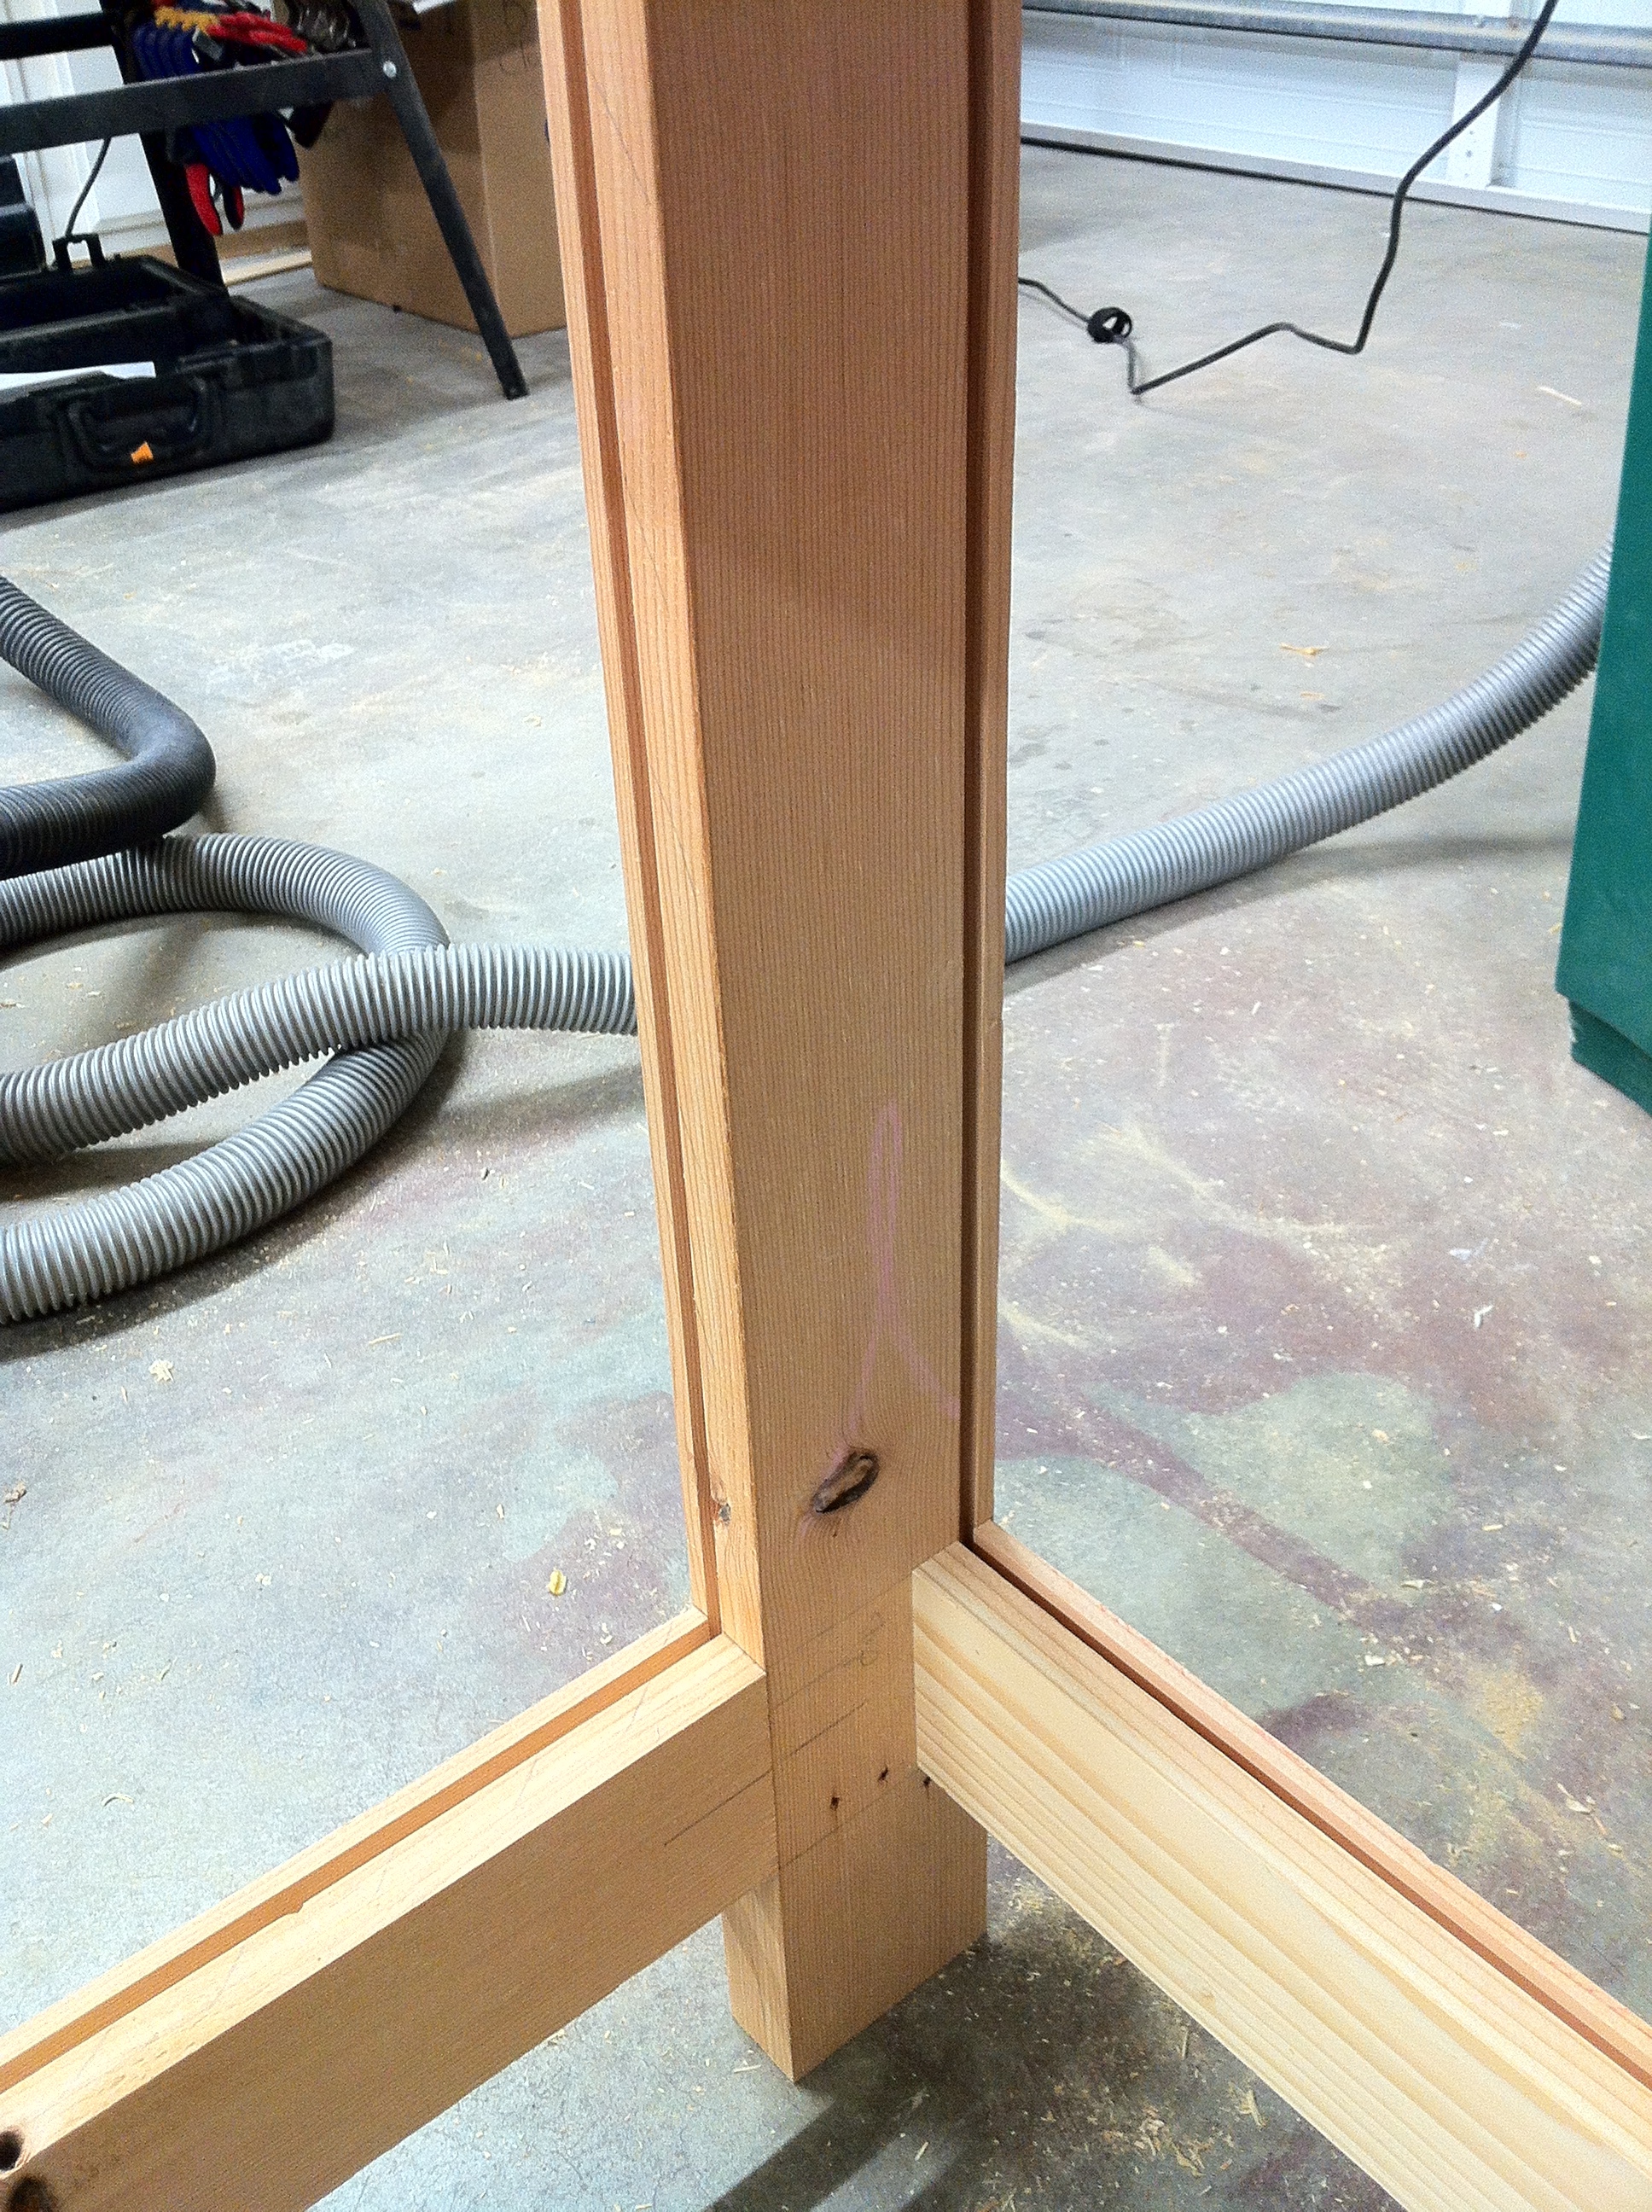
To cut the grooves for the side panels I installed the dado stack in the table saw, marked the start and stop points for the piece on the fence and began the cut. To start this cut the piece needs to be firmly against the fence and the slowly dropped into the spinning blade. This is a plunge cut of sorts. When the work piece is fully on the table it can then be pushed to the stopping point marked on the fence and the saw is stopped. Now the leg pieces have a stopped groove for the panels. The top and bottom rails are done with the same blade at the same setting only they are through grooves.
To join the rails with the legs I set the biscuit joiner to cut about 1/4″ from the surface and I made the slots referencing from each face of the board. This results in two evenly spaced biscuit joints.
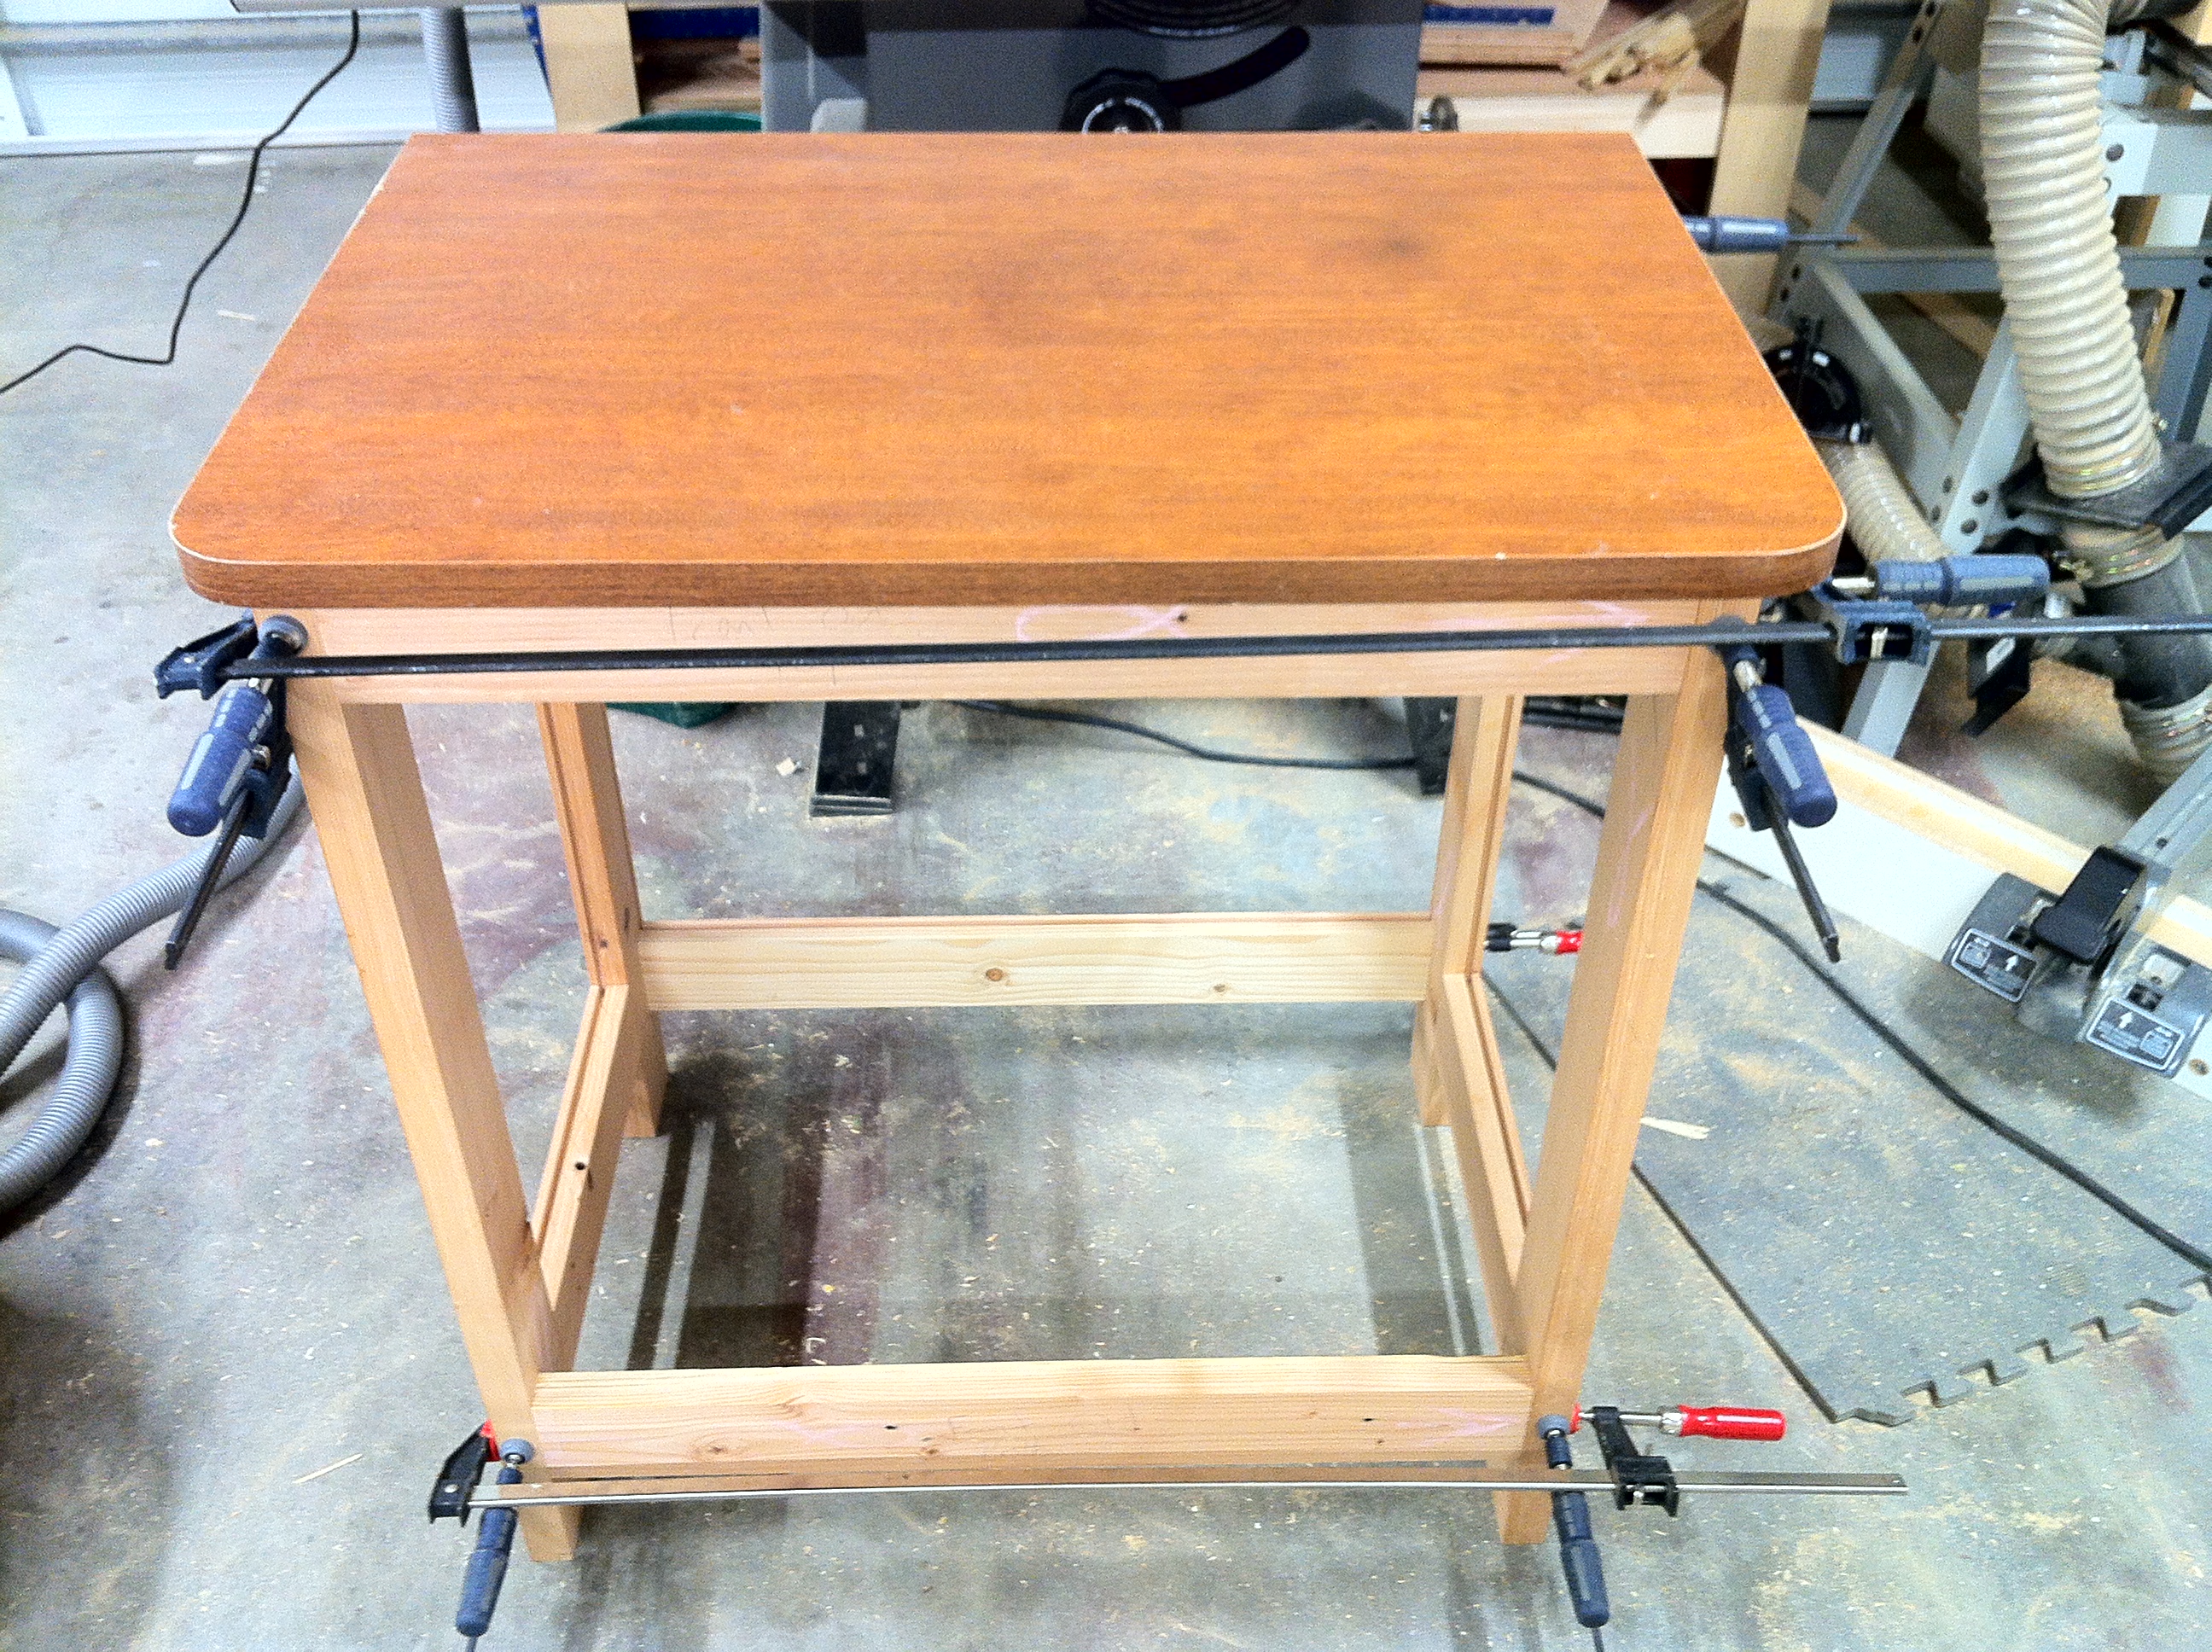
Now I test fit the pieces and set the top on. The top is from an office file cabinet. It is just over 1″ thick and made from MDF so it is heavy and covered with laminate so it is smooth.
 Now it was time to install the panels. I cut the panels oversize and rounded the corners because the stopped grooves take the radius of the table saw blade. Then the sides are assembled, followed by the bottom, and lastly the back. I added a bit of detail to the front top and bottom rails using a template I made from MDF, more on that at another time.

Now the front panel was added.

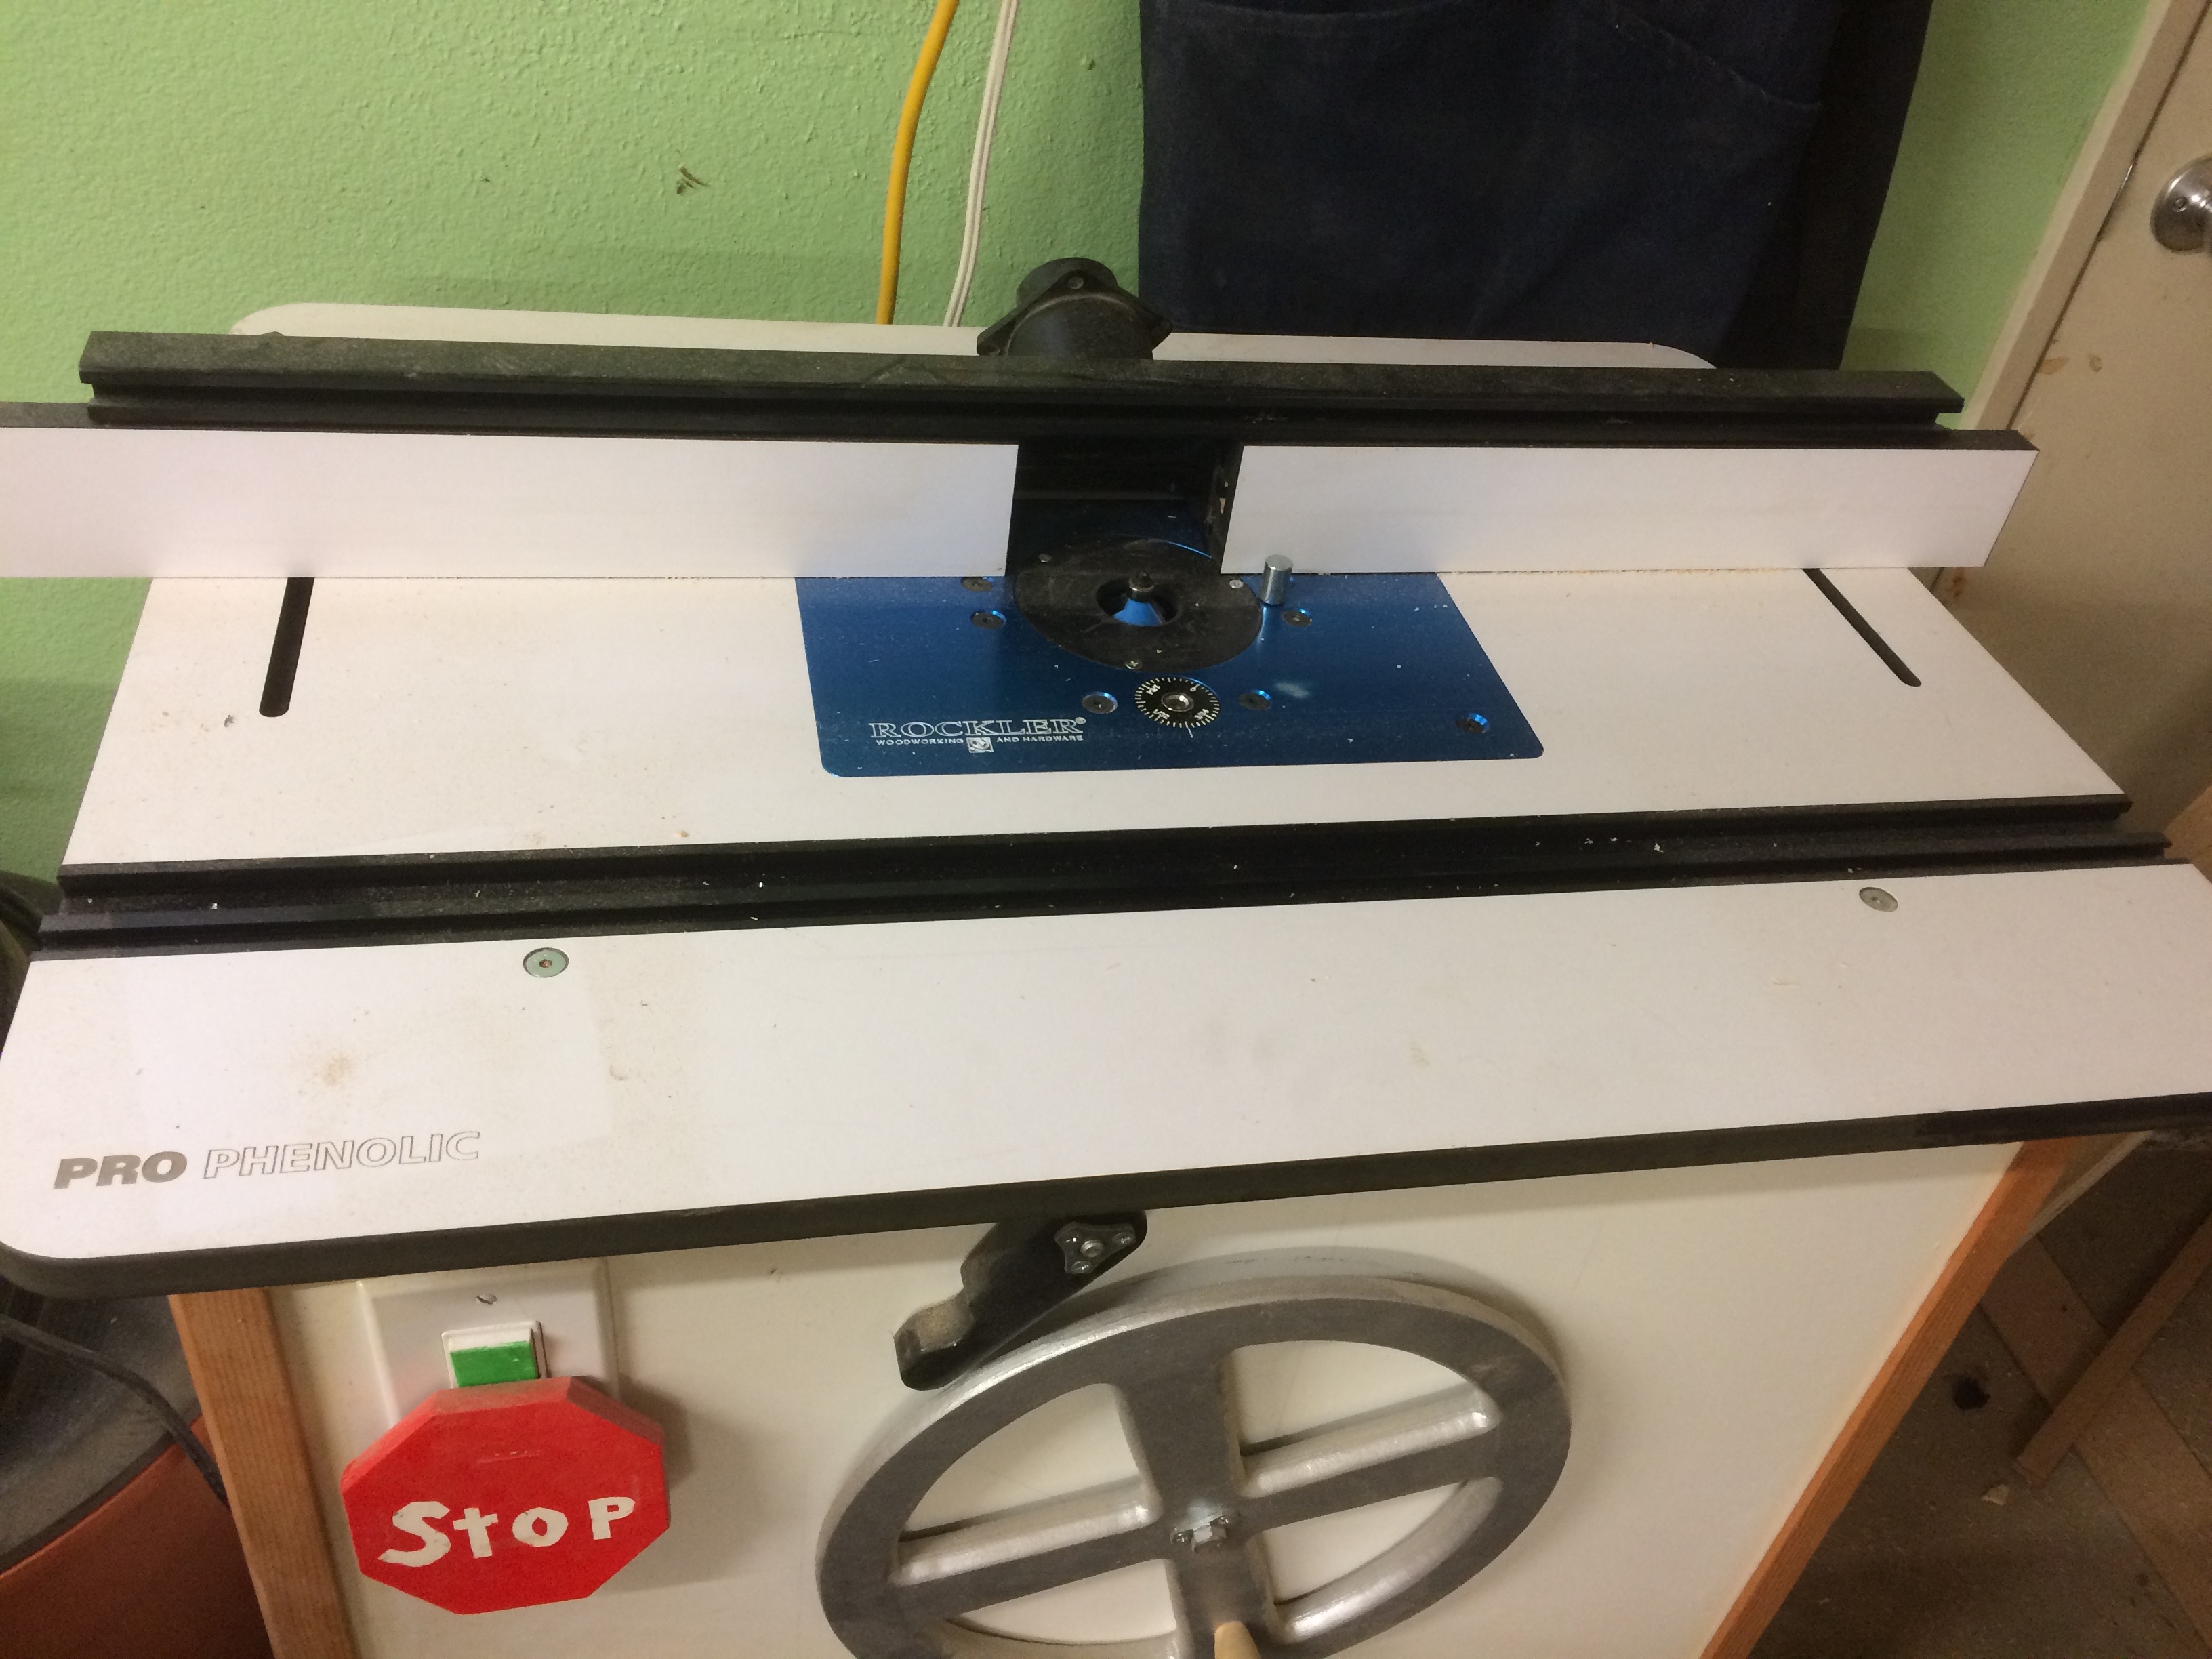
Now here is where things began to take a turn. I thought I would use John Heisz’s router table lift idea using shop made wheels. Only I was going to “improve” the design by pairing up wood gears on the back side of the front panel to raise and lower the router carriage faster than his version. This turned out to be a bad idea. The gears didn’t work well and the backlash from the bolts kept jamming and loosening the wheel from the front, preventing me to either raise or lower the router carriage. In the end I scrapped the idea and bought a router lift and table top from Rockler when it went on sale.

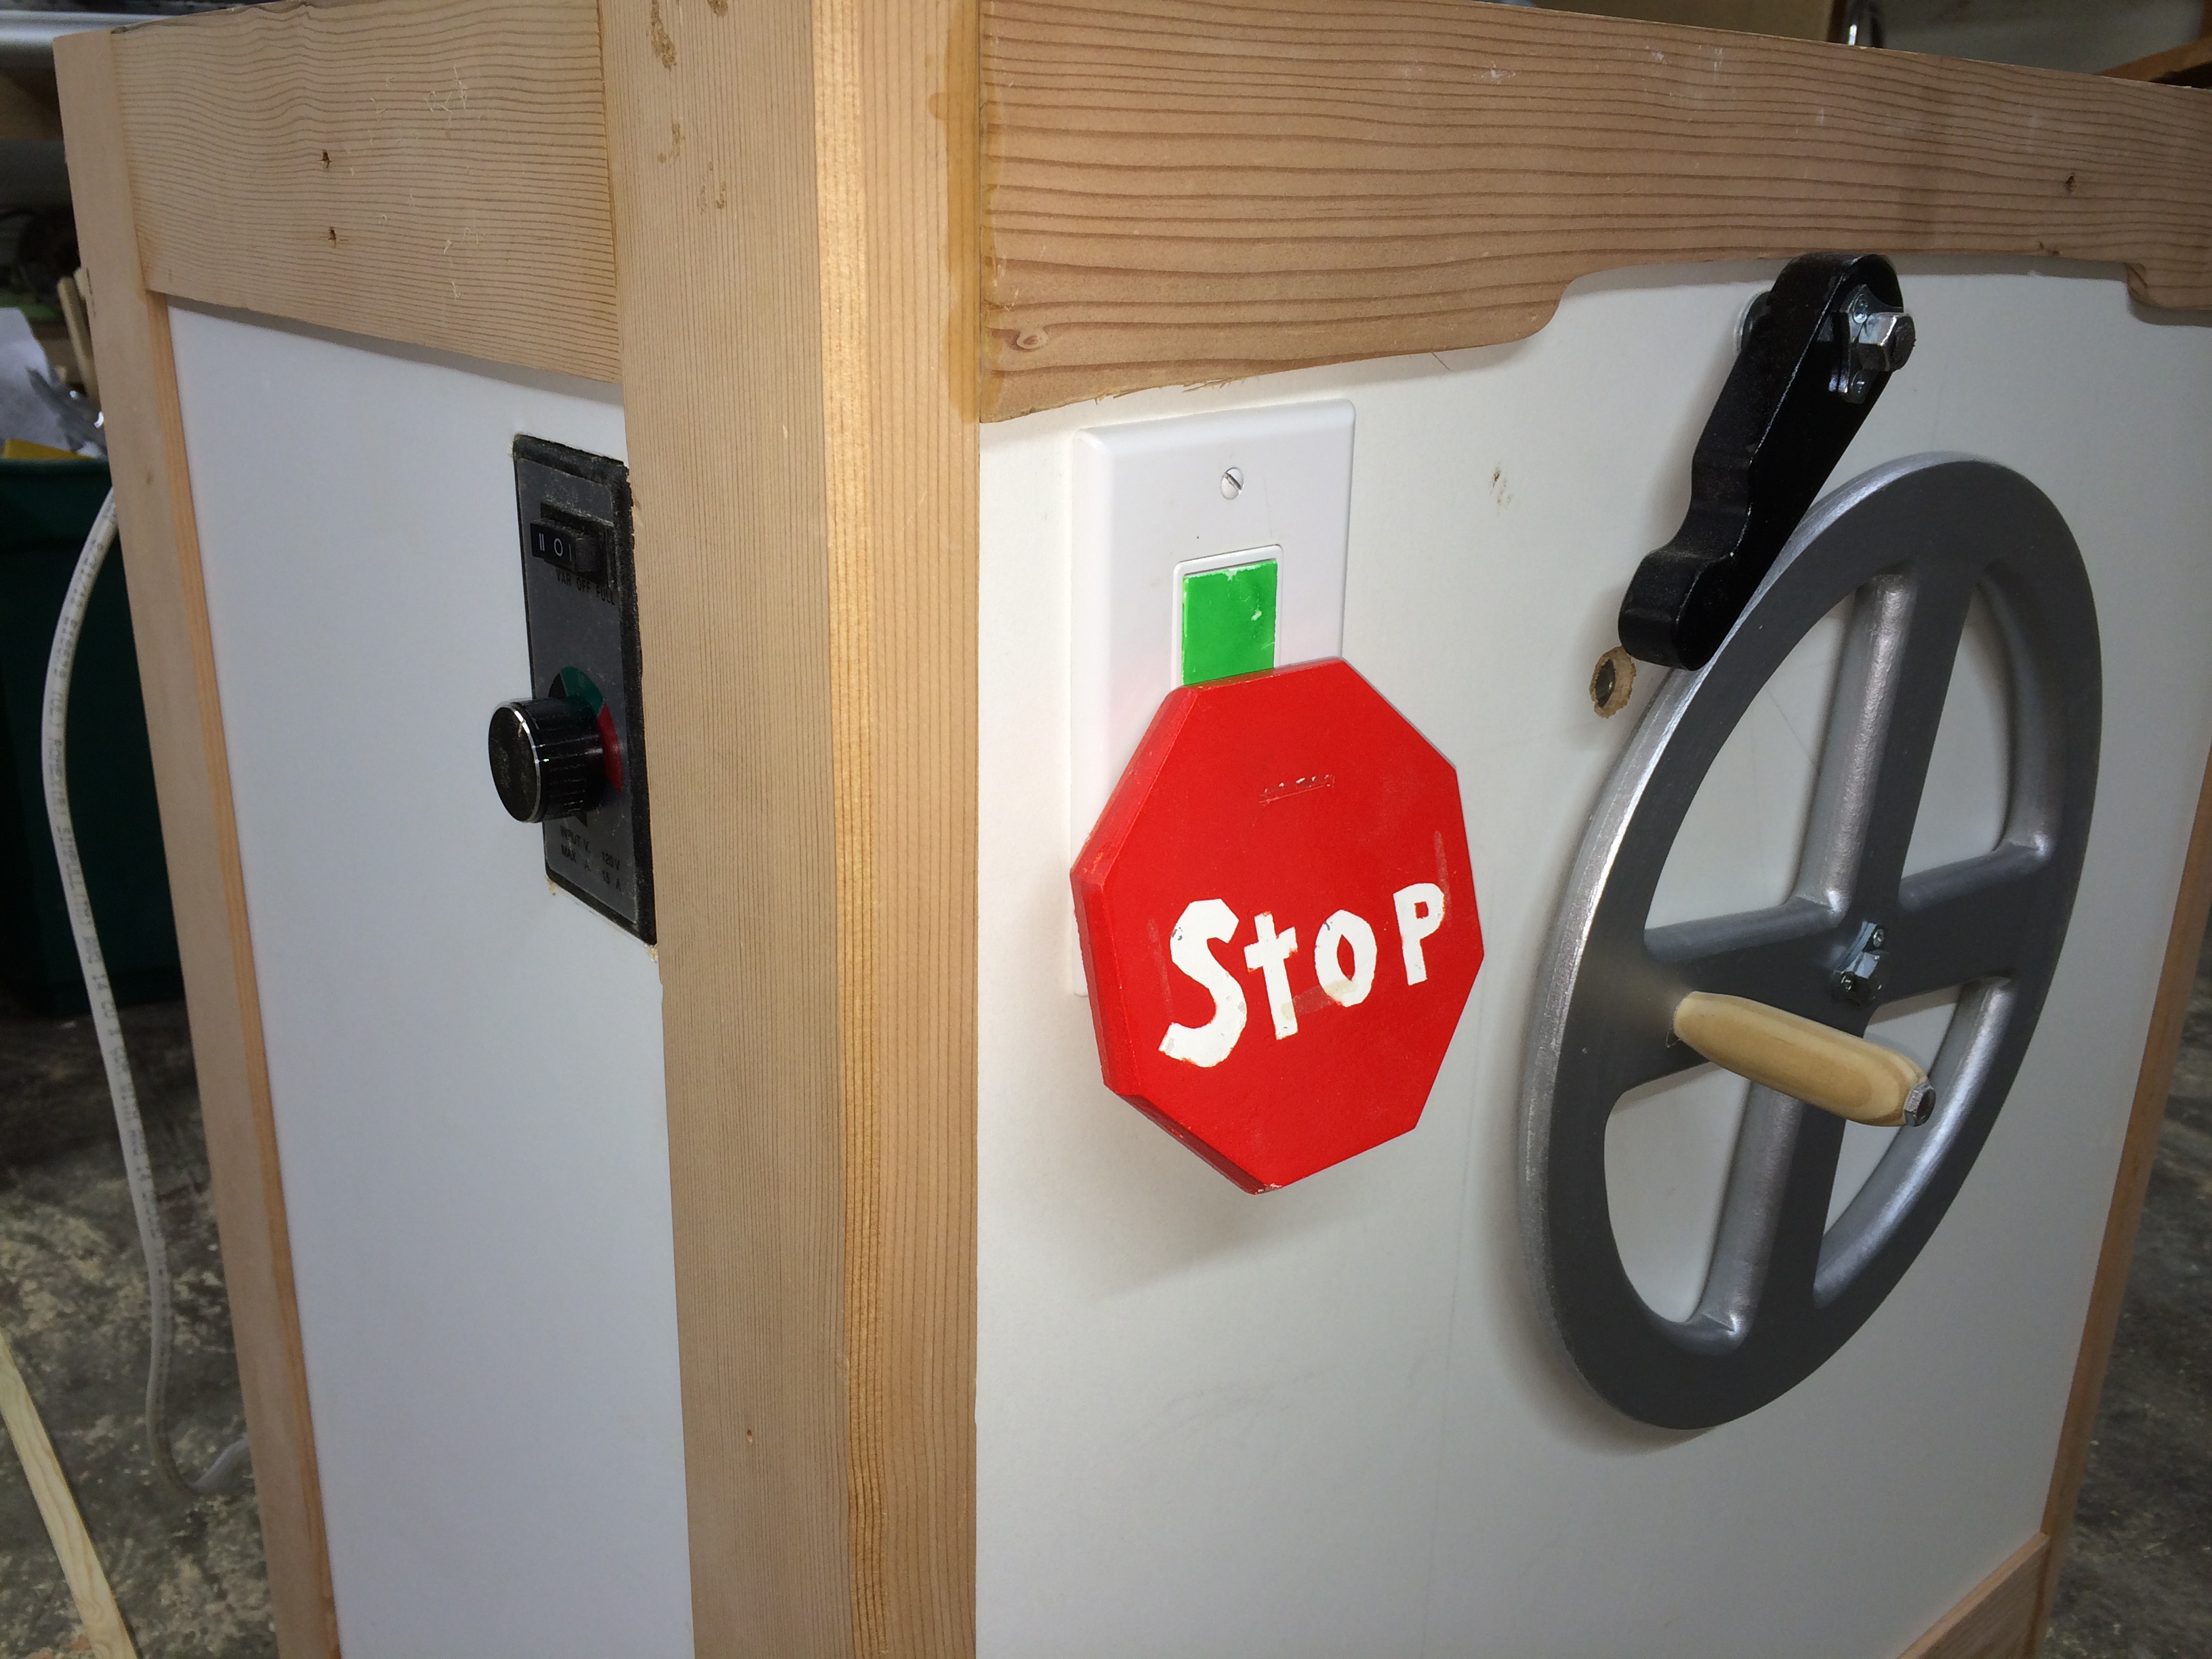
I added a speed controller to the left side of the table and a on/off switch with a paddle stop to the left side. I found an issue with right side mounted switches. For most router operations the work is fed to the left and you are forced to hold the piece in place as you feed it through the spinning bit, which always put me further from the switch than I liked. With the switch on my left this put me right at the position to power off the router with my leg so my hands never leave the work. Much safer, for me at least.
With the electric all ready and the router table and lift installed it was time to start routing operations.
The table works infinitely better than my previous set up but the lift isn’t without it’s flaws. I have noticed that the lift actually drops slowly during operation. This is remedied by tightening a set screw on the lift but isn’t very convenient. Perhaps a new version of a better router lift is in my future. But for now I’ll make due.
