A shop project that I had been working on for a few months now is finally coming to a close…at least soon. When I started woodworking around Christmas of 2010, one of the first projects I made was a router table. I did some searching on the net and found a table that I liked. The person that designed this table had documented the whole build so I felt that it was easy enough to follow. He used construction 2x4s for the legs and the top was baltic birch affixed to a plywood torsion box with space for the router in the center.
I found a good size scrap piece of laminate counter top at the school I was teaching at and decided it would be a great candidate for the top. After building the legs and torsion box I had to fix the top to the box and cut the plate recess in the top. This is where I went completely wrong. I measured the top for the center and placed the plate on my marks. I traced the router plate and set up stops for the router to cut. After setting up the straight bit to the depth of the router plate I began plowing through the laminate top, tracing the recess for the plate. Then I jigsawed the rest out leaving the rabbet for the plate to rest on. Where did I go wrong, you ask? I failed to make sure the tolerance for the plate in the recess was not sloppy. When I put the plate in the recess, it had about 3/32″ movement side to side and front to back. Thats a lot of slop! I didn’t mind too much since all I was doing was profiling edges of boards, which it did just fine. The problem arose when I had to route a 1/4″ stopped groove in a rail for a cabinet door. The groove was about 1/16″ too wide! That’s when I said I was an idiot and began avoiding the router table altogether. If you look carefully at the photo below, you can see the particle board showing on the back side of the plate.
Now enters the new router table cabinet I decided to make. Here is what I wanted my new router table to feature; a router lift, better dust collection, a fence that was square to the table, a tightly fitting plate, and a switch on the left side of the cabinet. I began my search. First I came to Steve Ramsey’s video series on his router cabinet. I really liked his shop made lift. Then I saw Matthias Wandel’s geared lift and liked it too. Then I saw John Heisz’s router cabinet with his wheel lift and really liked it. So I began designing my cabinet based on John’s design. After sketching my design, I began with building the lift.

For the sake of brevity I’ll just show photos with captions.


Now for the cabinet. I had some nice, very dry, and straight 2x4s left over from some shelves in my garage when my wife and I bought our house. I used these for my cabinet construction. I went to the local home center and bought a sheet of 1/4″ vinyl covered MDF to use for the sides, bottom, and back of the cabinet. For the front I used some left over 3/4″ white Melamine covered particle board.
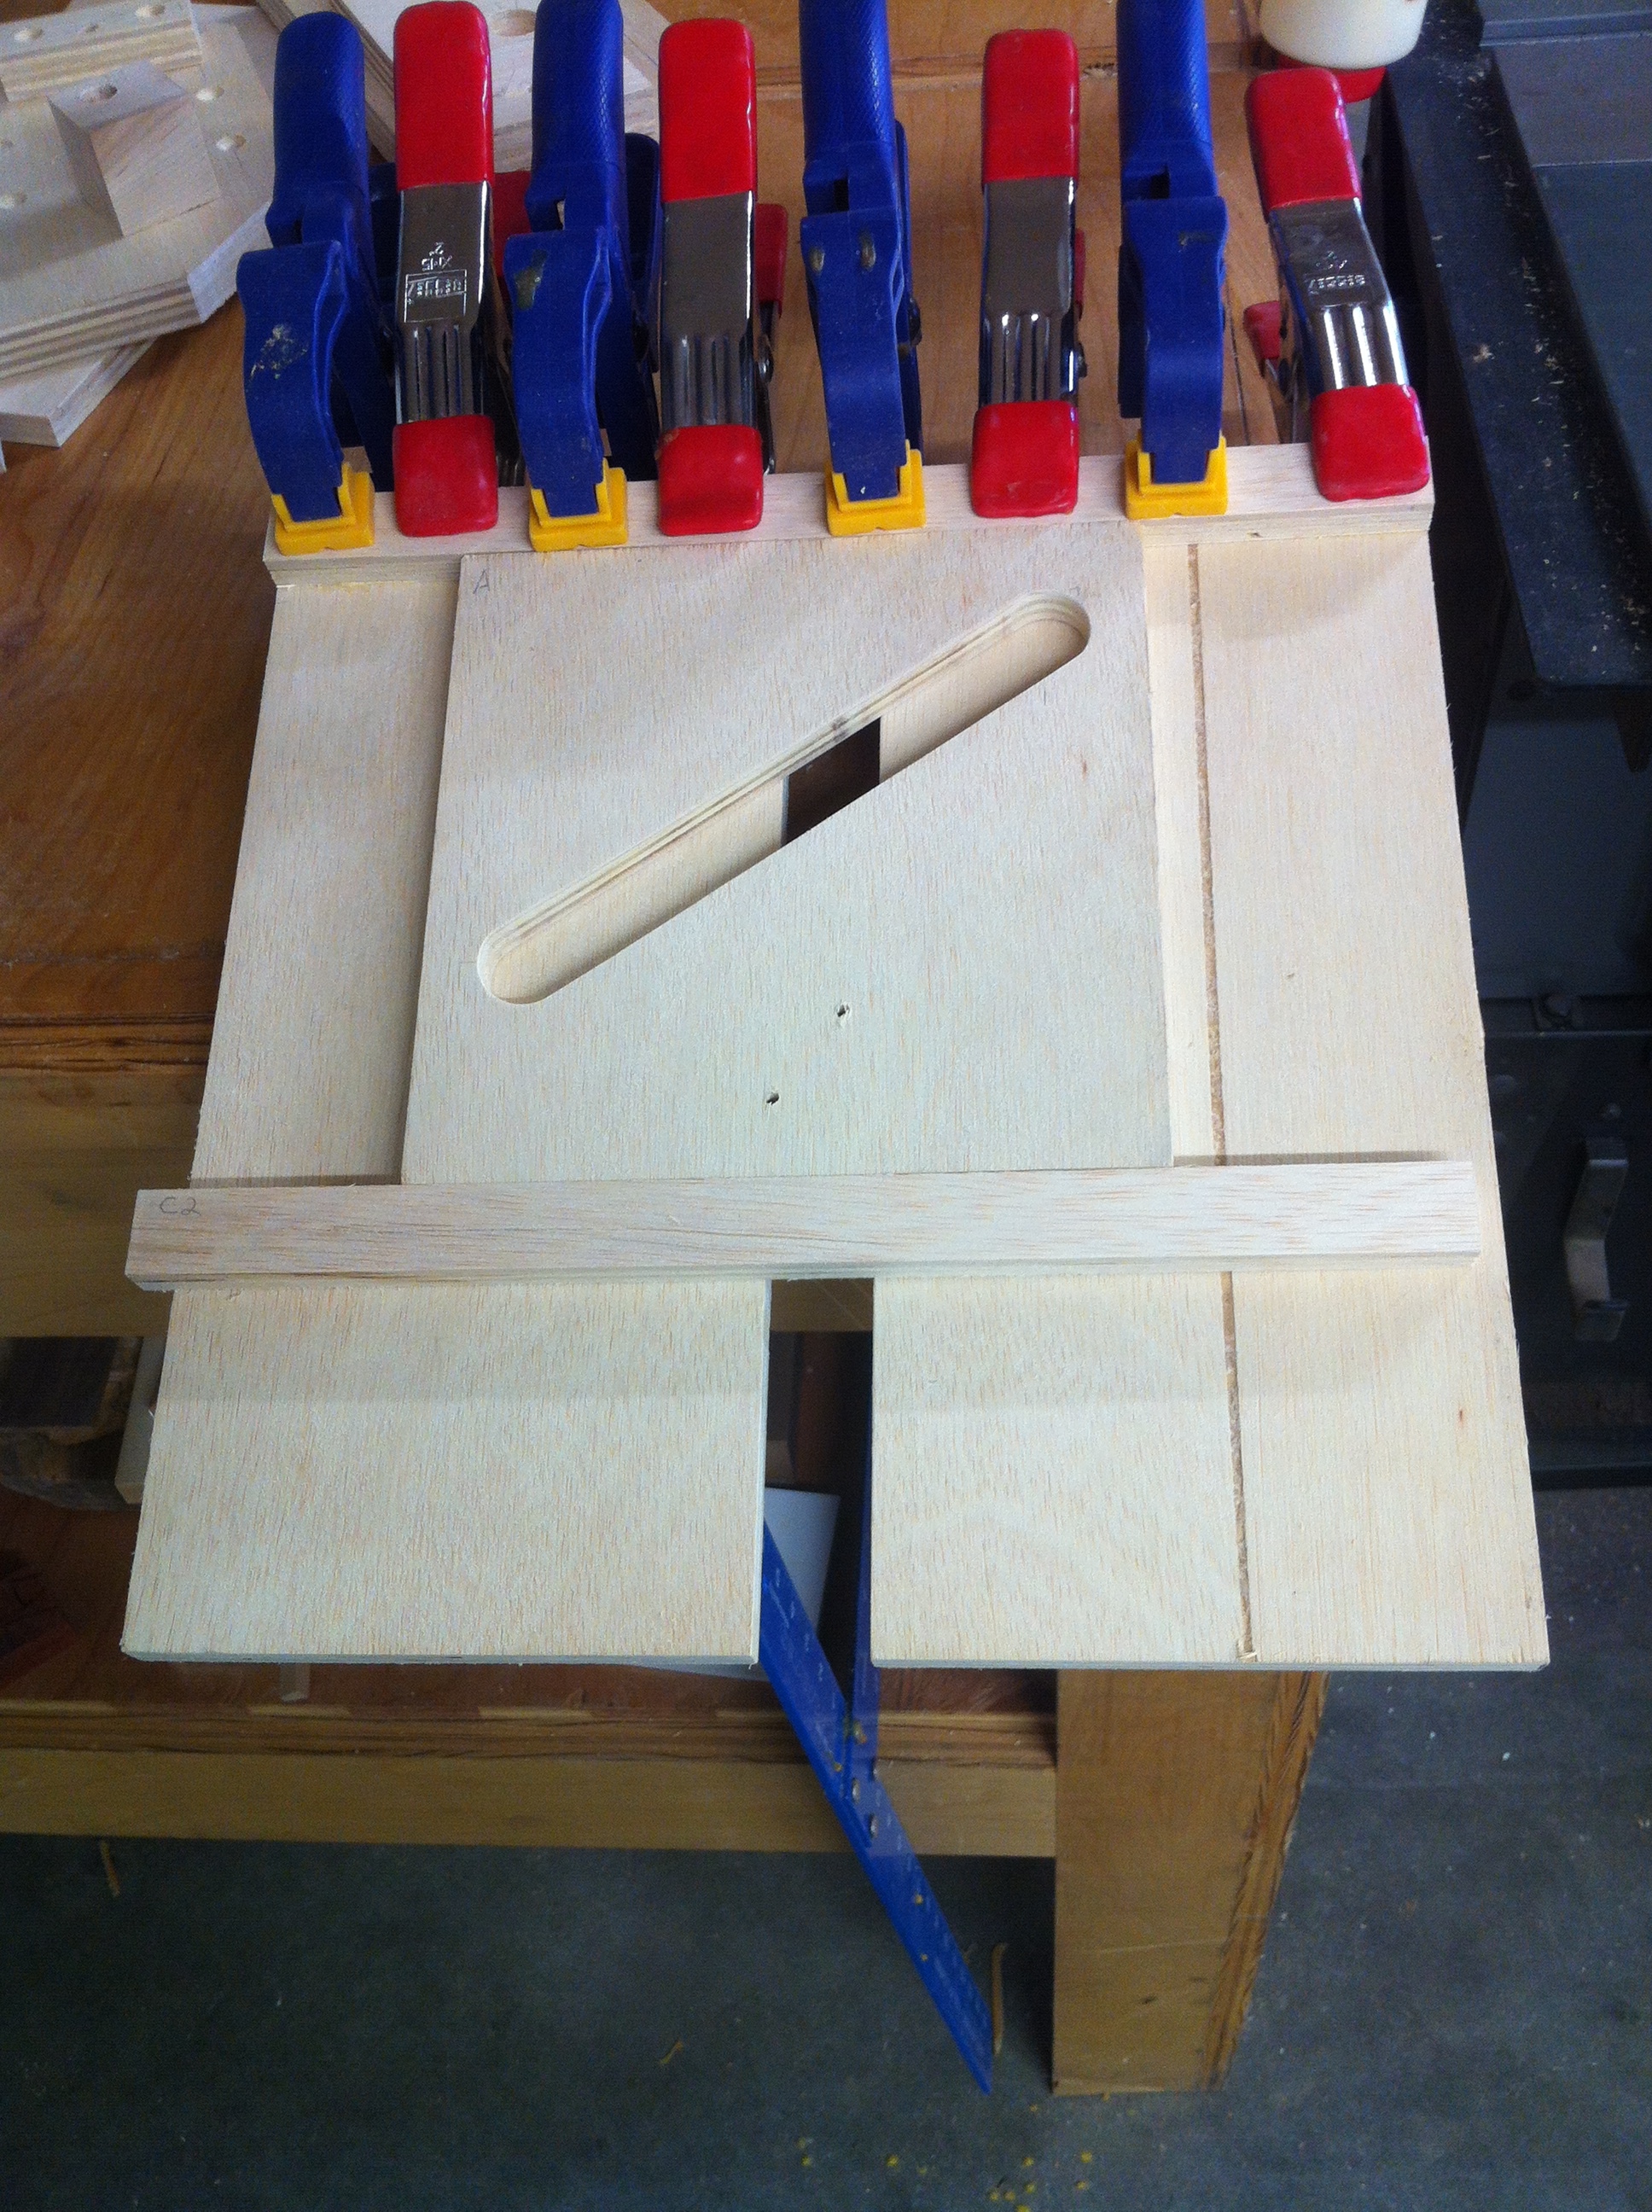
For the joinery I decided to use biscuits for expedience. I used two in each joint since the pieces were plenty thick. For the rails I just made my grooves at the table saw with a dado stack and I made a stopped groove on the legs with the same set up. I saw Matt Vanderlist’s method of slowly dropping the work onto the spinning blade at a marked location and pushing it through and stopping at another marked location on the saw’s surface (marked where the blade starts and ends in the table). This produced great and accurate results much better than my existing router table.

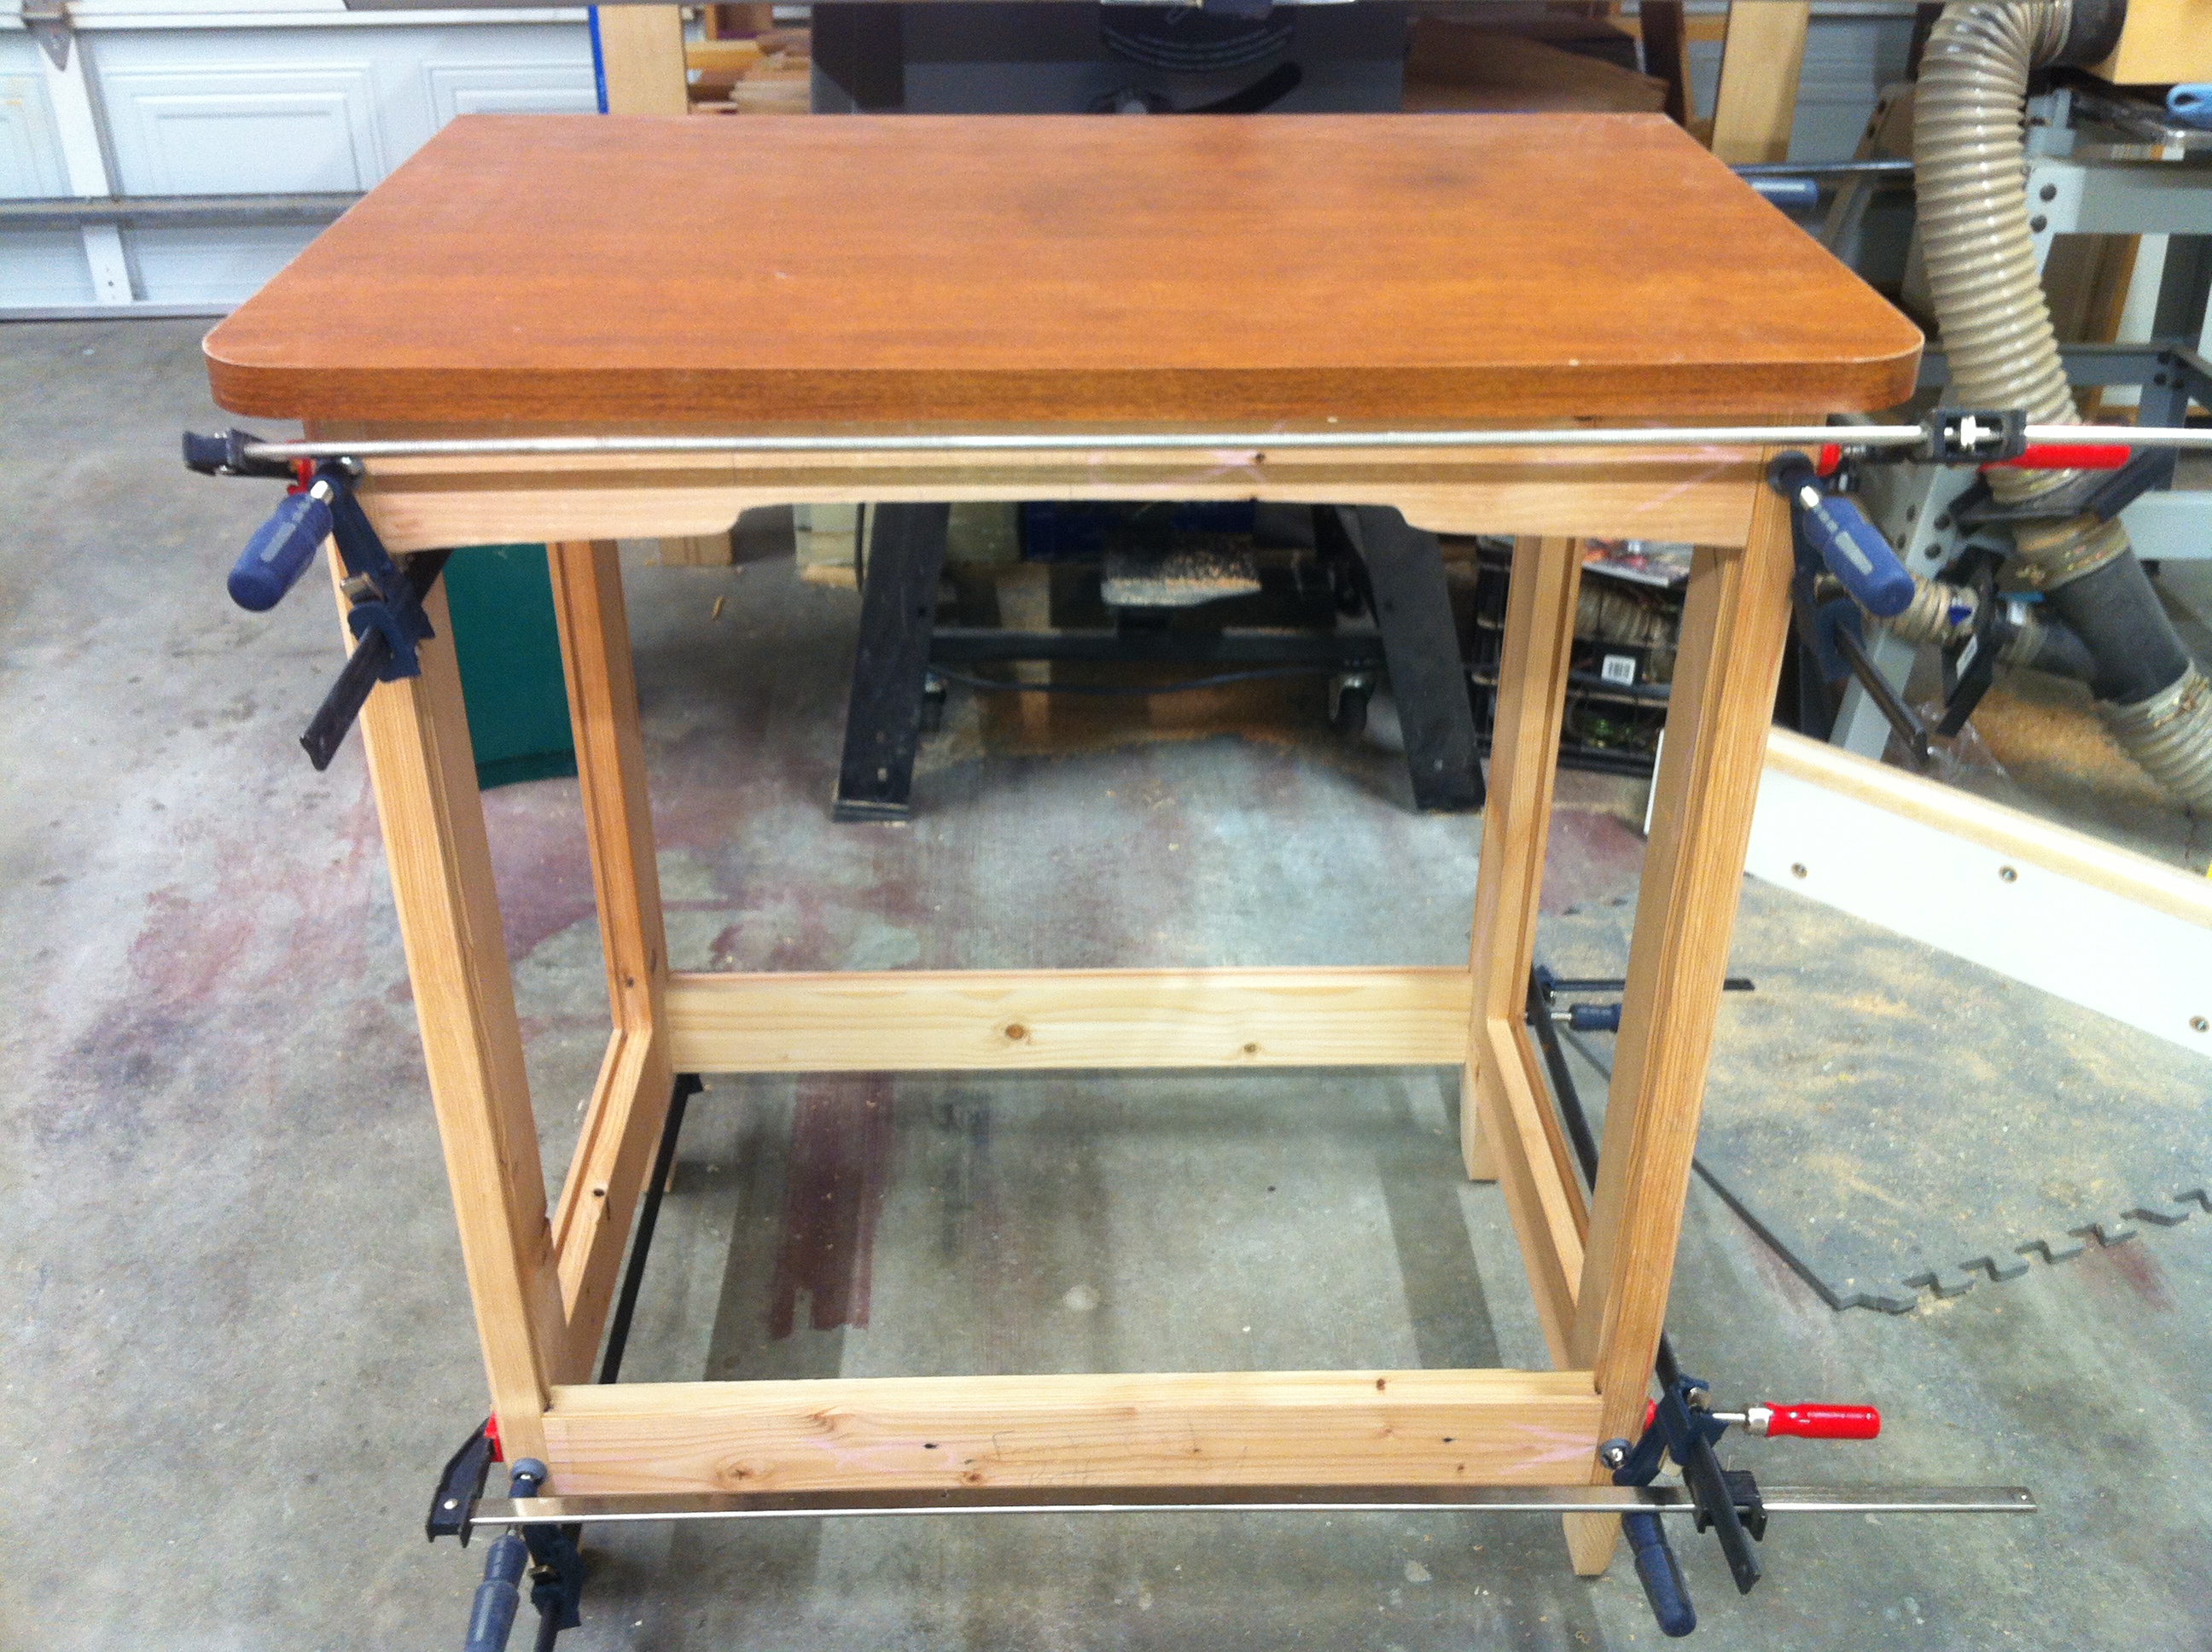
After getting all the parts fit together I took a step back to look at the framework with the top. The top is just over 1″ thick and came from a file cabinet from my wife’s office that she was about to throw out. It looked pretty good so far but something was missing. A little detail perhaps.
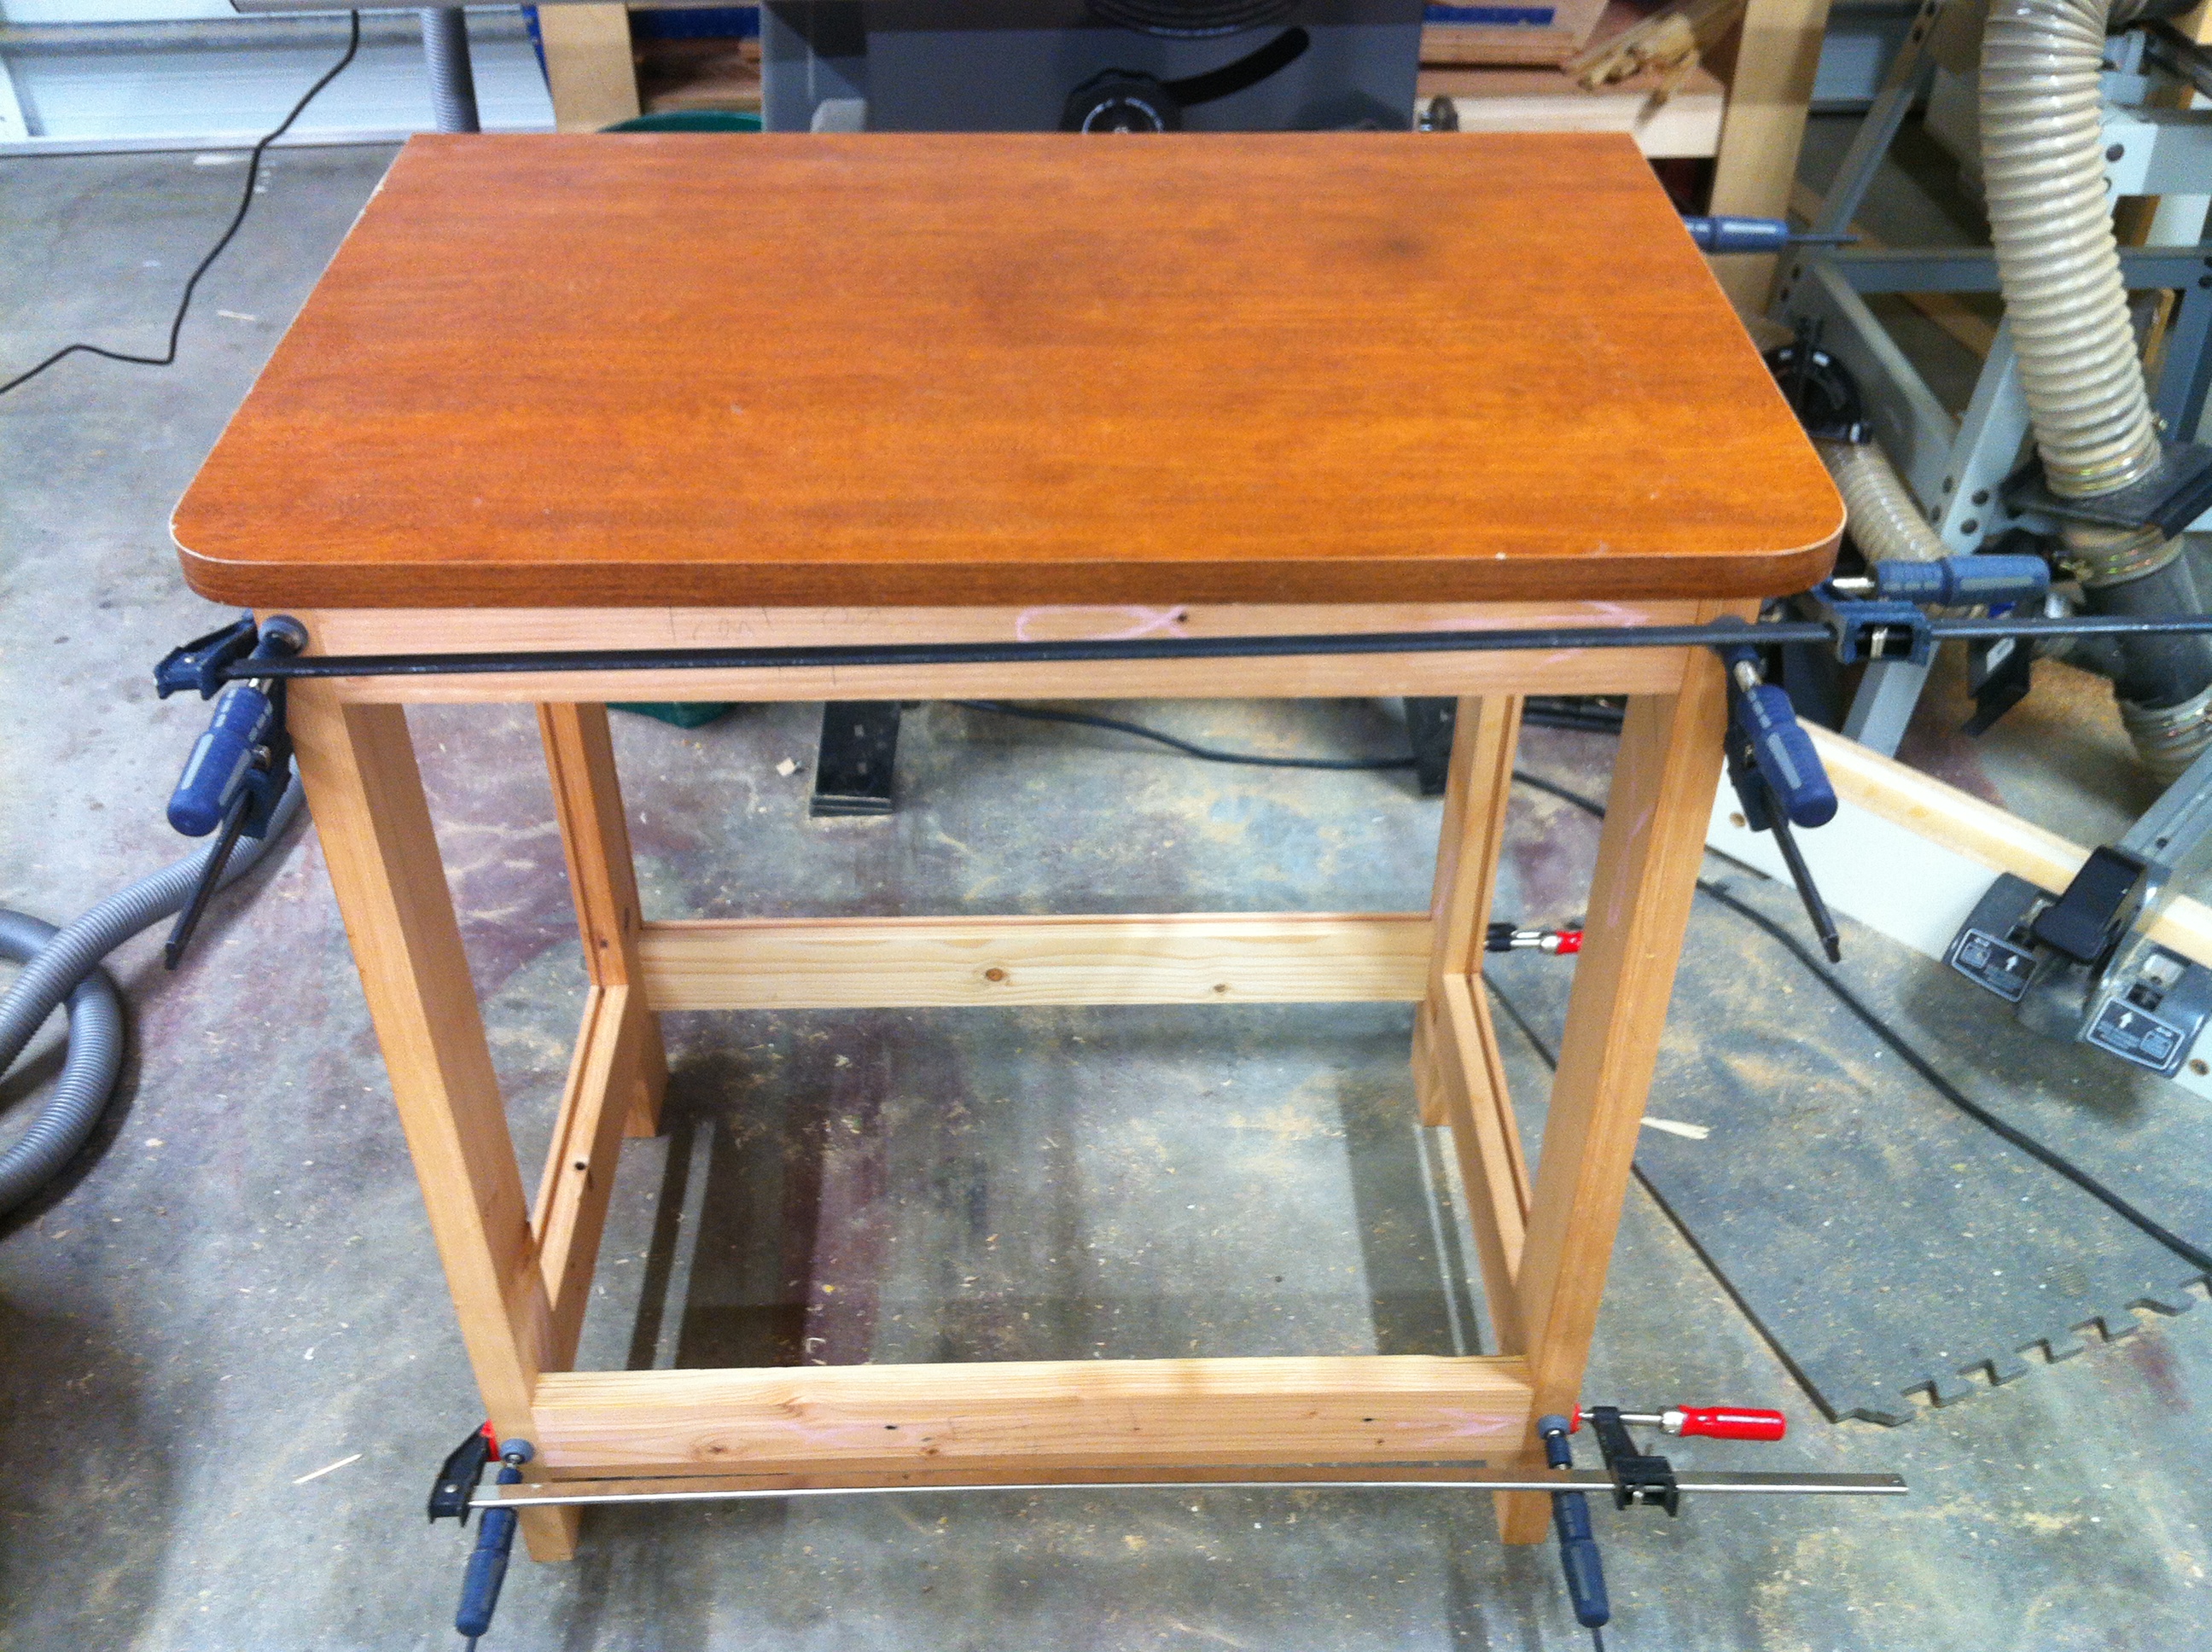
There we are. I added a slight curve with a cloud lift to the front top rail and beveled and tapered the legs below the bottom rails.
Then I realized that I didn’t have a groove for the bottom panel yet. So I made my marks and cut the through groove in the two bottom rails and a small stopped dado in the four legs. I did that by hand with a saw and chisel. Here are the results.
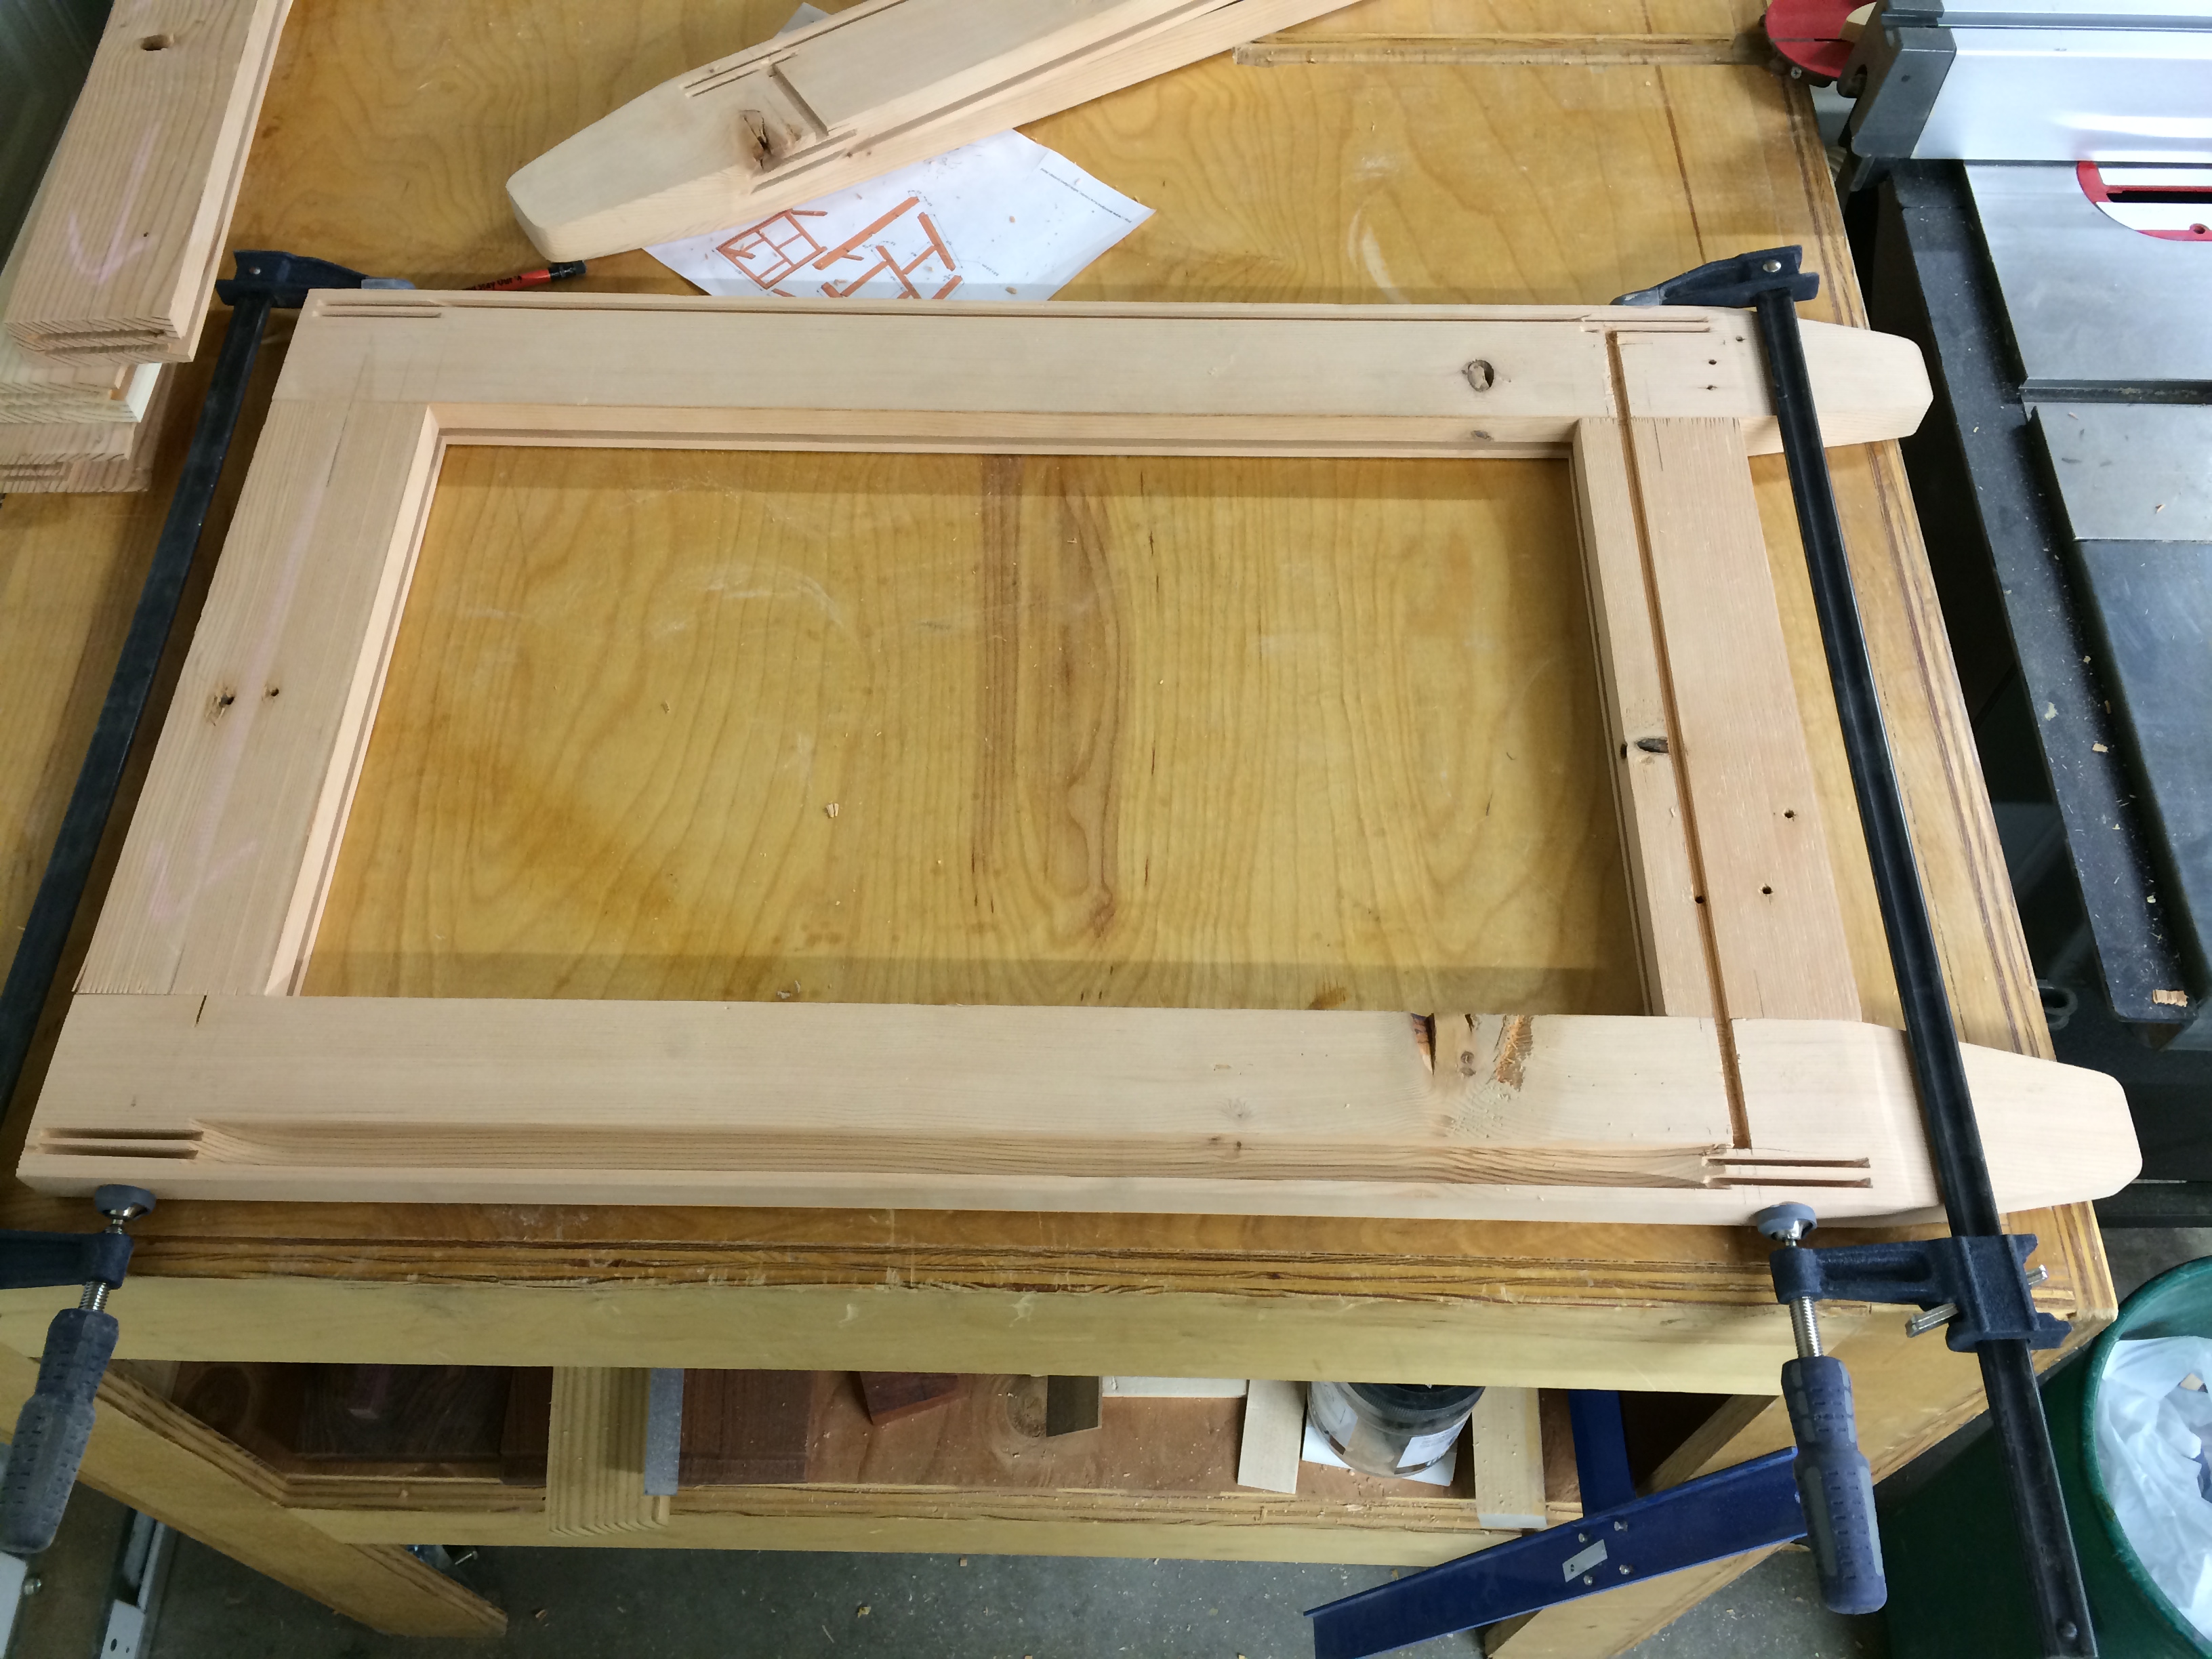
Now another dry fit with the panels all in less the front. I should mention that since the grooves were made at the table saw, there is a radius to contend with in the panel corners. I simply rounded these to match at the edge sander.


Next I had to glue up the cabinet. It was good I used Titebond Extend because I had a heck of a time with the glue up. There is nothing like a glue up to bring out all the sweat and profanities in a person, especially a mild mannered person as myself. But I got it all done and looking good too.
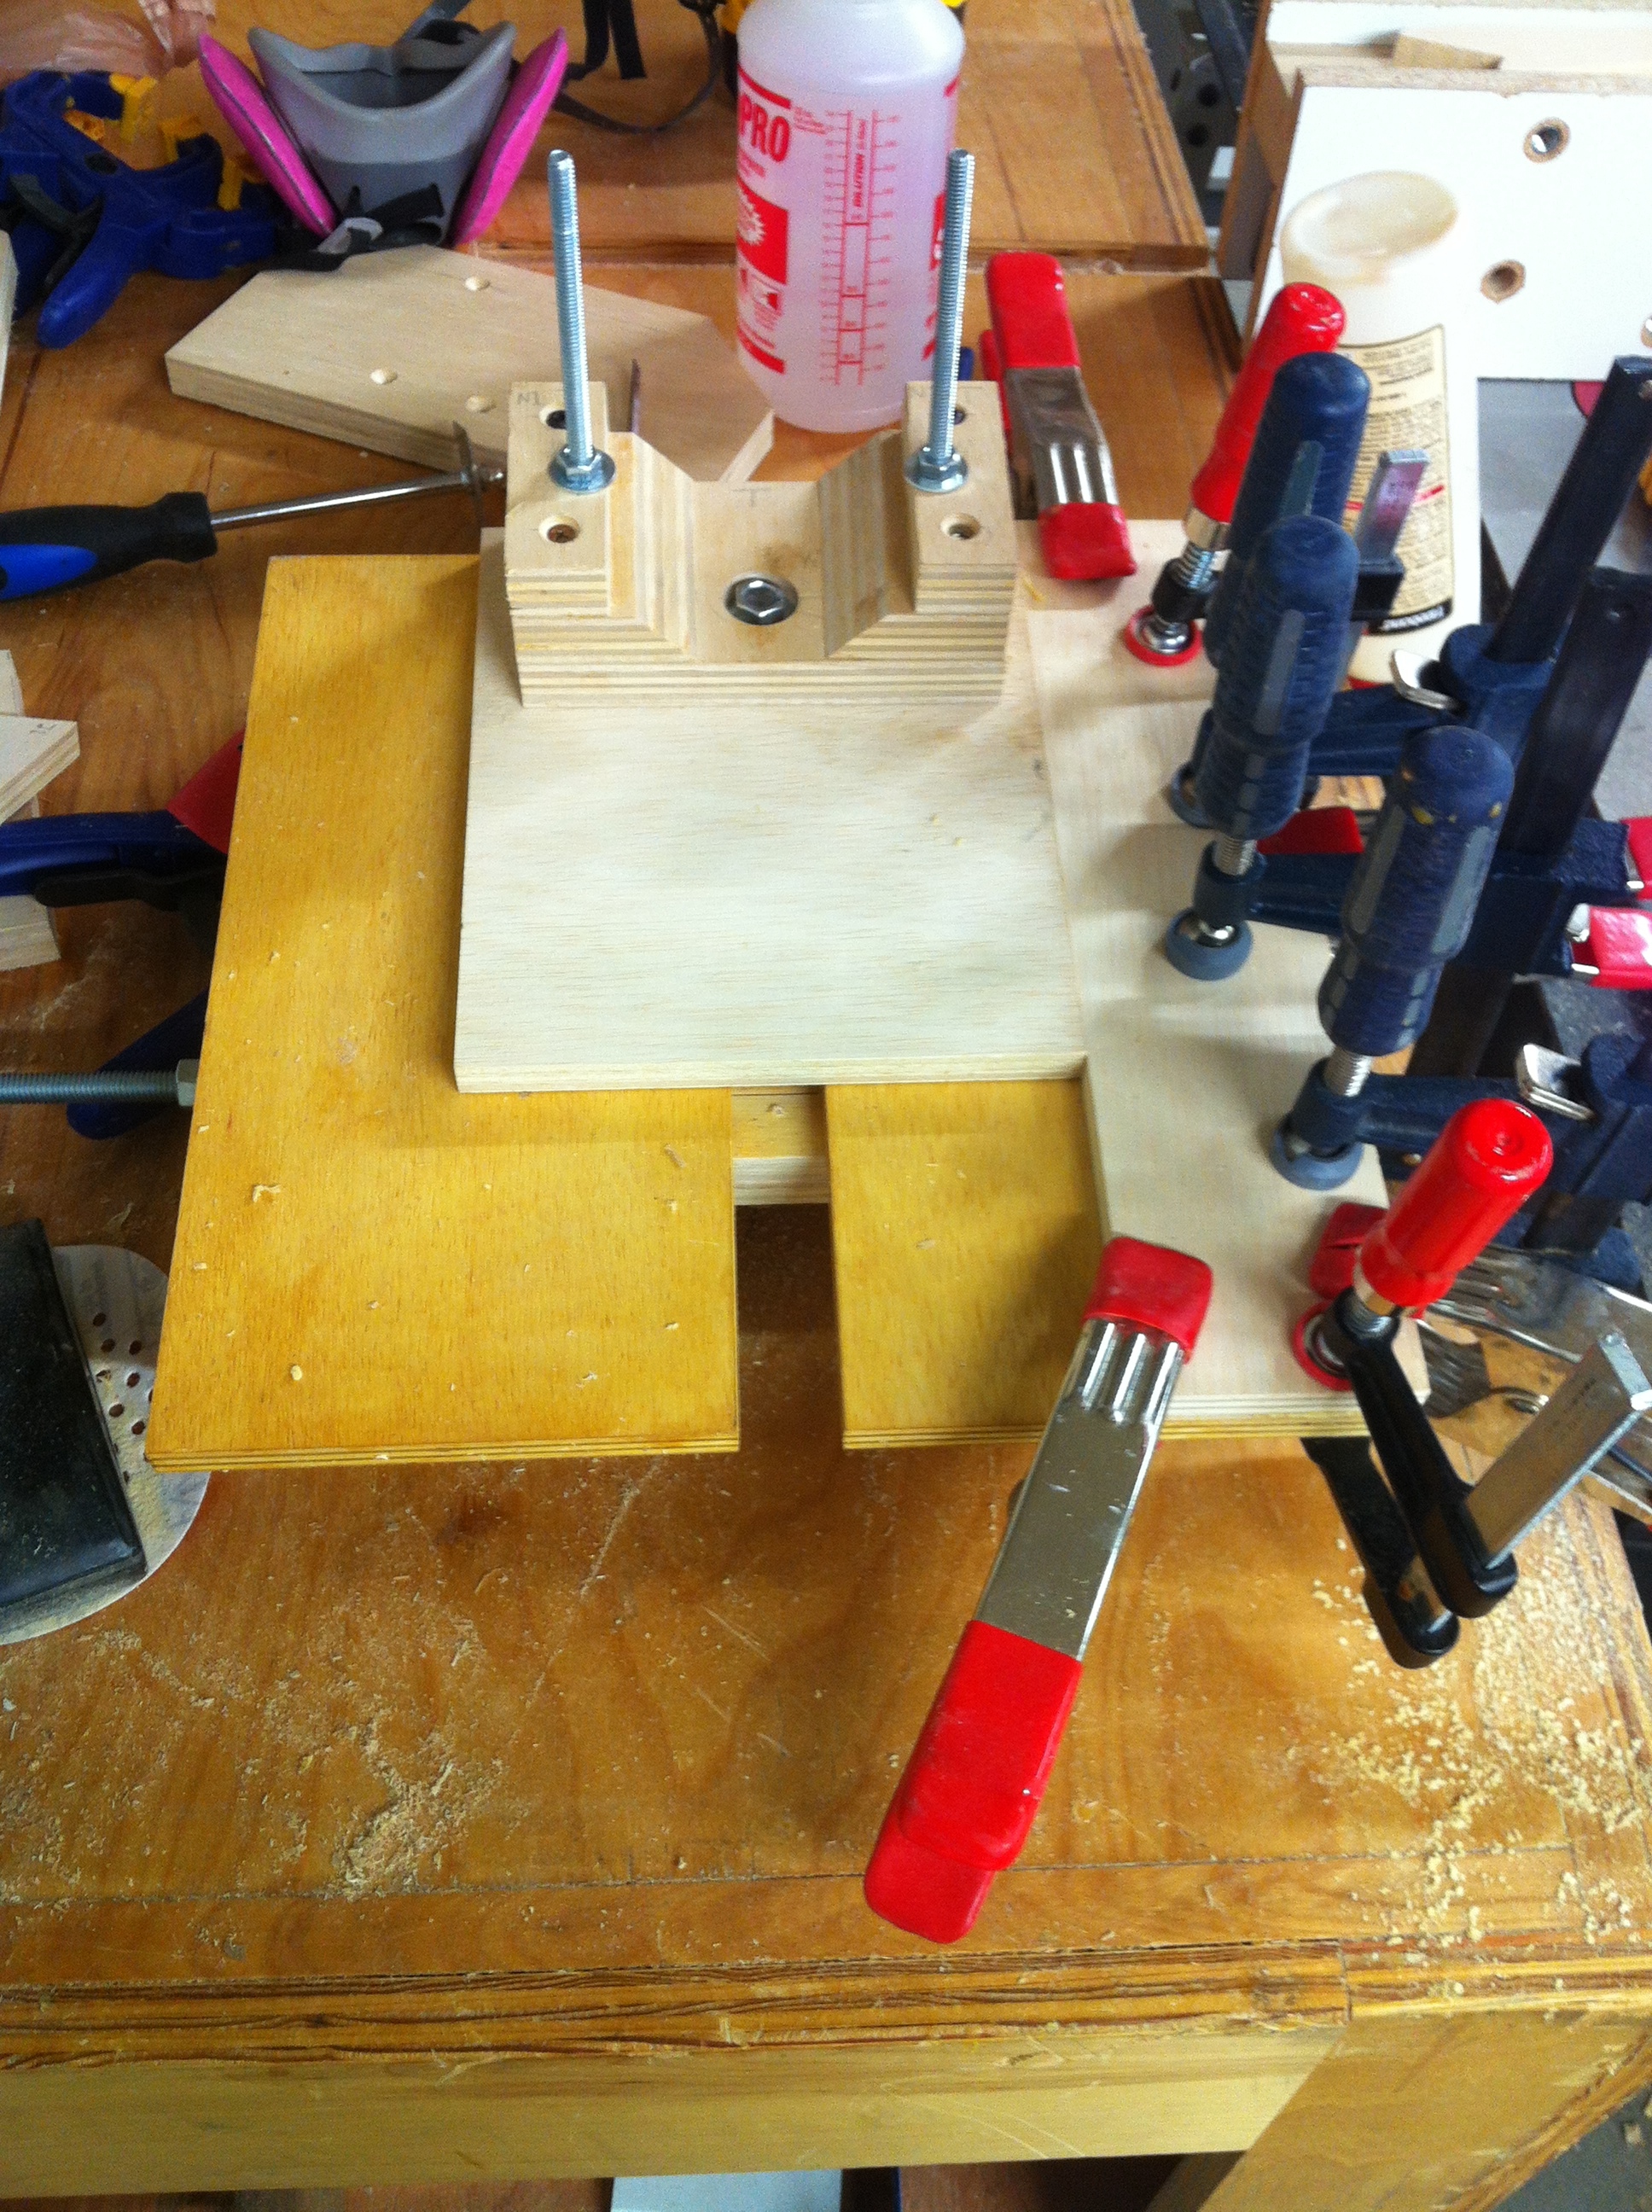
Now it was time to add the lift. I didn’t want to deal with making wheels to fit for the lift and all so I decided to make things more complicated by making gears with a wheel in front.


Notice I said they “worked.” The whole gear mechanism was designed to raise/lower the router 1/4″ per revolution of the wheel (with the combination of the threaded rod and two gears). After a few trial runs of raising and lowering the whole gear system decided that it didn’t want to raise anymore. The gears would jam and the wheel would slip in on the bolt and jam nut combination. Talk about frustration. After 20+ hours of work on this thing only to have it stop working I was fed up and decided to go back to making a simple wheel attached directly to the threaded rod for the lift. I didn’t care anymore about the speed of raising and lowering the router. I just wanted it to work. So I put this part on hold and continued working on the electrical.
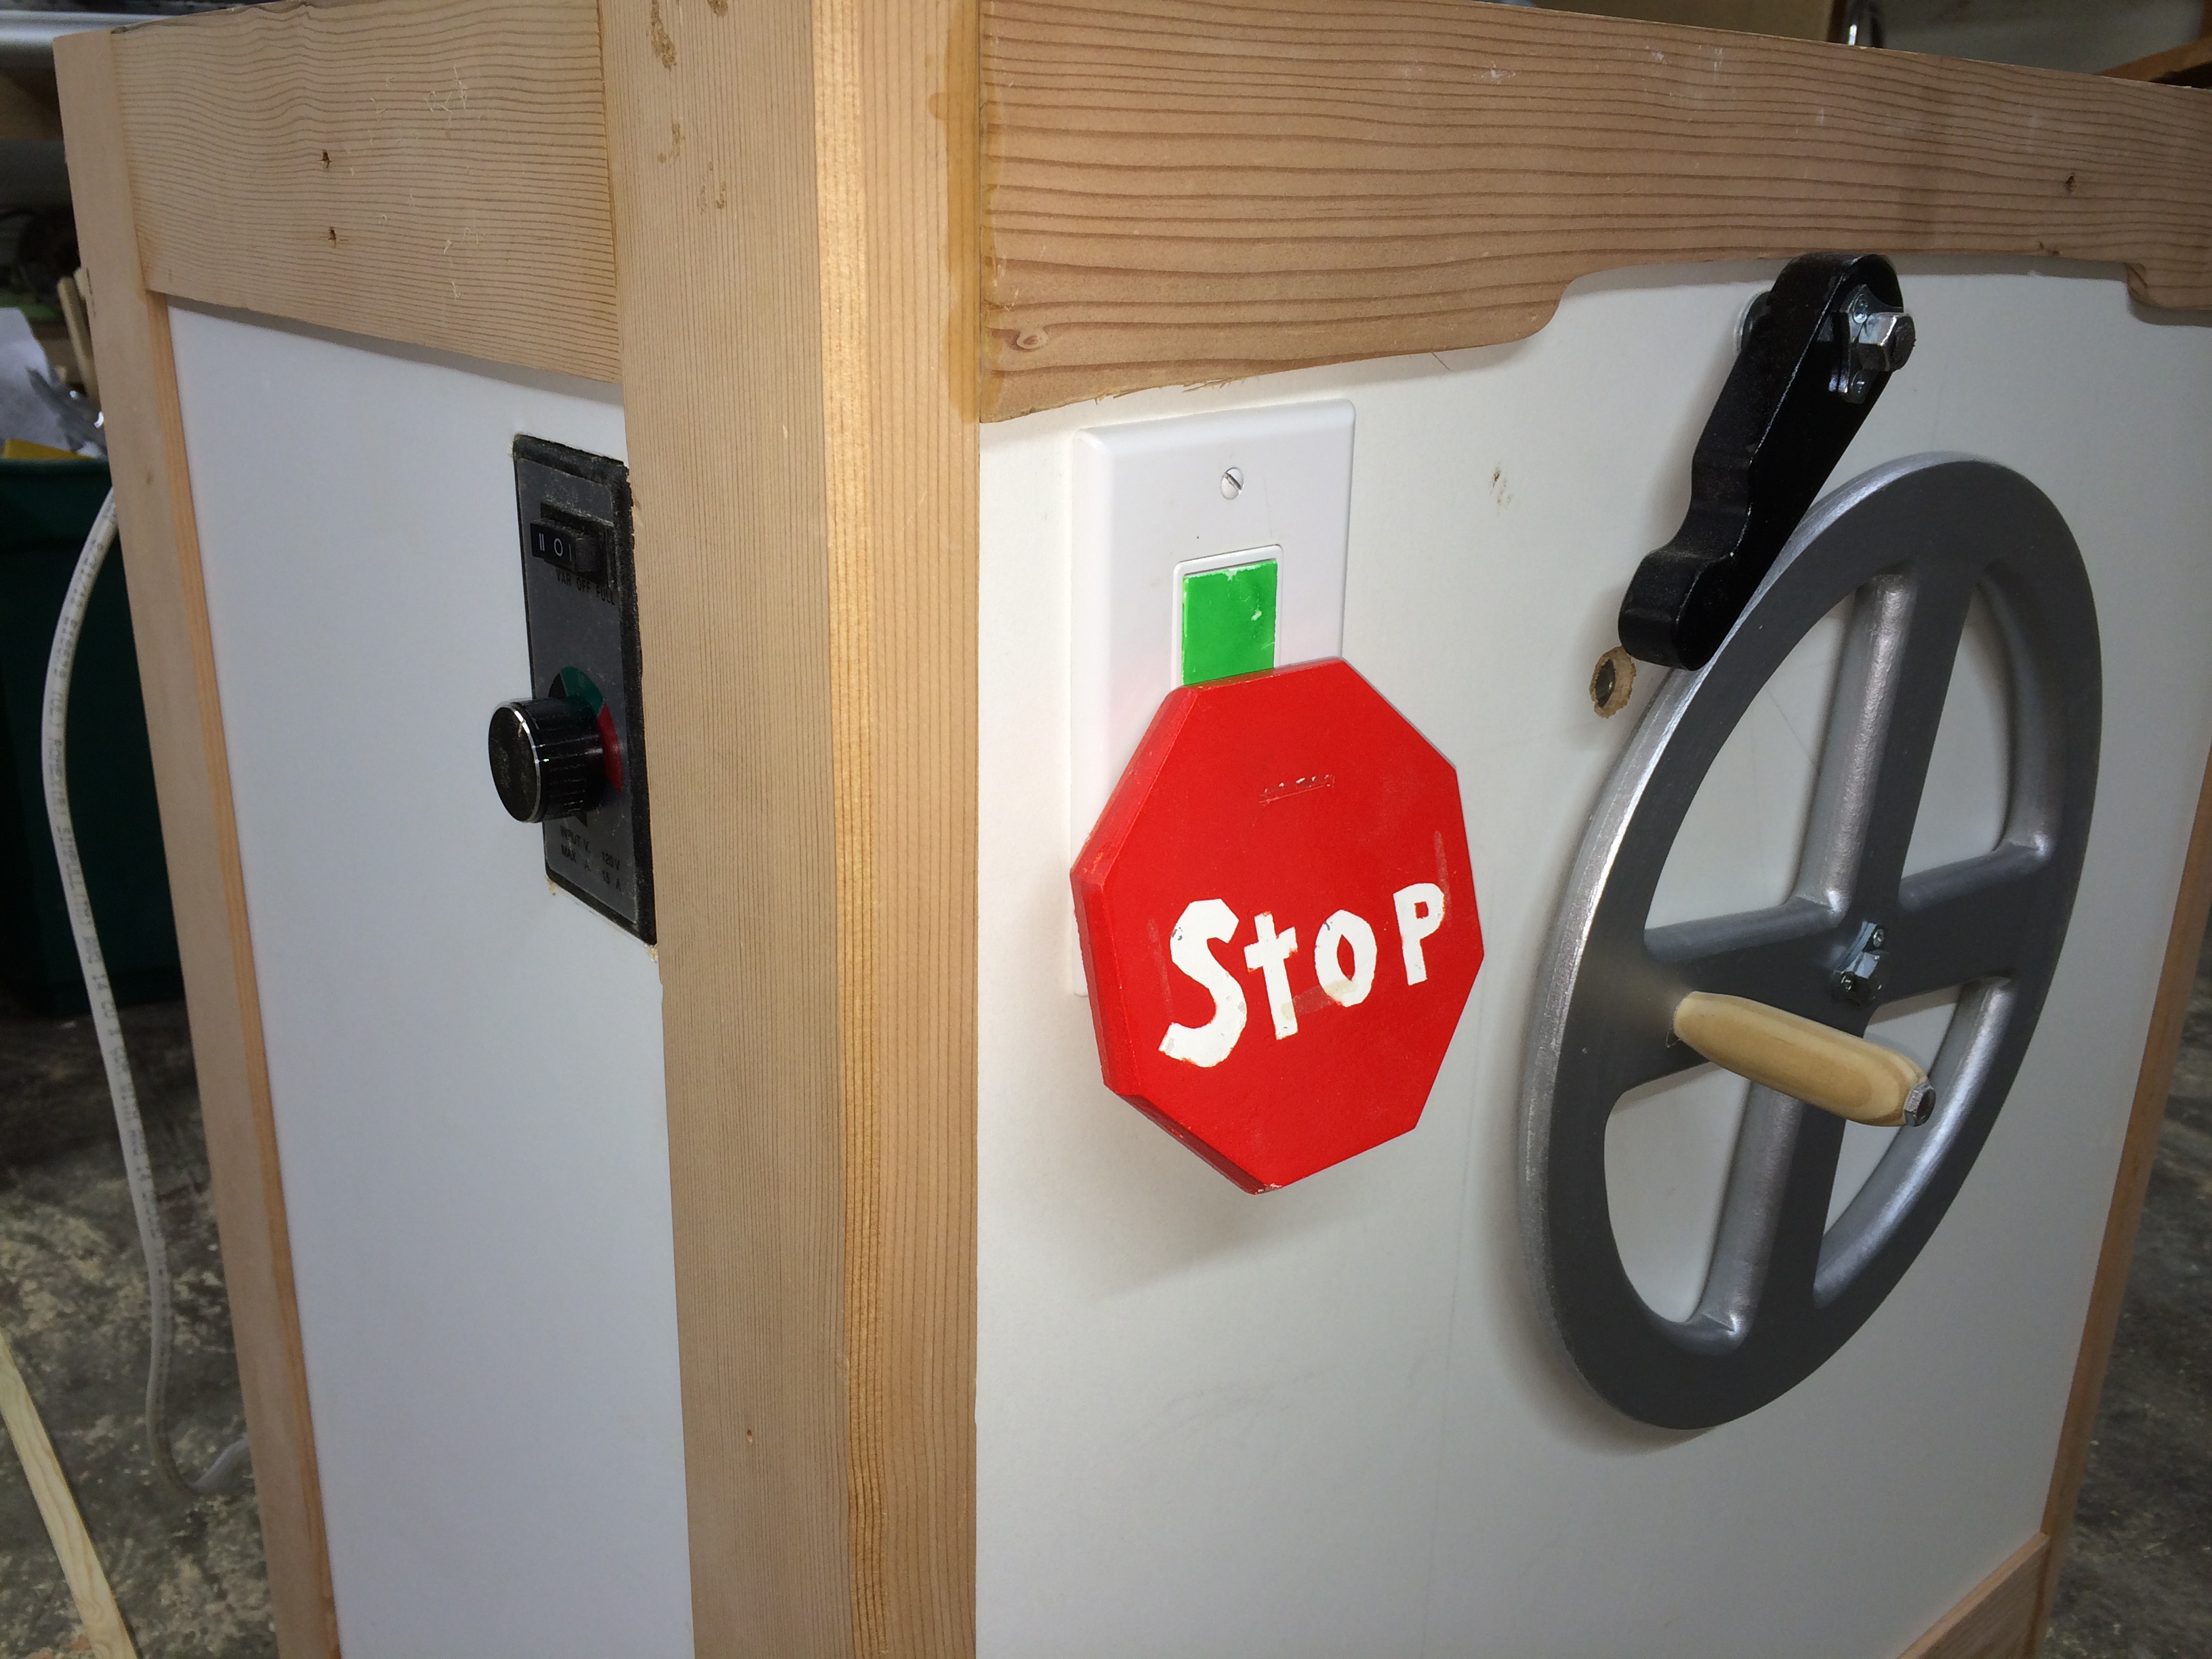
I wired in a switch and made a paddle stop for ease of turning off the router after making a cut. Recall I wanted the switch on the left side. This was because I kept having problems turning off my old router table after a cut. It was so big I had to hold the finished work piece and reach over to switch off the motor. Having a large paddle on the left side will make it much easier to turn the motor off after a cut. I also added a variable speed controller to the side so I could slow the speed down when using larger diameter bits.
So here is where I am now. A nice looking router cabinet with no working lift. Moral of the story: if you want to spend more time making furniture projects and less time making machines, just buy quality tools. Unless you really enjoy making your tools and don’t care about making furniture. Listen to the latest WoodTalk for more inspiration on this concept. I am going to put on my big-boy pants and buy a manufactured top, lift, and fence so I can just get this done and start using my table for the commissions I have. My time is worth it and my goals for 2014 are to finally get some projects done both for my satisfaction and to finish some house projects for the wife.
