
After making a few try squares I found it fitting to make a few cutting gauges. I have two wheel marking gauges but I am not fond of the small reference surfaces. I like the marking gauges that Jeff Hamilton sells on his website and on bluesprucetoolworks.com. I like to live by the phrase “if it ain’t broke, don’t fix it” but even still I am picky with the details. The shape is nice so I’ll imitate that but change it a little. I like brass on my tools but I also like the bright, shine of aluminum and chrome with most light wood species. For dark wood species I like to use brass as the accent metal. So I chose a few pieces of scrap wood from my bin and went to work.
My first prototype was made from one piece of 5/4 rough hard maple about 9″ long and 5″ wide that came in a domestic wood cut off box from Rockler.com as described in Part 1 of this series. I started by milling both faces flat at the jointer then planer. Next an edge was jointed square to a face and the other face was ripped at the table saw just enough to clean it up. Now that the piece was S4S I took it to the miter saw and squared up both ends making the board S6S. I did that because once I start cutting the pieces to size I would be left with a small piece that could not be milled by machines for future use (if there is any other than burning in a smoker).
I ripped off a 5/8″ piece and squared it up to 9/16″ at the planer. Then off to the router table to cut a through stopped groove in the bar for the tightening bolt to secure the bar to the stock.
Next I took the remaining portion of maple and cut the stock to which would be the final width of the reference surface. Then I set the table saw blade and fence to make a centered dado in the top of the stock. To make a centered dado simply make a cut and rotate the piece 180 degrees and make another cut. Move the fence further from the blade and continue making cuts until the bar is snug in the dado then use a plane to sneak up on the fit such that there is no side to side play but the bar slides forward and back easily. Wax the dado and bar after finishing for smoother action.

Now it was time to add the threaded insert. I purchased the press-in type of insert for this prototype. I drilled a hole just slightly smaller than the diameter of the insert and it’s teeth. I inserted a 1/4-20 flat headed screw and pressed the insert into the hole with a parallel clamp.

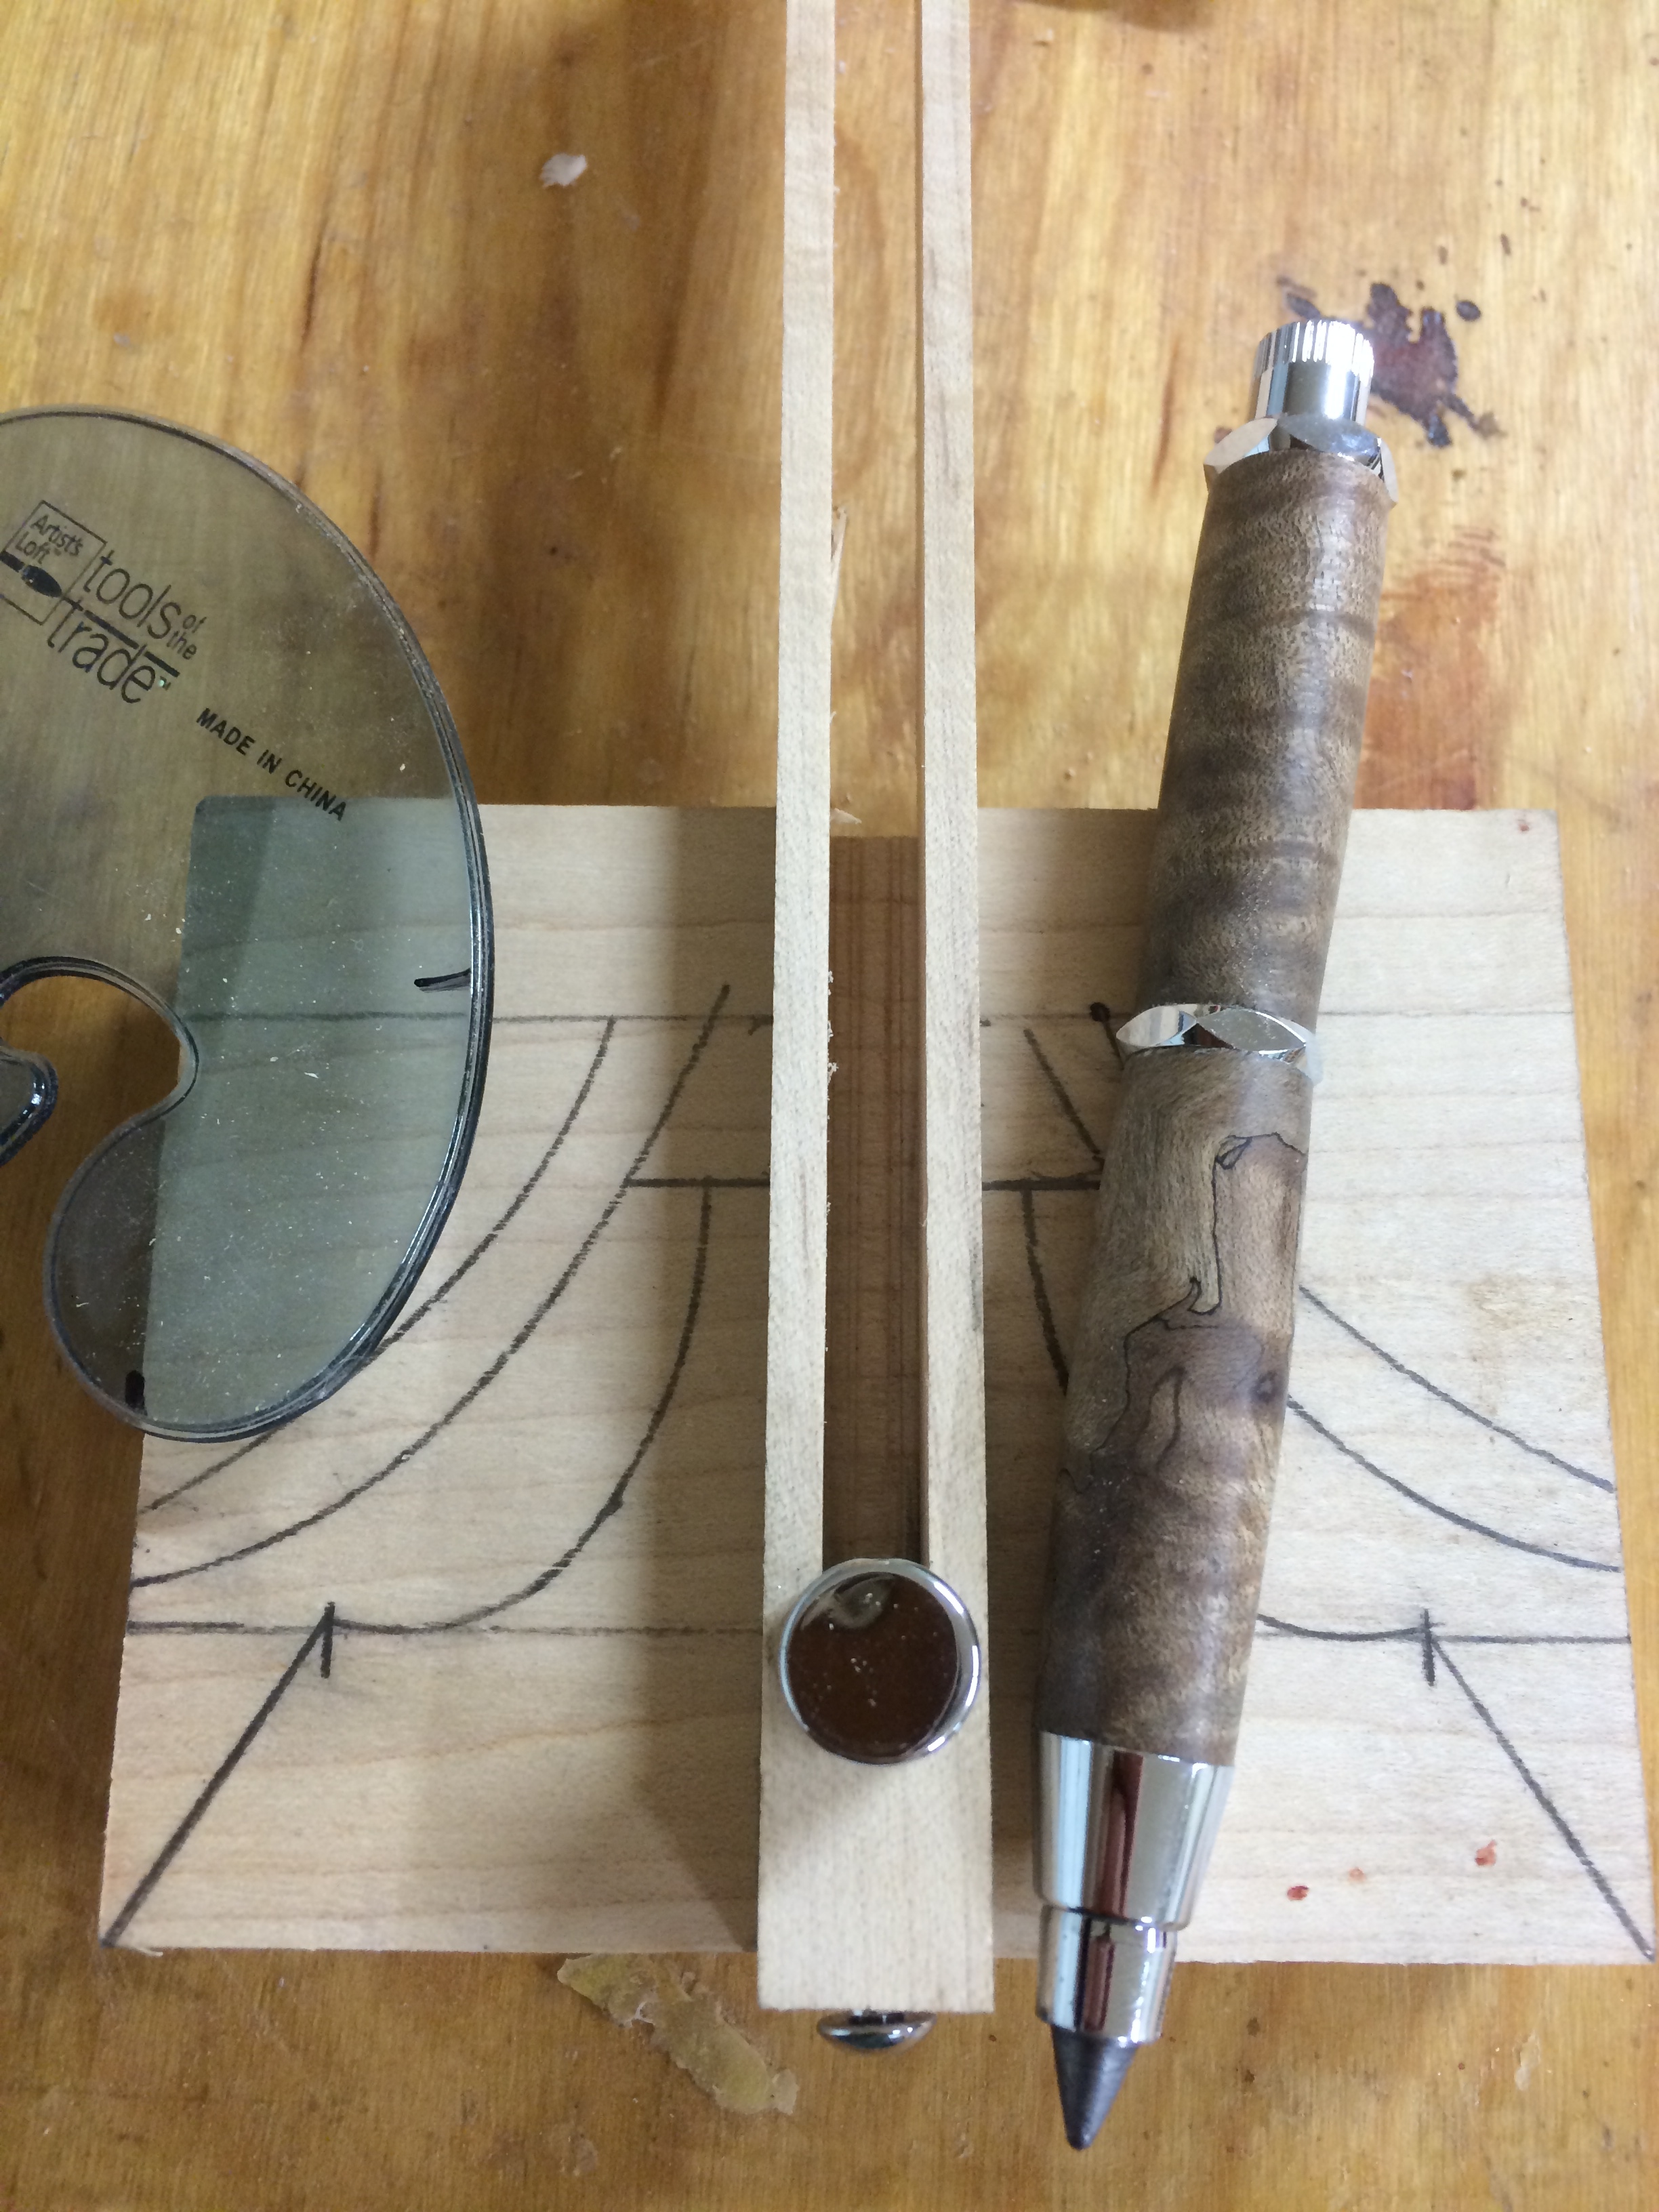
Now that the insert was in and the bolt fit nicely into the bar and the stock it was time to glue in the aluminum wear strip and draw the shape onto the stock. I used 5 minute epoxy to adhere the aluminum wear strip to the stock. I drew several shapes on the stock using a ruler, straight edge, french curve, and pencil (incidentally the pencil shown is the toolbox pencil from rockler.com, no longer available, that I made with spalted curly maple that I stabilized myself with a light brown dye).
The bolt I used for tightening the bar to the stock was a 1/4-20 x 1″ socket bolt finished off with a bolt cap in chrome finish. This little two piece set up costs about $8.

Once I was settled on a shape I took the stock to the band saw, removed the waste, and refined the curves at the oscillating spindle sander.

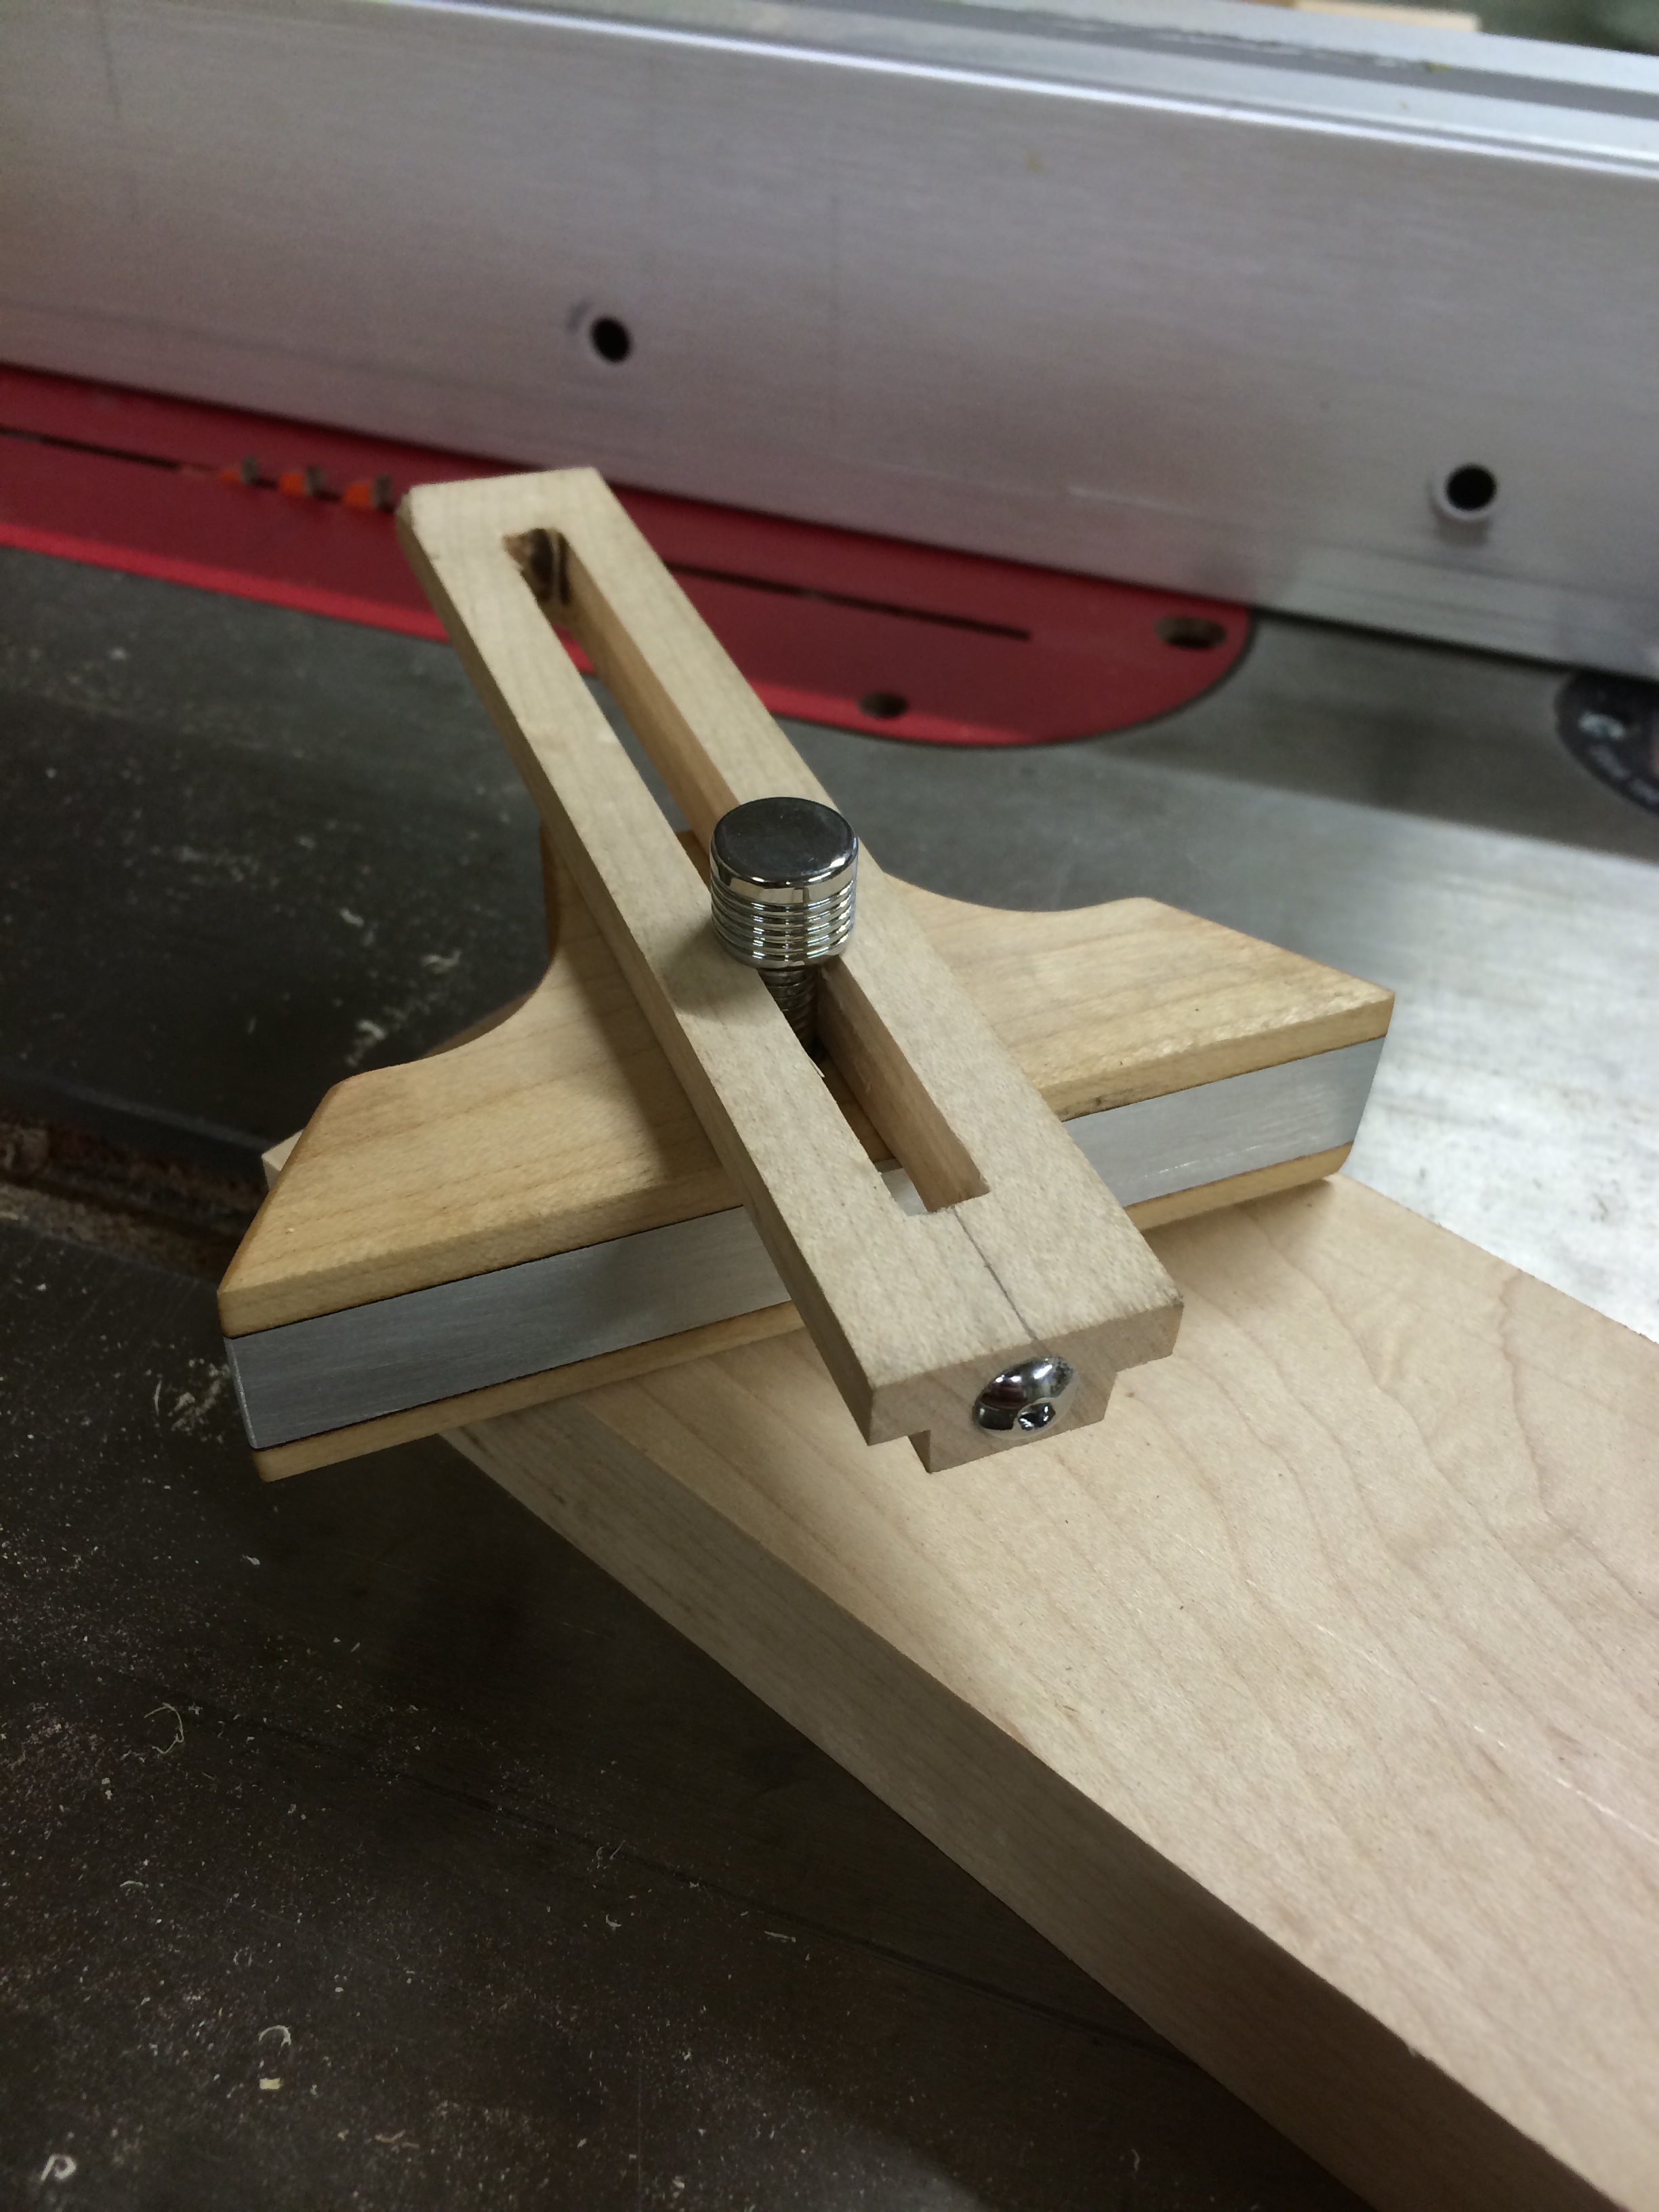
After I fit the pieces together I realized I did not like the look of the bar in the dado of the stock. So I ripped another piece off the original piece of maple (which was now just a bit shorter) and made a new bar. This time I just cut a small rabbet on either side of the bar to fit the existing dado in the stock. I removed the 8-32 threaded insert from the first bar, redrilled the hole, and inserted it into the new bar.
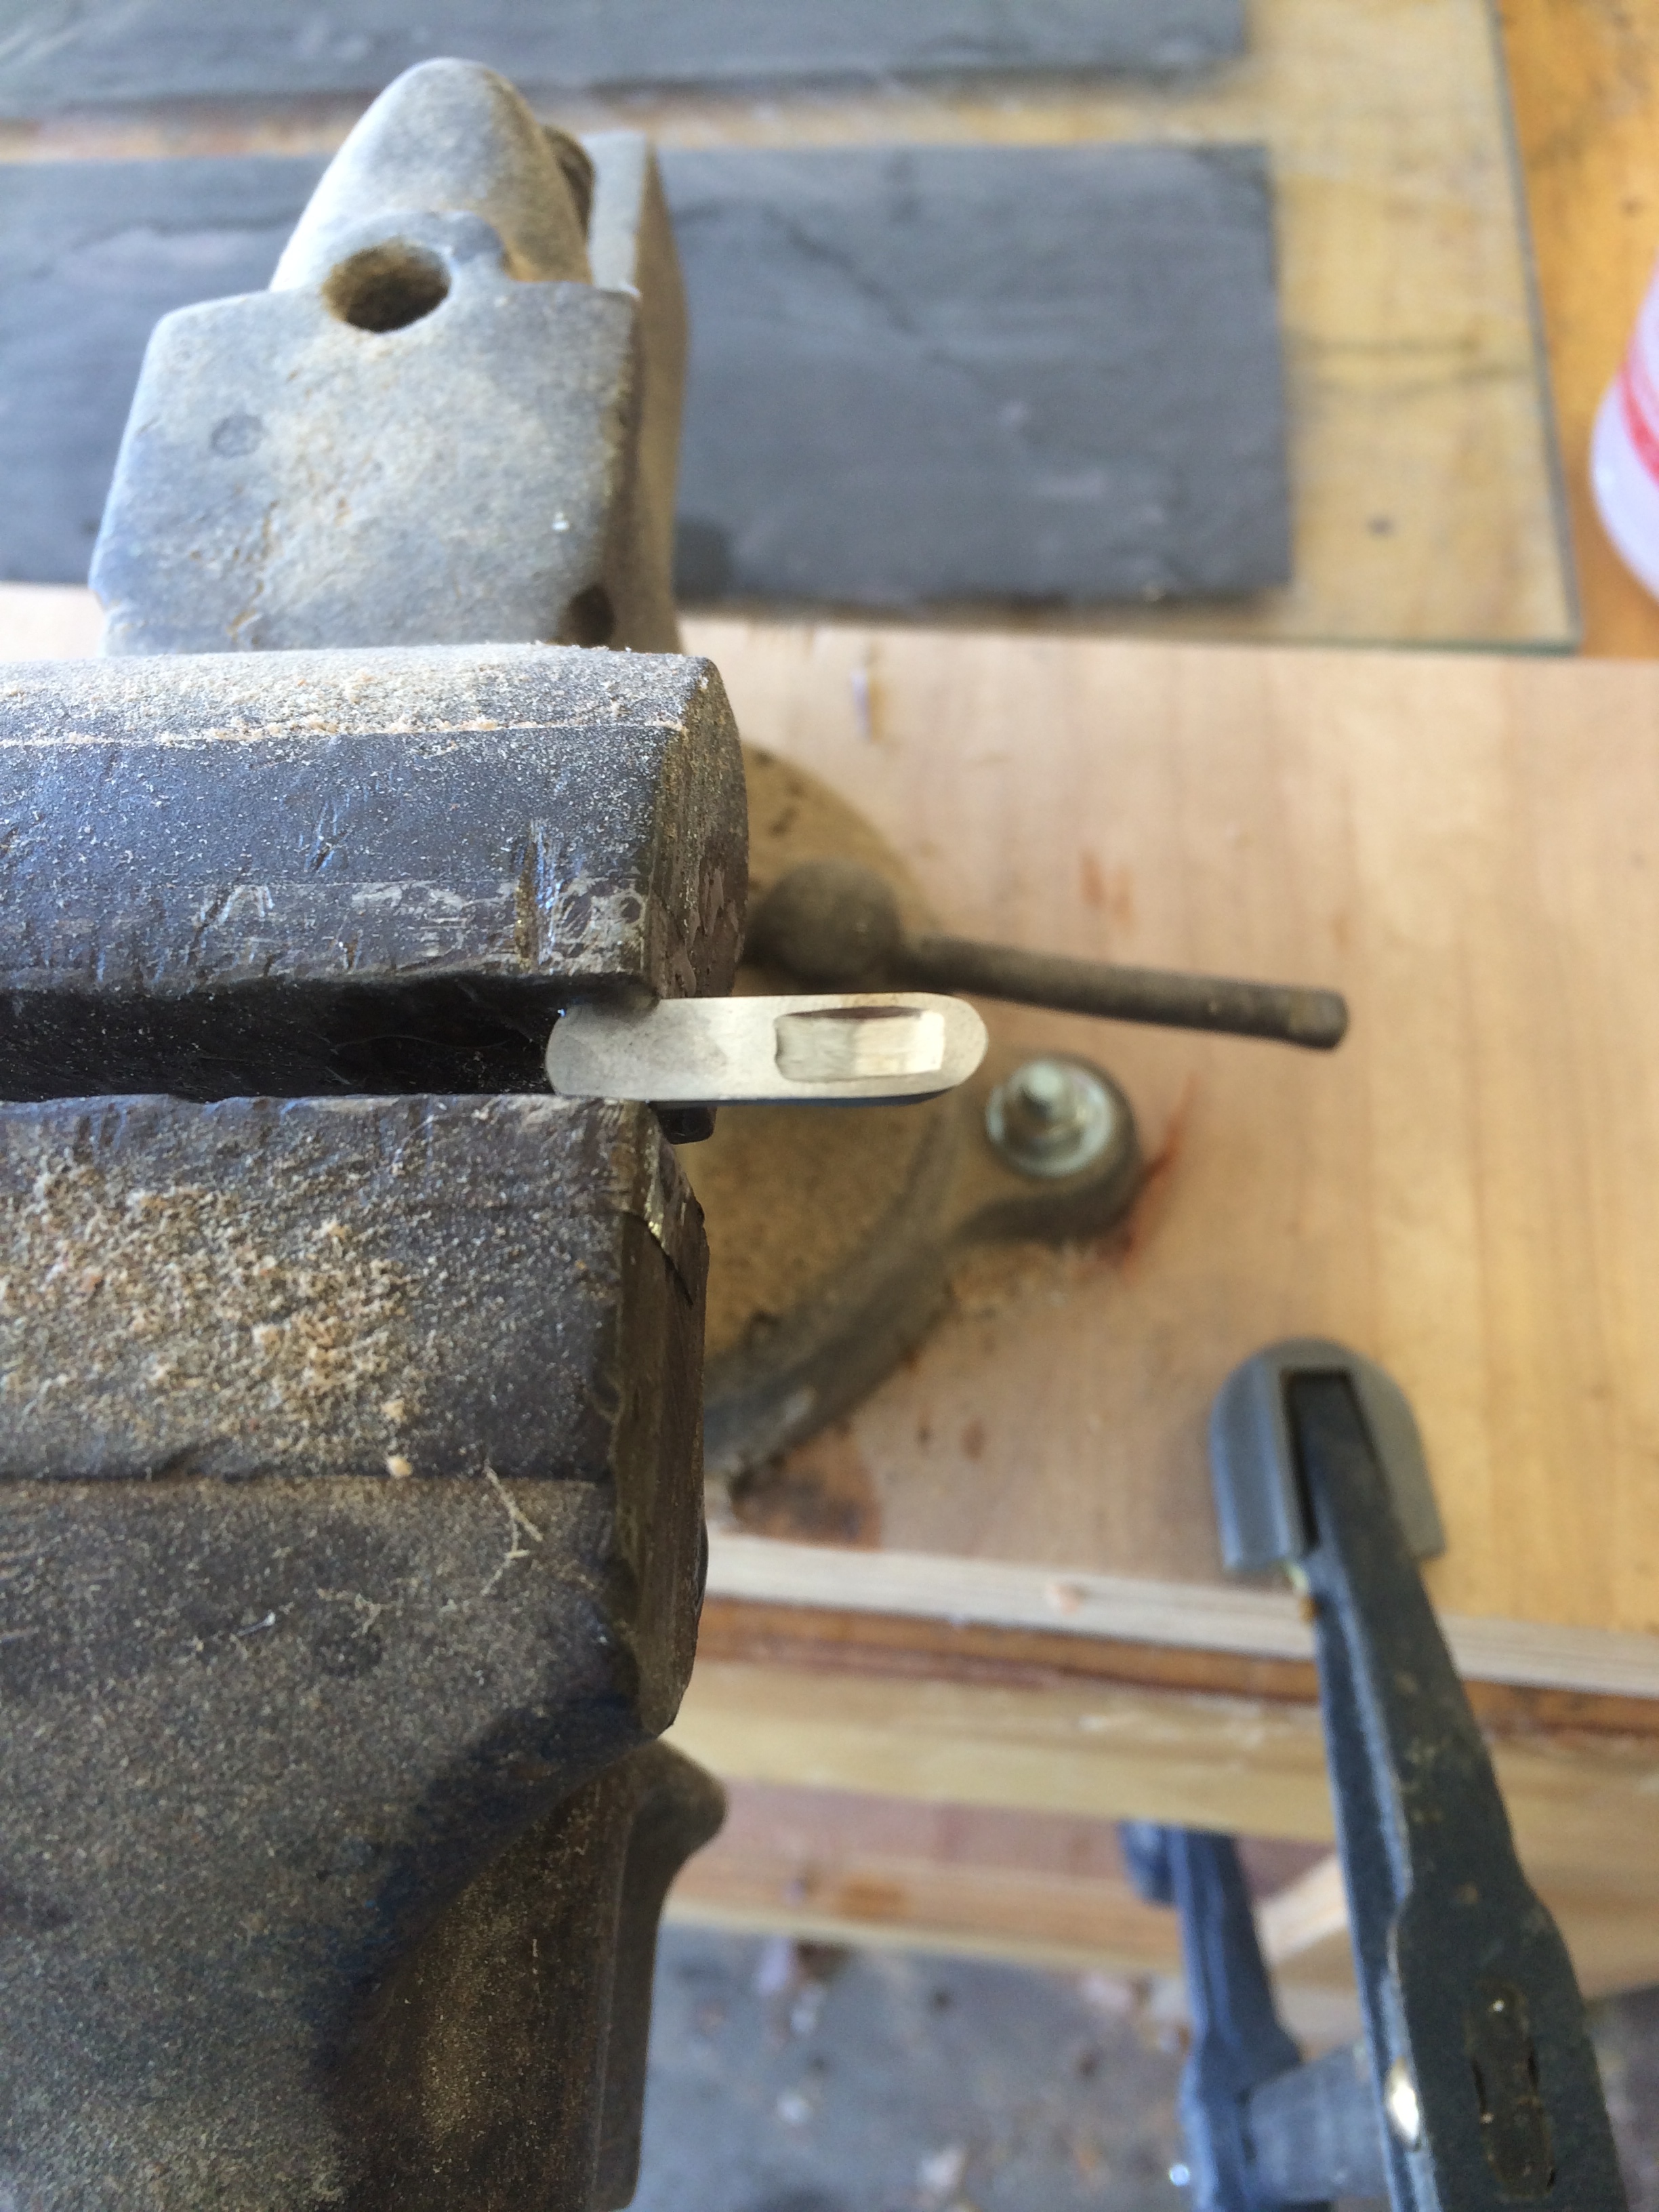
Next I had to make a cutter. I used a jig saw blade that was wide enough to accept the 8-32 bolt and ground the teeth off and shaped the tip to a fingernail grind. I tried drilling a hole in the blade at the drill press and quickly found out that HSS is tough stuff. So I pulled out the rotary tool with a small metal cut off wheel and abraded a slot into the blade. The result was quite nice though on the next set I make I will try using a 6-32 bolt for the blade and aluminum or brass dowel/bar stock for the wear plate and bar.

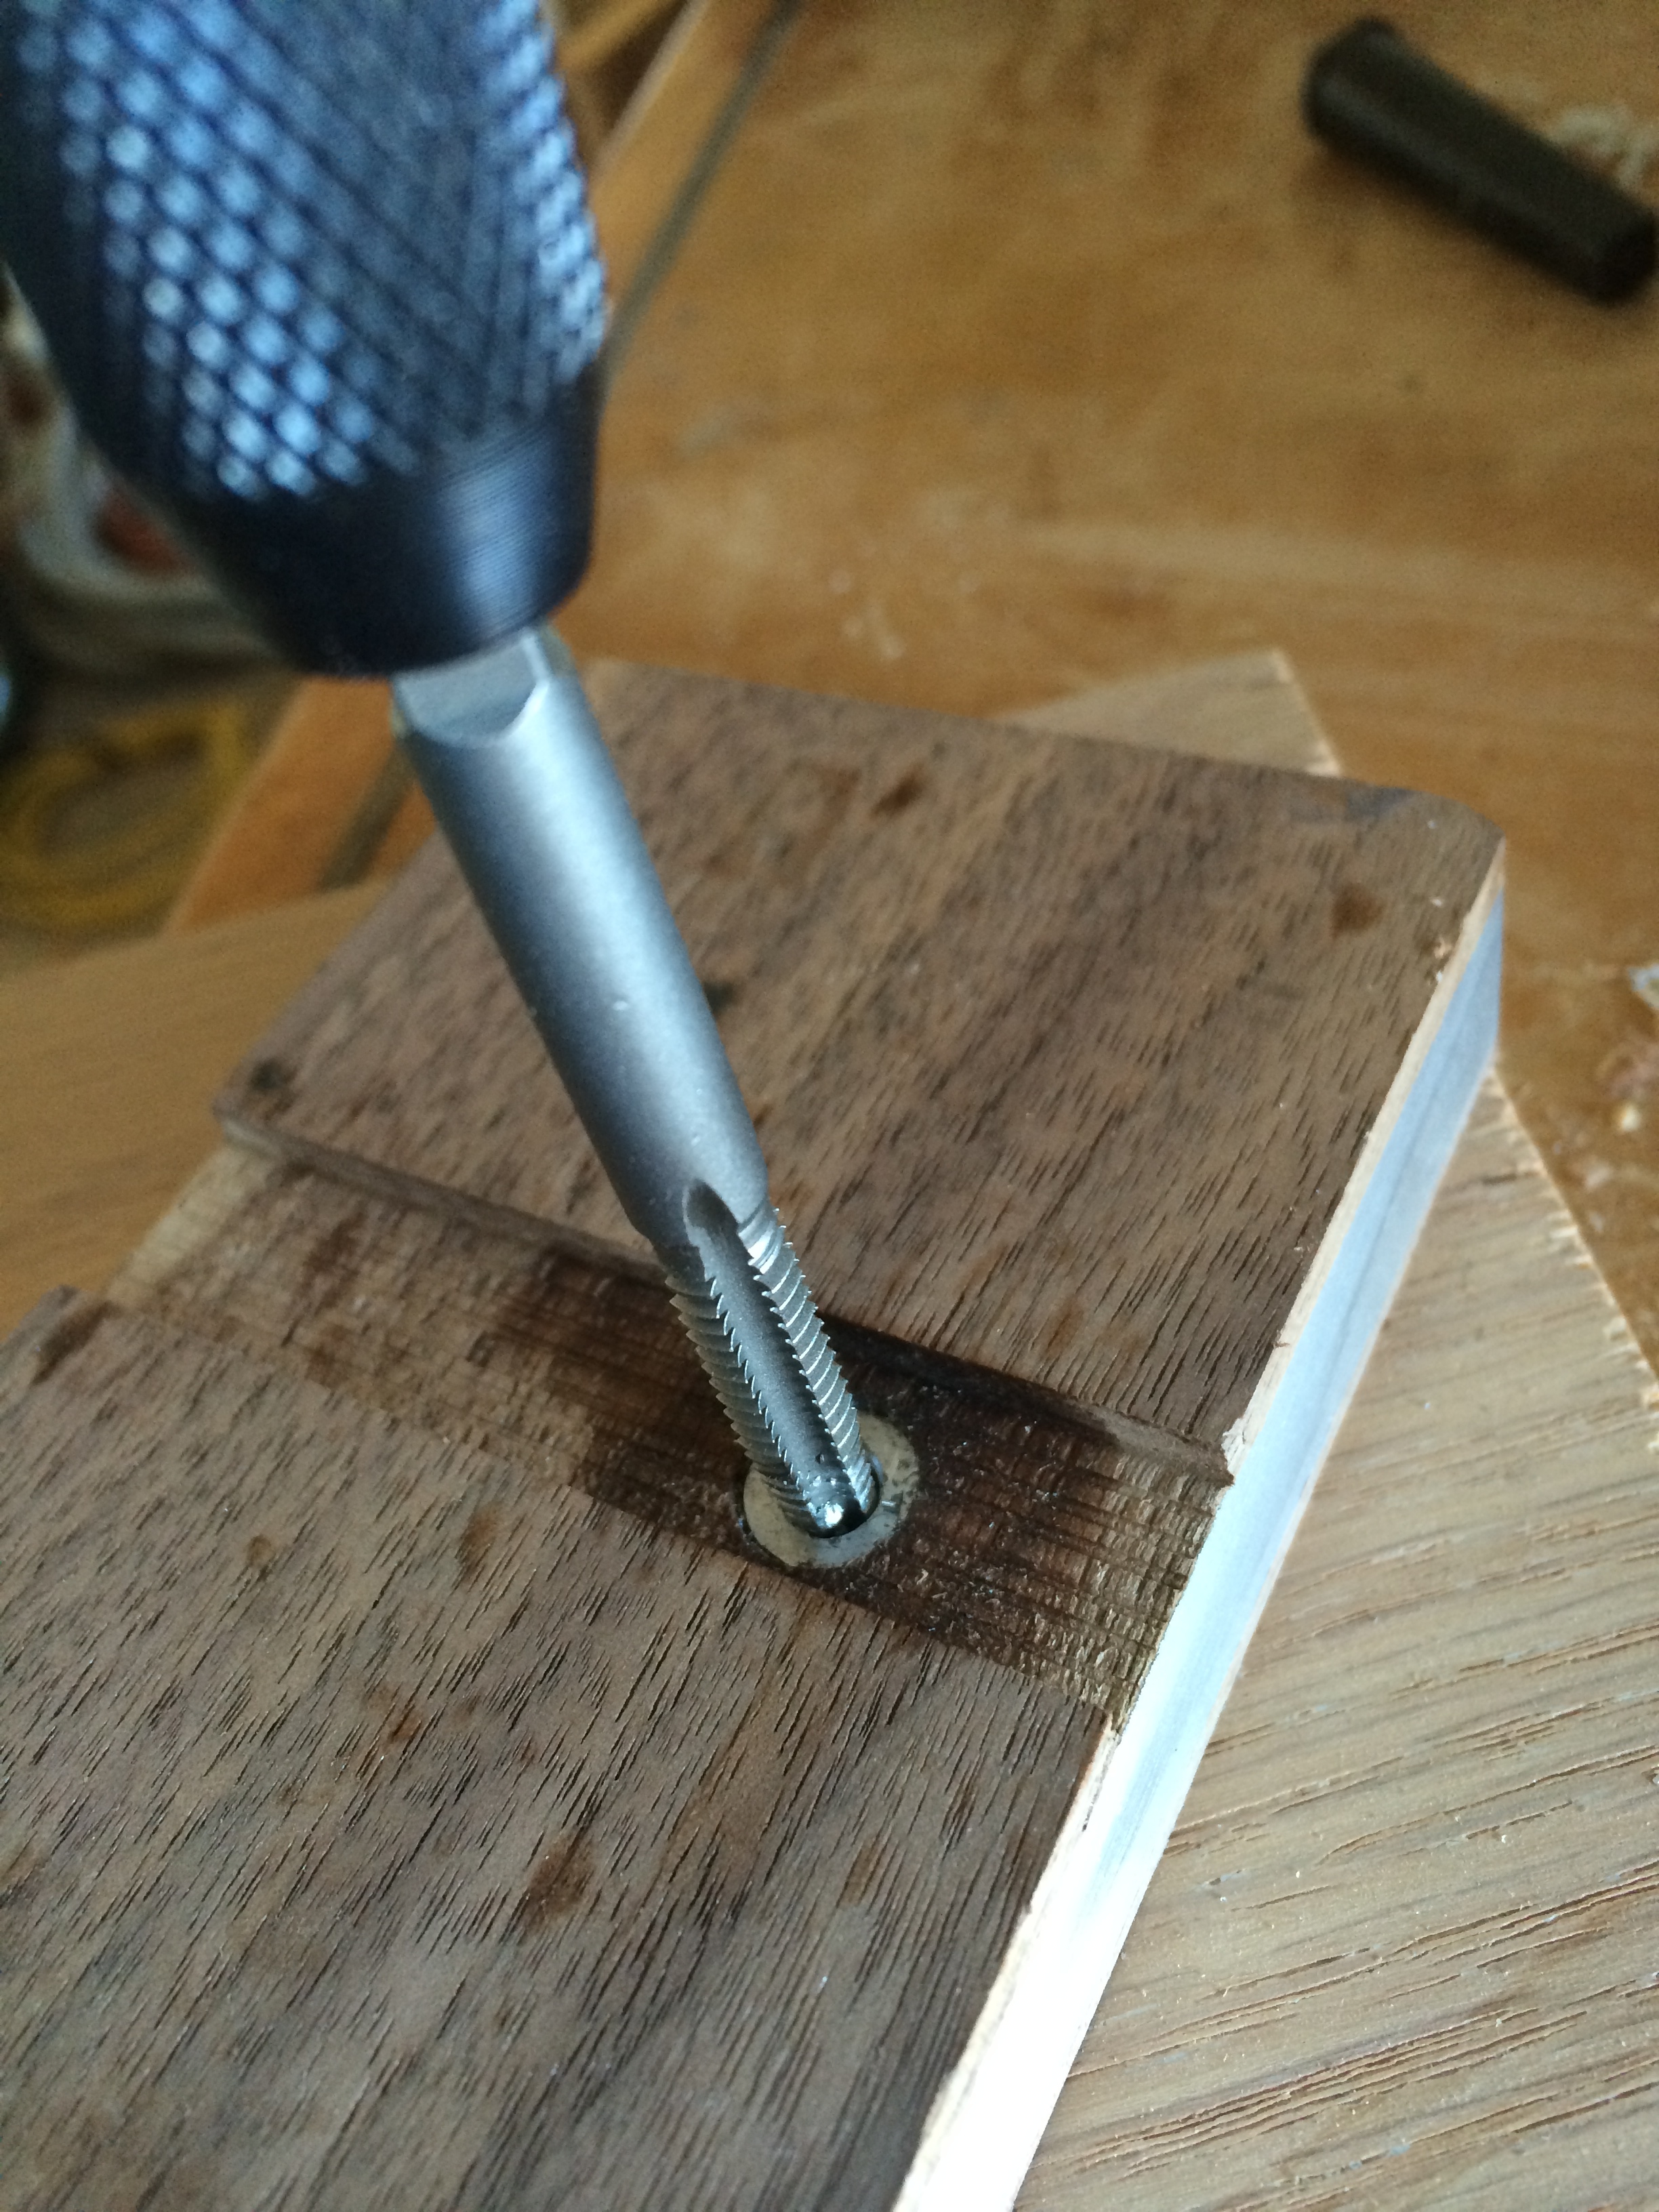
For the walnut and white oak marking gauges shown below I used aluminum dowel rod and tapped it for the adjustment bolt to thread into.
The cutter was made from a jig saw blade. The blade was shaped at the belt sander but the slot was cut using a rotary tool with a metal cut off wheel. I went slow and wet the metal often to keep it from losing hardness. Once I had the slot cut I then parted off the cutter about 1/4″ above the slot with the same cut off wheel and then shaped it at the belt sander.

When the cutter was sharpened and ready to be placed on the bar I threaded the bolt through the slot so the bevel would face the stock. This way the cutting gauge would leave a nice sharp line on the keeper material.
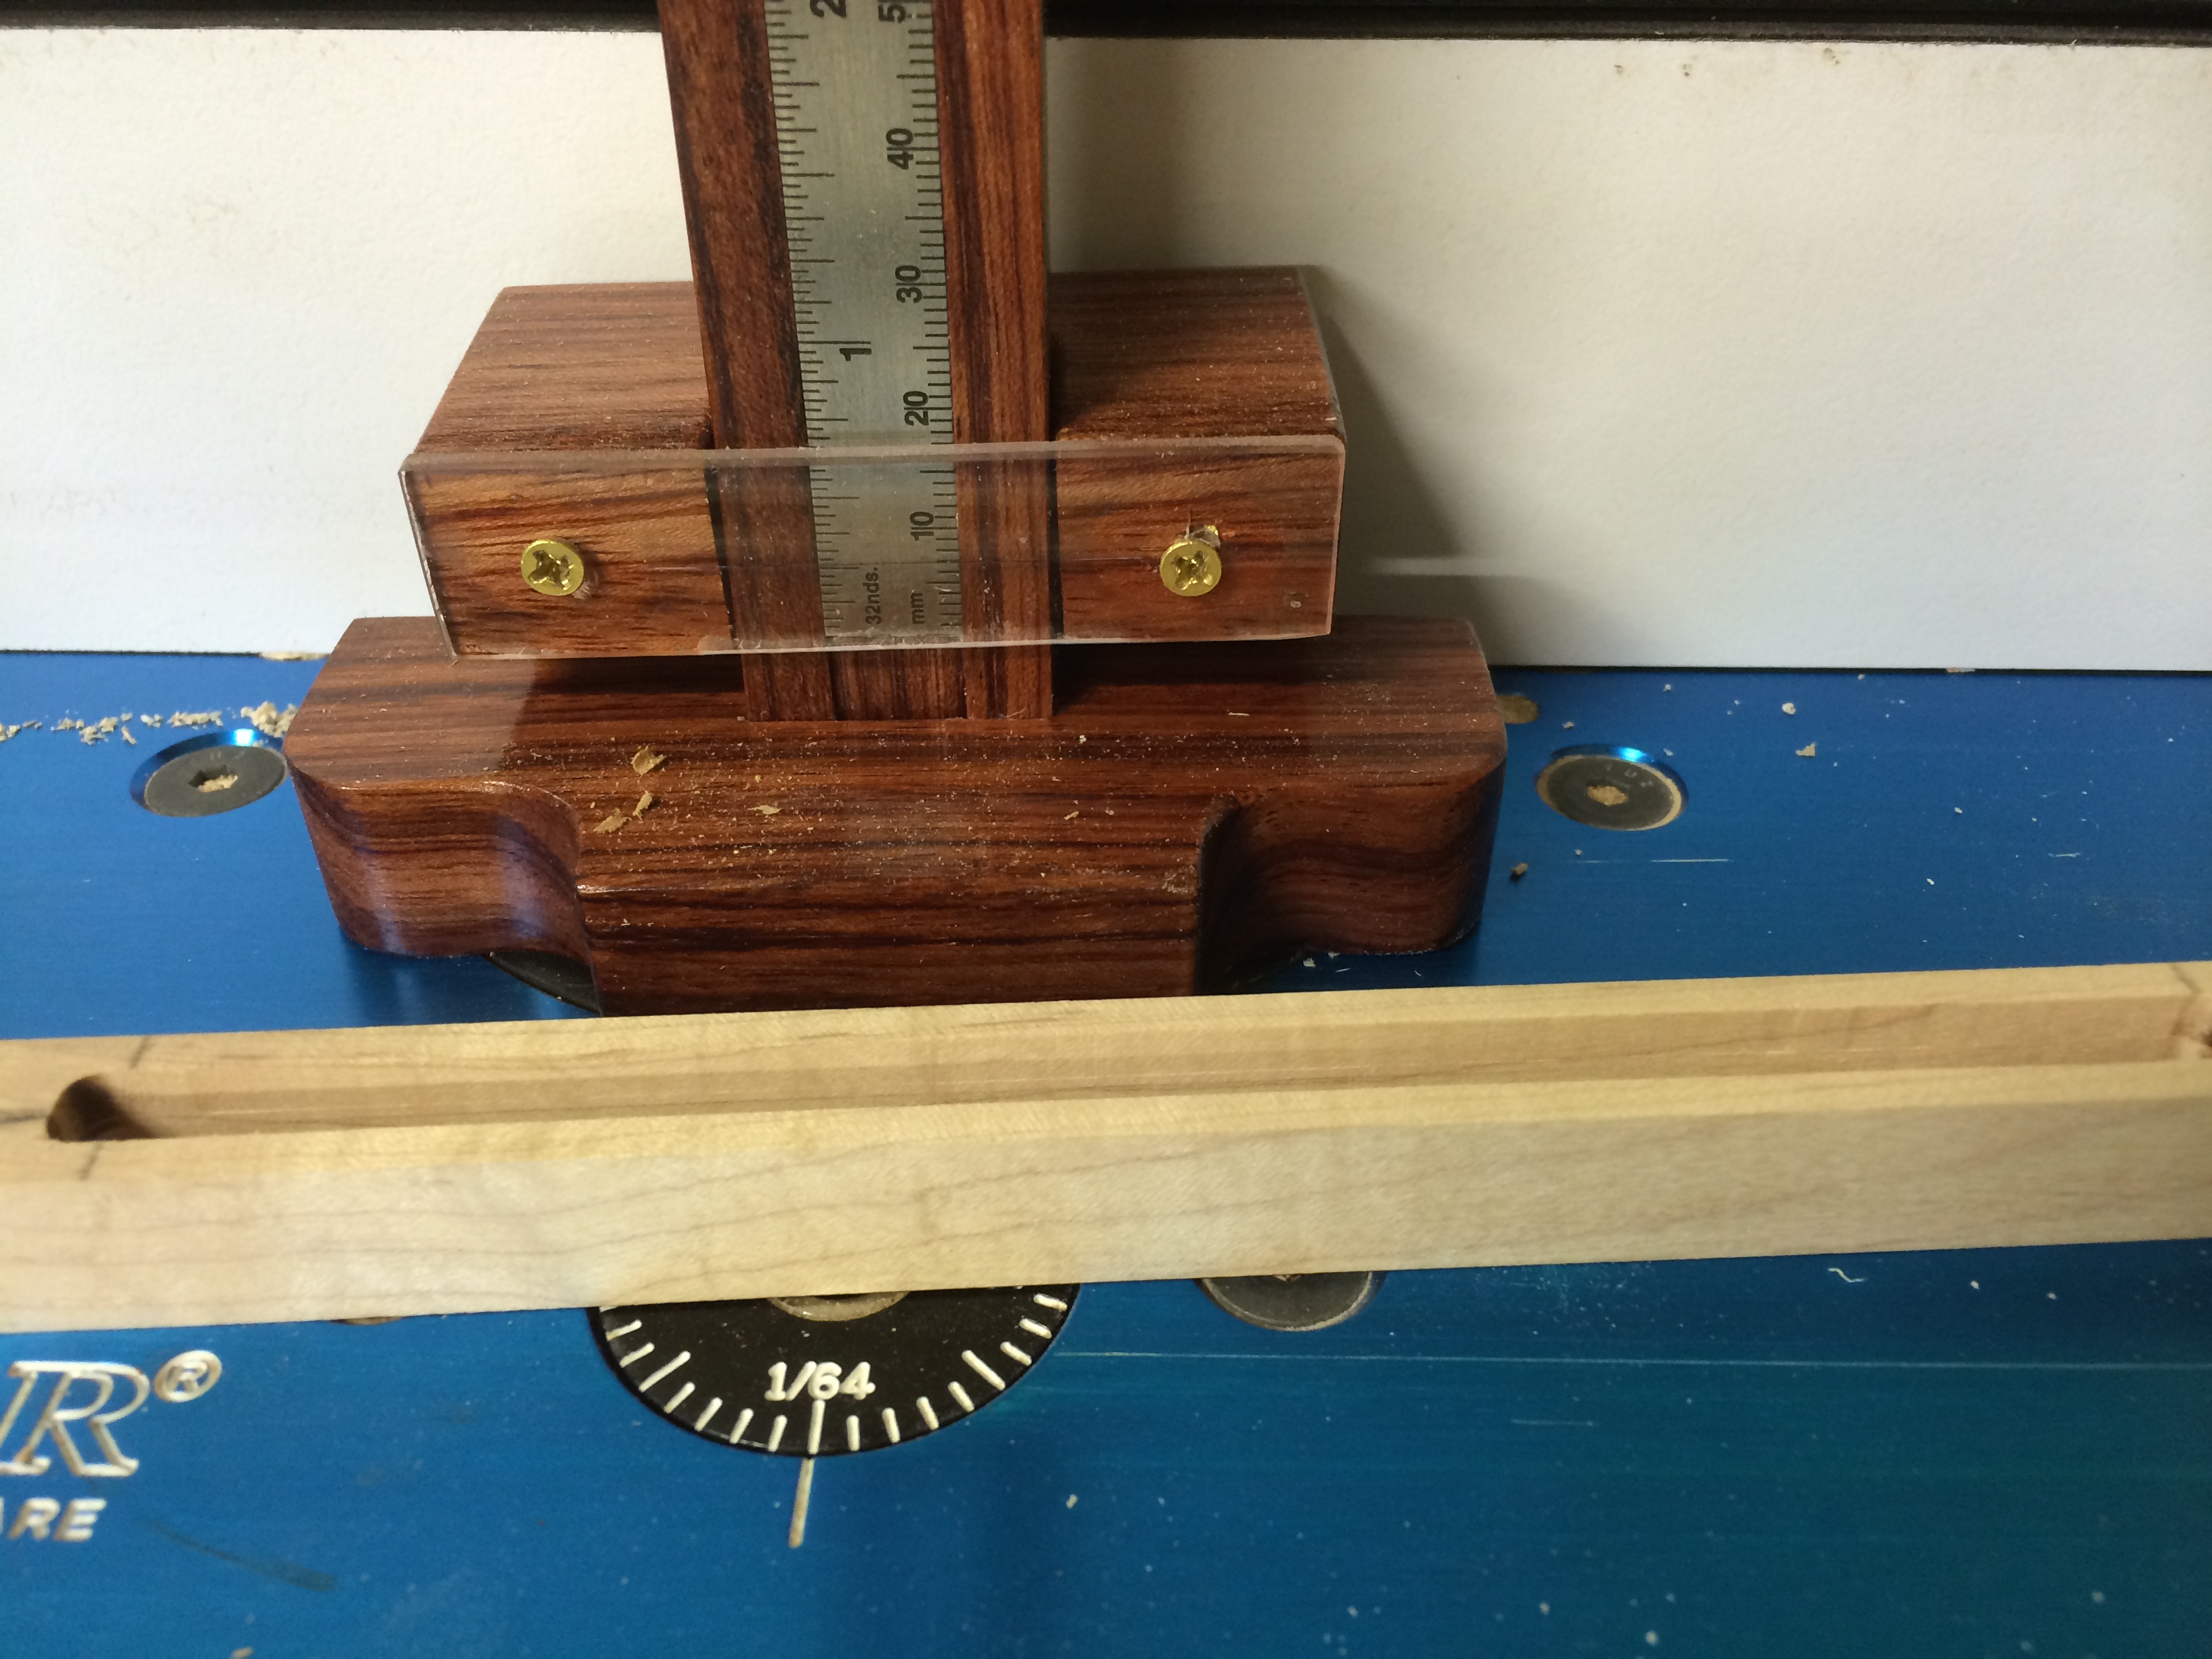
Below are the three finished marking gauges. I set them to cut a t 1/4″, 1/2″, and 3/4″ from right to left as seen below (photo at top shows the settings).

I encourage you to use your scrap wood and make something useful for your shop or your house.
