
Here is a video of the process.
I had no idea what a bangle was when I saw the Bangle Bowl 2014 contest headline. Basically, it is a bracelet. But, because this was a contest, I decided to give it a shot. The two categories for prizes are for turned bangles and not turned bangles. Three entries will be chosen for each category and only one entry per person is allowed. Sounds great to me.
I am entering for the turned bangle category. Since I have a lot of poplar left from the Tatami Platform Bed and following in the path of my Scrap Wood Woodworking series, I chose to make a segmented bangle. Actually, since I had a lot of scrap poplar, I decided to make 3 bangles so I could choose which to submit for the contest.
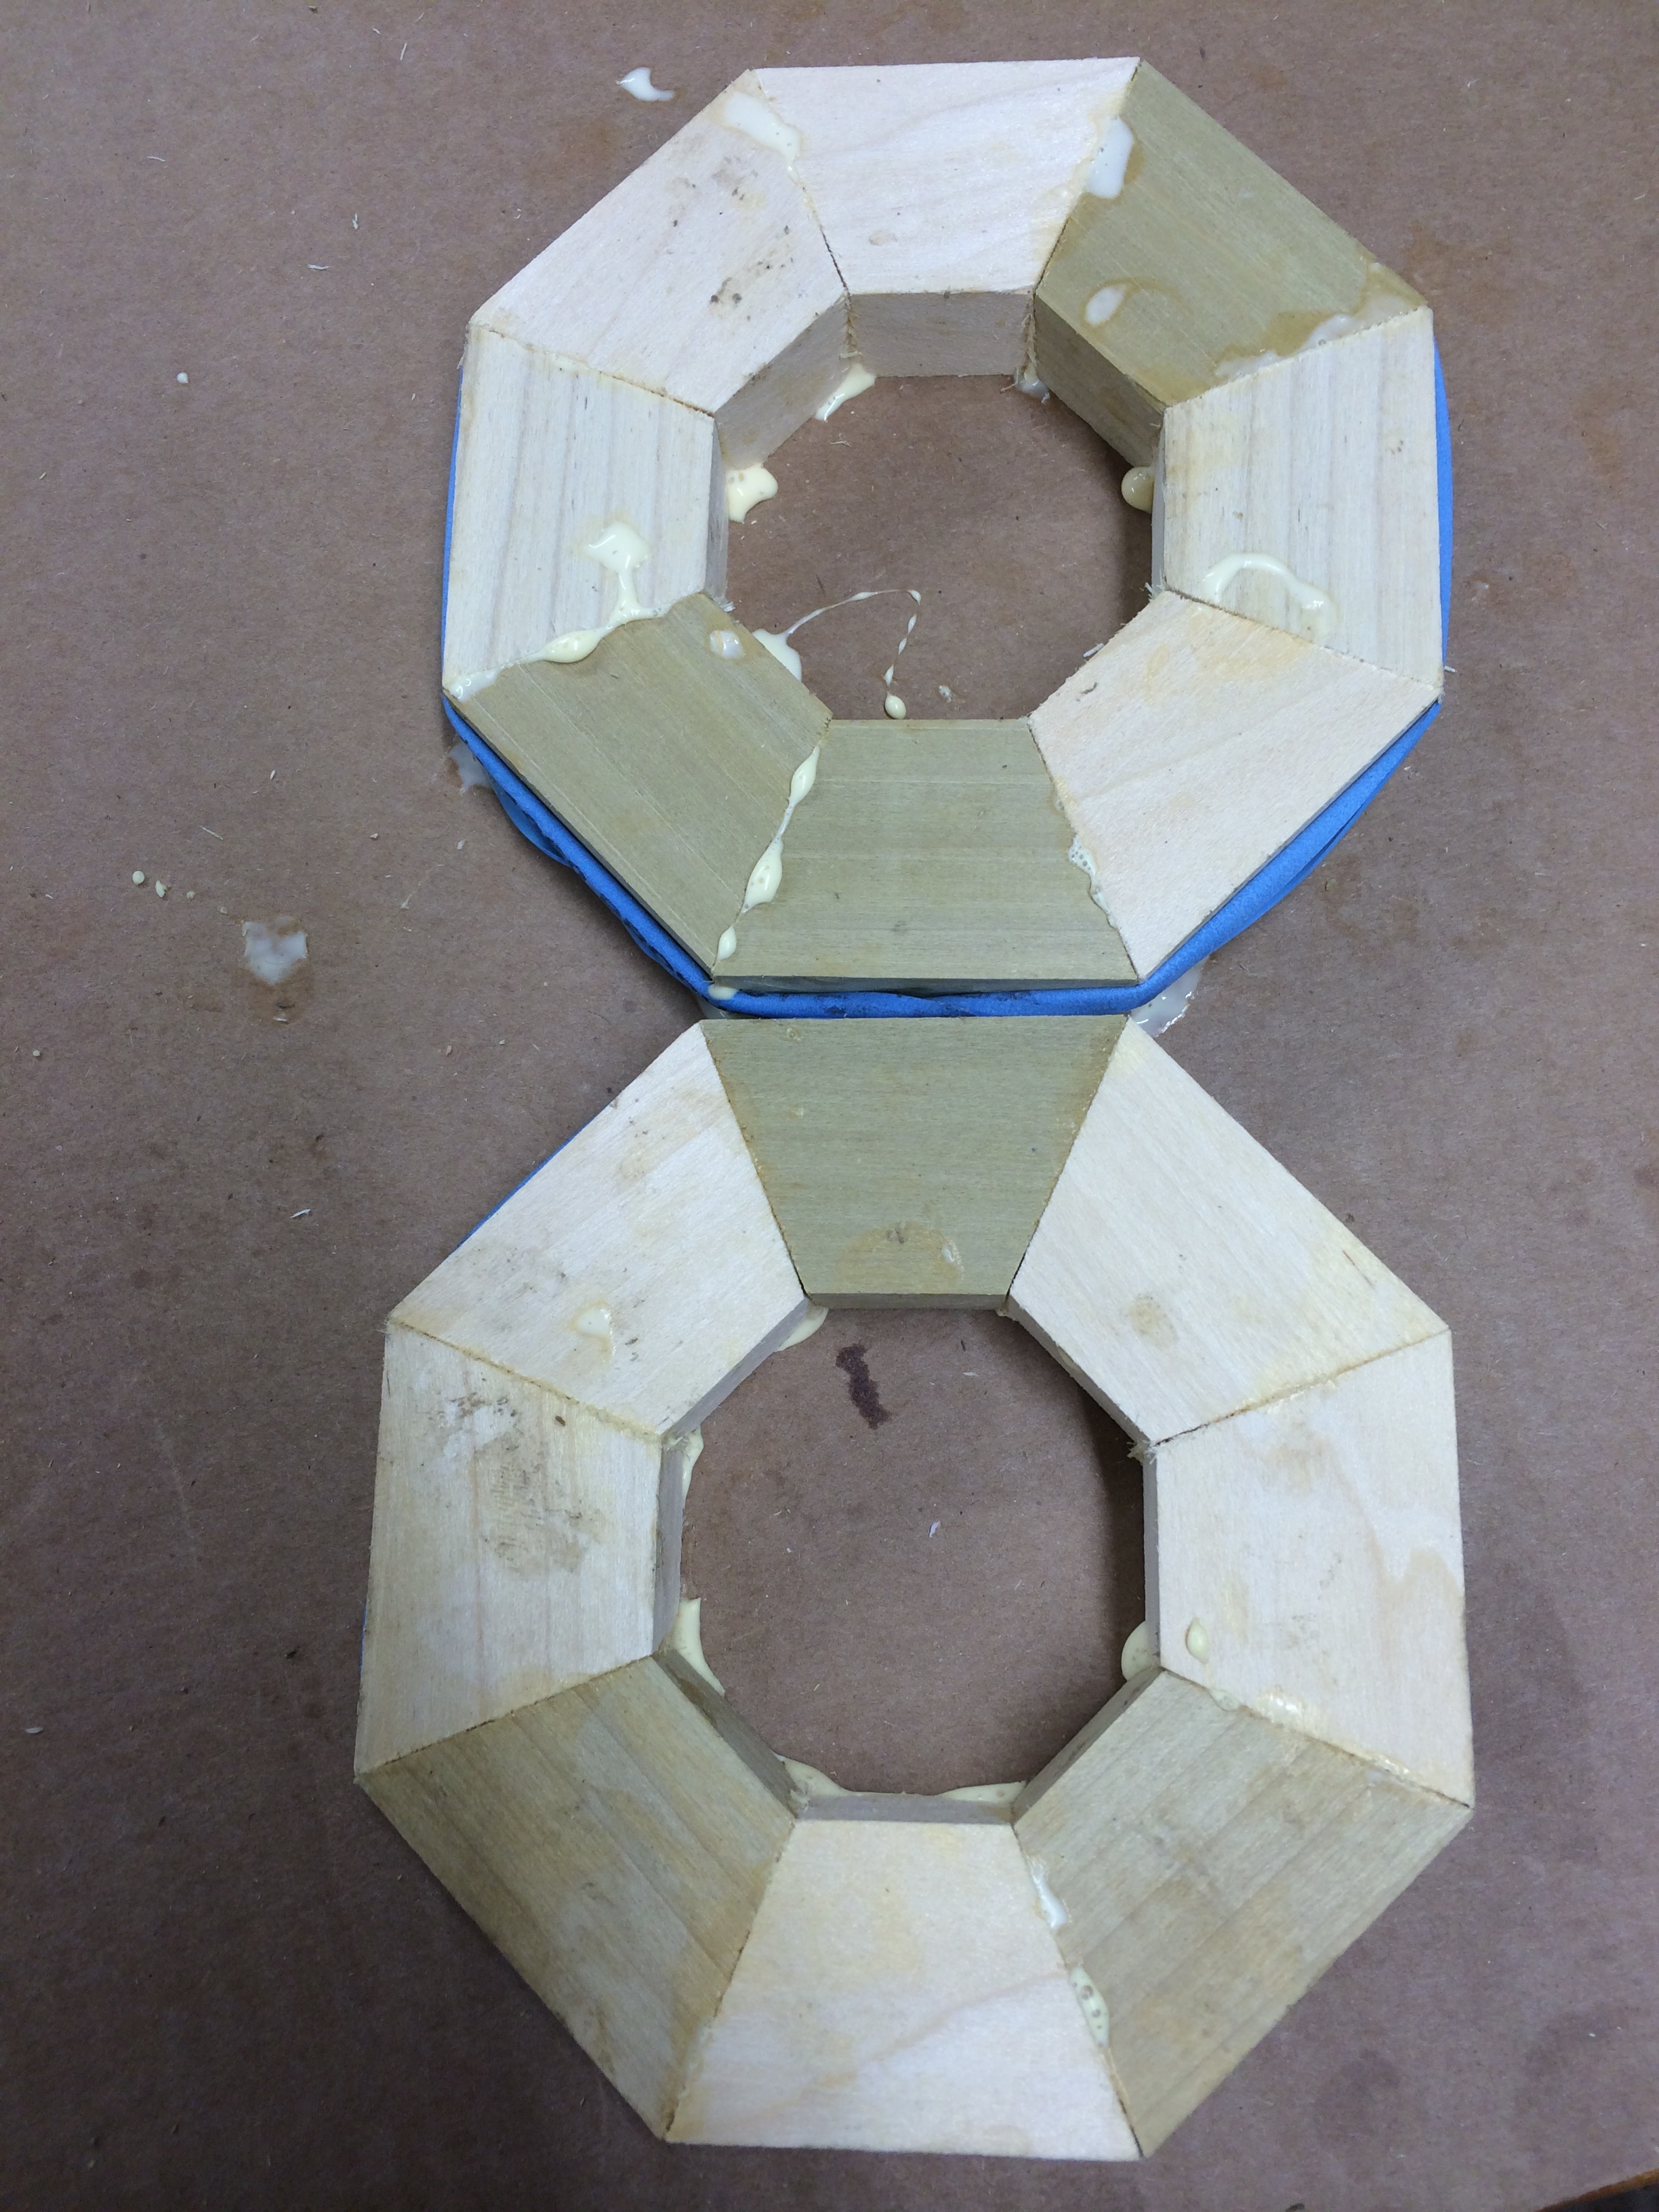
I cut eight 1-1/2″ segments of 1-1/4″ wide by 3/4″ thick stock to the proper angle to make a ring.


To find the degree needed for each segment (external angle) to make a segmented ring, use the equation 360/n where n = number of sides. Keep in mind that this calculation gives the angle in degrees of two pieces joined together, thus divide that by 2. So the new equations is (360/n) ÷ 2, or simply, 360/2n. This gives the result of 22.5°. Now, that I lost you with math stuff, let’s get to the good stuff.
I made two segmented rings, glued each segment together, cleaned up the surfaces, and glued them together such that the segments were offset from each other. Notice the slight gaps between some of the segments. This was a non issue as you will see later.


The next step was to glue a sacrificial block to a face of the blank. Before doing that I wanted to true the blank and flatten a face over at the lathe. I used the internal grip jaws on my scroll chuck to hold the blank while I trued and flattened the blank. Be sure not to use a roughing gouge to do this. This is spinning end grain. Use a bowl gouge and come at it from the outside going in to shear the grain.
I used a piece of plywood as a glue block for this blank. Just glue it on and slide the tail stock (with no live center in it) up to the block and tighten it against the block.
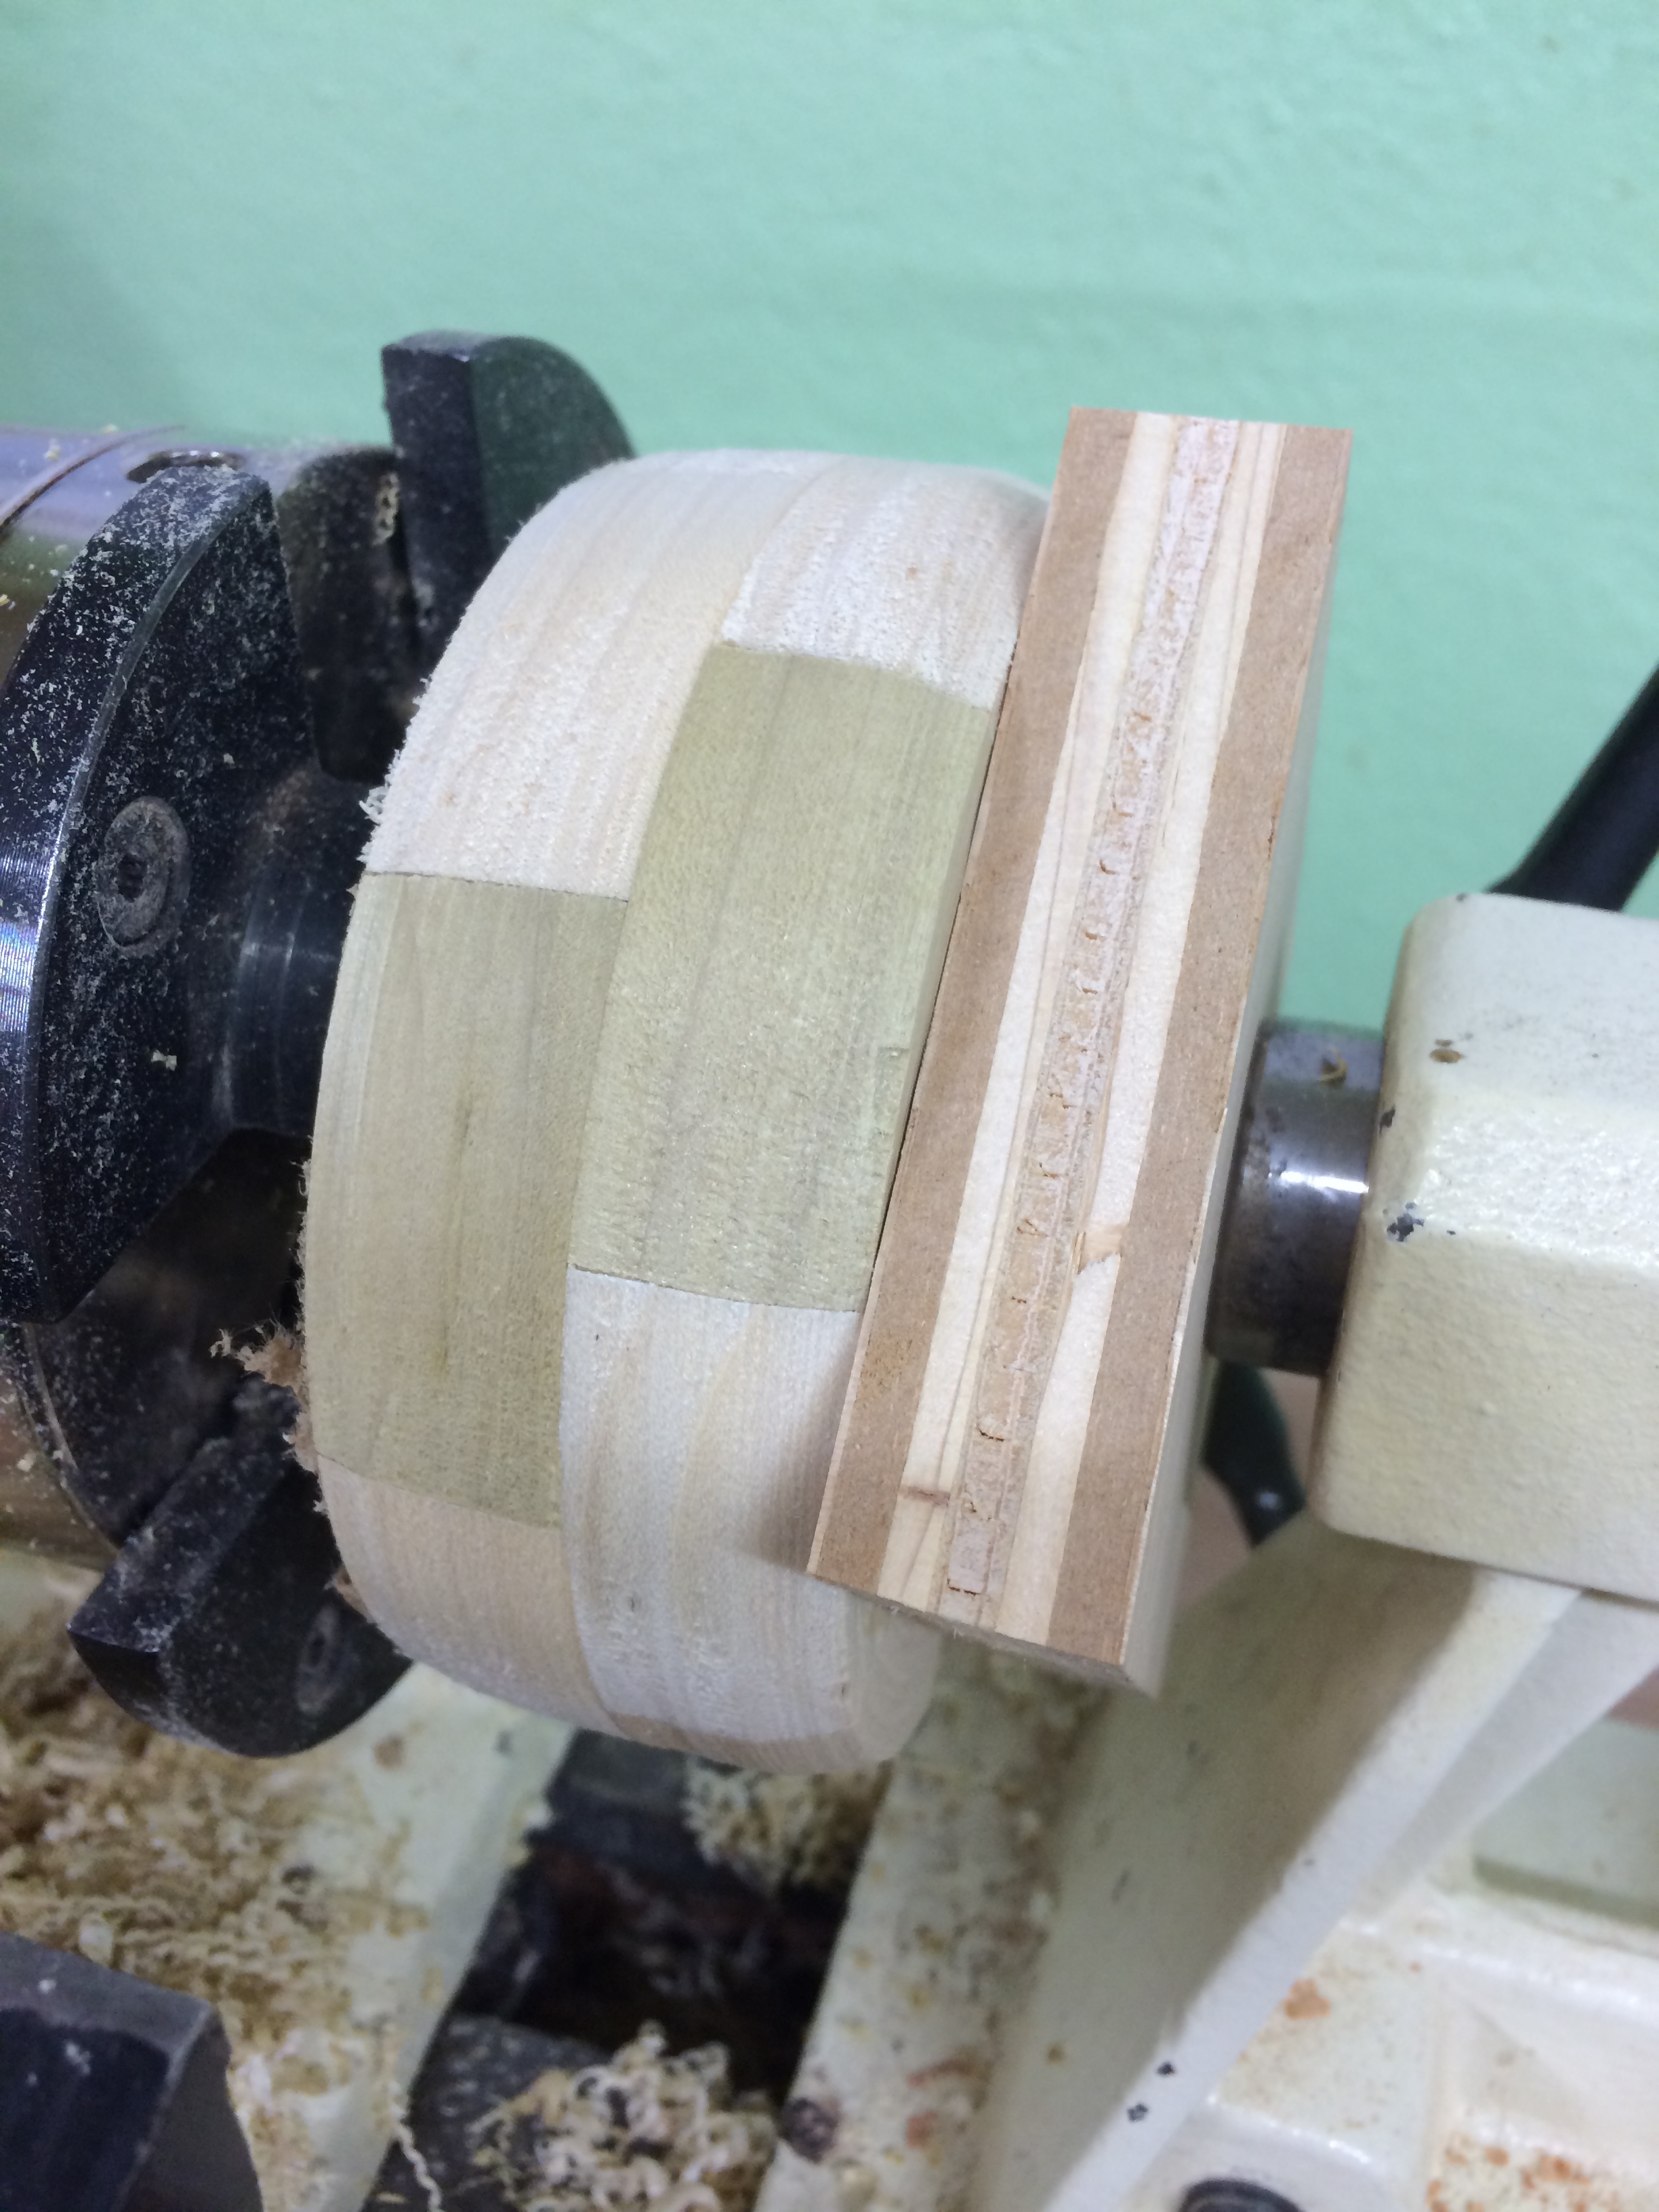
Next, reverse the blank so the scroll chuck is holding the plywood block in the jaws. This gives more material to work with on the blank. Now drill or shape the inside diameter of the blank anywhere between 2-3/8″ to 2-5/8″. I turned the inside true with a bowl gouge.

Same as before, I glued a block onto the blank, put it into the scroll chuck, and began truing the blank.
After all the blanks were trued I had to decide on a profile for each bangle. The first bangle I shaped was a simple convex profile. In lathe language it may be called a bead, I am not a die-hard turner so feel free to correct me.

After sanding up to 320 grit, I filled any gaps with wood filler, let that dry, and sanded again with 320. The key to the process to come is to have a smooth and sealed surface.

The second bangle I shaped was more of an experiment.

Here is how the bangles are sealed. I used wood filler to fill any gaps and then sealed the wood with white shellac-base primer. I like shellac-base because of the fast drying time.
After several coats of primer I sanded, yet again, with 320 grit paper to get a nice smooth surface.

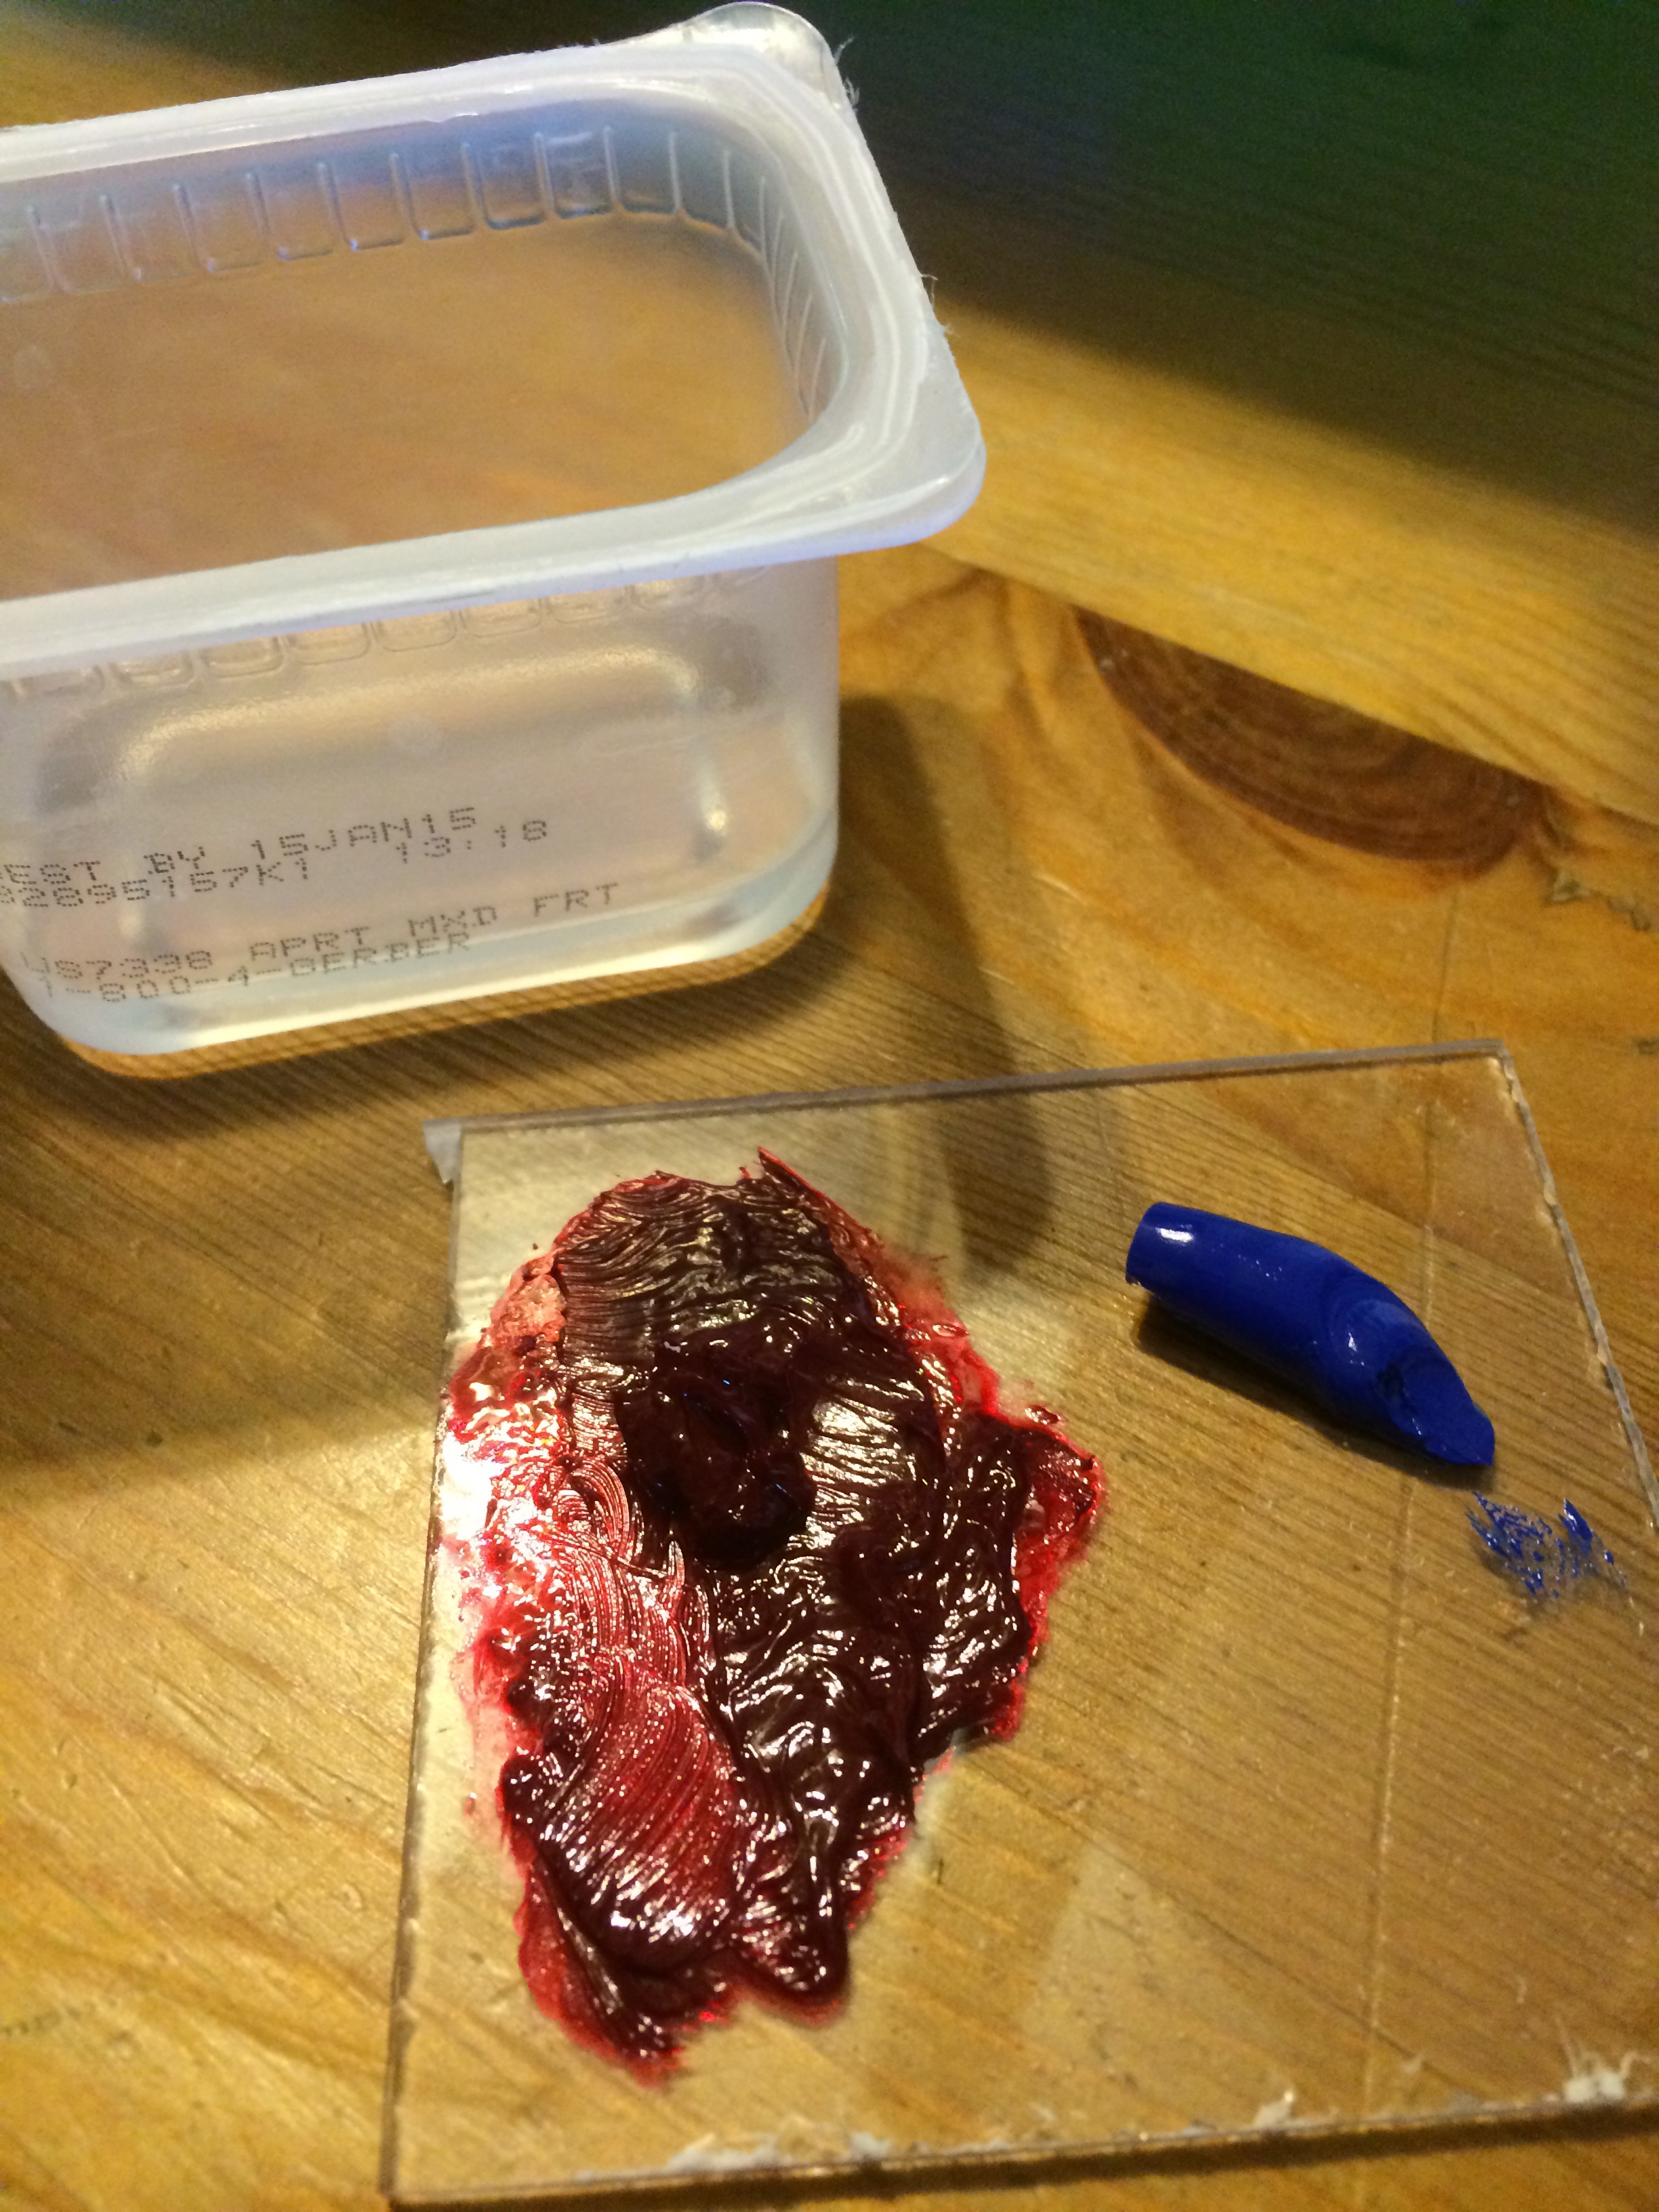
Now it was time to paint the surfaces. I put a little mineral spirits in a small container to load my paint brush and squeezed a little bit of crimson and cobalt blue oil paint on a piece of acrylic.
I put the 1st bangle on an 8″ x 10″ canvas (to see if some art will come of it) and started painting a base coat of crimson red on the primed surface.
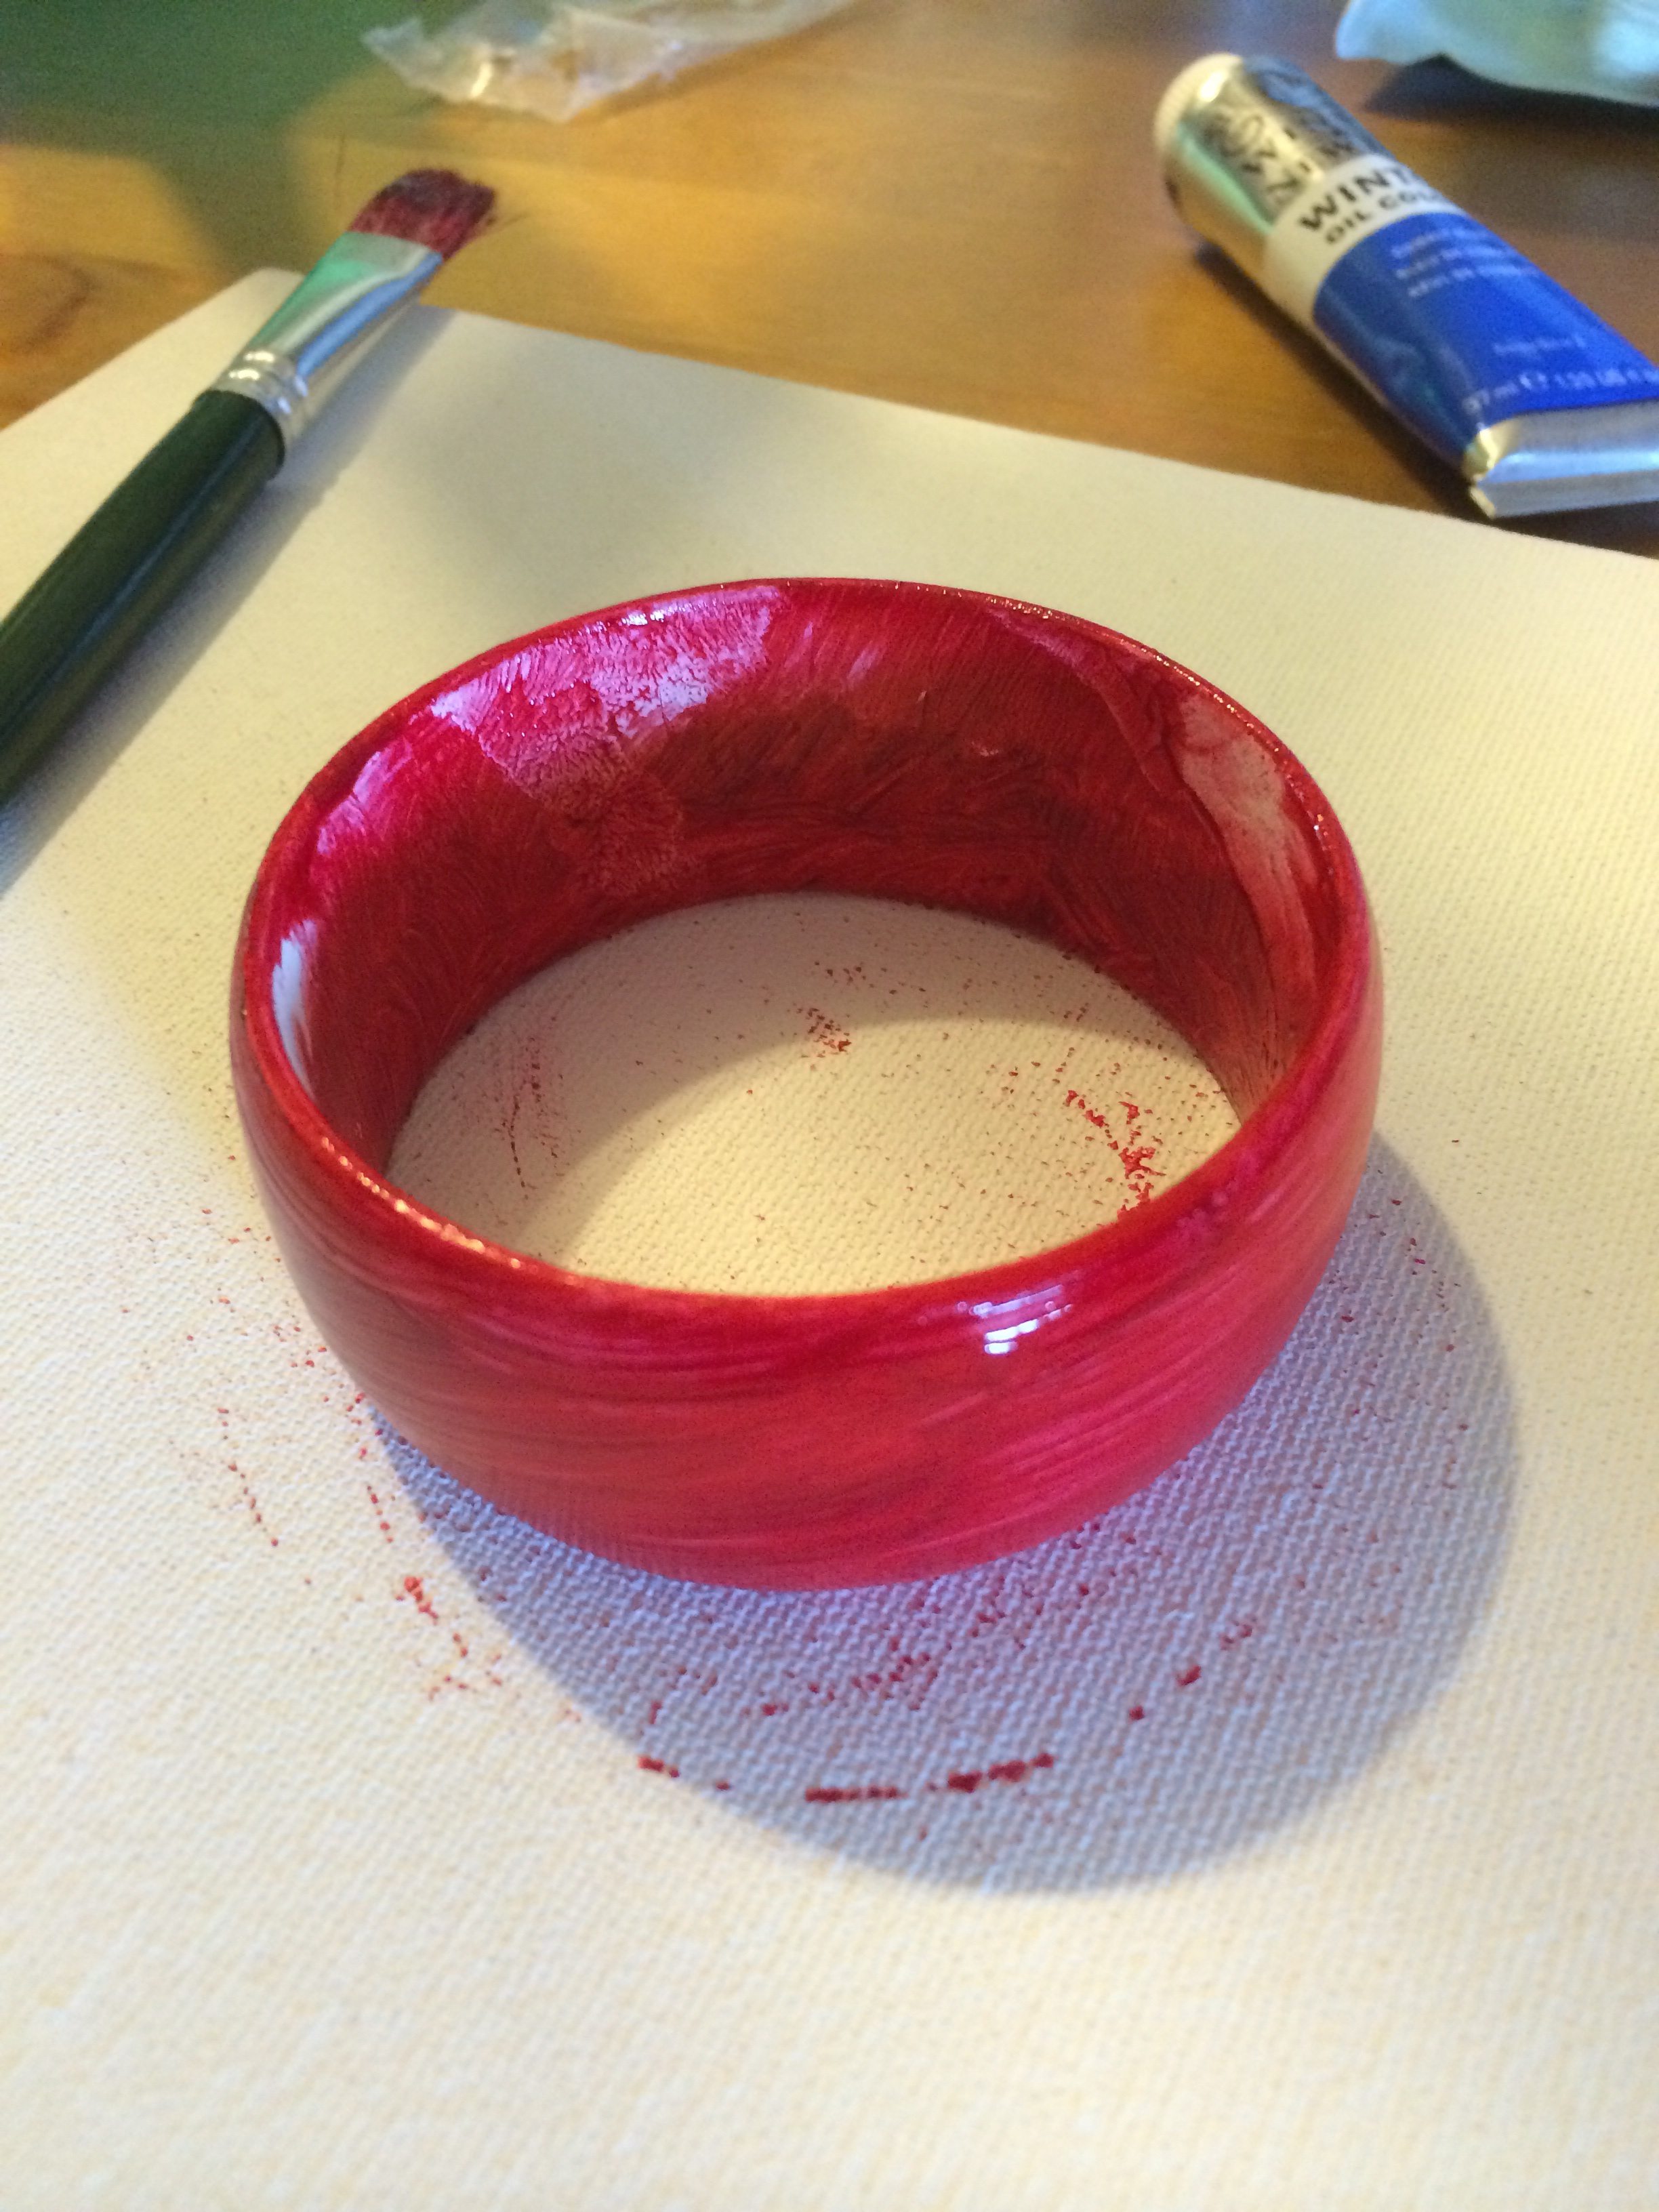
I let the paint dry, sanded it lightly, and painted again to get a nice even color. Next color was cobalt blue done the same as the crimson.

The oil paint was taking far too long to dry so I add a few drops of japan drier using an oral syringe. The recommended amount of japan dryer to be added to a gallon of paint is 2-4 oz. I did the math and converted the units to milliliters and came up with about 0.10 mL per 5 mL of paint. I only used about 2 mL of paint per coat so I added 2 drops (about 0.20 mL) of drier, mixed it up on a plastic lid, and brushed on the paint. Several coats of each color needed to be applied to get a nice even coat before layering on a second color.
After my 4th coat of paint I sanded the bangles with 240 grit paper and finished with 320 grit. I wiped the surface clean and applied a wash coat of oil paint. This coat was diluted with mineral spirits and japan drier so that the coat would leave no brush marks. This worked very well. I made my 3rd bangle and this is how I painted it with titanium white oil paint.

I was very pleased with the way the red bangle turned out. The deep and faded red color looked great.

I wanted this bangle to have multiple colors showing through the metal leaf. The finished painted bangle looked like a piece of pottery.

My gilding supplies laid out ready to use.

The Gilding Process
Before the bangles can be gilded the surfaces need to be coated with size. I chose a fast drying oil base size so I could add layers of metal leaf for a textural effect.
Once the size is tacky, about as tacky as blue painter’s tape, the metal leaf can be applied. I propped up the bangles on tooth picks so the size would not stick to the paper towel.
Now it’s time to gild. What follows is a montage of photos showing the progression of the gilding.


Patinization
I used ammonia and vinegar to put a patina on the copper and dutch metal. The ammonia and vinegar turn the copper brown to blueish green, does not change silver much, and turns the dutch metal to a deep bronze. In retrospect, I should have mixed rock salt into the ammonia to make a super saturated solution in the bottom of the fuming chamber.
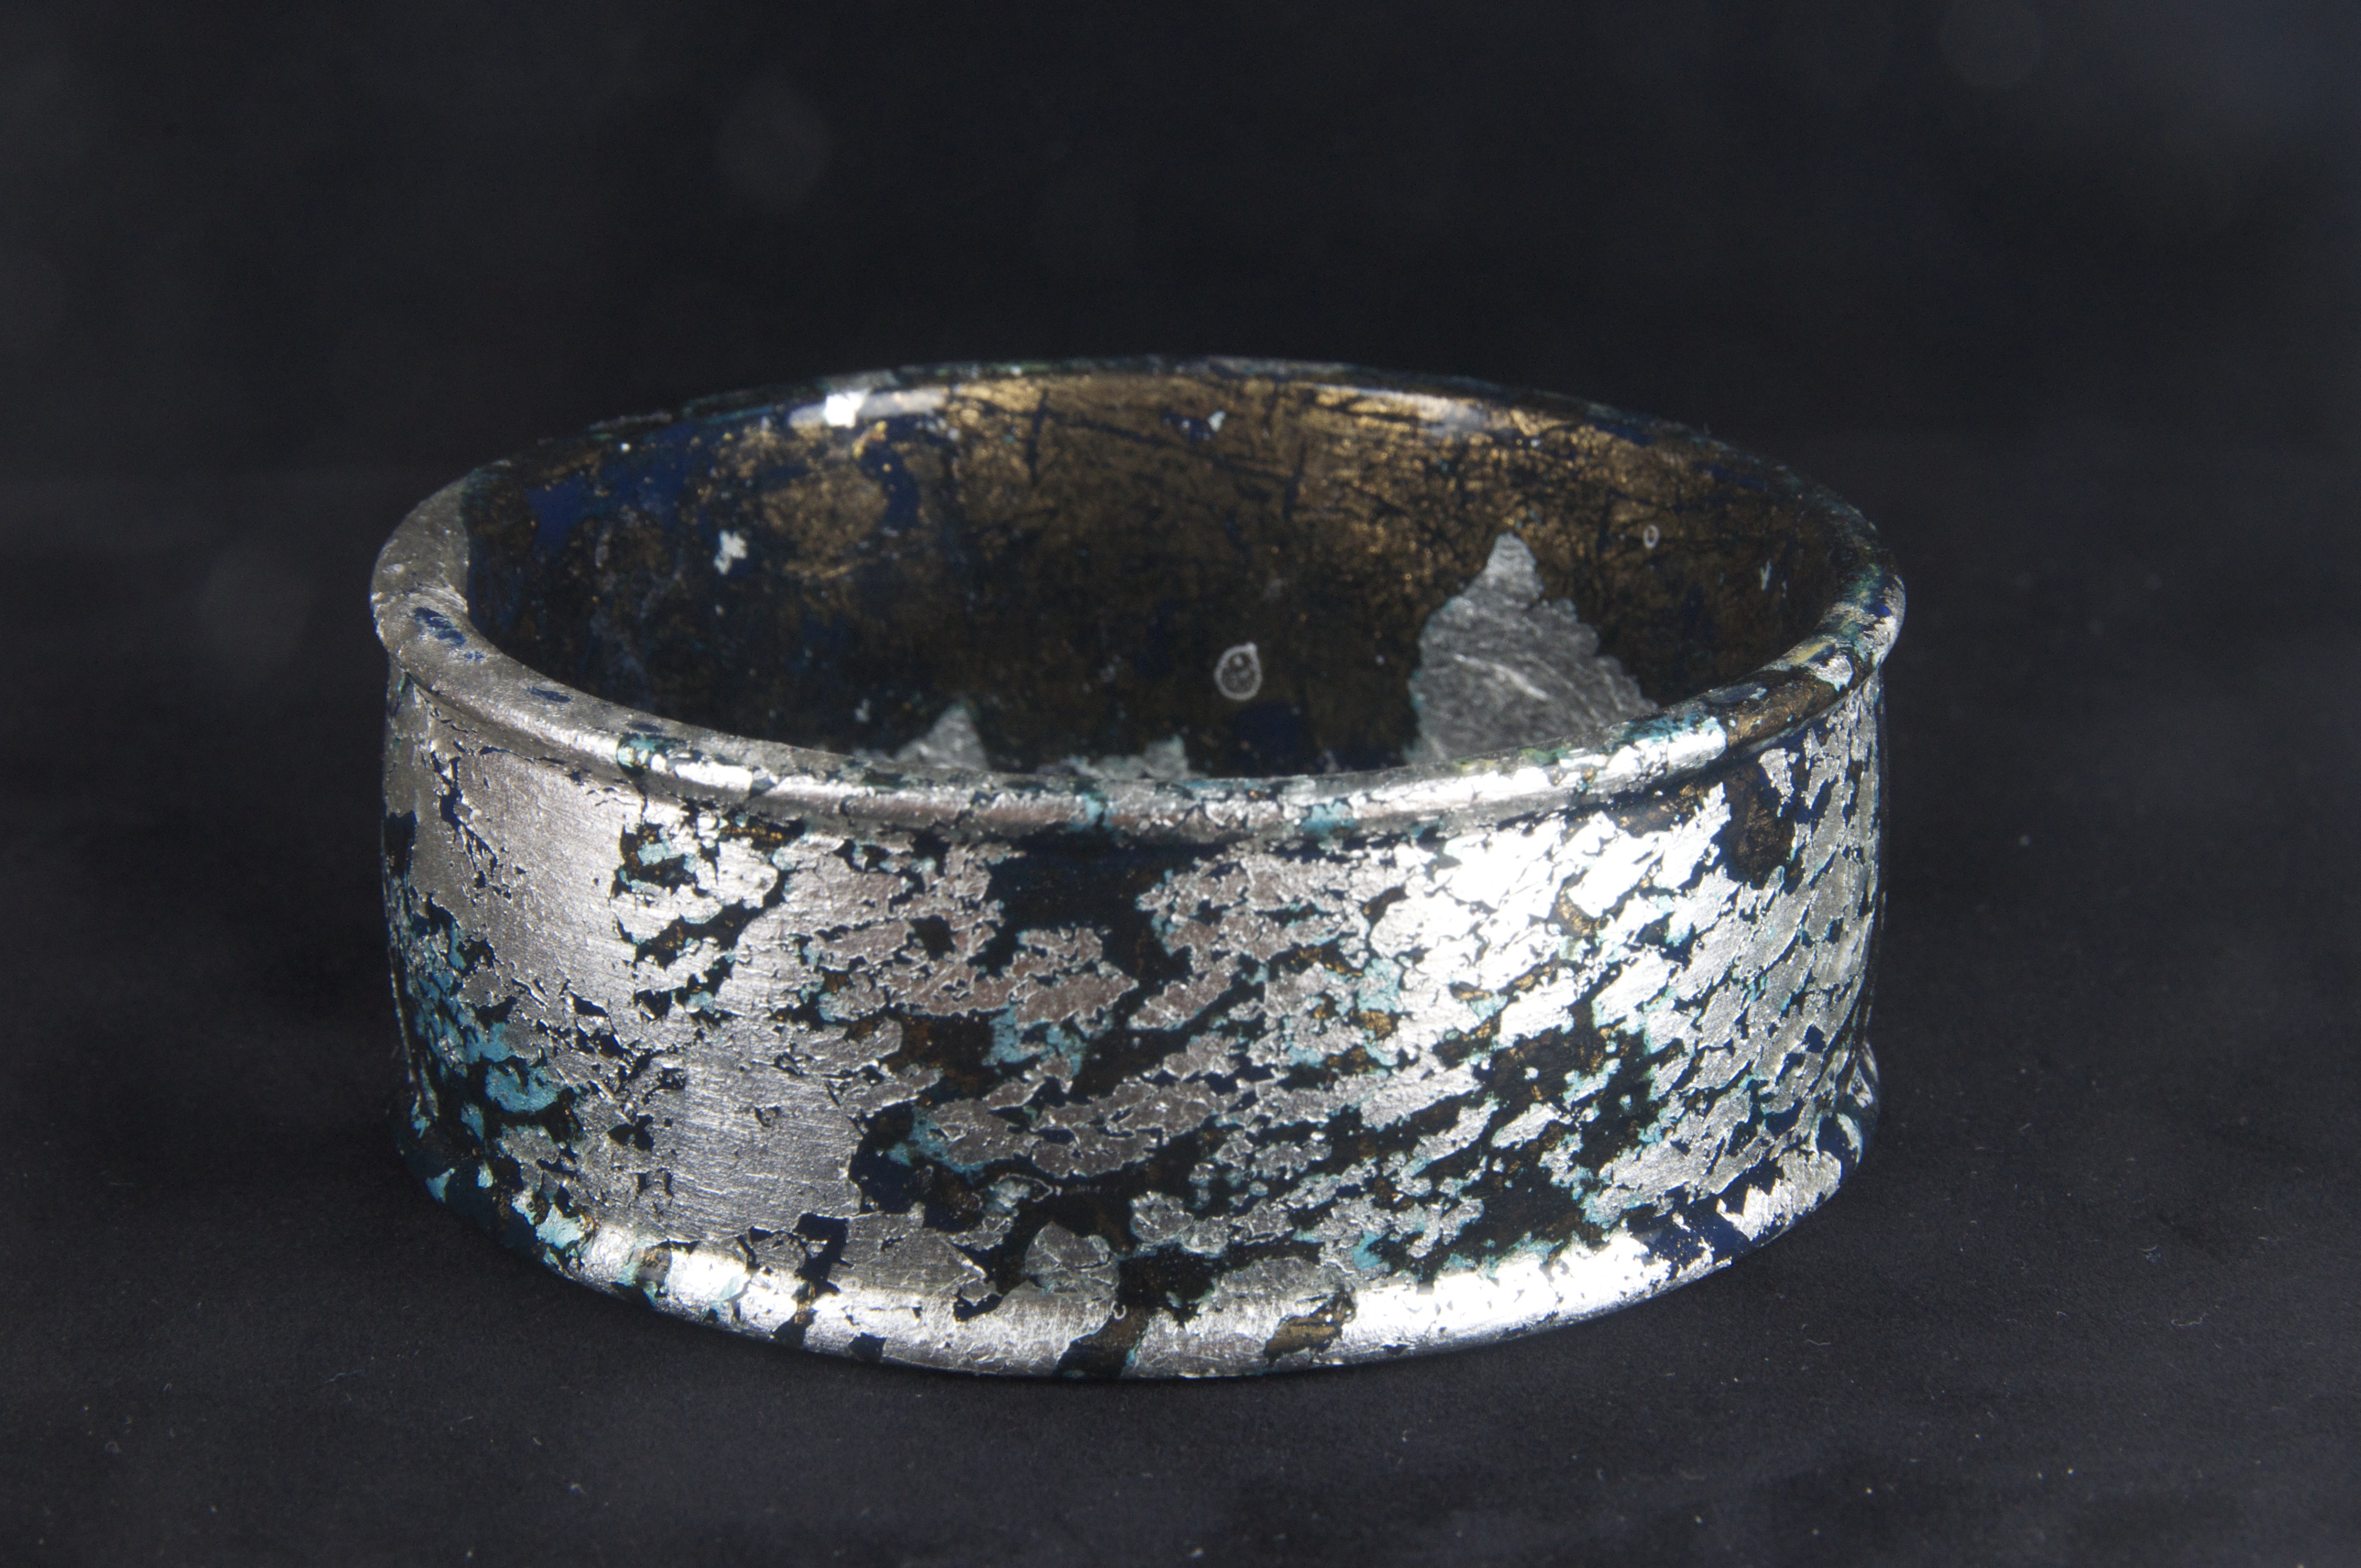

To patinize the silver I used liver of sulphur. First off, this stuff smells like rotten eggs, it is sulfur.

I used a liver of sulphur gel so it was diluted with water and then daubed on the cheese cloth that was wrapped around the bangle with a brush.

When the desired patina was achieved each bangle received several coats of spray lacquer to protect and seal the surface.
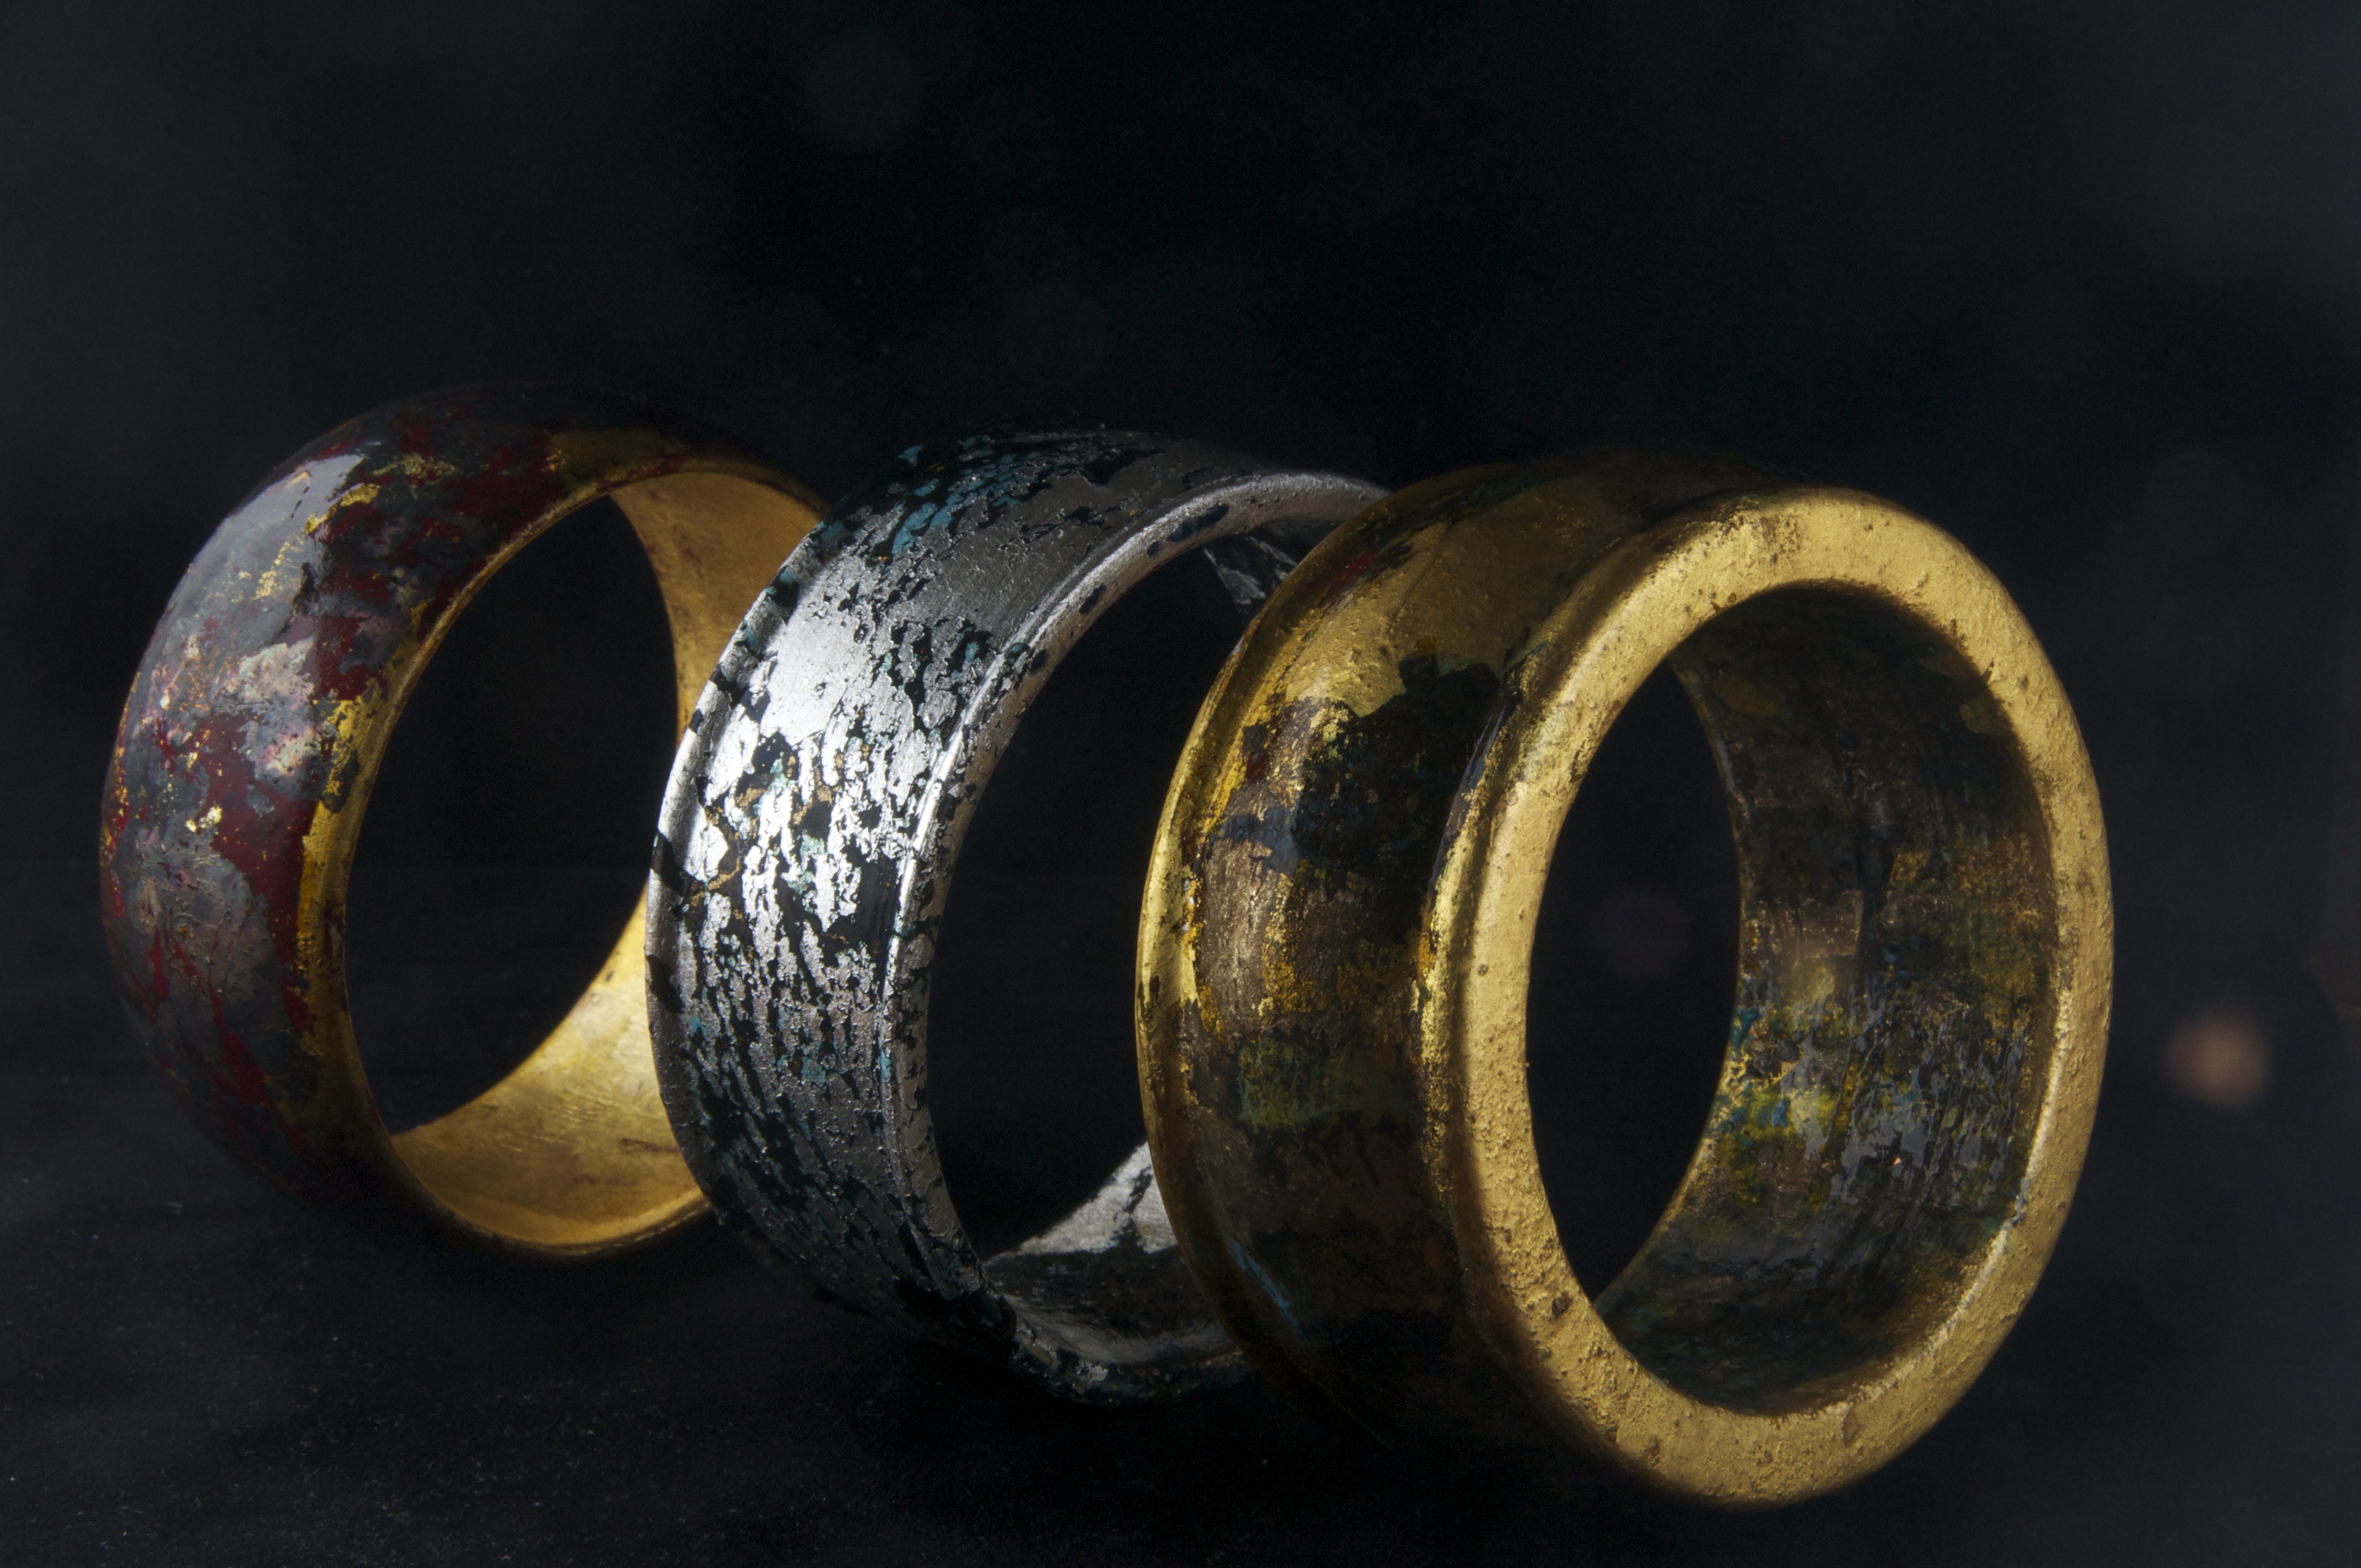

Overall I had a good time making these and I learned a lot about gilding and chemical patinas. If you are interested in learning the process of gilding and patinization, you can reference the 2004 Fine Woodworking Magazine’s article An Extraordinary Patina Finish by David Marks.
Now I am looking at adding gilding and patinas to many projects including adding my business logo to pieces by gilding with copper and patina with vinegar for the green color.
![]()

Great writeup Sean! Love how the paint & gilding turns out, thanks for sharing your process with us.
Thank you, Zac. Also, thanks to you and Kyle for putting this contest together. I had a lot of fun making these.