A fan and reader of this blog (Hi, Dad), sent a full set of Narex Beveled Edge Bench Chisels to me a few weeks ago. Since I had not great way to store this many chisels, I decided to quickly build a rack to hold them all along with the 9 screwdrivers, 2 awls, and the burnisher I have.
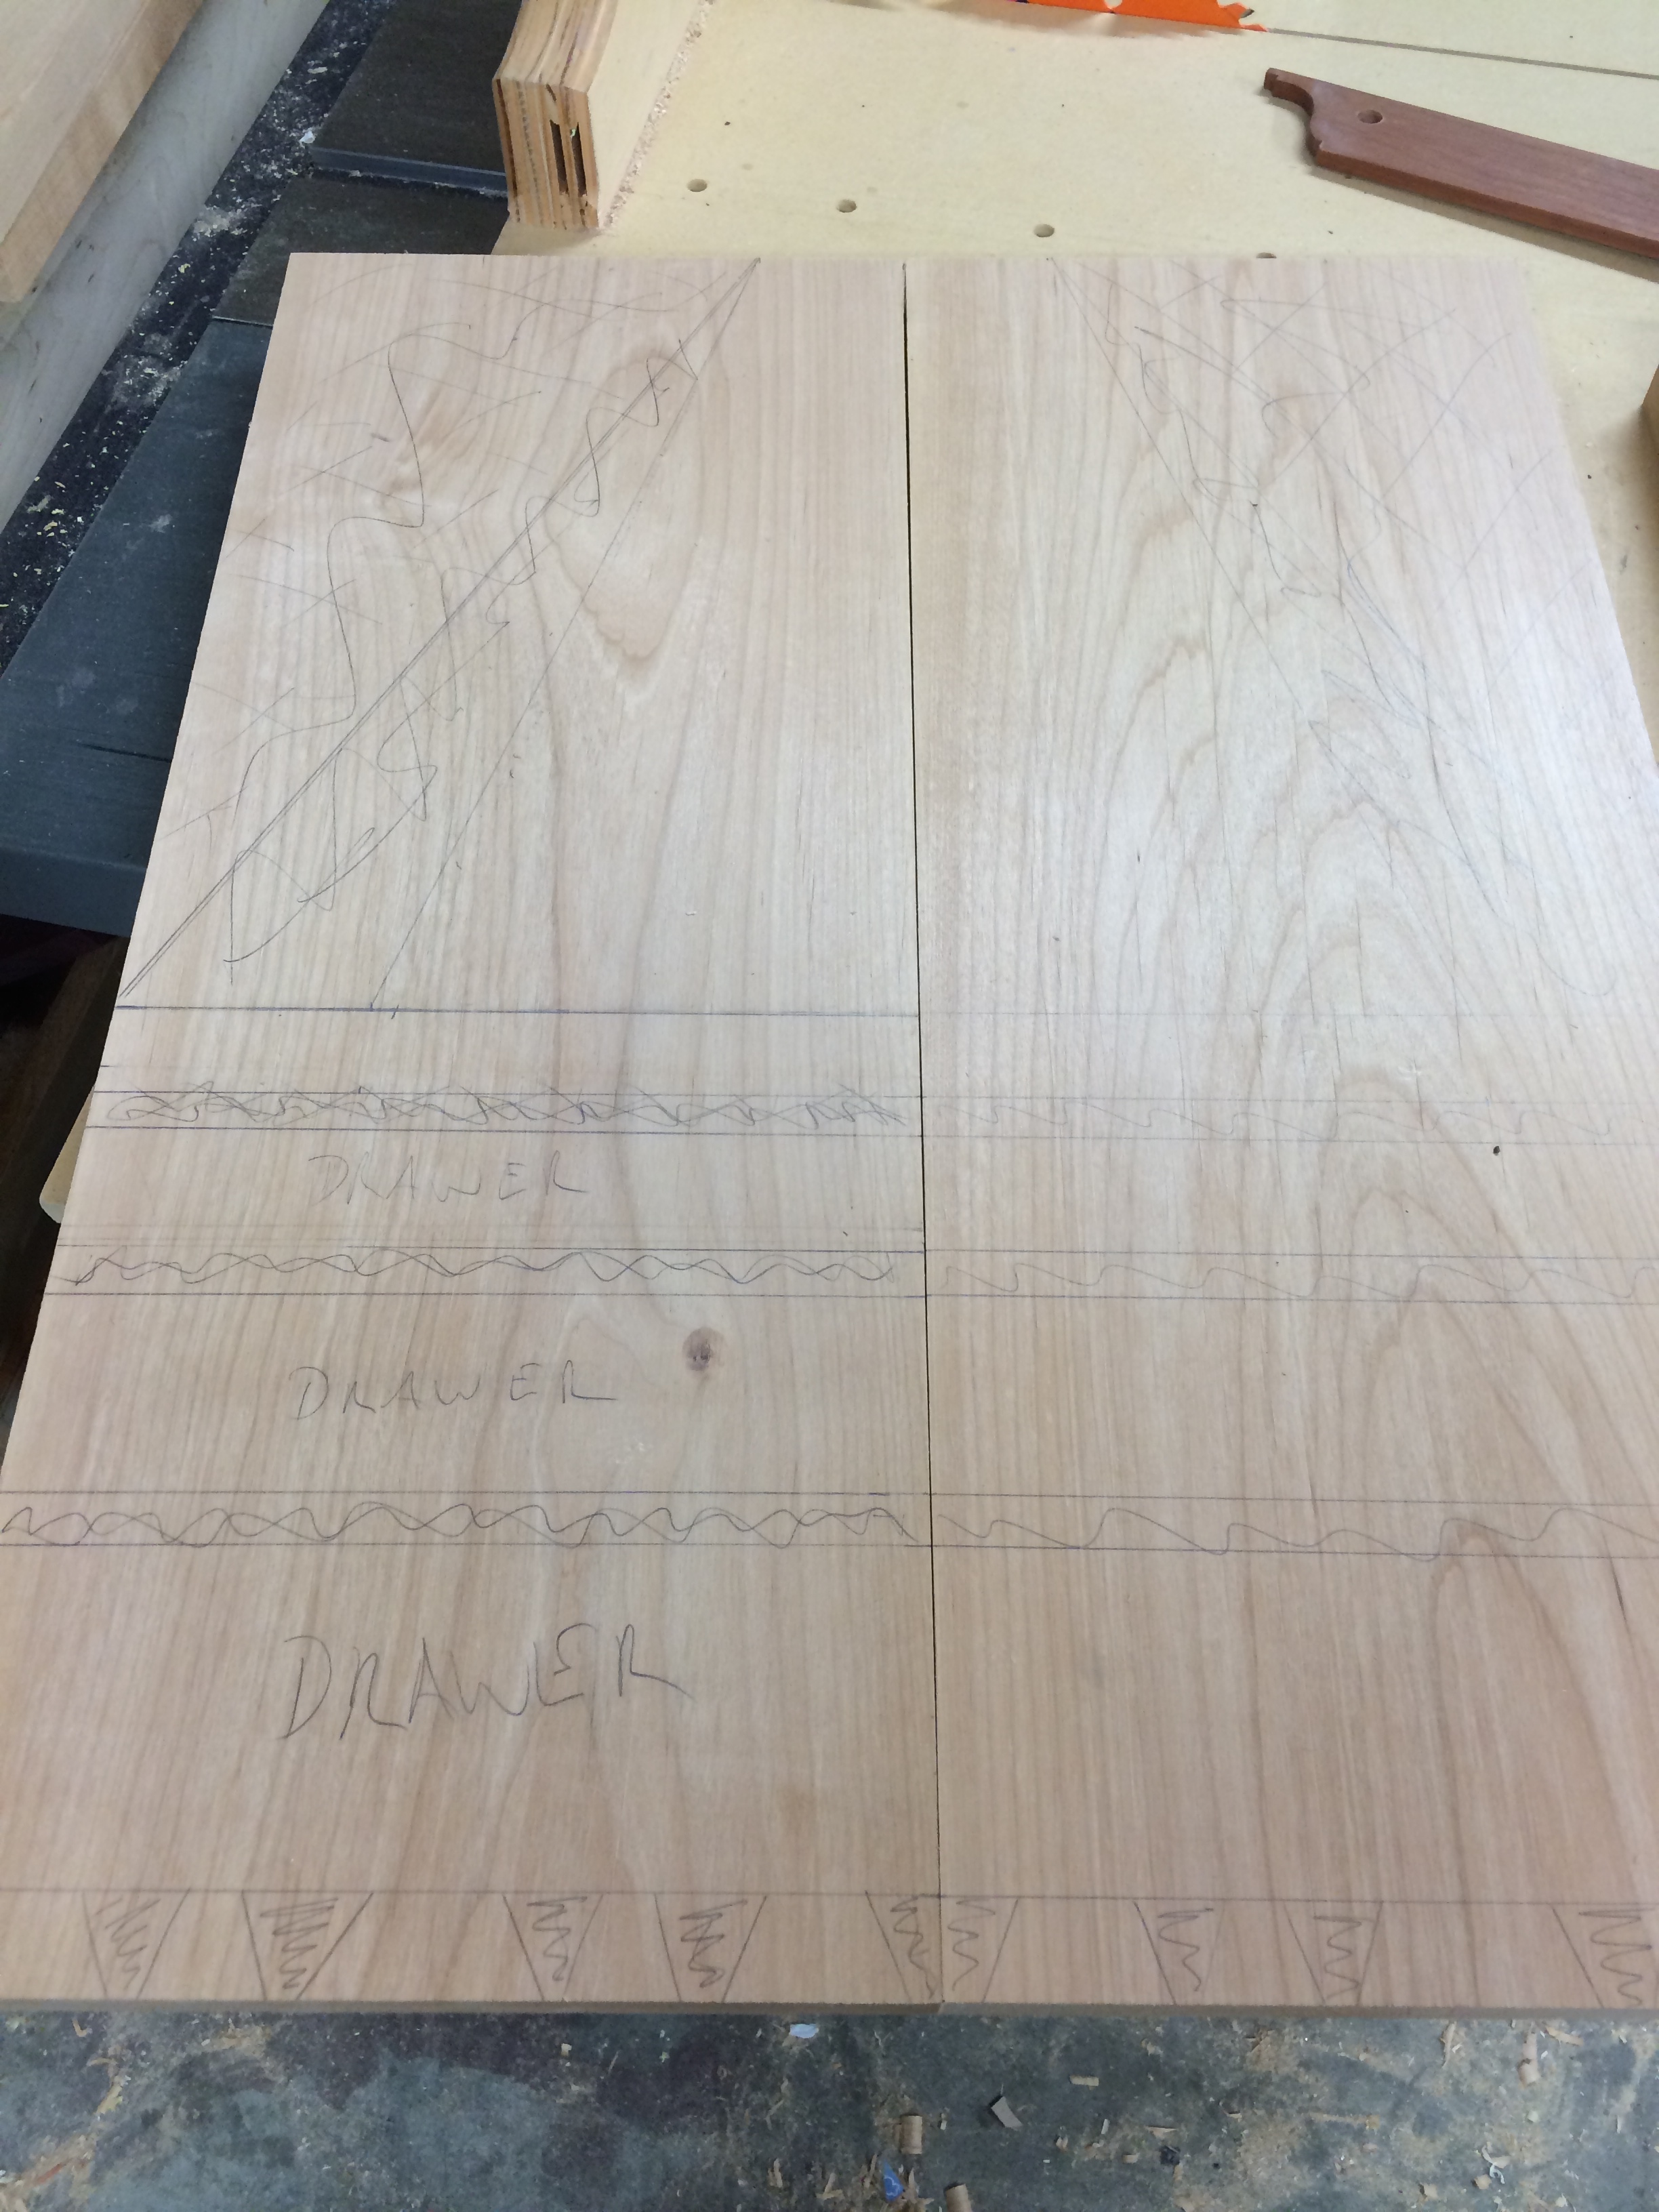
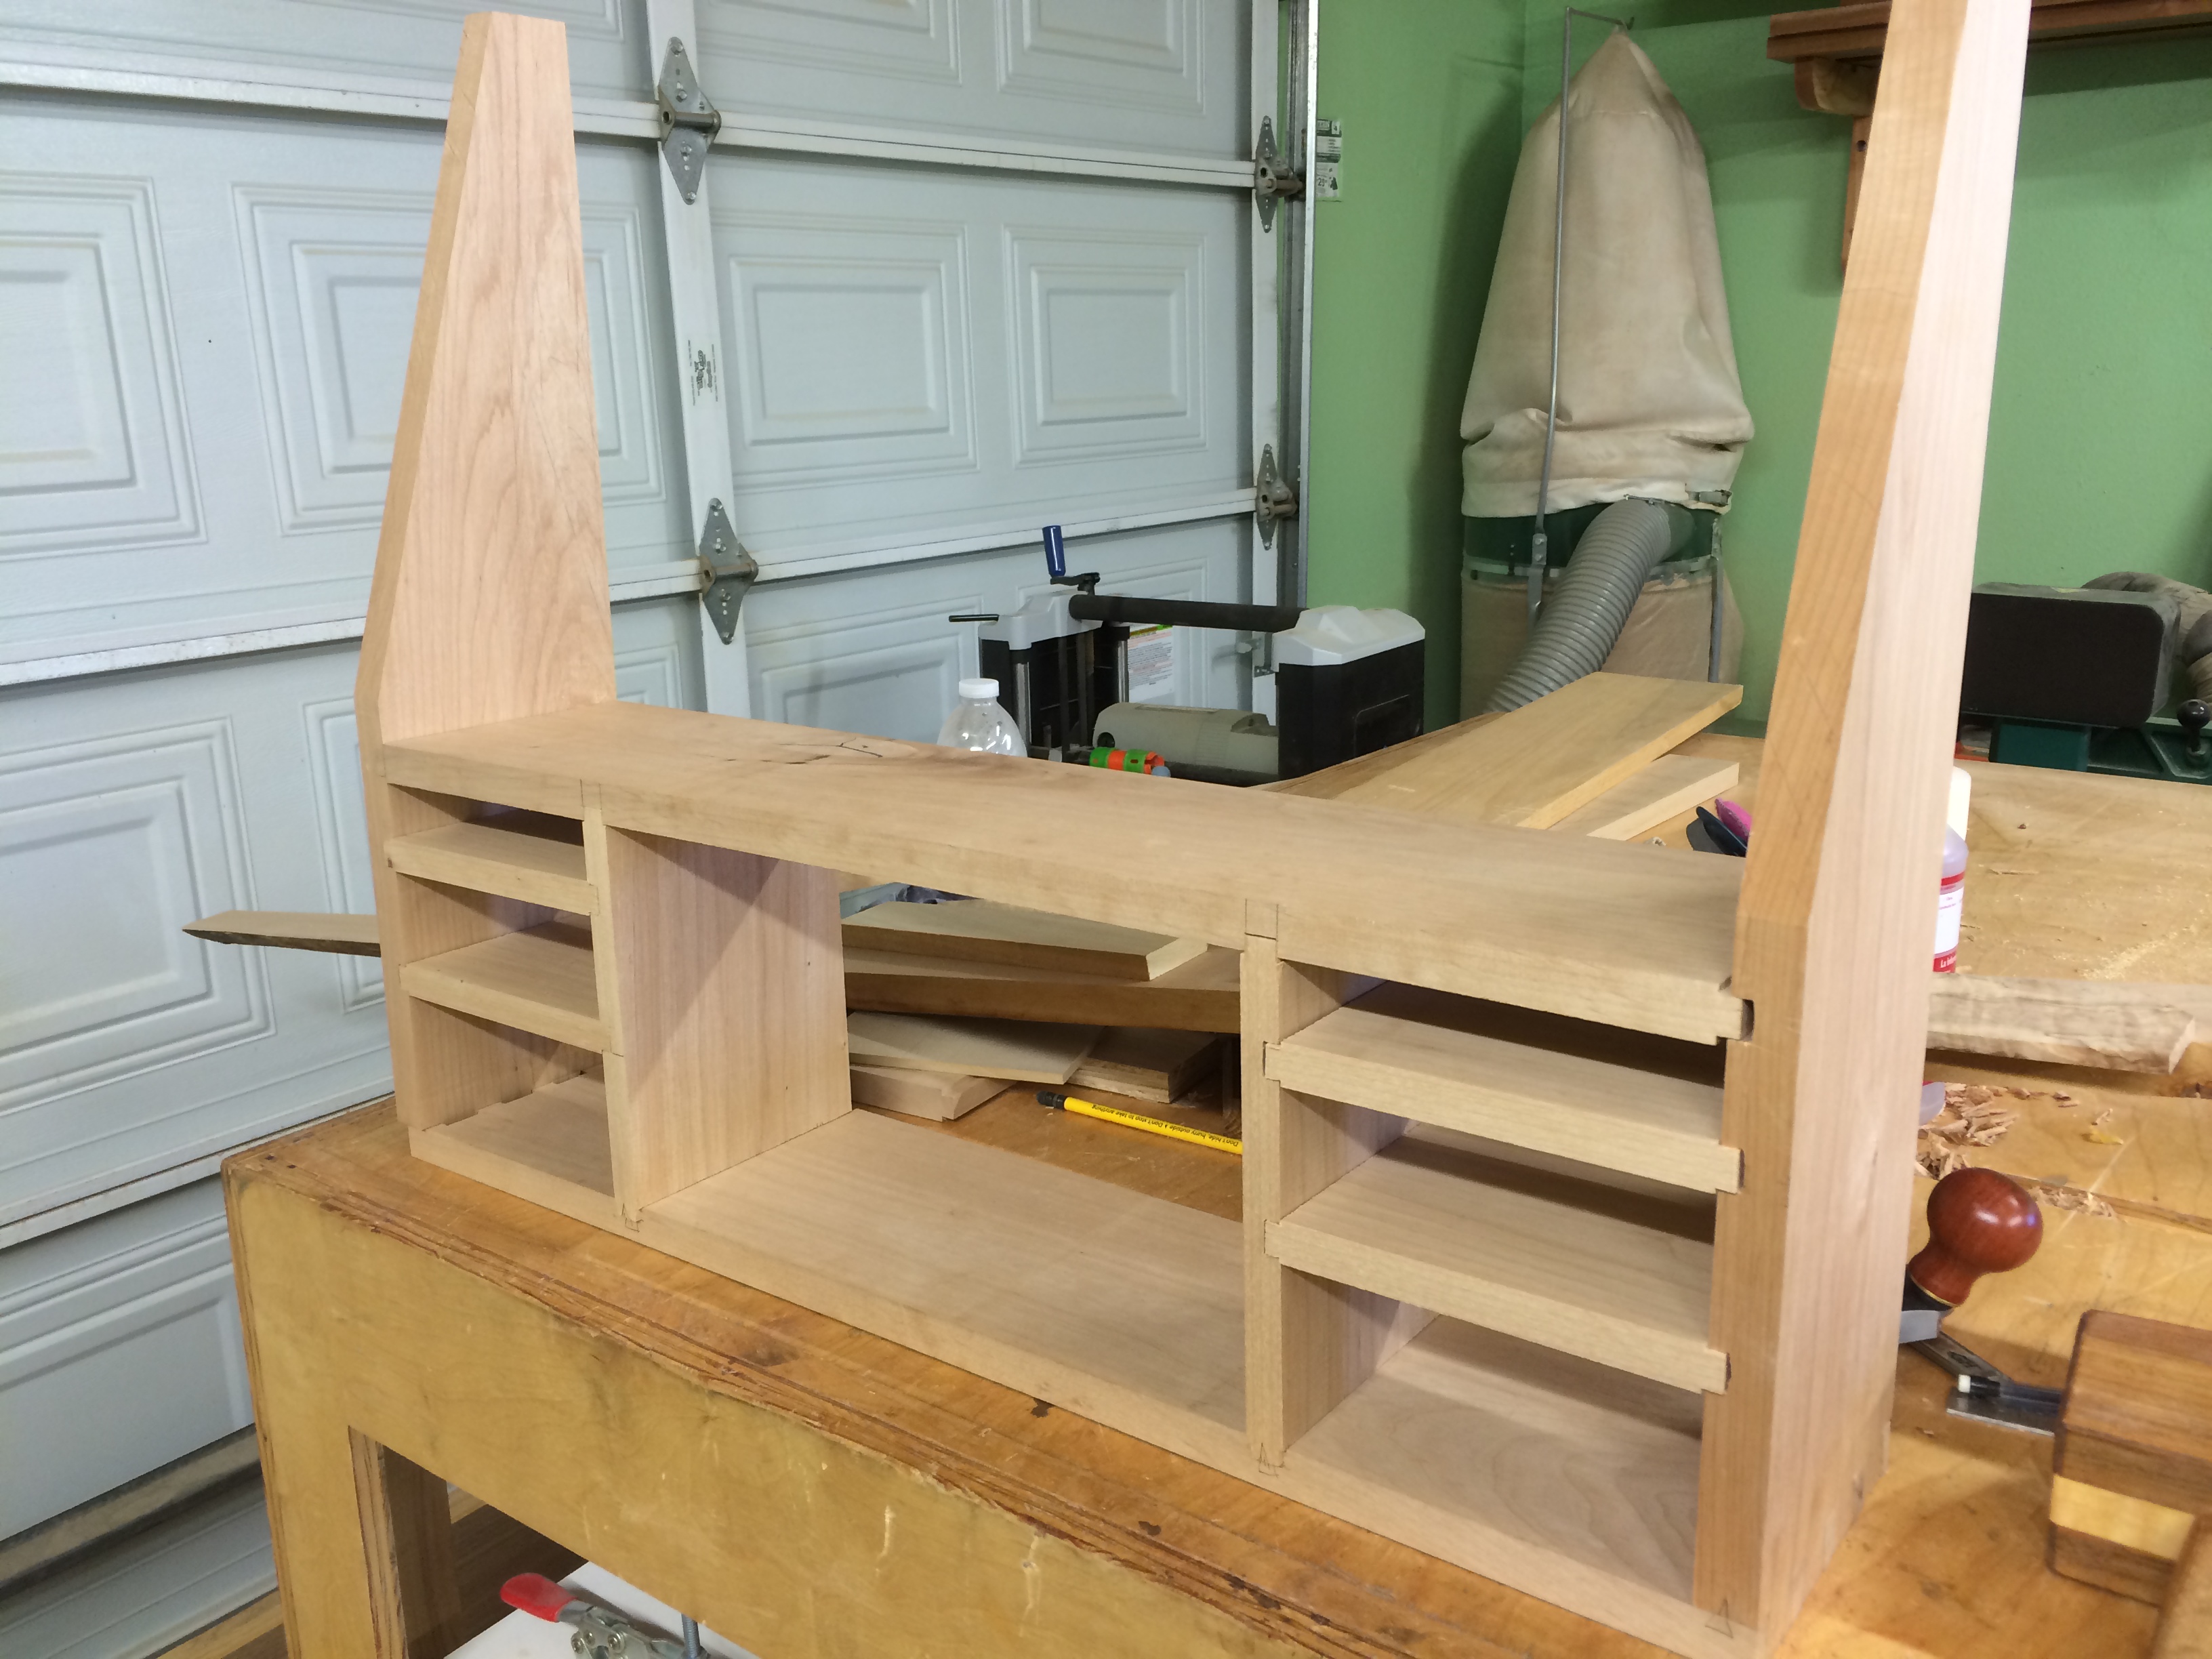
I found a nice chisel rack with drawers in an issue of Shop Notes Magazine that I liked. I needed a project to use up the scrap alder and some poplar left over from the Tatami Platform Bed and since this was just a small scale shop project it worked out nicely. I also had a few small pieces of spalted fiddleback maple. Pieces that were only suitable for drawer pulls on a larger project but I thought it would be nice to make a couple smaller drawers on this rack so I added them to the plan. These small drawers will only have a depth of about 3/4″ to hold small items, such as nail sets, 4″ double squares, spare plane blades, tools of that nature. The other four drawers will be deeper allowing storage of other various items.
The Case
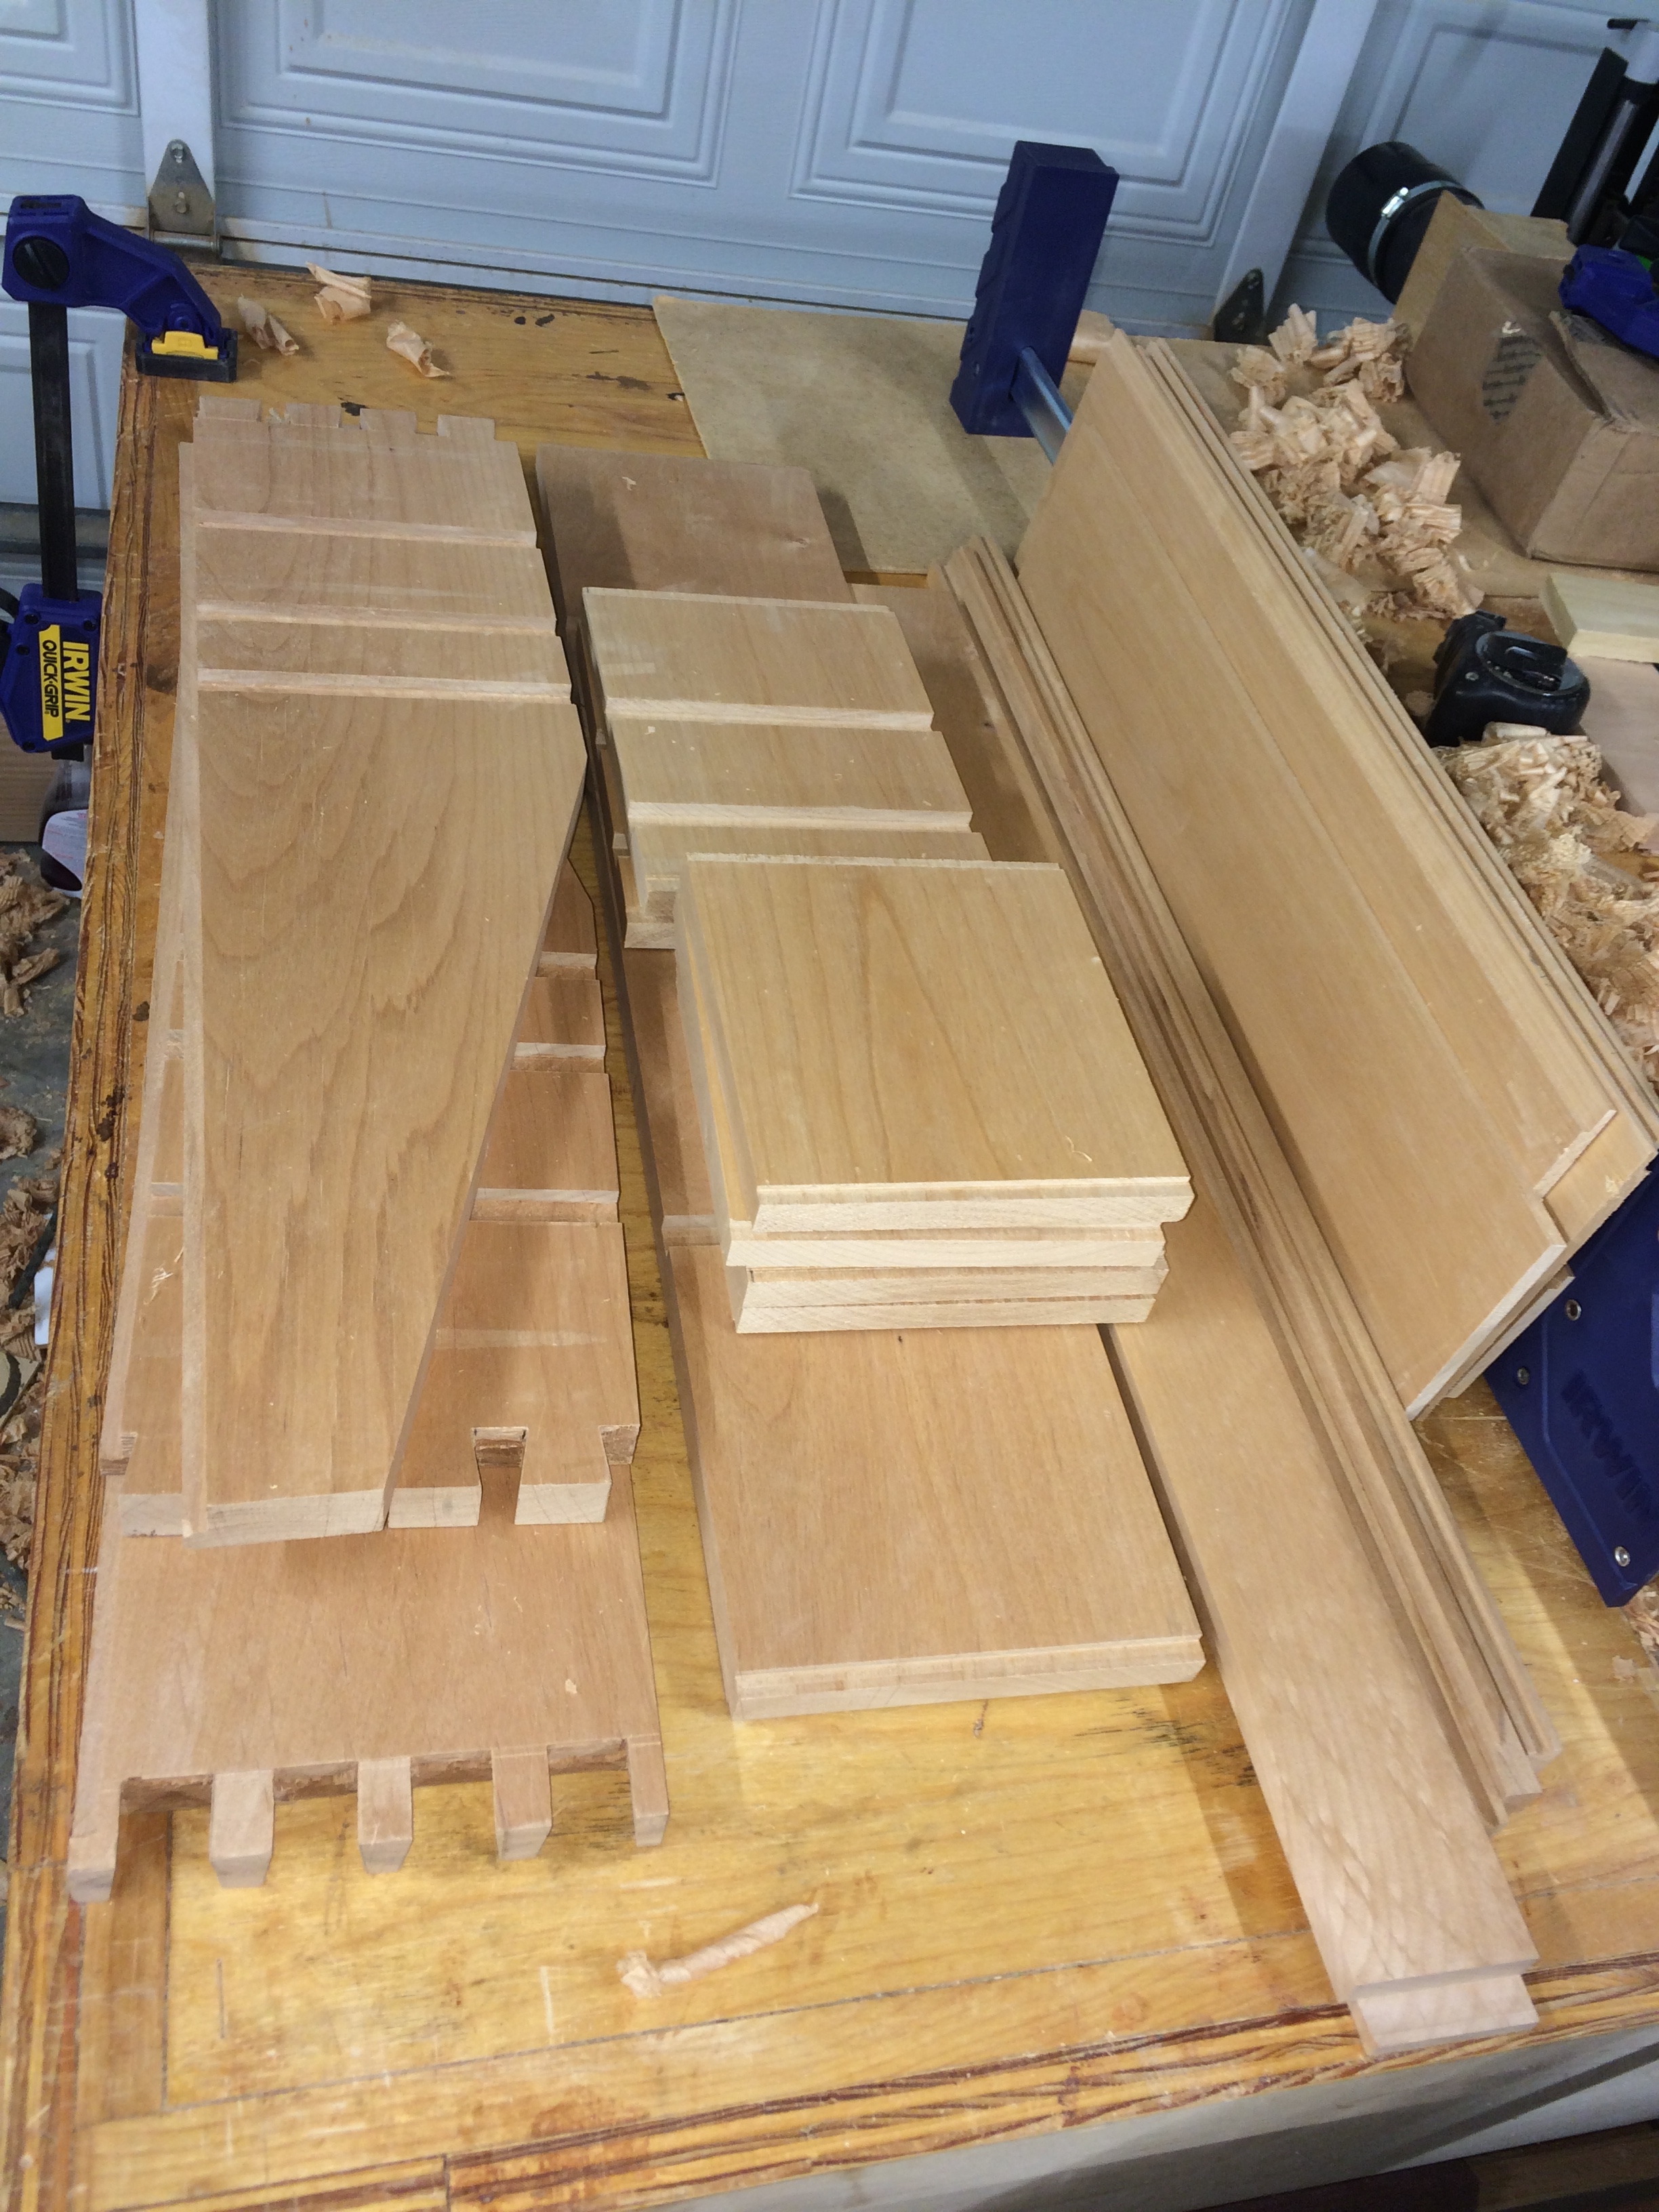
I started out by milling the sides and bottom shelf to dimension and laying out the joinery locations. I didn’t want to use dadoes with screws and plugs so I decided on dadoes alone for the shelves and dividers and I thought I would try my hand at dovetails for the bottom shelf.

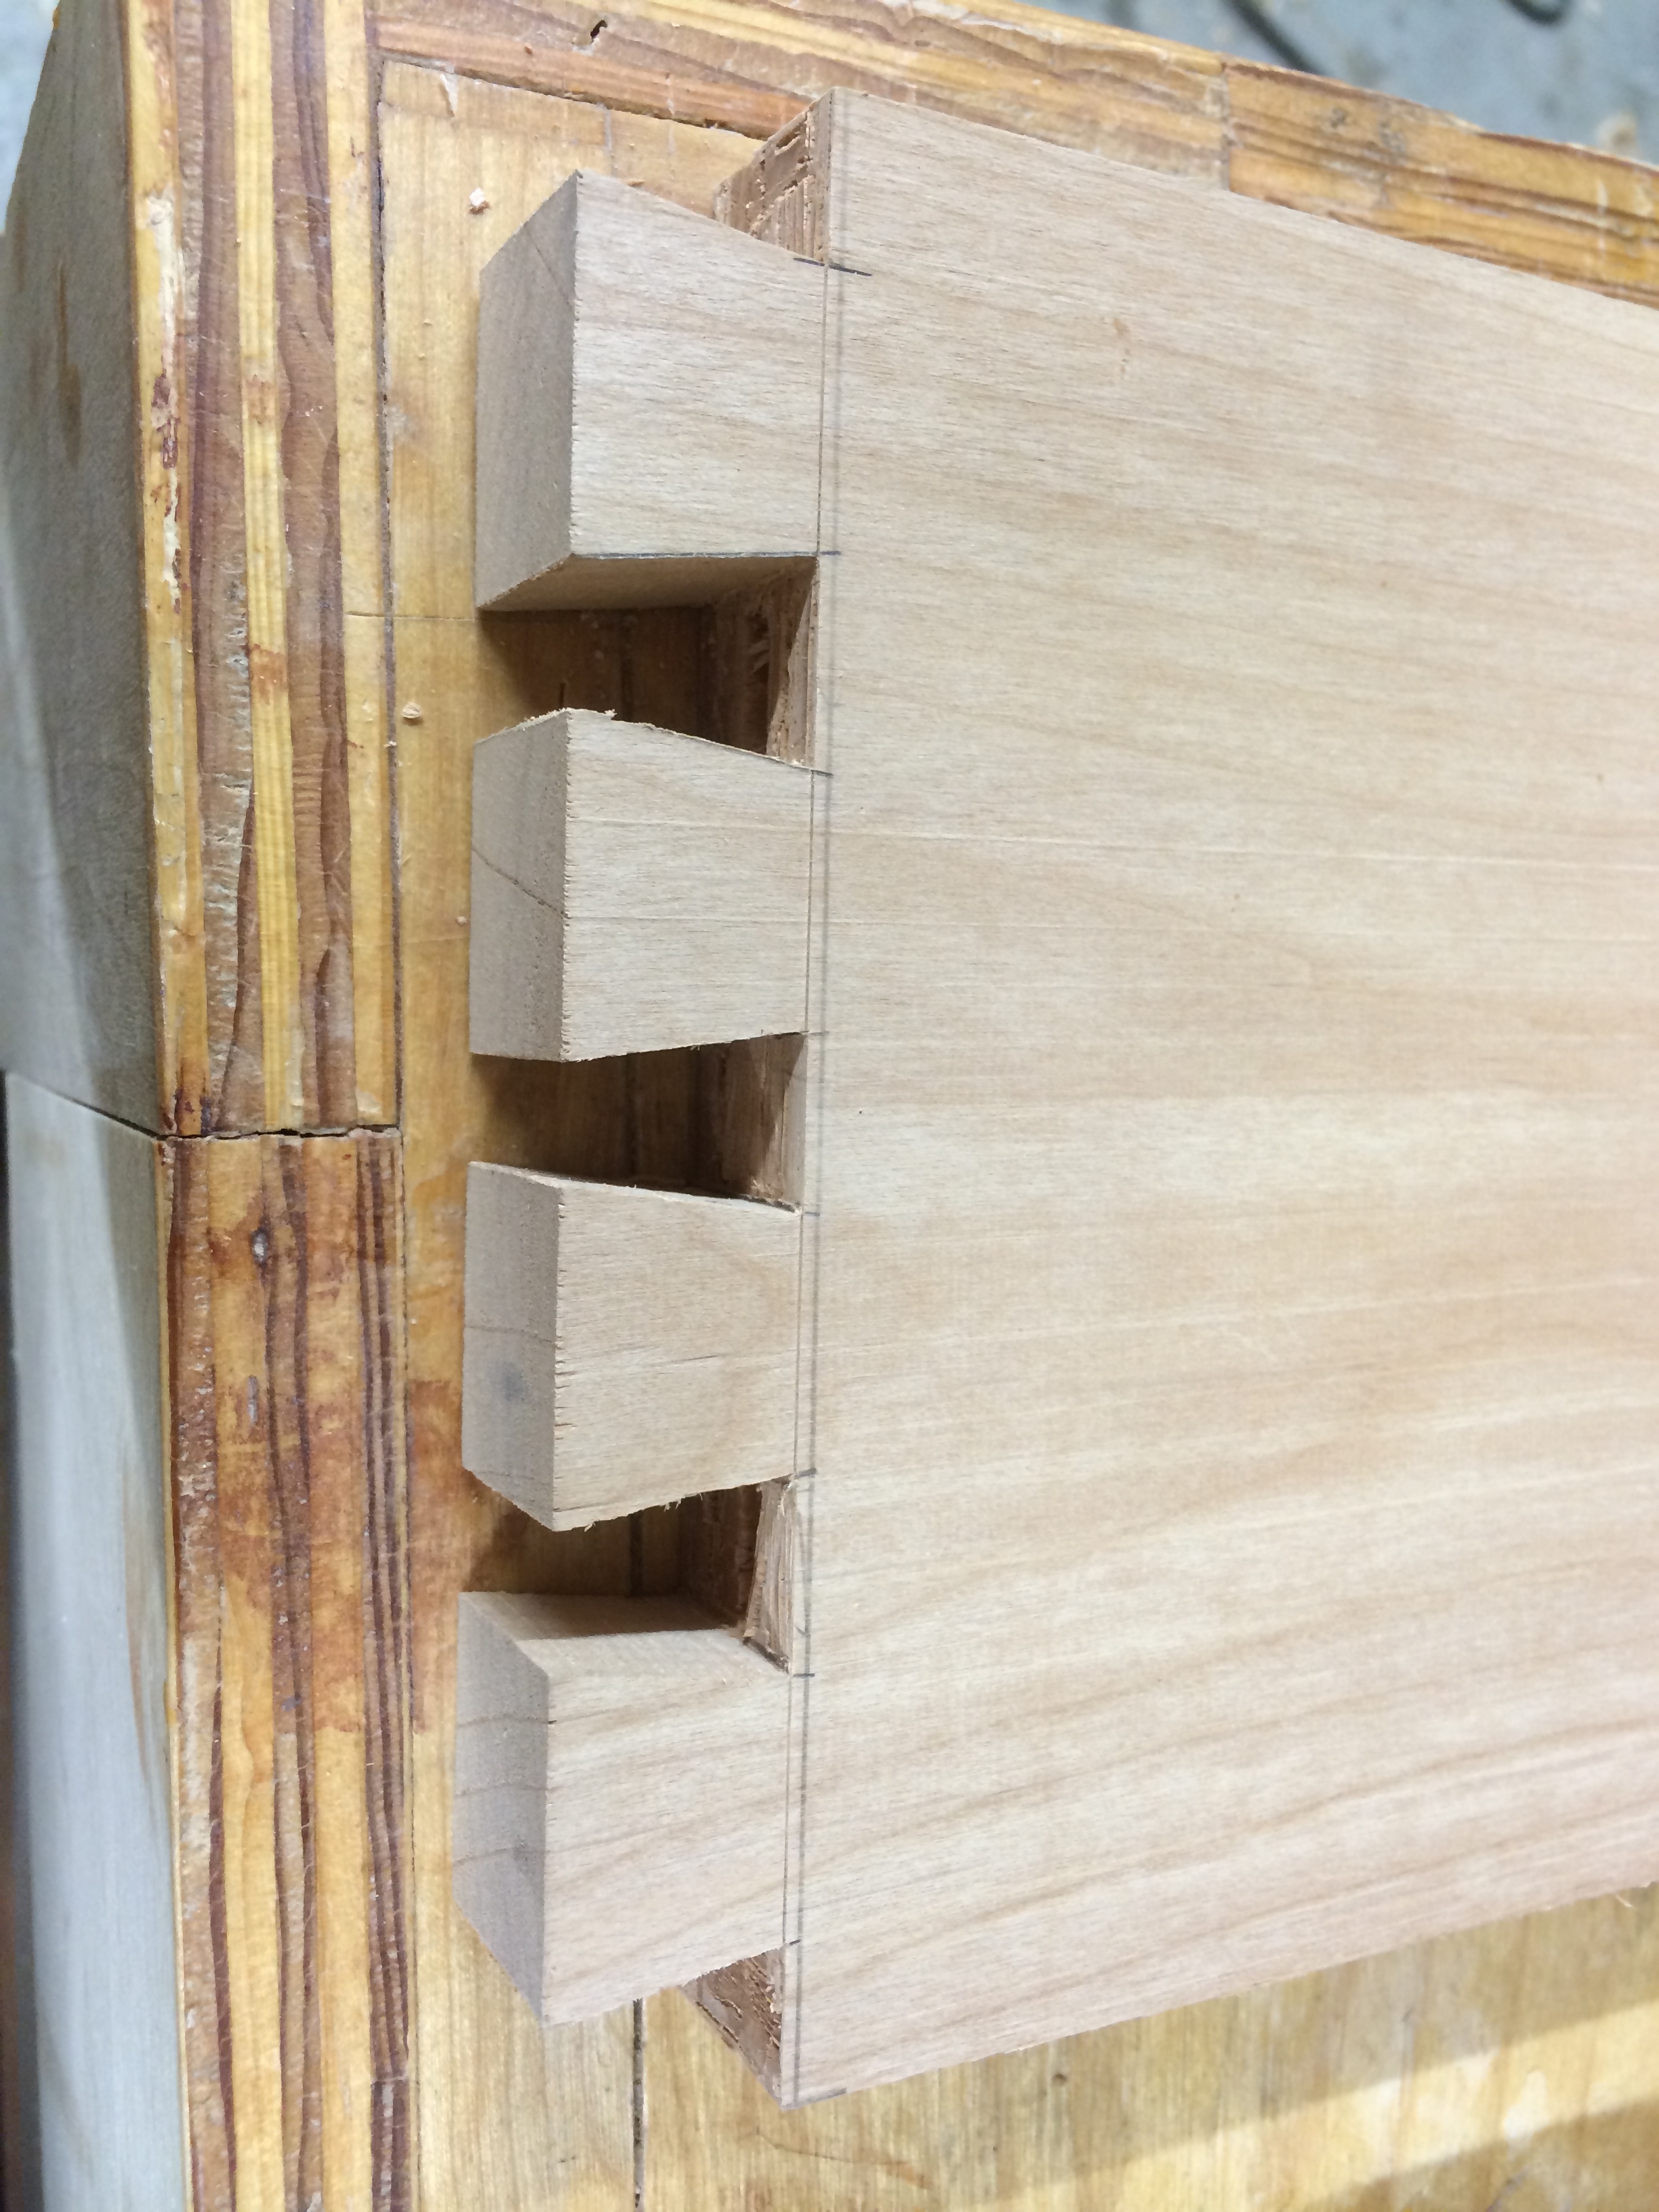
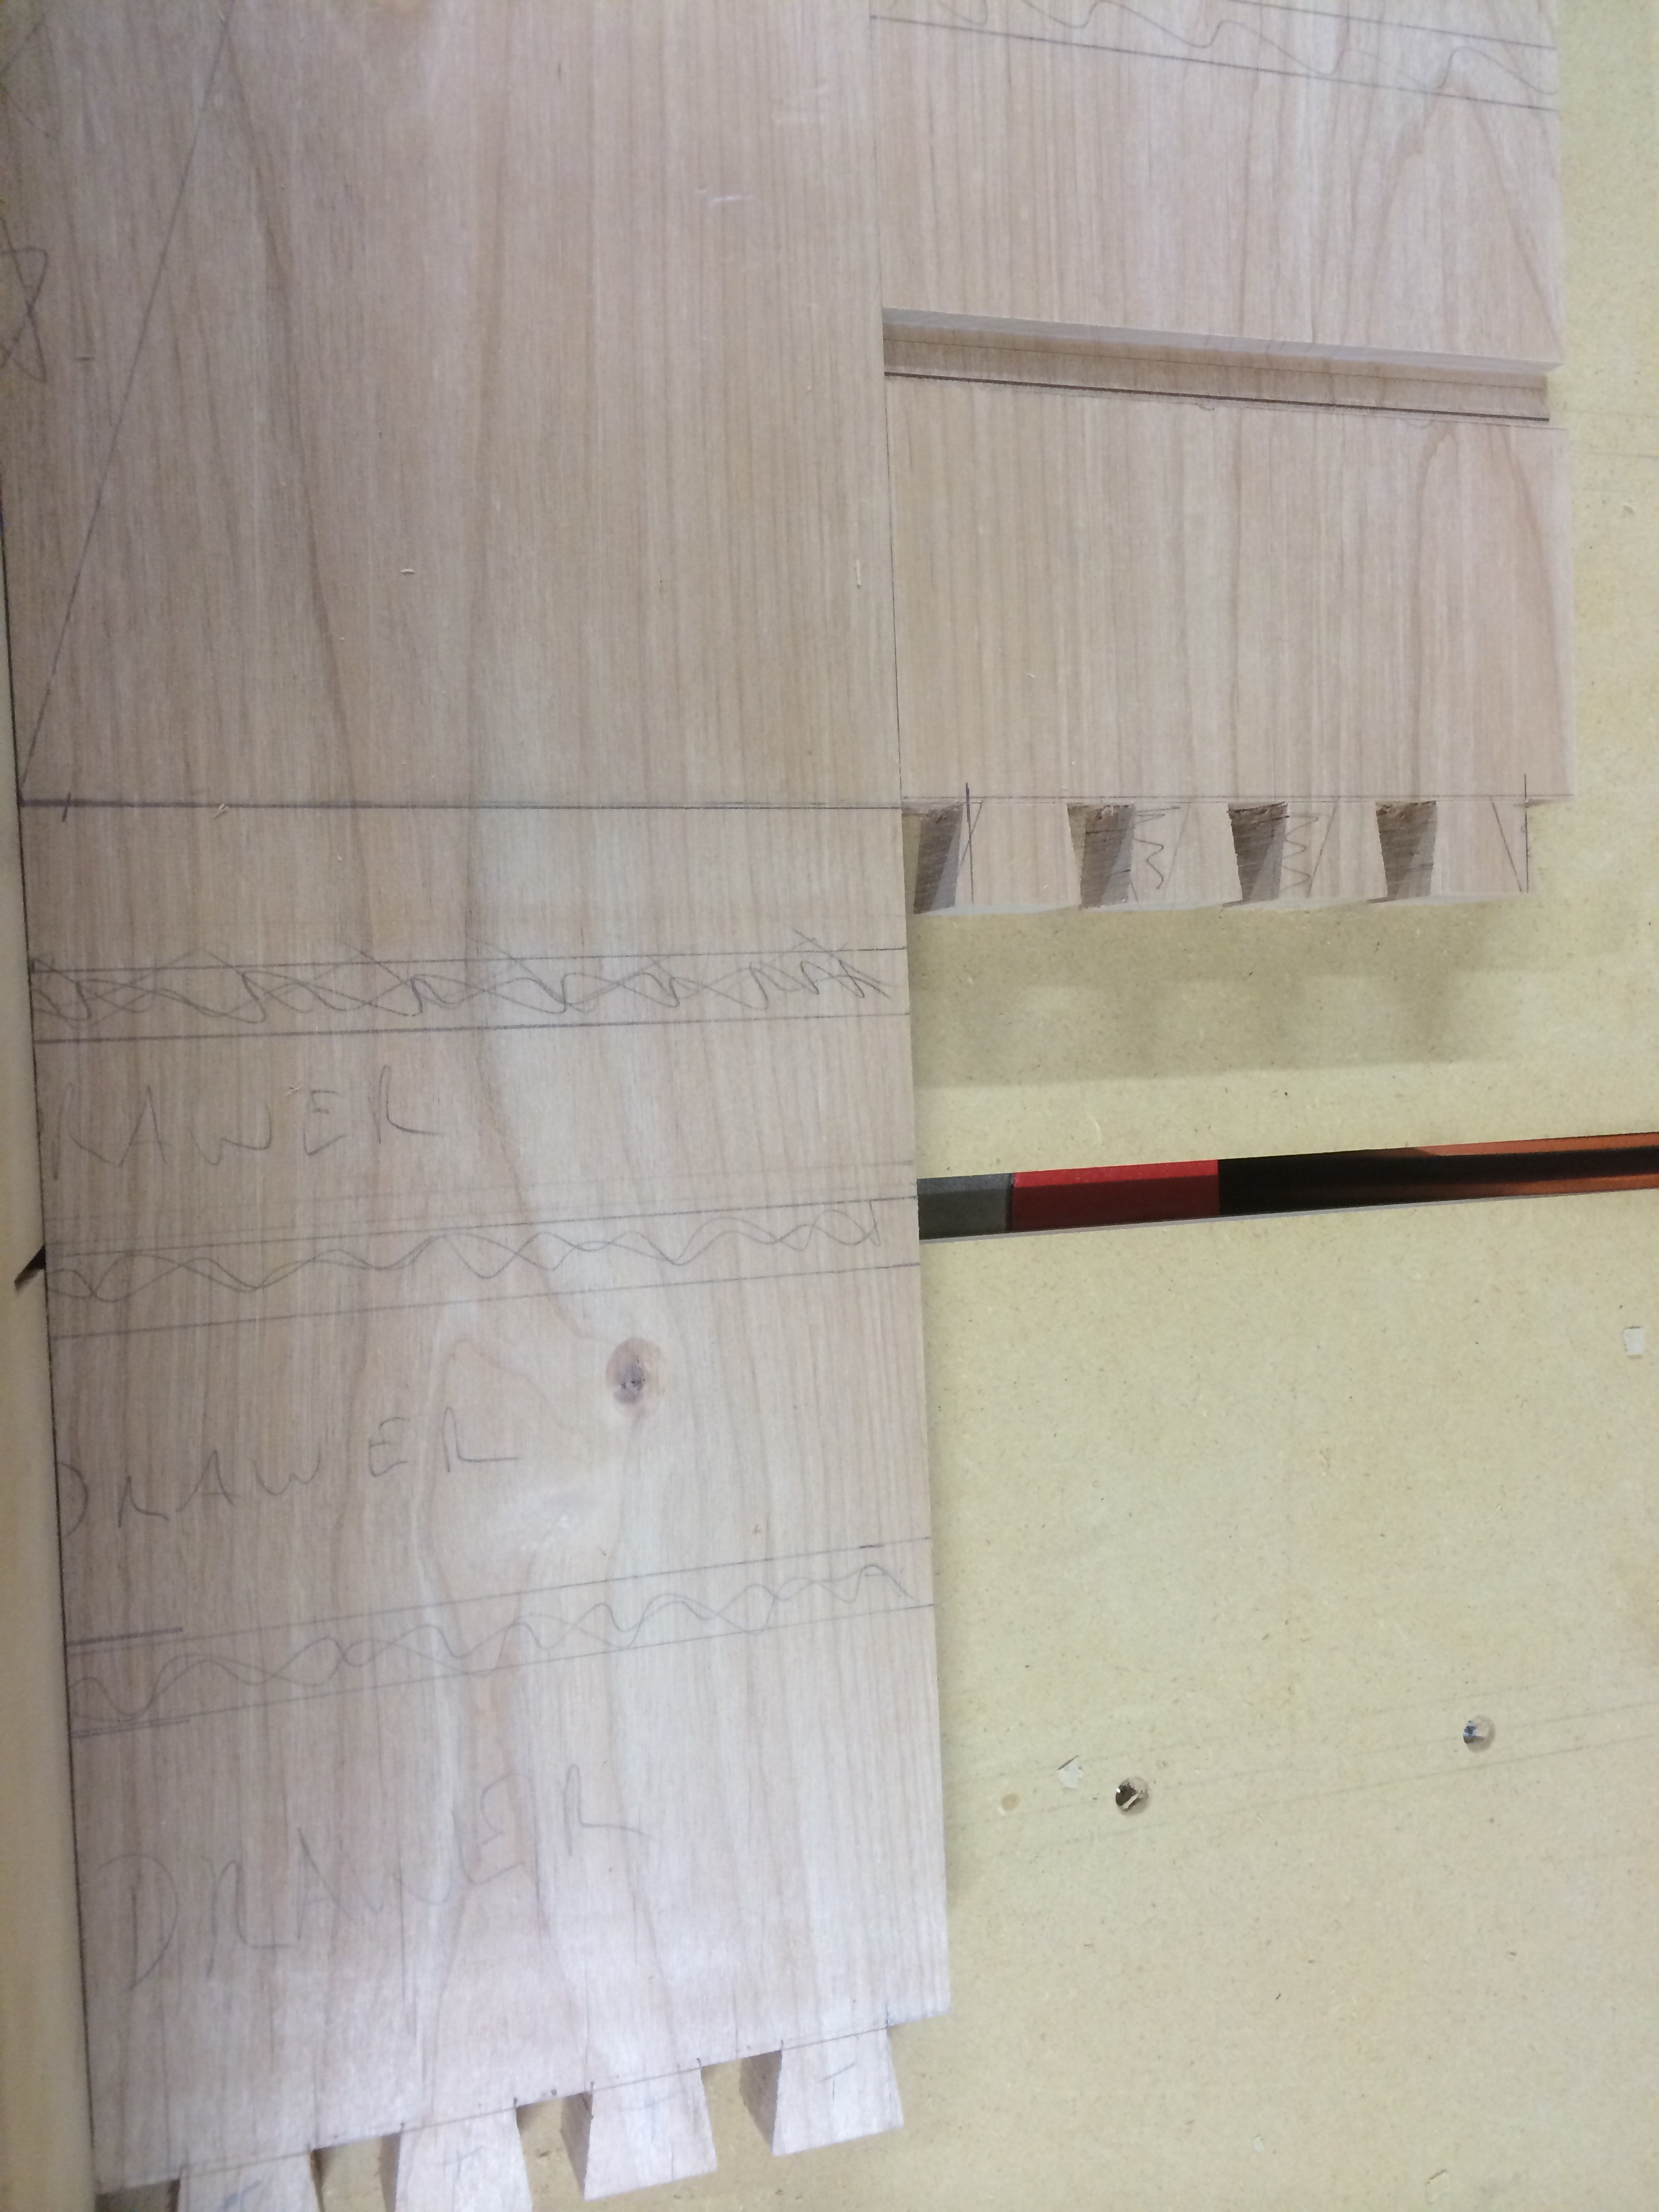
I first used my cutting gauge to scribe the base line for the tails and then cut the tails on the case sides at the band saw. Next, I used the tails to lay out the pins on the bottom shelf. Back at the band saw I adjusted the table angle and cut out the outside dimension of the pins in the shelf. Then I removed the waste with a newly sharpened Narex chisel. Flat backed chisels really make this a pleasure to do. My previous chisels (estate sale Marples) did not have much of a reliable reference surface. The result was a nice snug fitting dovetail joint.

After the dovetails were cut I needed to cut the dadoes for the drawer dividers and the top shelf. I converted my old crosscut sled into a dado sled, only after making a new cross cut sled (which was the cause of my stitches in a previous post). The dadoes were 1/2″ wide and 1/4″ deep.

Once the dadoes were cleaned up with the router plane, it was off to the router table to cut the rabbet for the back panel. The rabbets were 1/4″ x 1/4″ from the back edges. I used my shop made height gauge to set up the bit height very accurately.
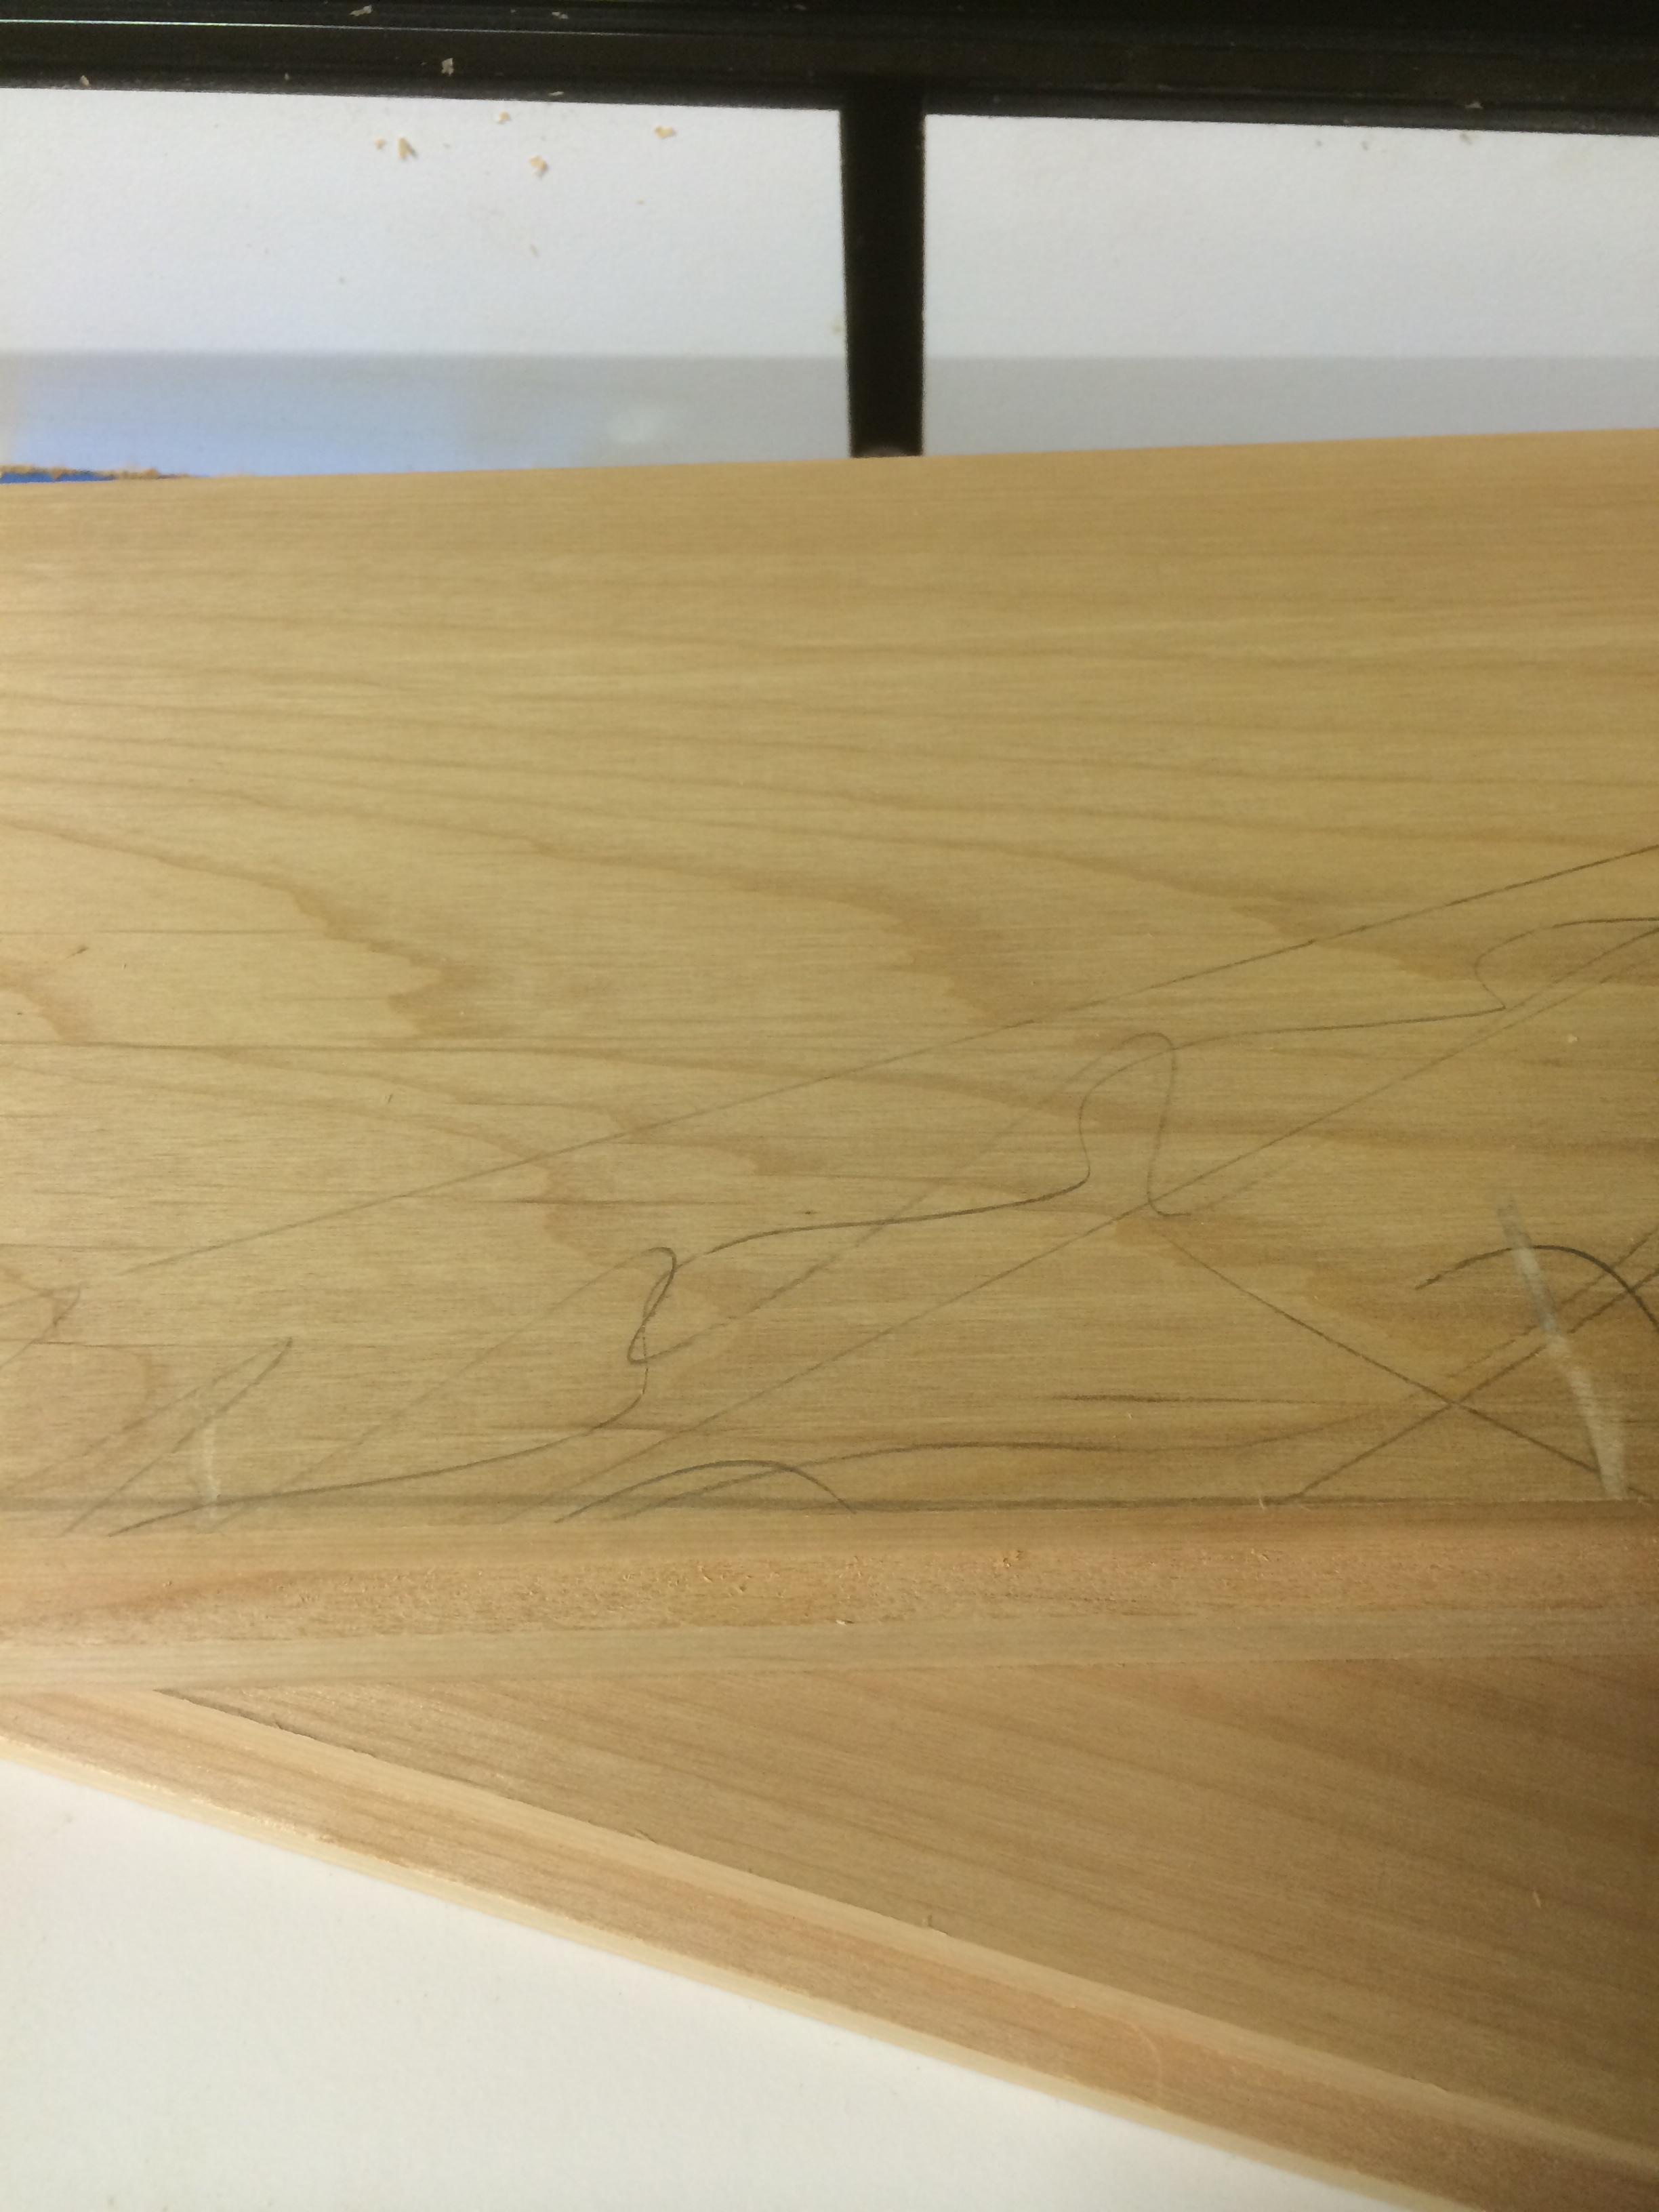
There was a taper to cut on the case sides and this was done at the band saw and then cleaned up with my block plane and finished with the smoothing plane.

No I had to fit the drawer dividers and shelf spacers into the case. I set up the dado stack again and placed a stop block on the sled. Four cuts on each piece made a tenon to fit into the dadoes. I cut the dadoes slightly wide and fine tuned them for a slip fit with my rabbeting block plane.

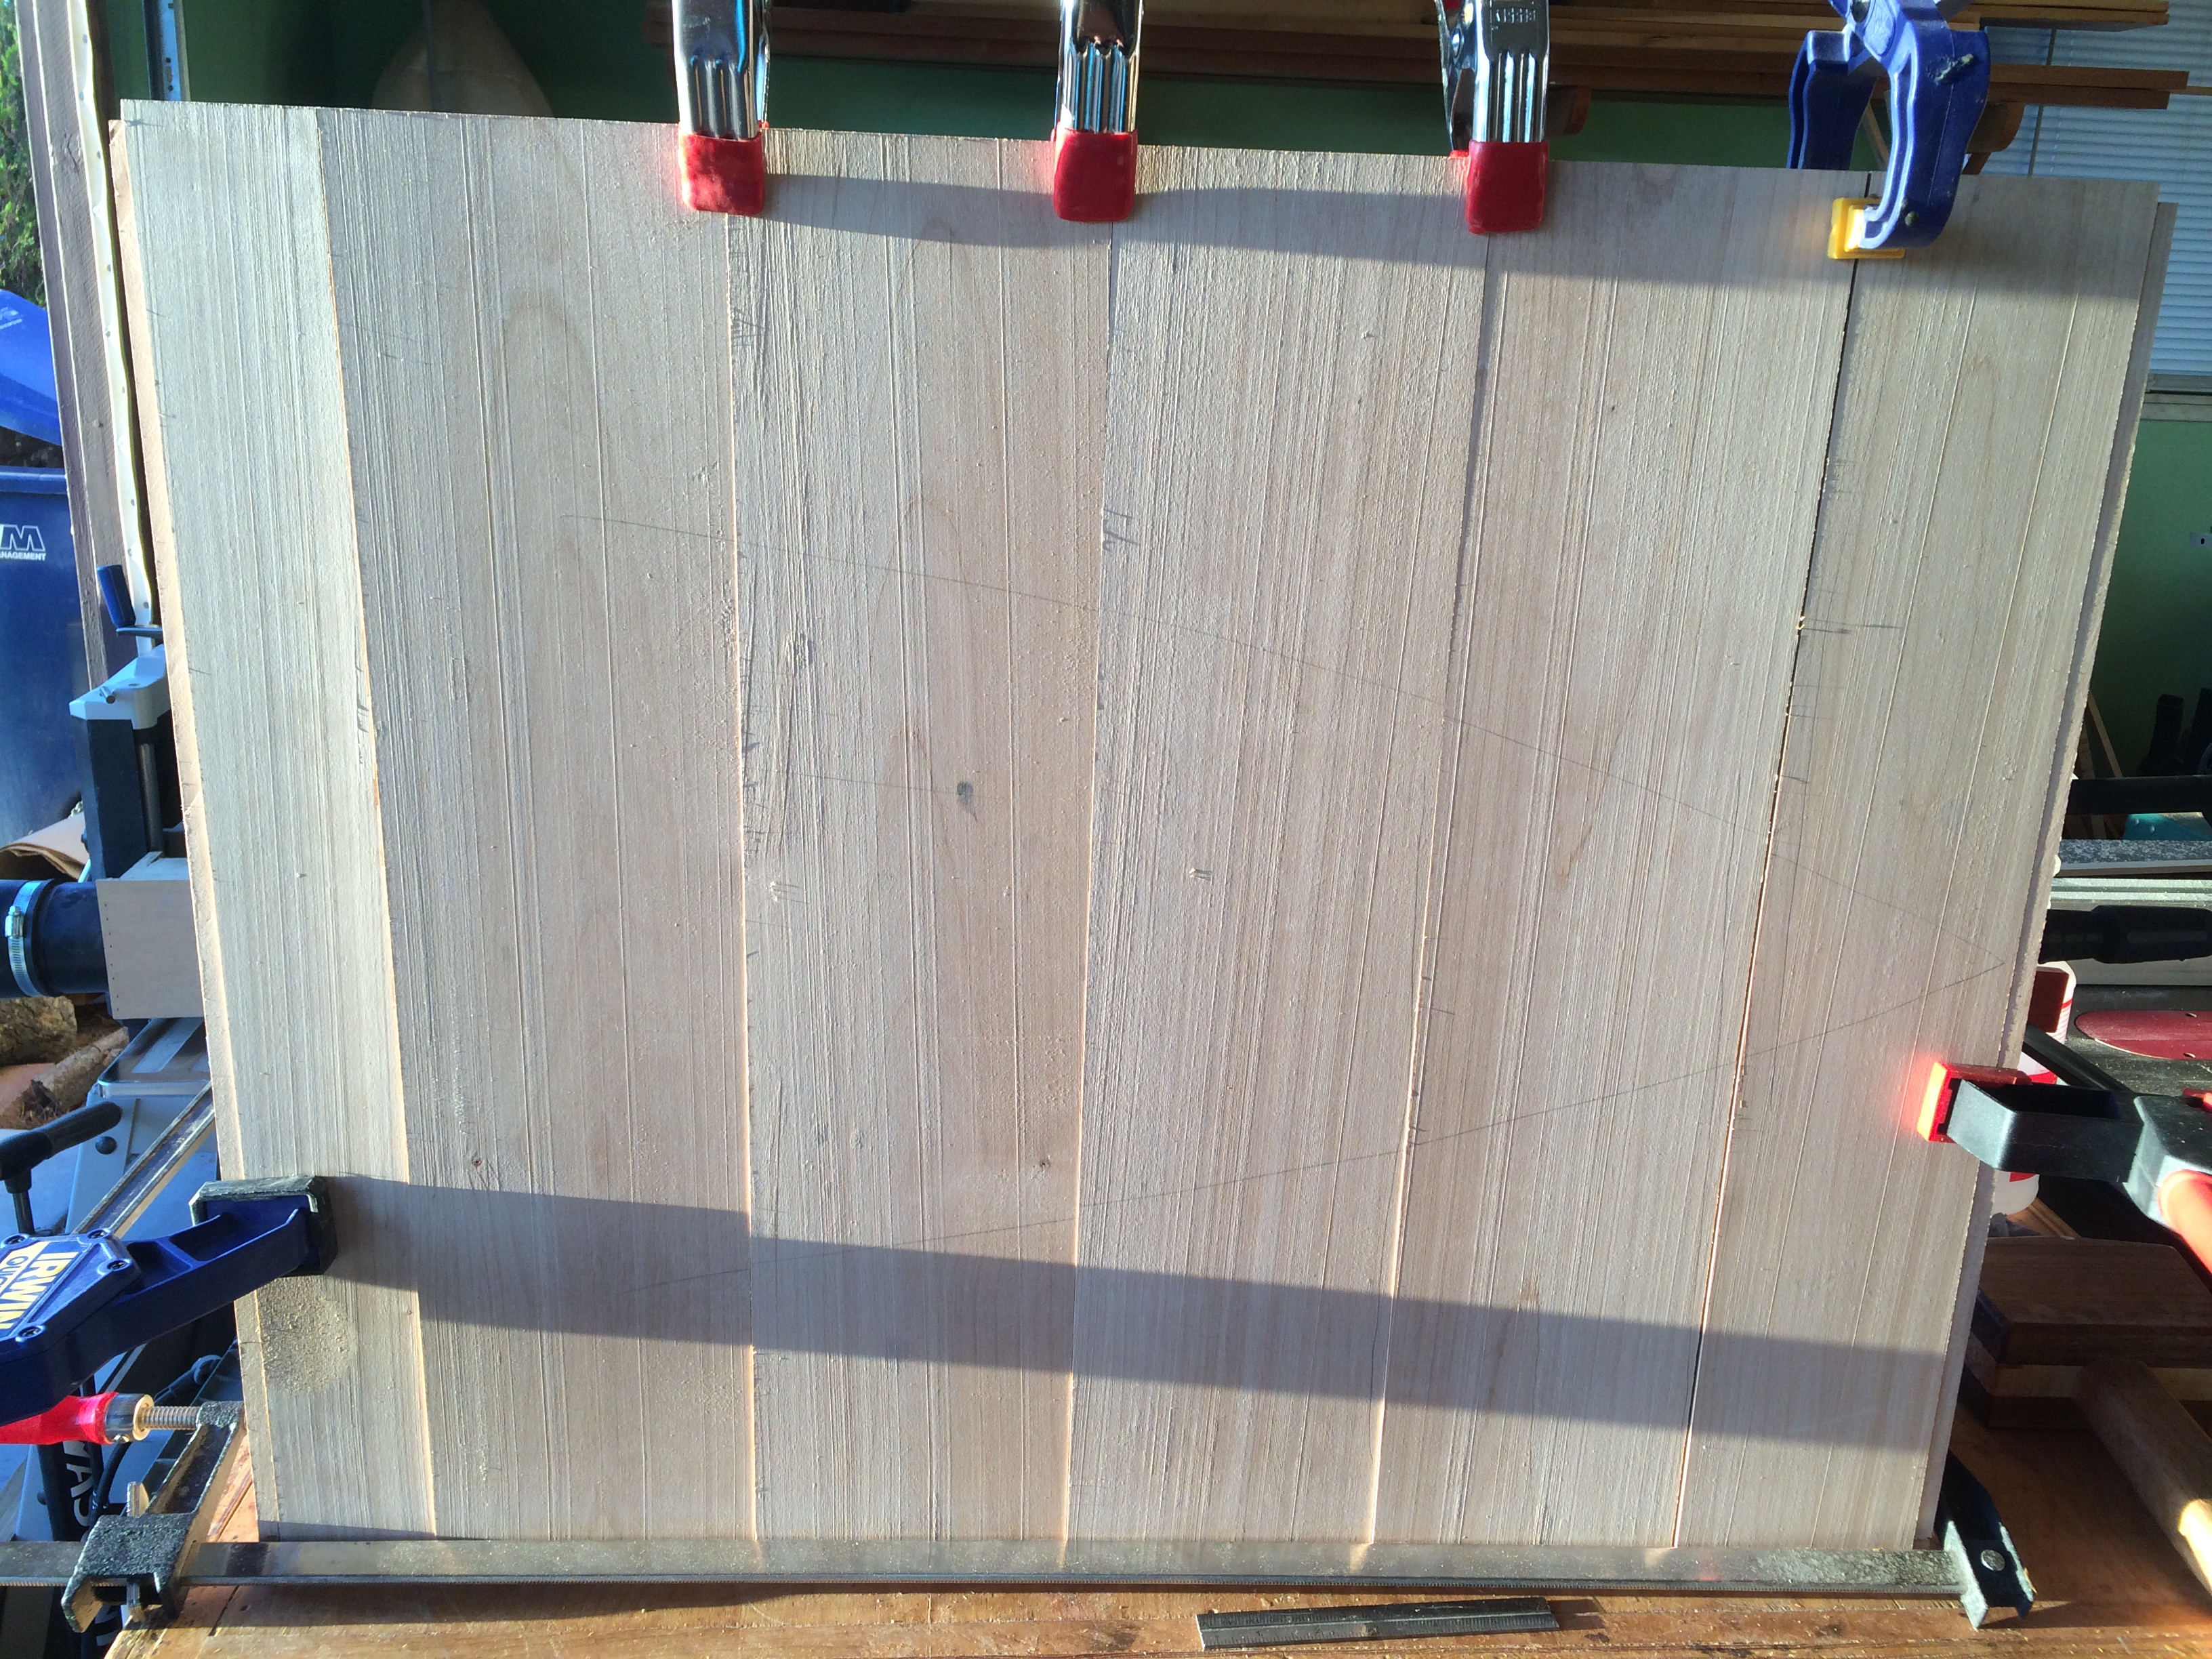
A dry fit shows any fine tuning that needed to be done (which there was).
I did not have any 1/4″ alder plywood and I did not want to use any 1/4″ oak plywood in this project so I thought it would be a perfect time to try out making a ship lapped back. I resawed a 3/4″ x 6″ x 6′ alder board (first milled and cut to 24″ lengths) into 3/8″ thick boards and planed them to 1/4″ thickness. I arranged them into book matched pairs, drew a triangle across the entire panel, and at the router table I made the 1/8″ deep x 1/2″ wide rabbets on opposing faces.


The next order of business was the chisel rack itself. I deviated from the plan just a little to accommodate the thick mortise chisels my making the spacers 3/4″ wide instead of 1/2″ wide. This ended up allowing a 1/2″ gap between the rack to allow wider chisels to fit. The grooves in the supports were 1/8″ deep and 1/4″ wide and the spacer bar was cut to fit loosely to allow for movement.

Now I could pre-finish all the interior parts and get ready to assemble the case.
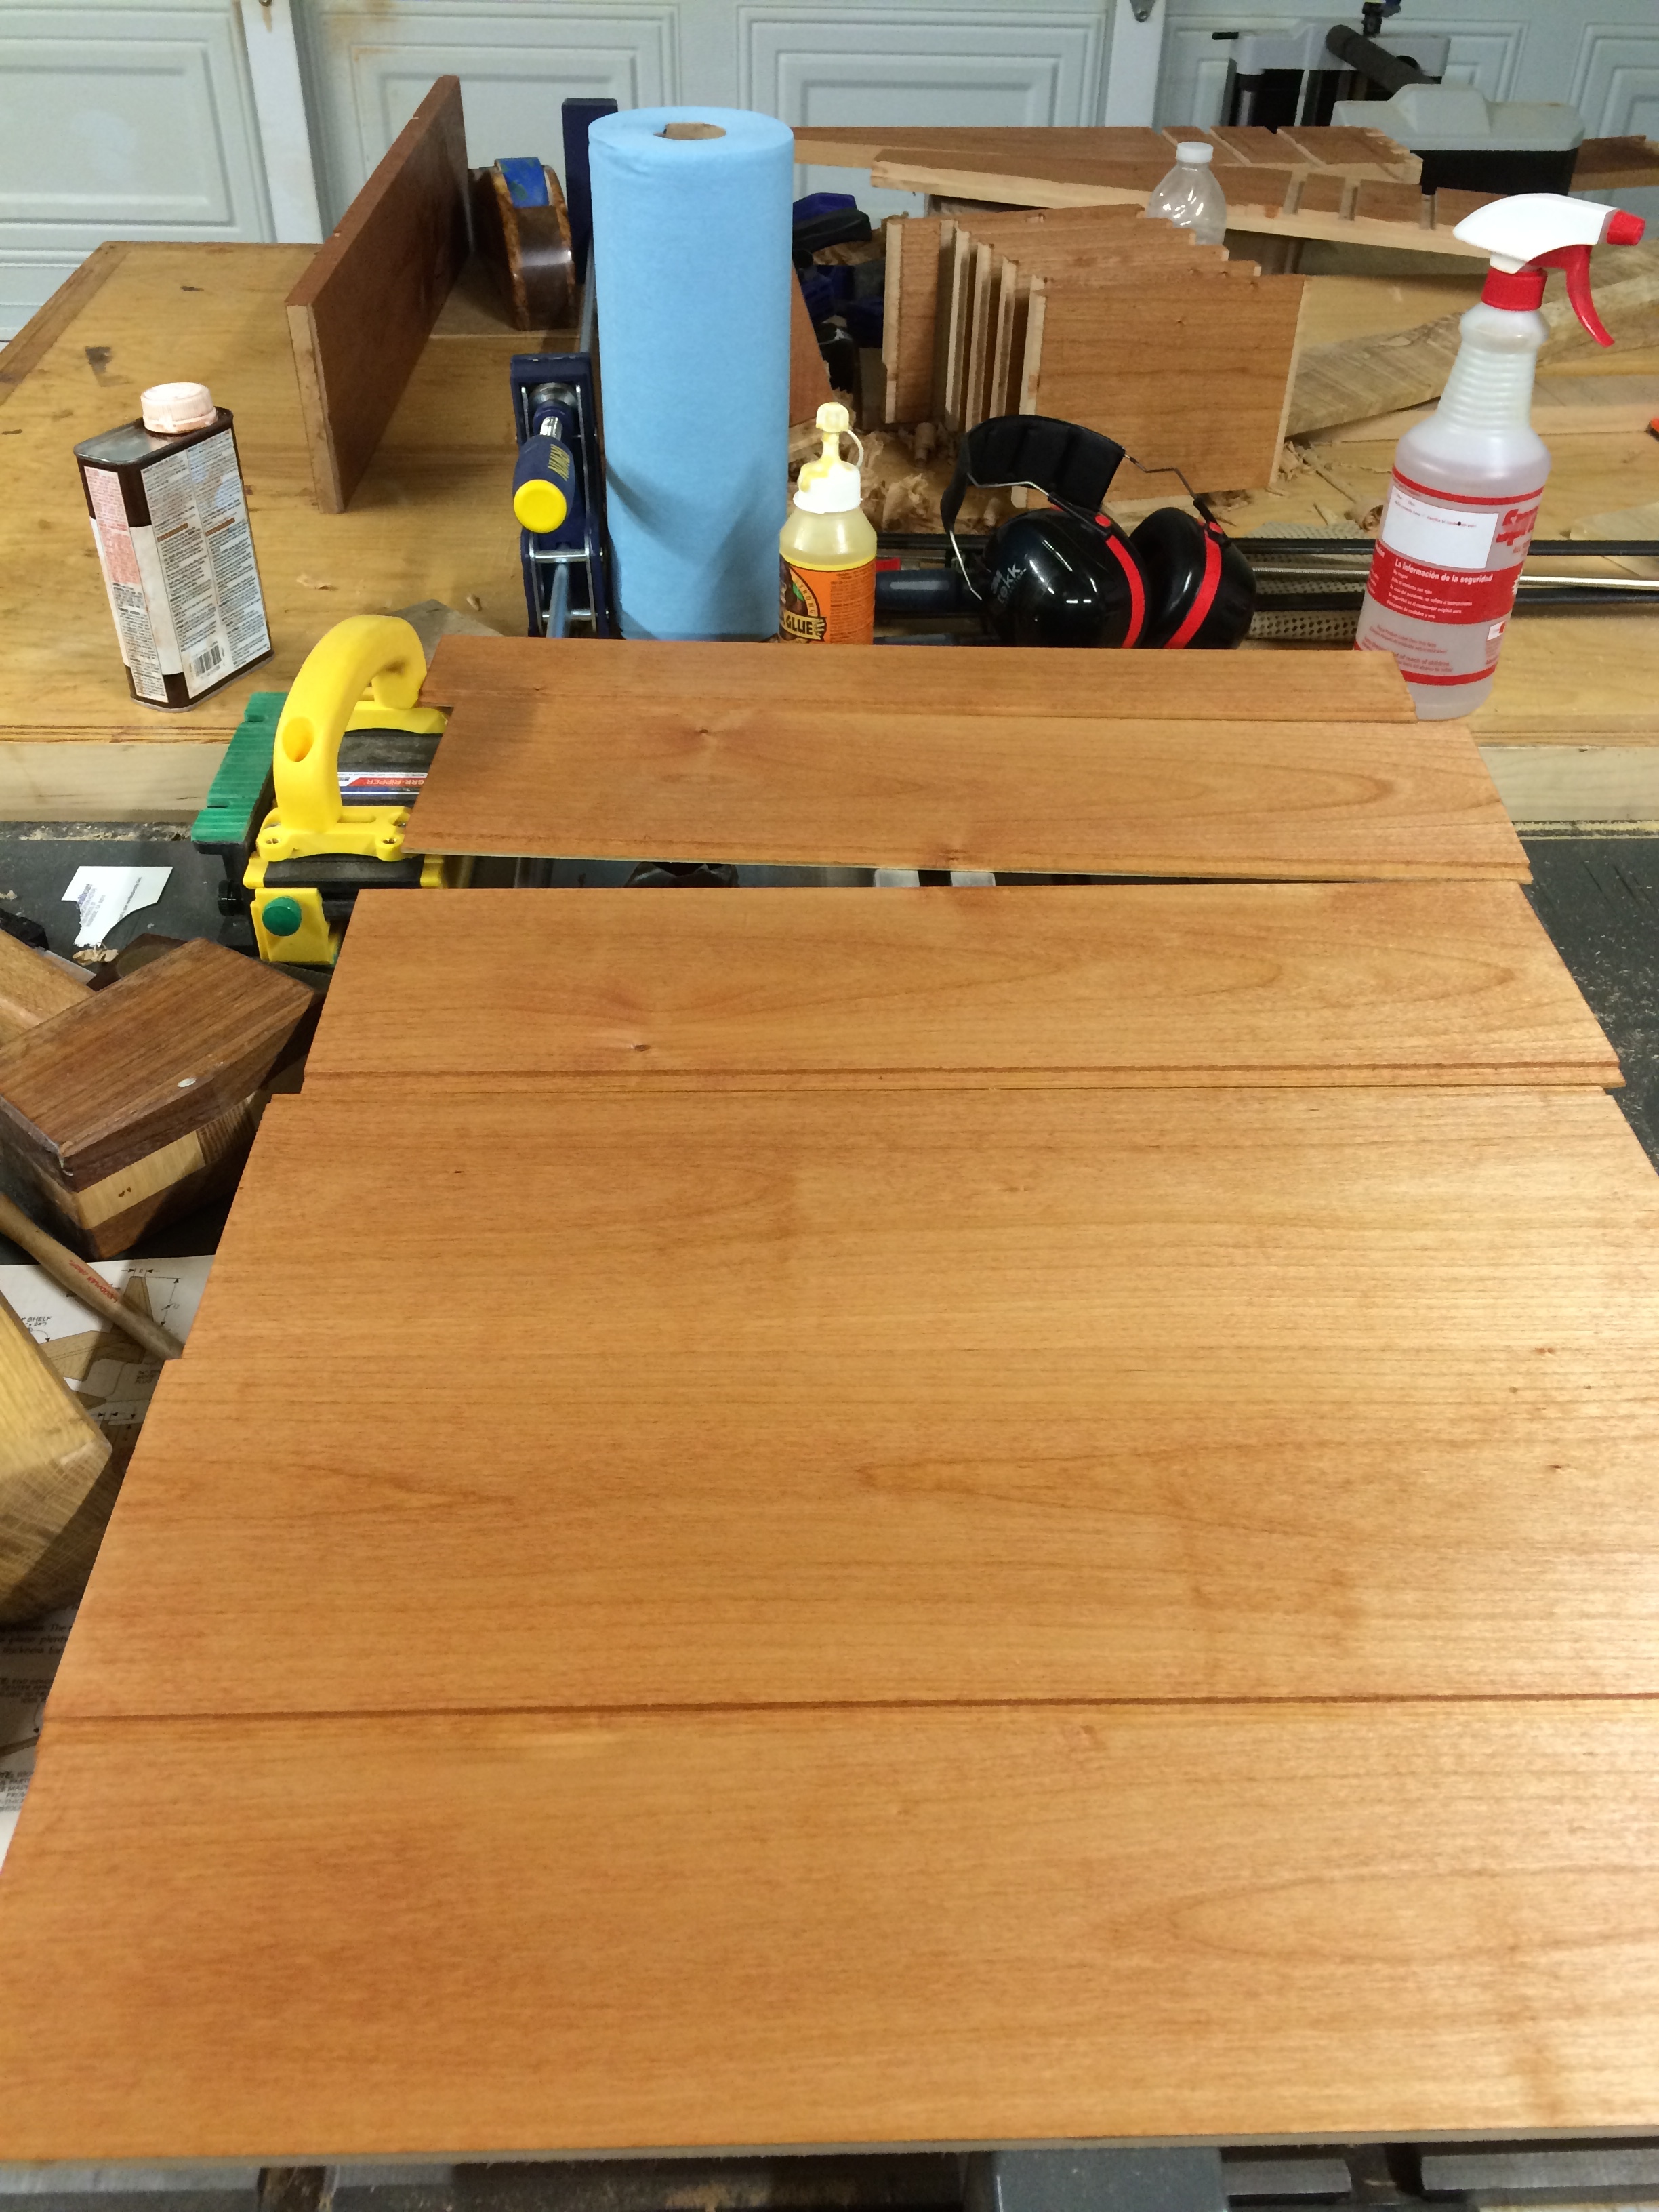
I chose to use the Cherry Danish Oil for a couple reasons; first, I liked the look from the Tatami Bed and, second, I didn’t have to go out and buy anything else.
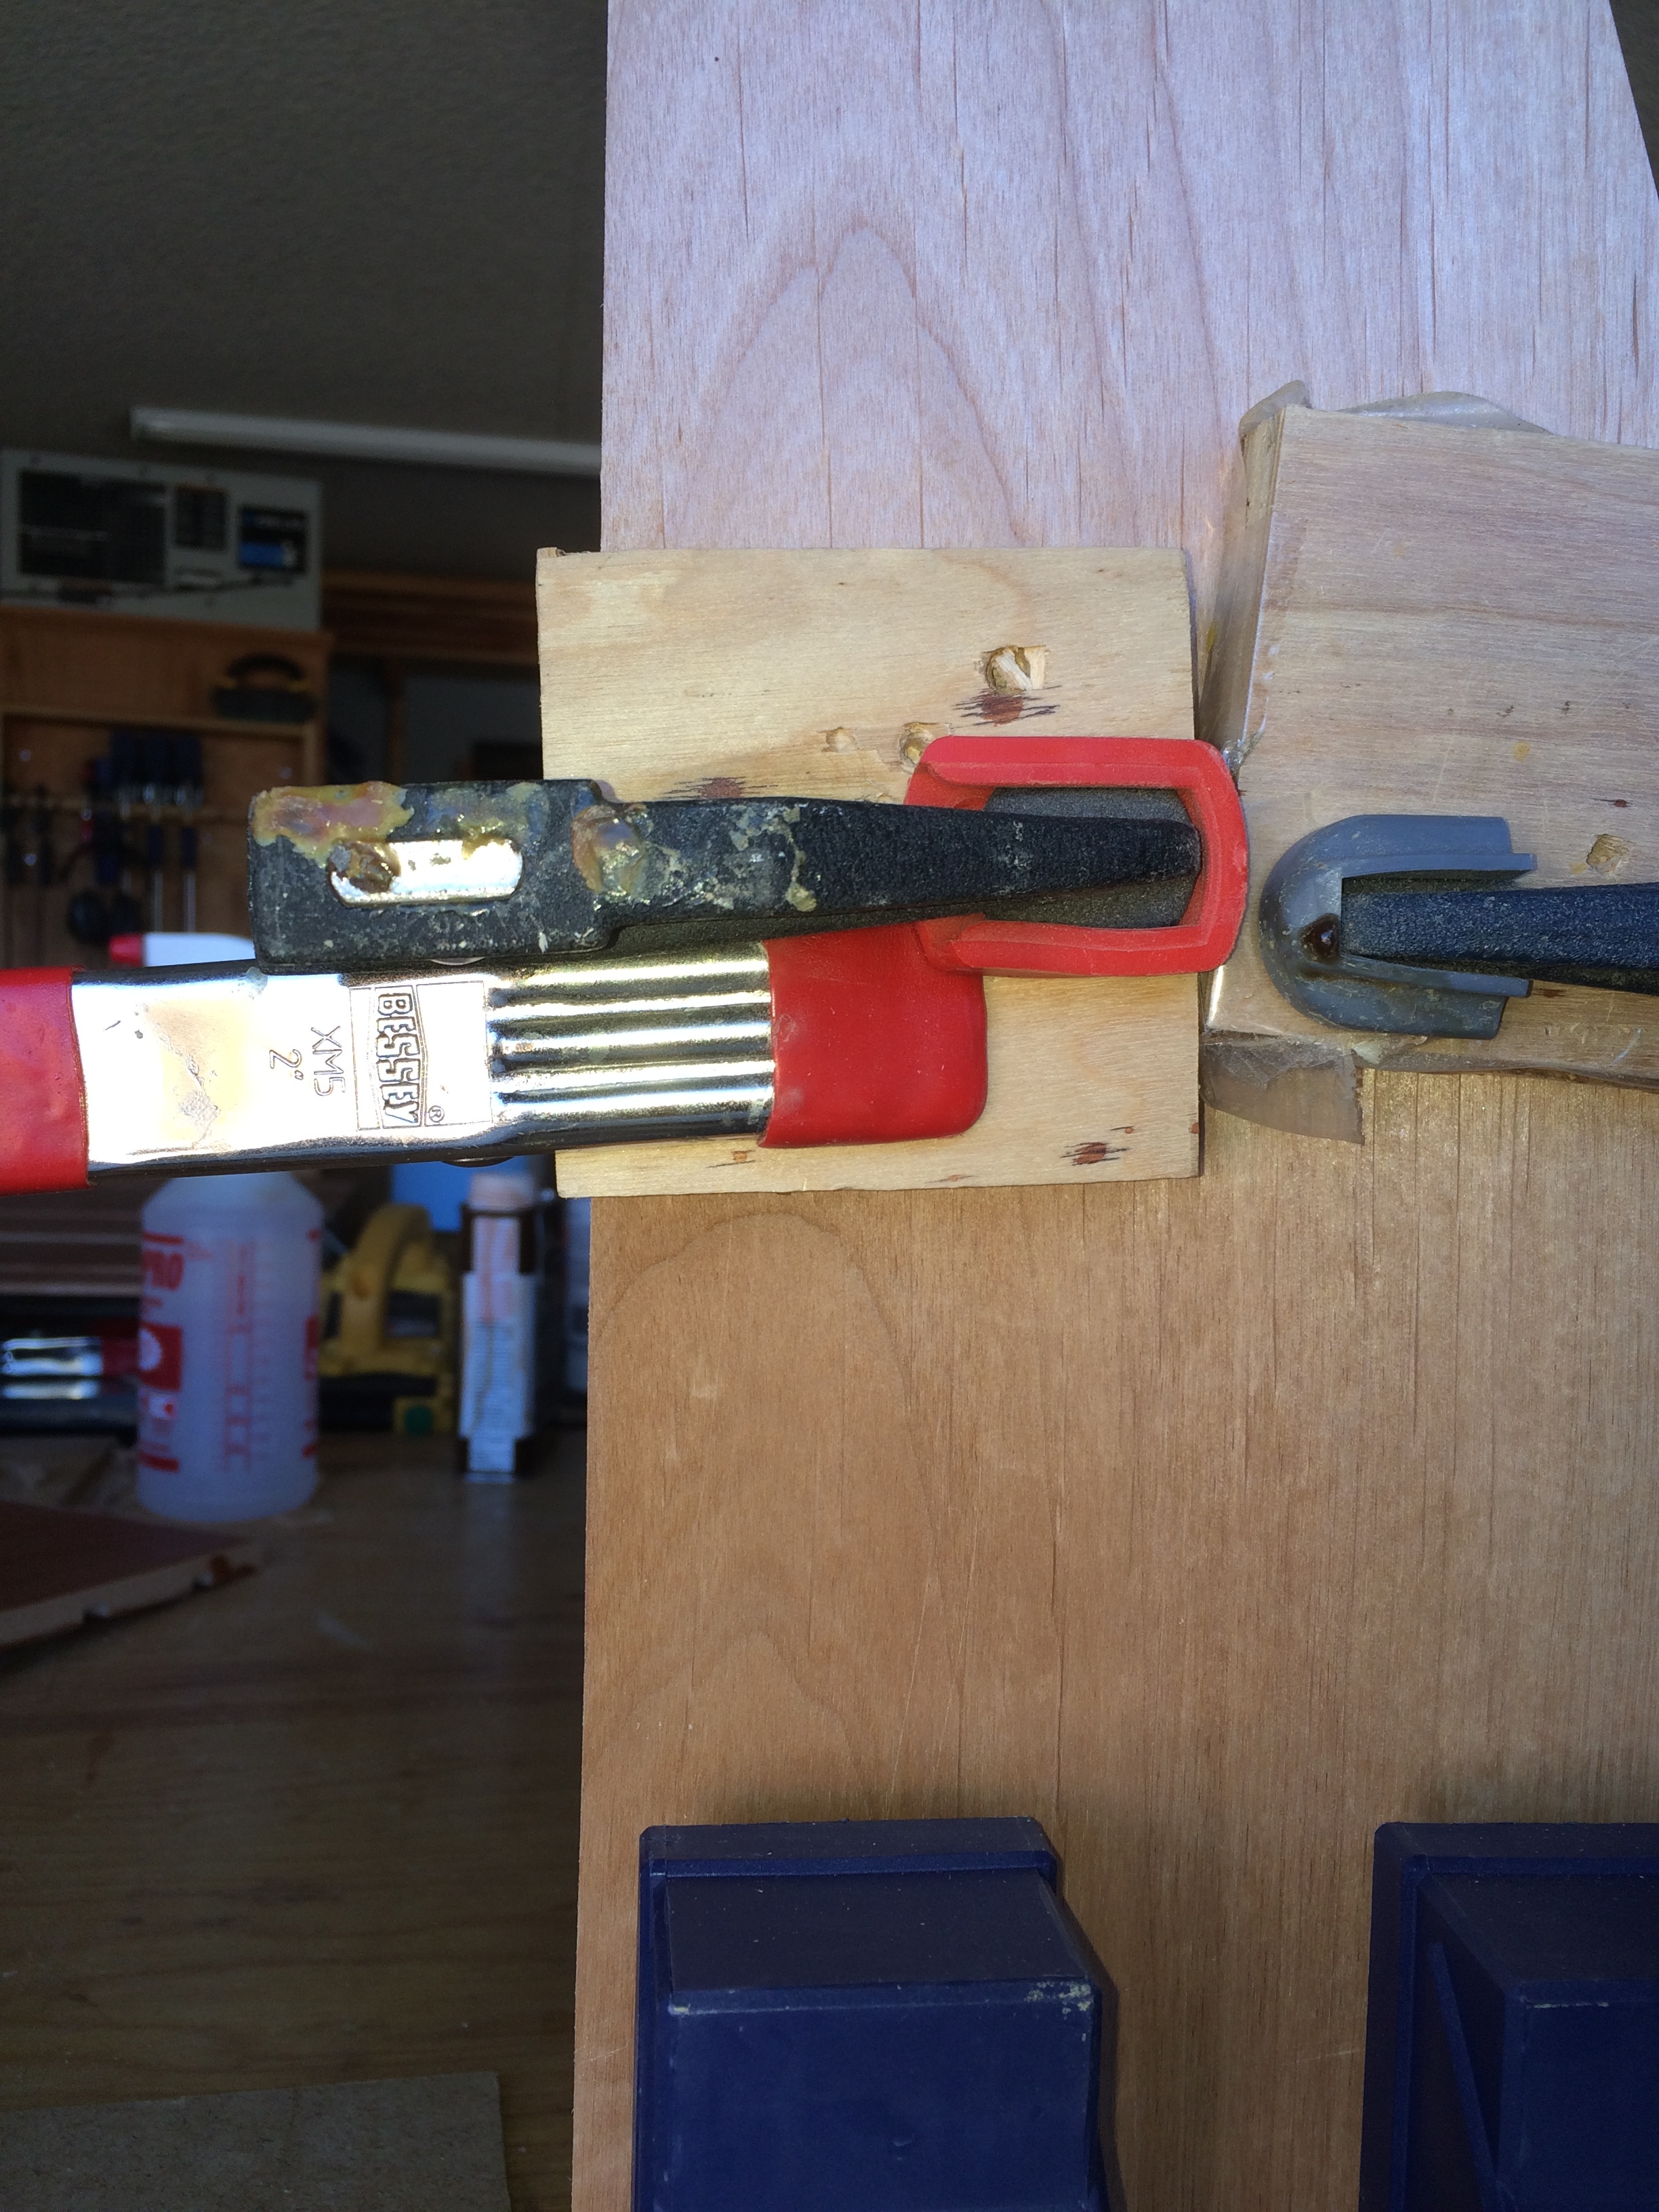
When it was time for glue up, I used a trick I learned from David Marks’ Woodworks show. That was to use small clamps as supports for the f-clamps when doing the glue up. This eliminated the feeling of urgency when glue was applied to the joints since there was no fumbling to get the clamps in the correct place. Also, Titebond extend helps too.

When the case came out of the clamps it was time to nail on the back panels. I considered using small cut nail but in the end I just used 5/8″ 18 gauge brads nailed in the middle of each panel to allow for expansion and contraction over the seasons. No glue was applied just three brads per board, top, middle, and bottom.

Next I used the smoothing plane one last time to clean up all the edges and faces of the case sides, wiped on the Danish Oil, and let it dry over night.
Now it was time for the fun stuff: the drawers.
