
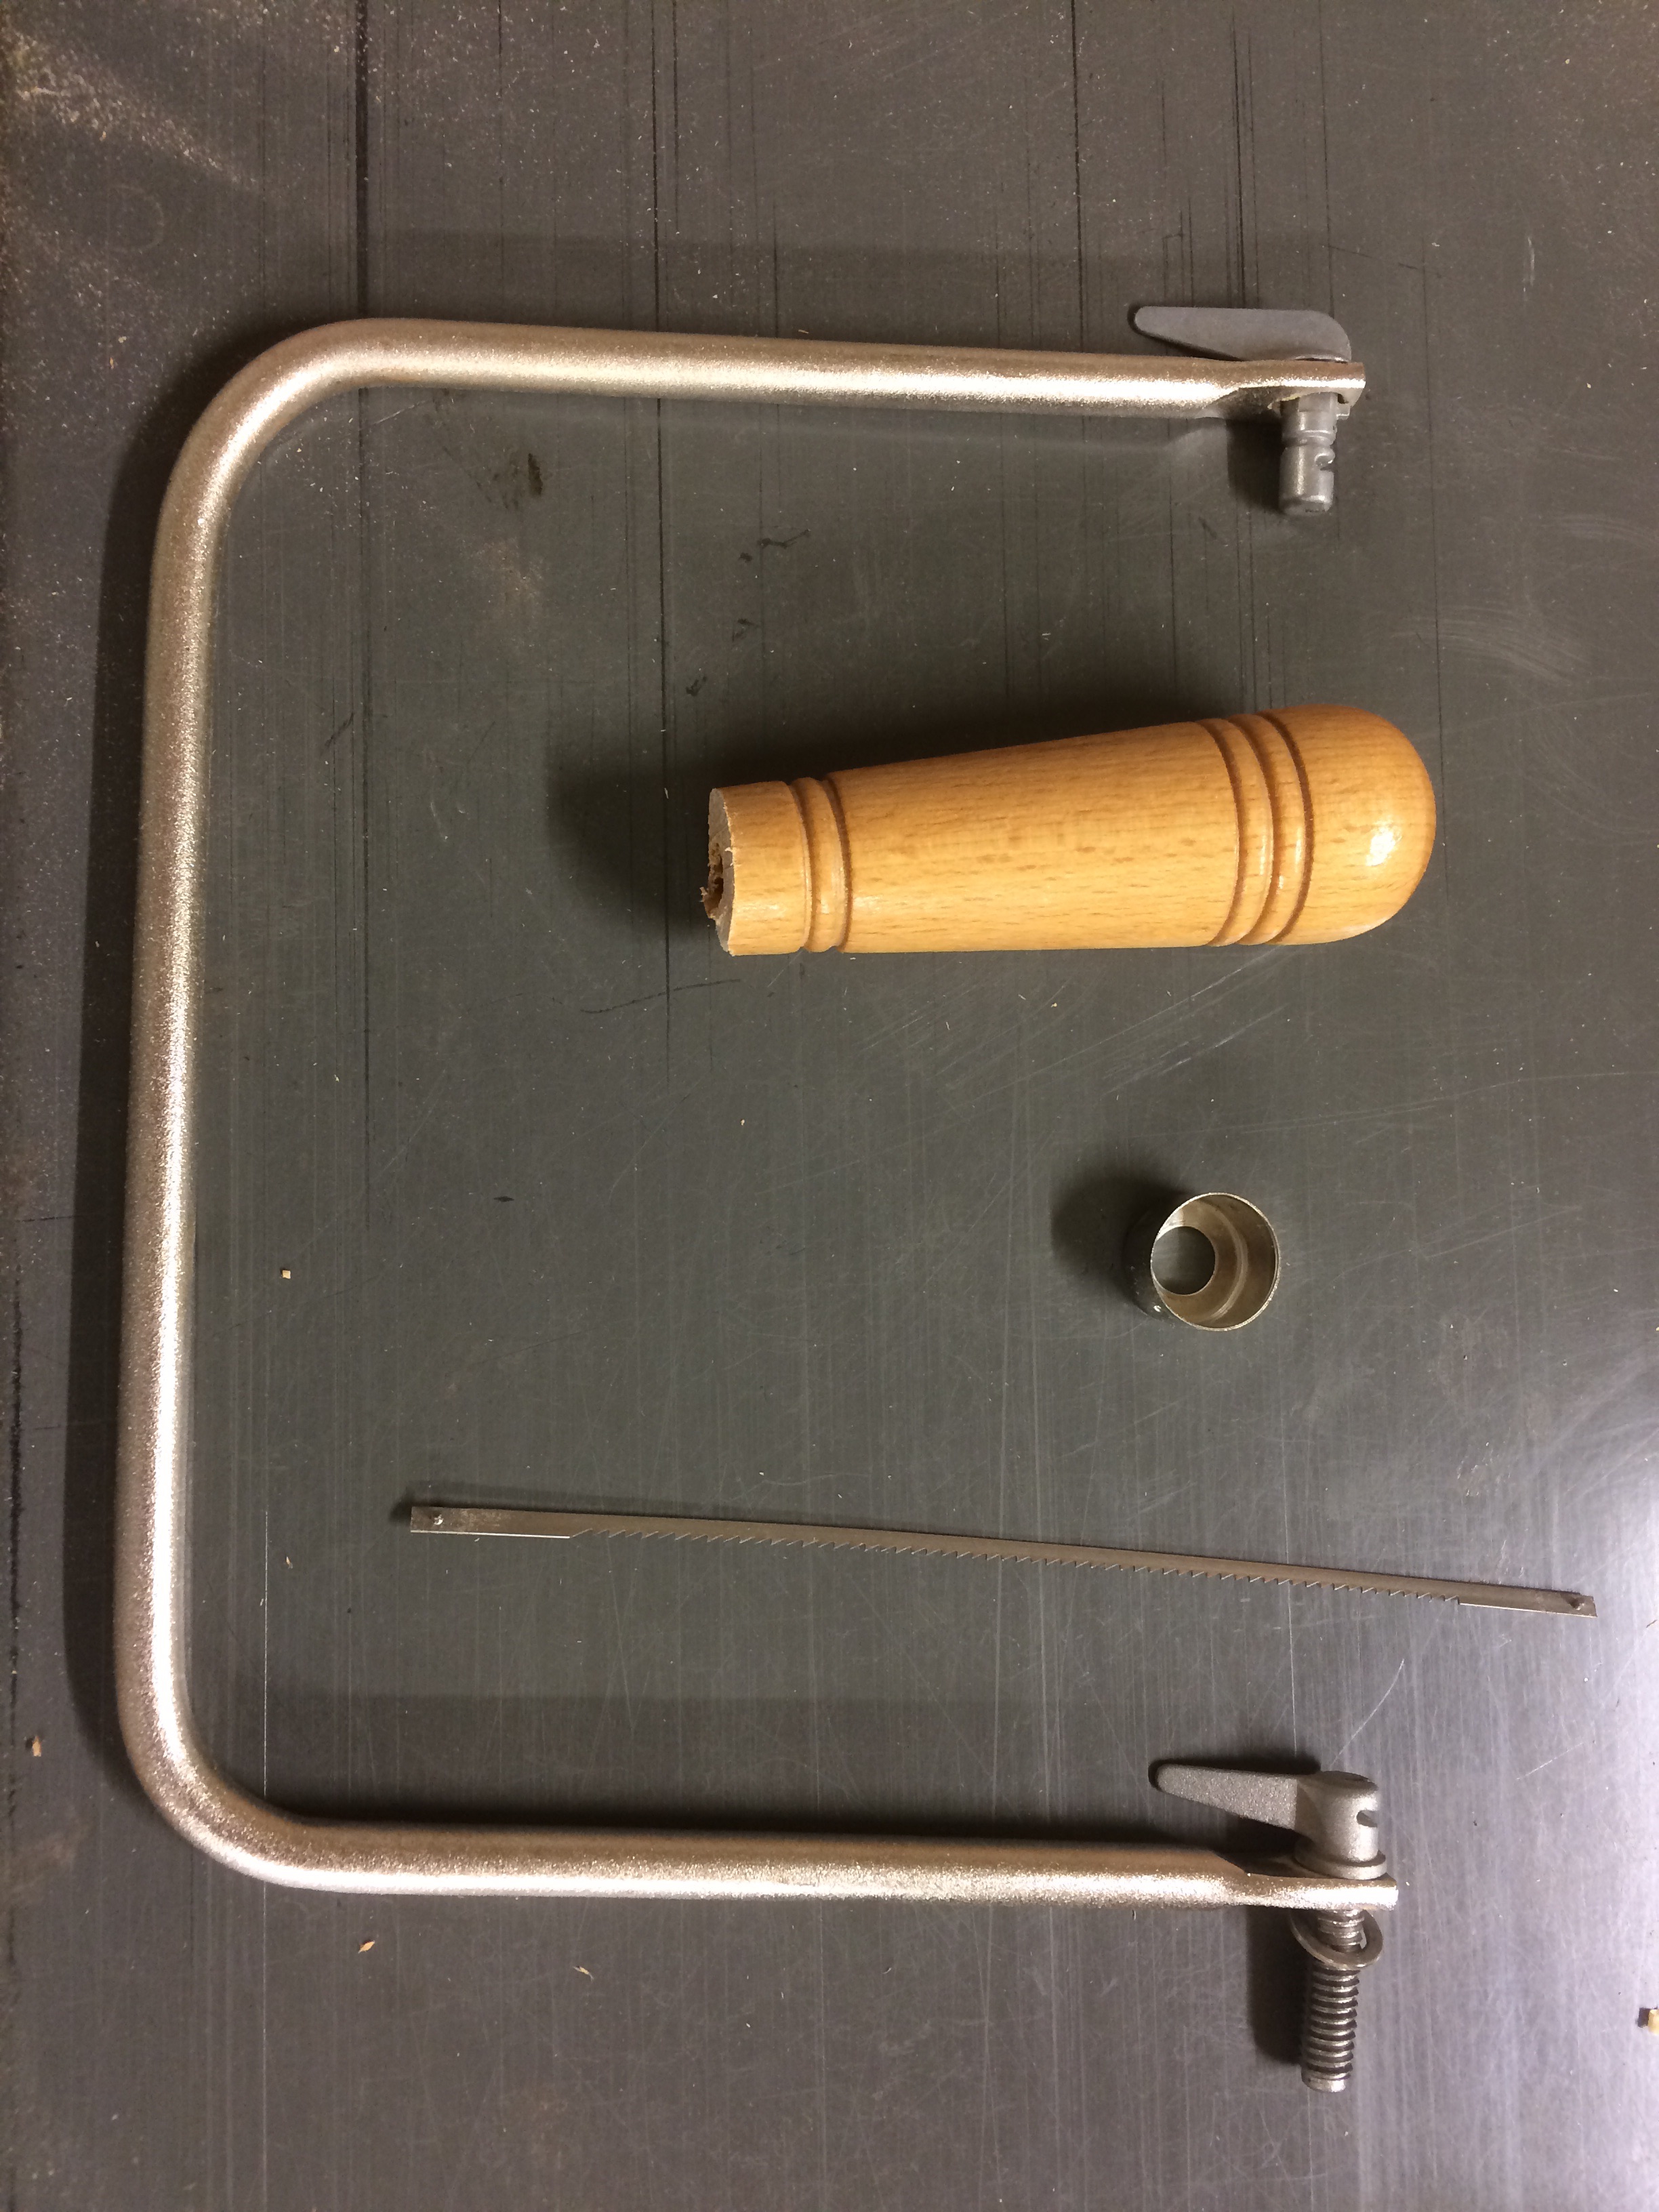
One of the first hand saws I purchased was a cheap coping saw from my local Do-It Best Center. I purchased it so I could make a 3-piece burr puzzle for my Father-in-Law for Christmas. I used it for that project and haven’t touched it since until recently, when I was removing waste from the dovetails on my chisel rack case. I considered selling it or giving it away to my church’s rummage sale but then lighting struck my brain. I could make this cheap, poor feeling saw into a cheap, better feeling saw just by changing the handle.
I cut the handle from the threaded insert after unscrewing the frame and removing the blade. Then I took the threaded insert that was encased in the wood and split the wood with a chisel to get the insert out. This was much easier than I anticipated.
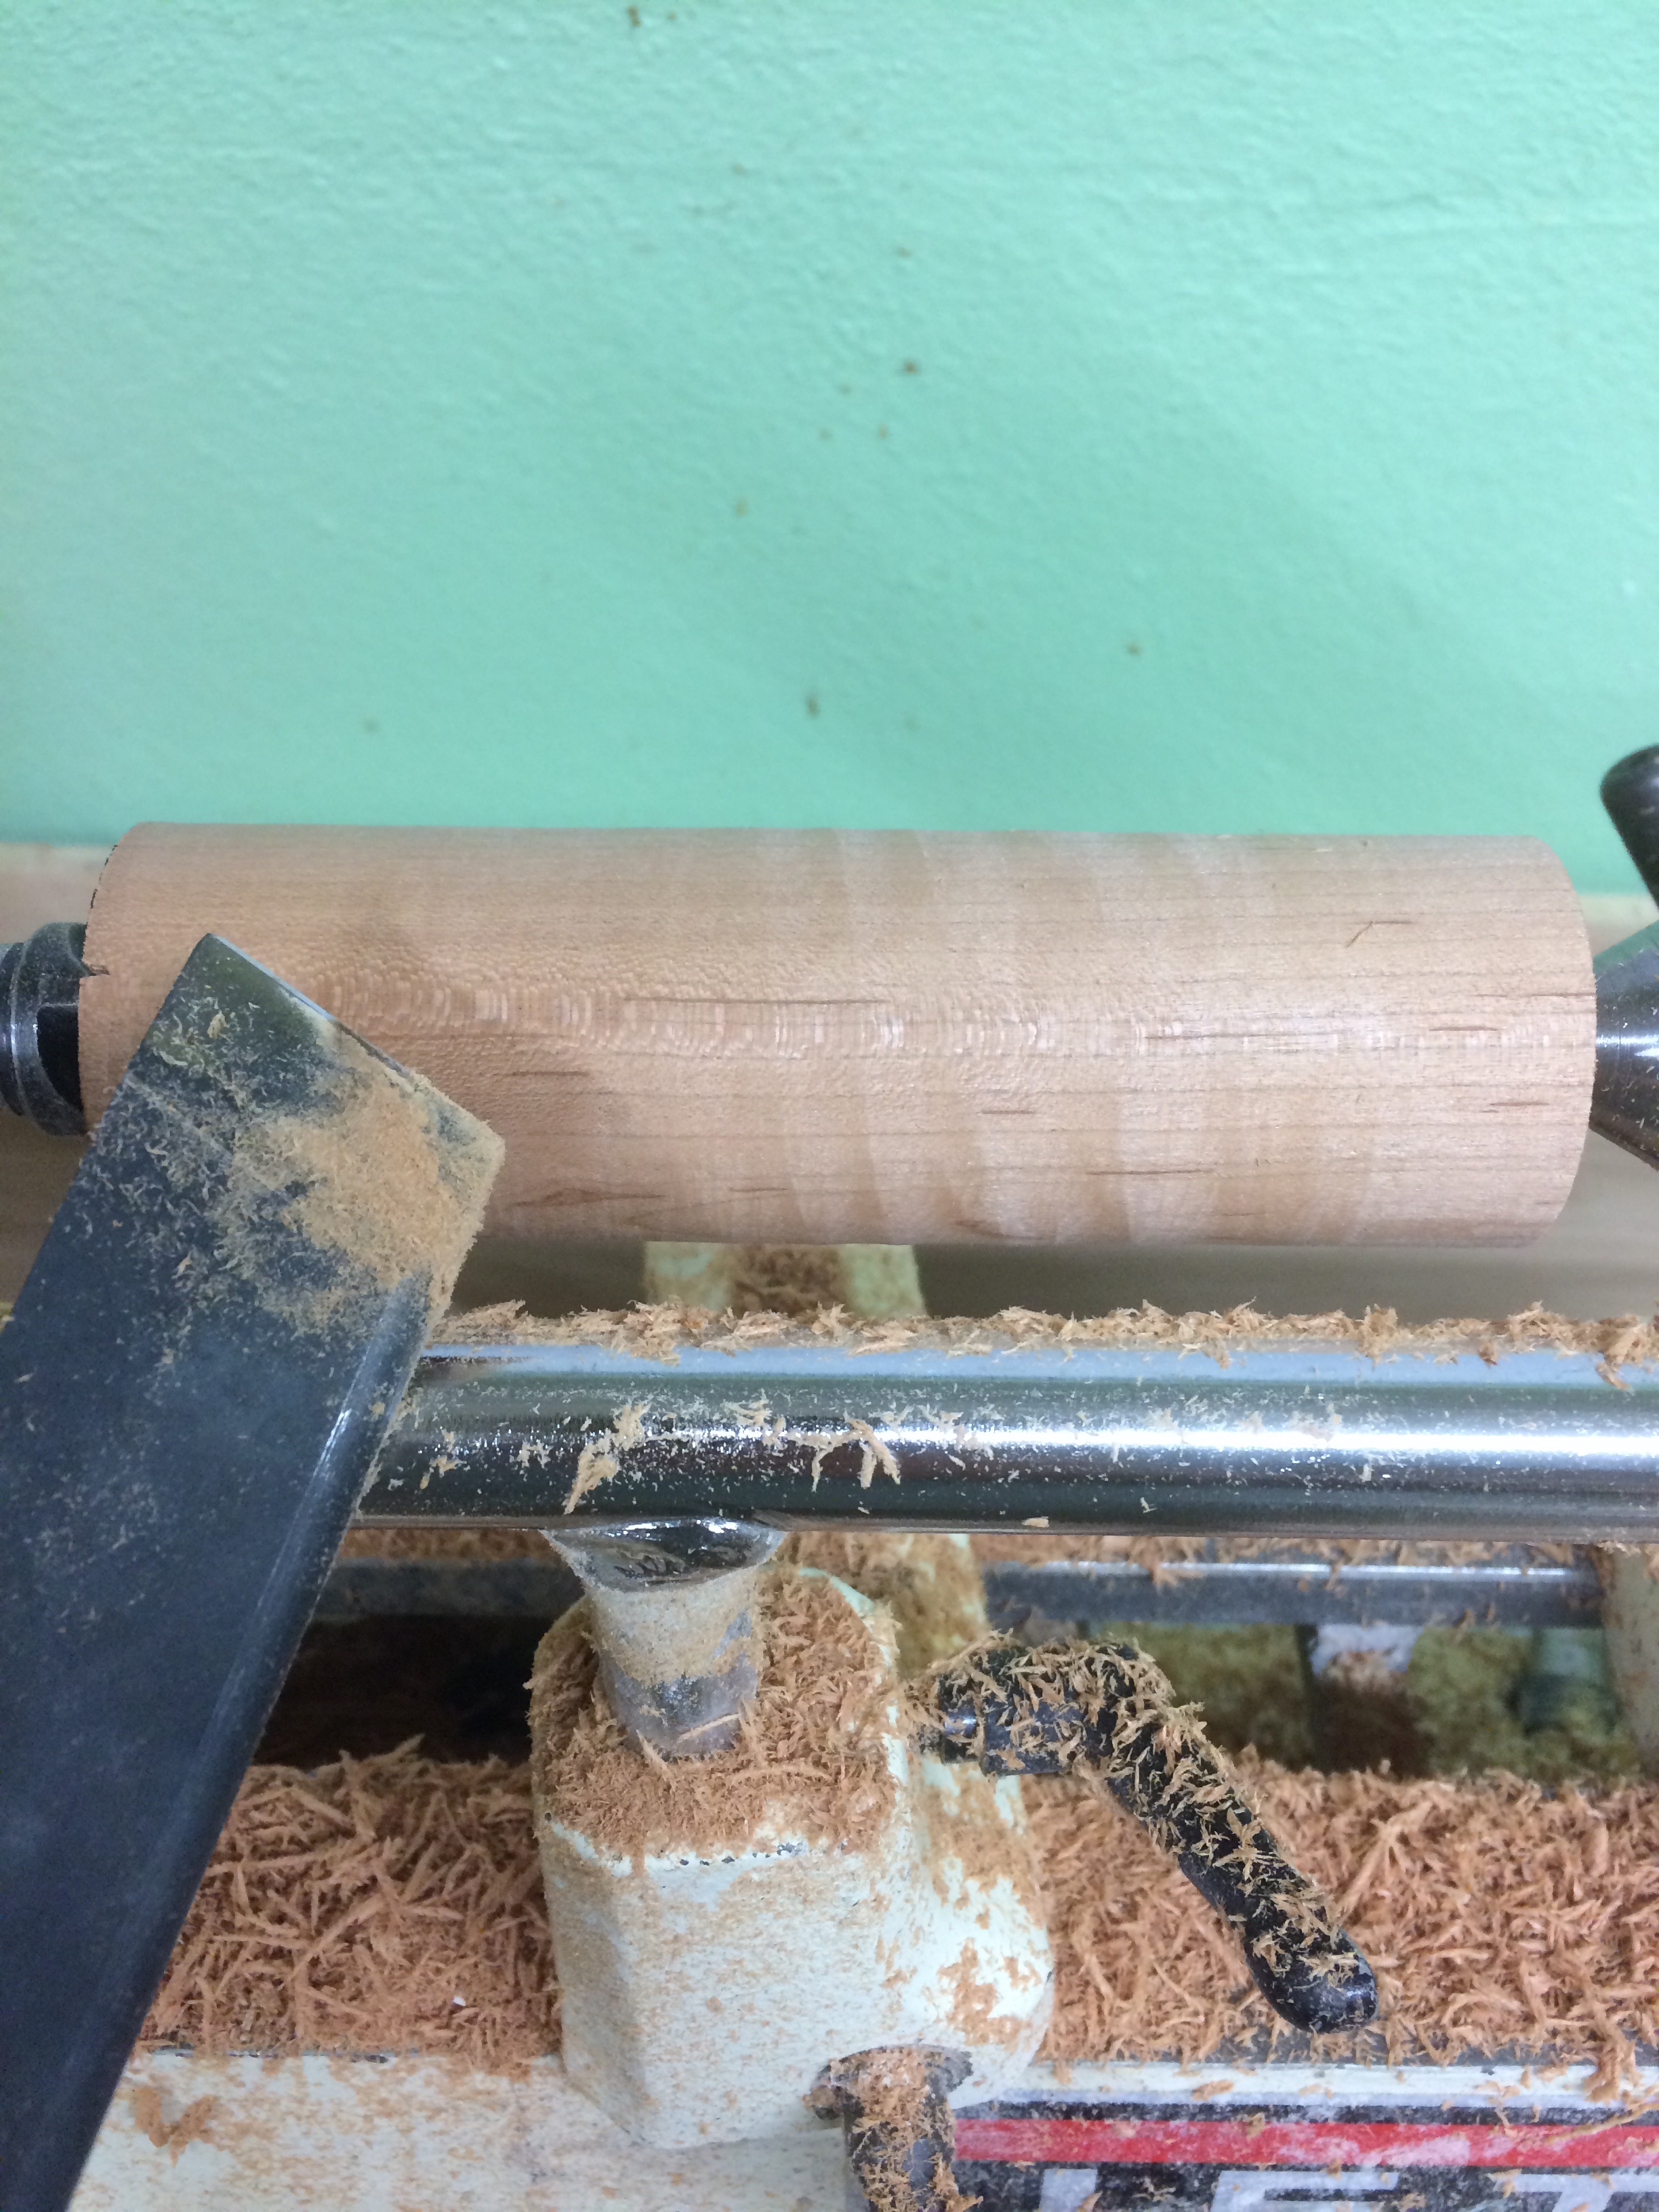
First, I drilled a hole to match the diameter of the threaded insert for the screw that holds the saw in the handle. I mounted the blank between centers at the lathe and used the roughing gouge to true it. This was the perfect exercise for me to use my new skew chisel. I pulled out a piece of cherry left over from the screwdriver handles I turned a few weeks ago and went to work.
I made a tenon to fit the ferrule that came with the saw. I had to repurpose the ferrule since I didn’t have a brass or copper ferrule on hand.
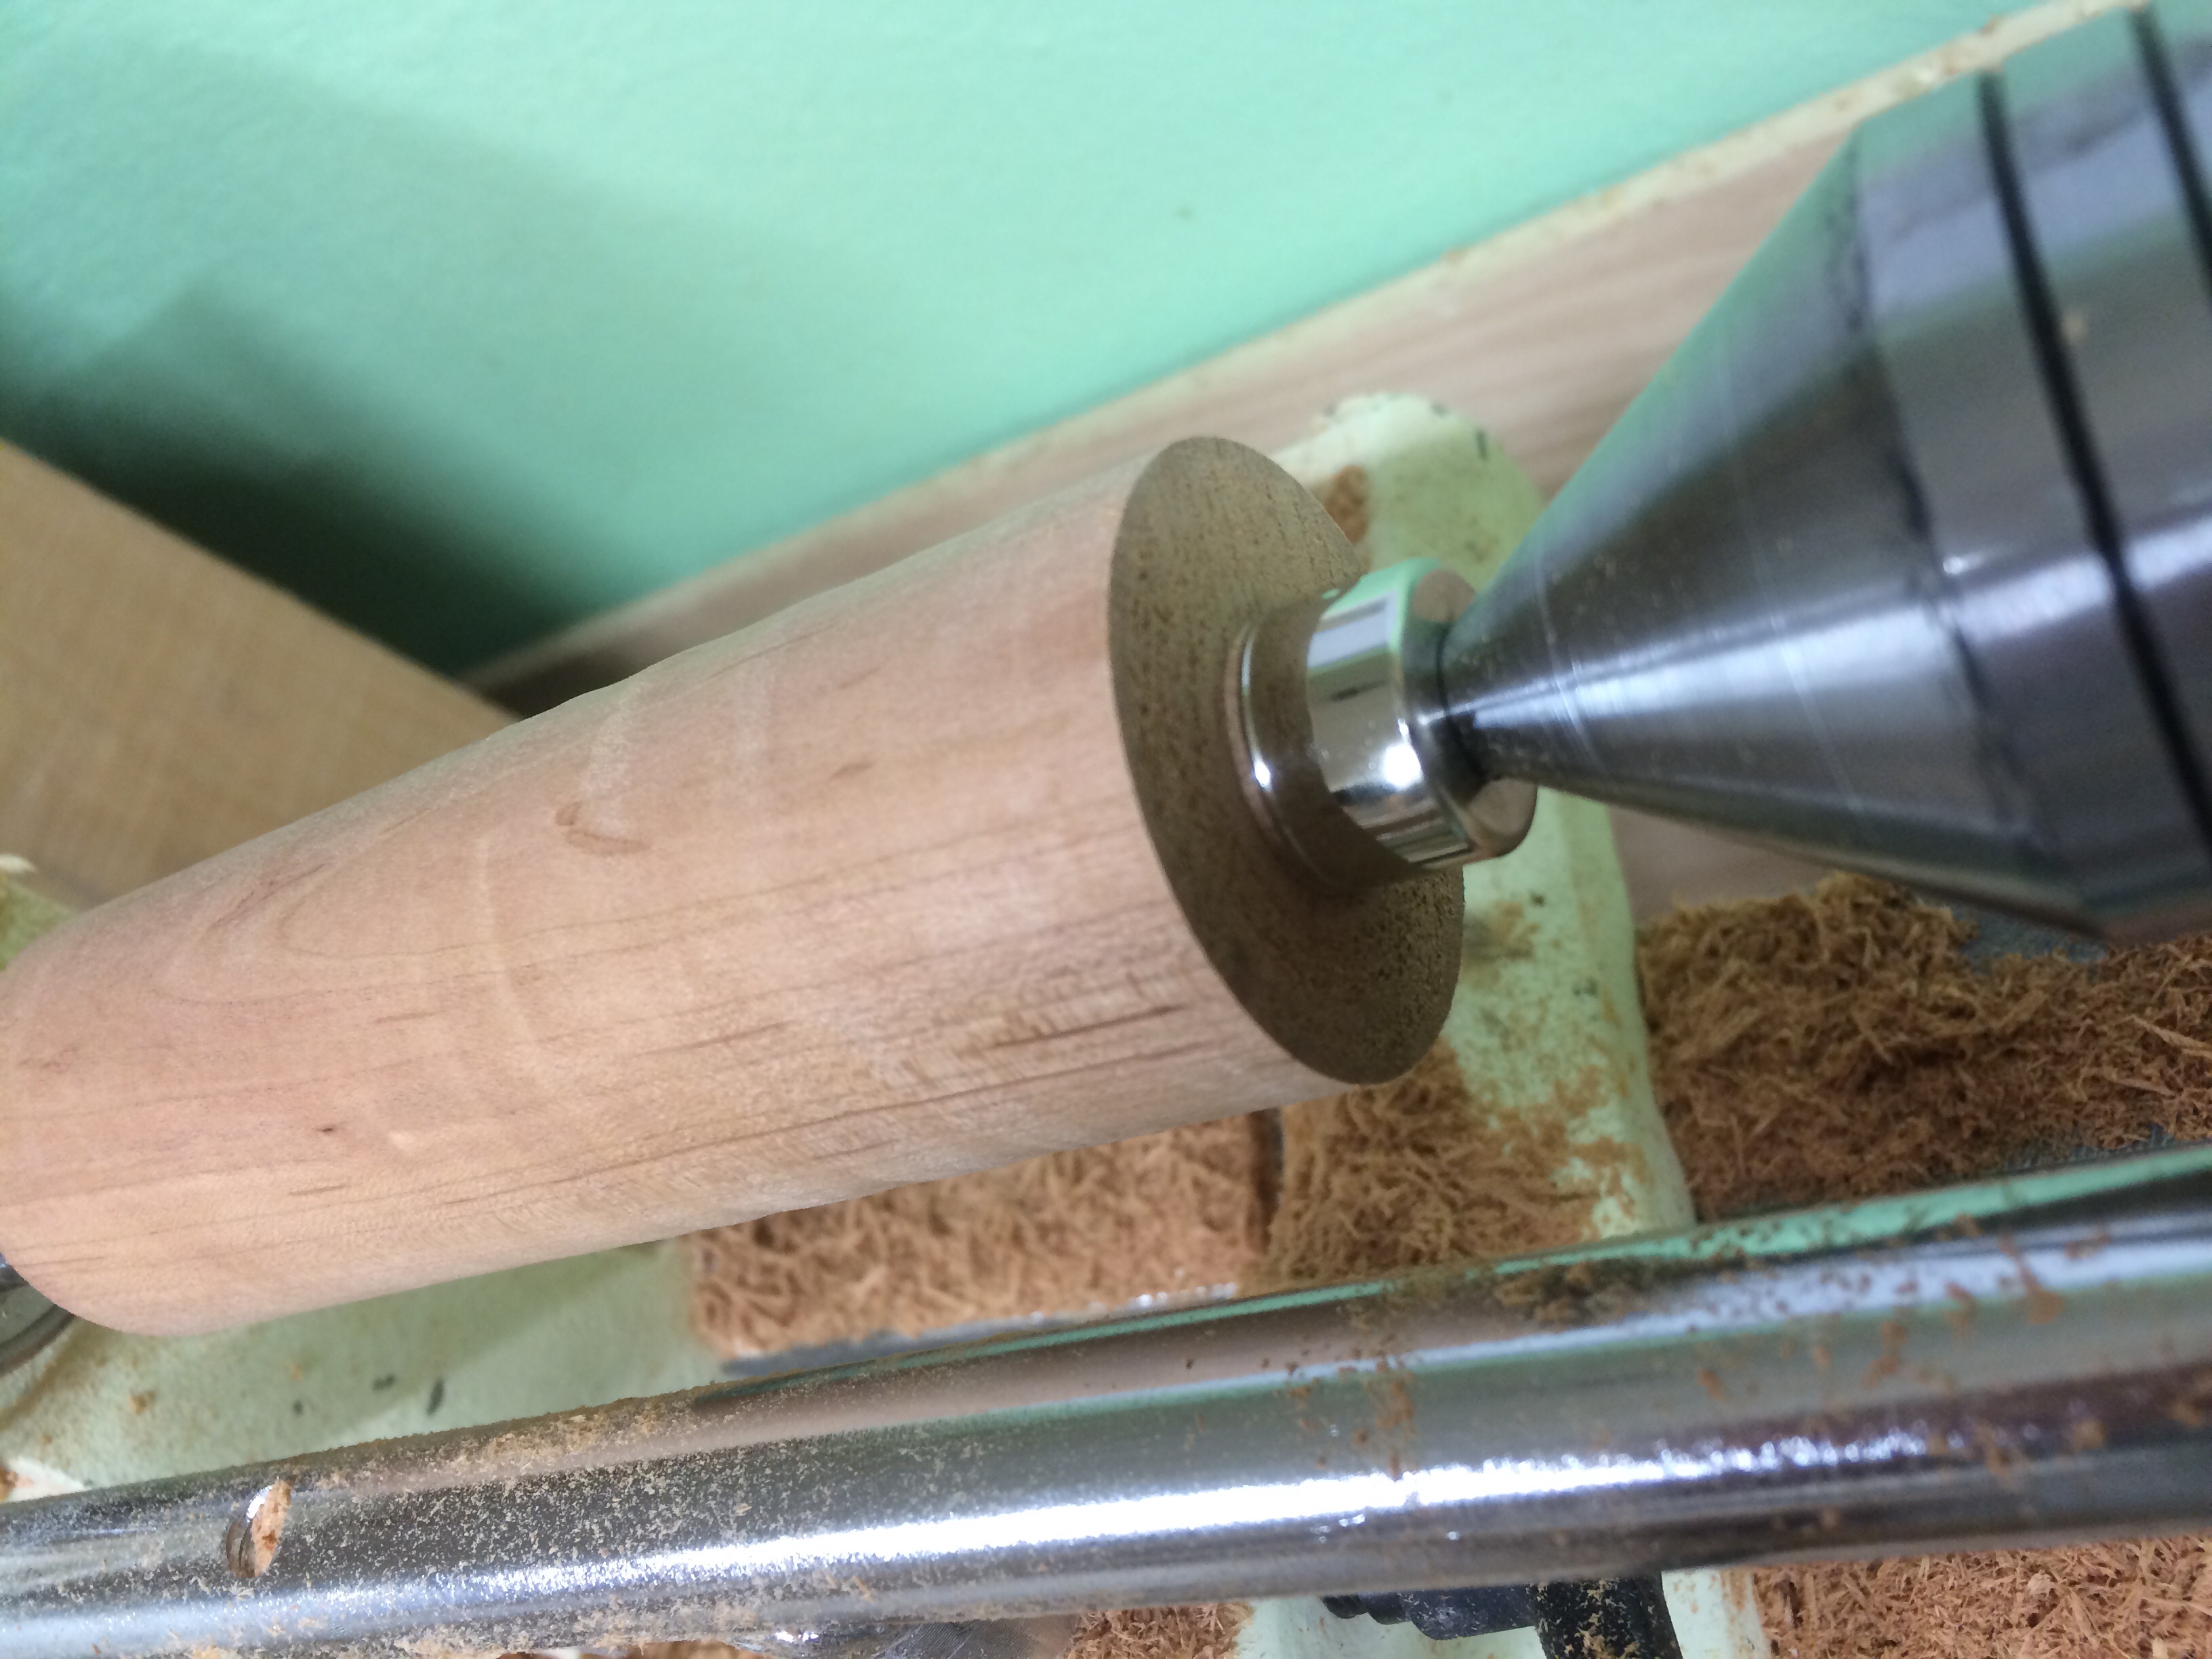
Next it was time to shape the handle. I’ll admit this is a new larger skew that I was not yet use to compared to my Crown 1/2″ oval skew I use for turning pens. I did get a catch at the toe and it startled me. Not much damage was done though, a quick pass cleaned it right up. I took a little more precaution by ridding the bevel first and then tipping the handle up to engage the cutting edge to finish up the job. I made some guide lines and shaped the handle to my liking. When I was finished with the shaping, I sanded to 320 grit, and waxed it for a nice shine.
If you have an old tool that you don’t like, put new life into it by turning or shaping your own custom handle. I think I will be looking for reasons to use this saw now. I see more dovetails in my future.
