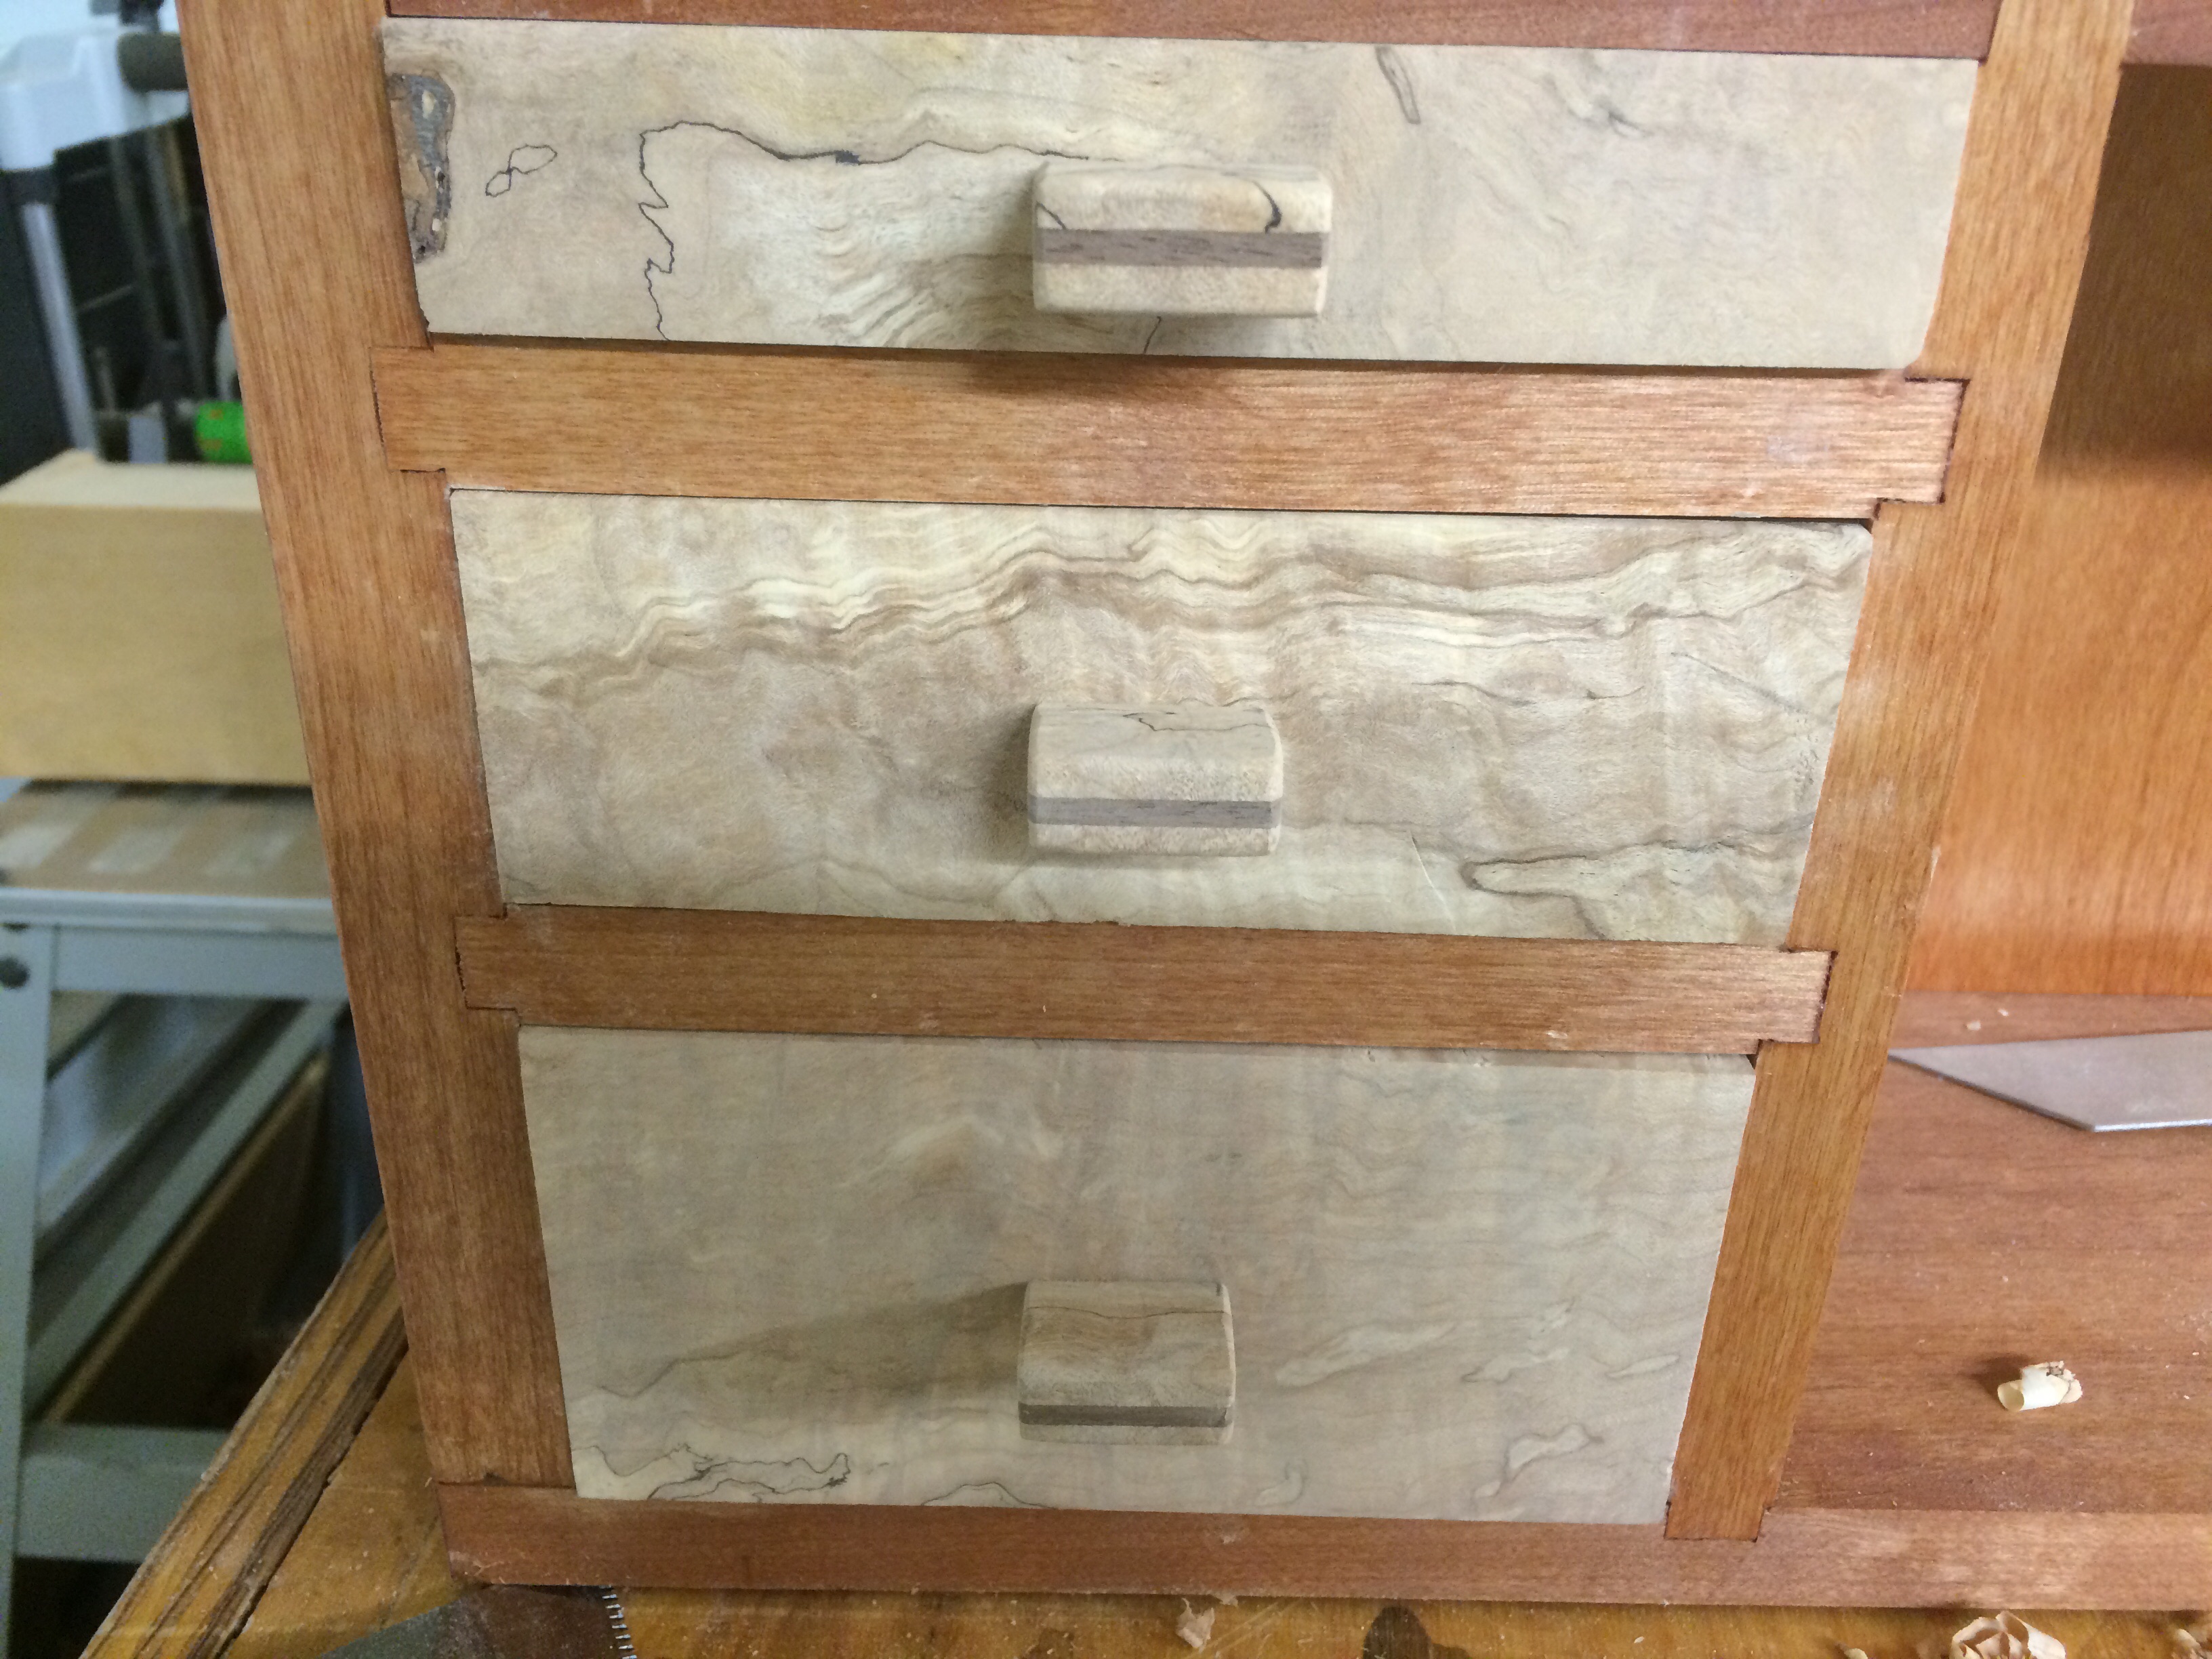
I made all the sides, fronts, backs, and bottoms from poplar. The fronts were joined by half blind dovetails and then I glued a book matched pair (side to side) of spalted fiddleback maple to the fronts since I had limited amounts and thicknesses.
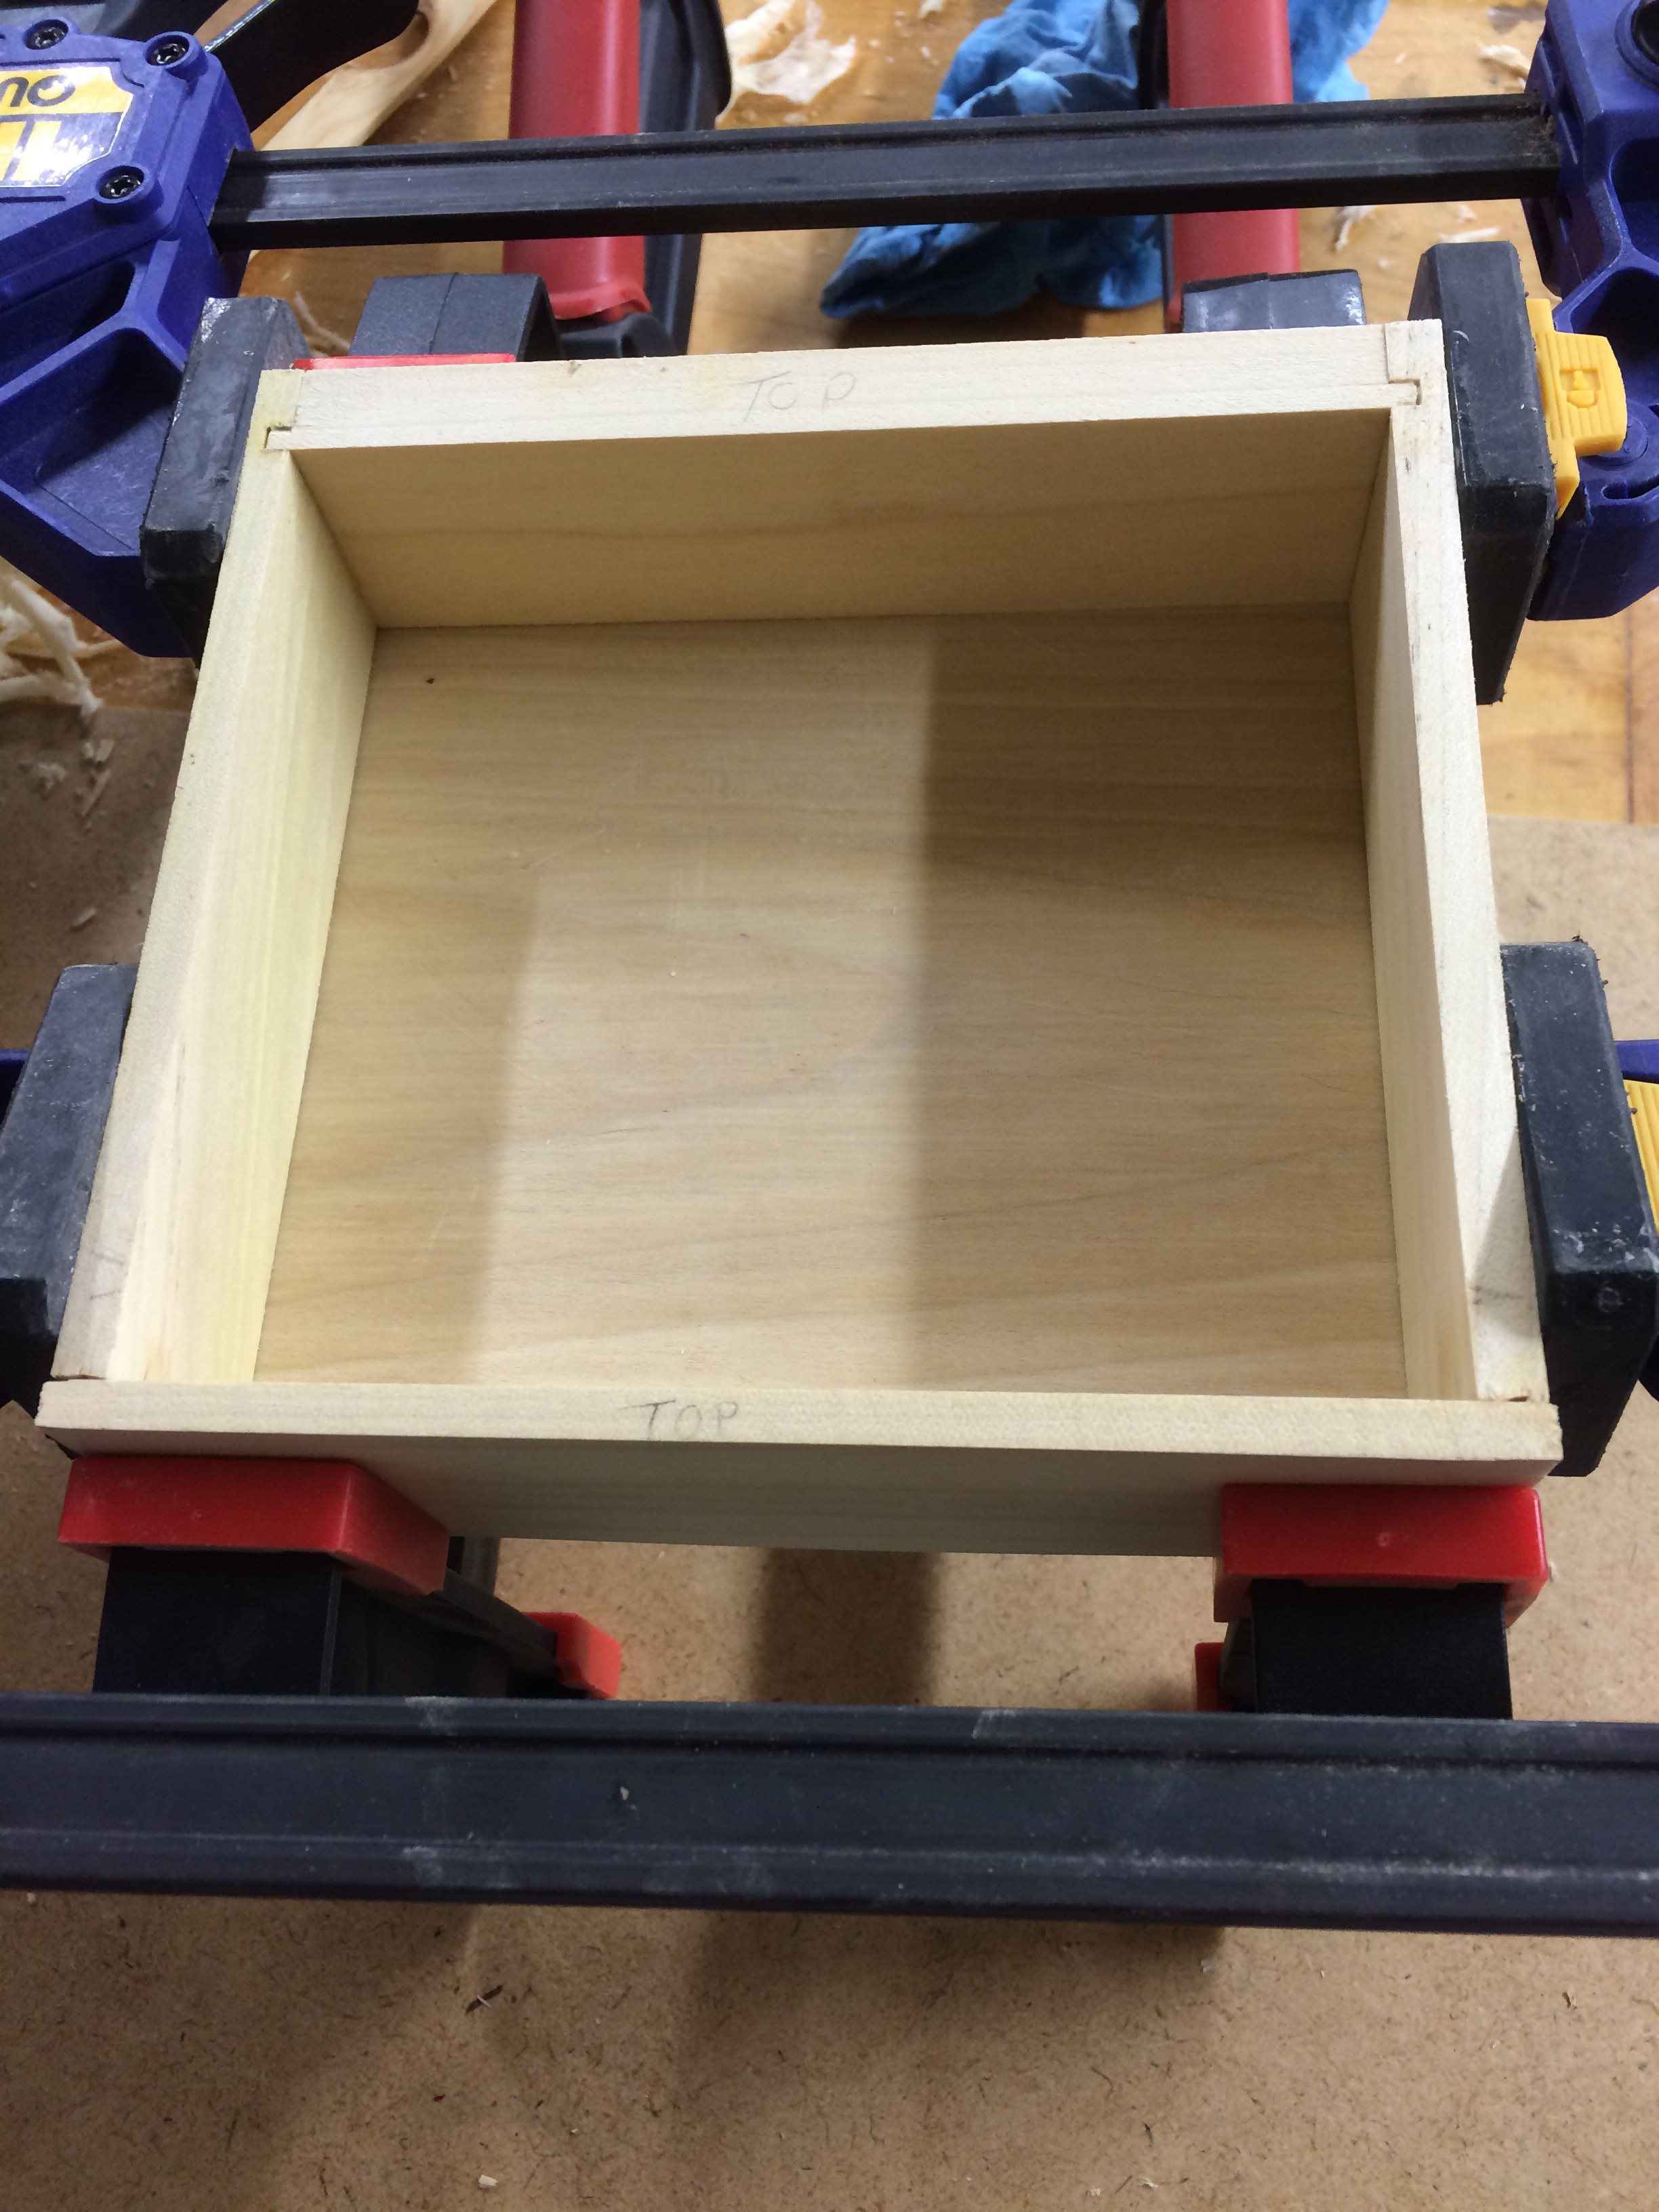
I started by resawing some poplar and cleaning it up with a plane (too small to run through the planer). Then using the same jig I made for cutting the dovetails at the band saw, cut the tails in the drawer sides.
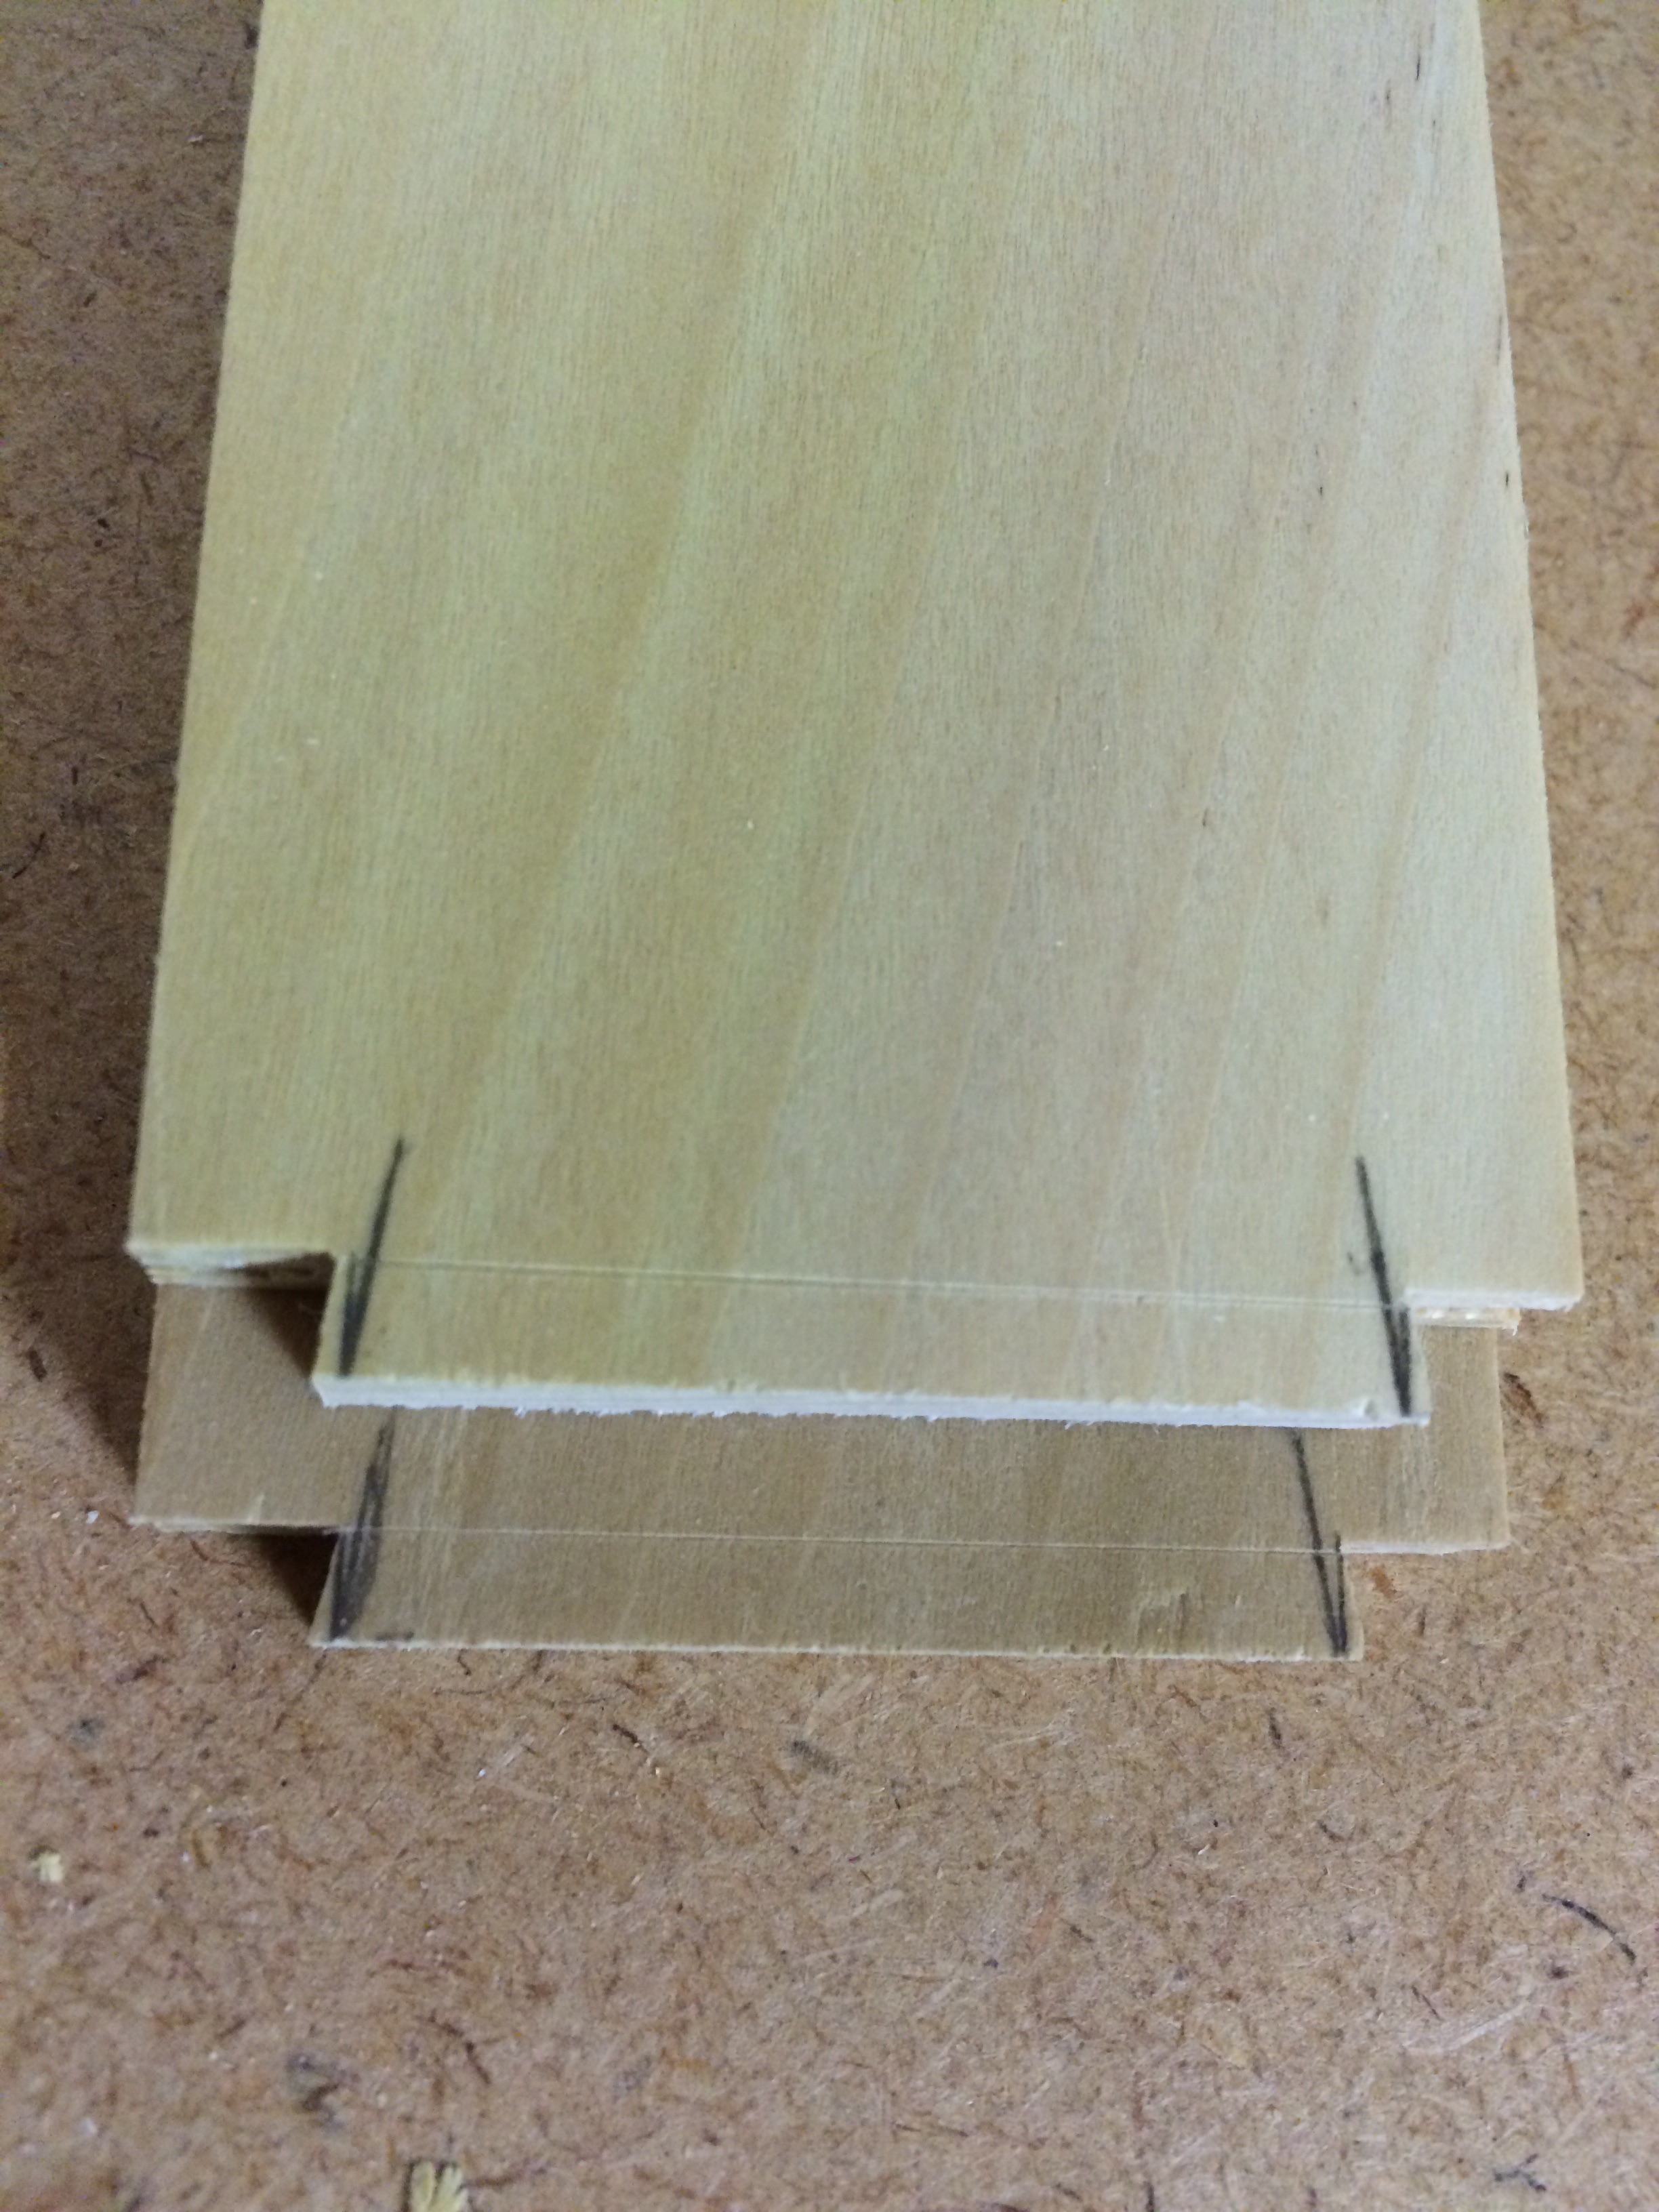
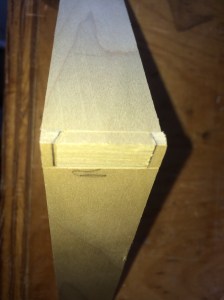
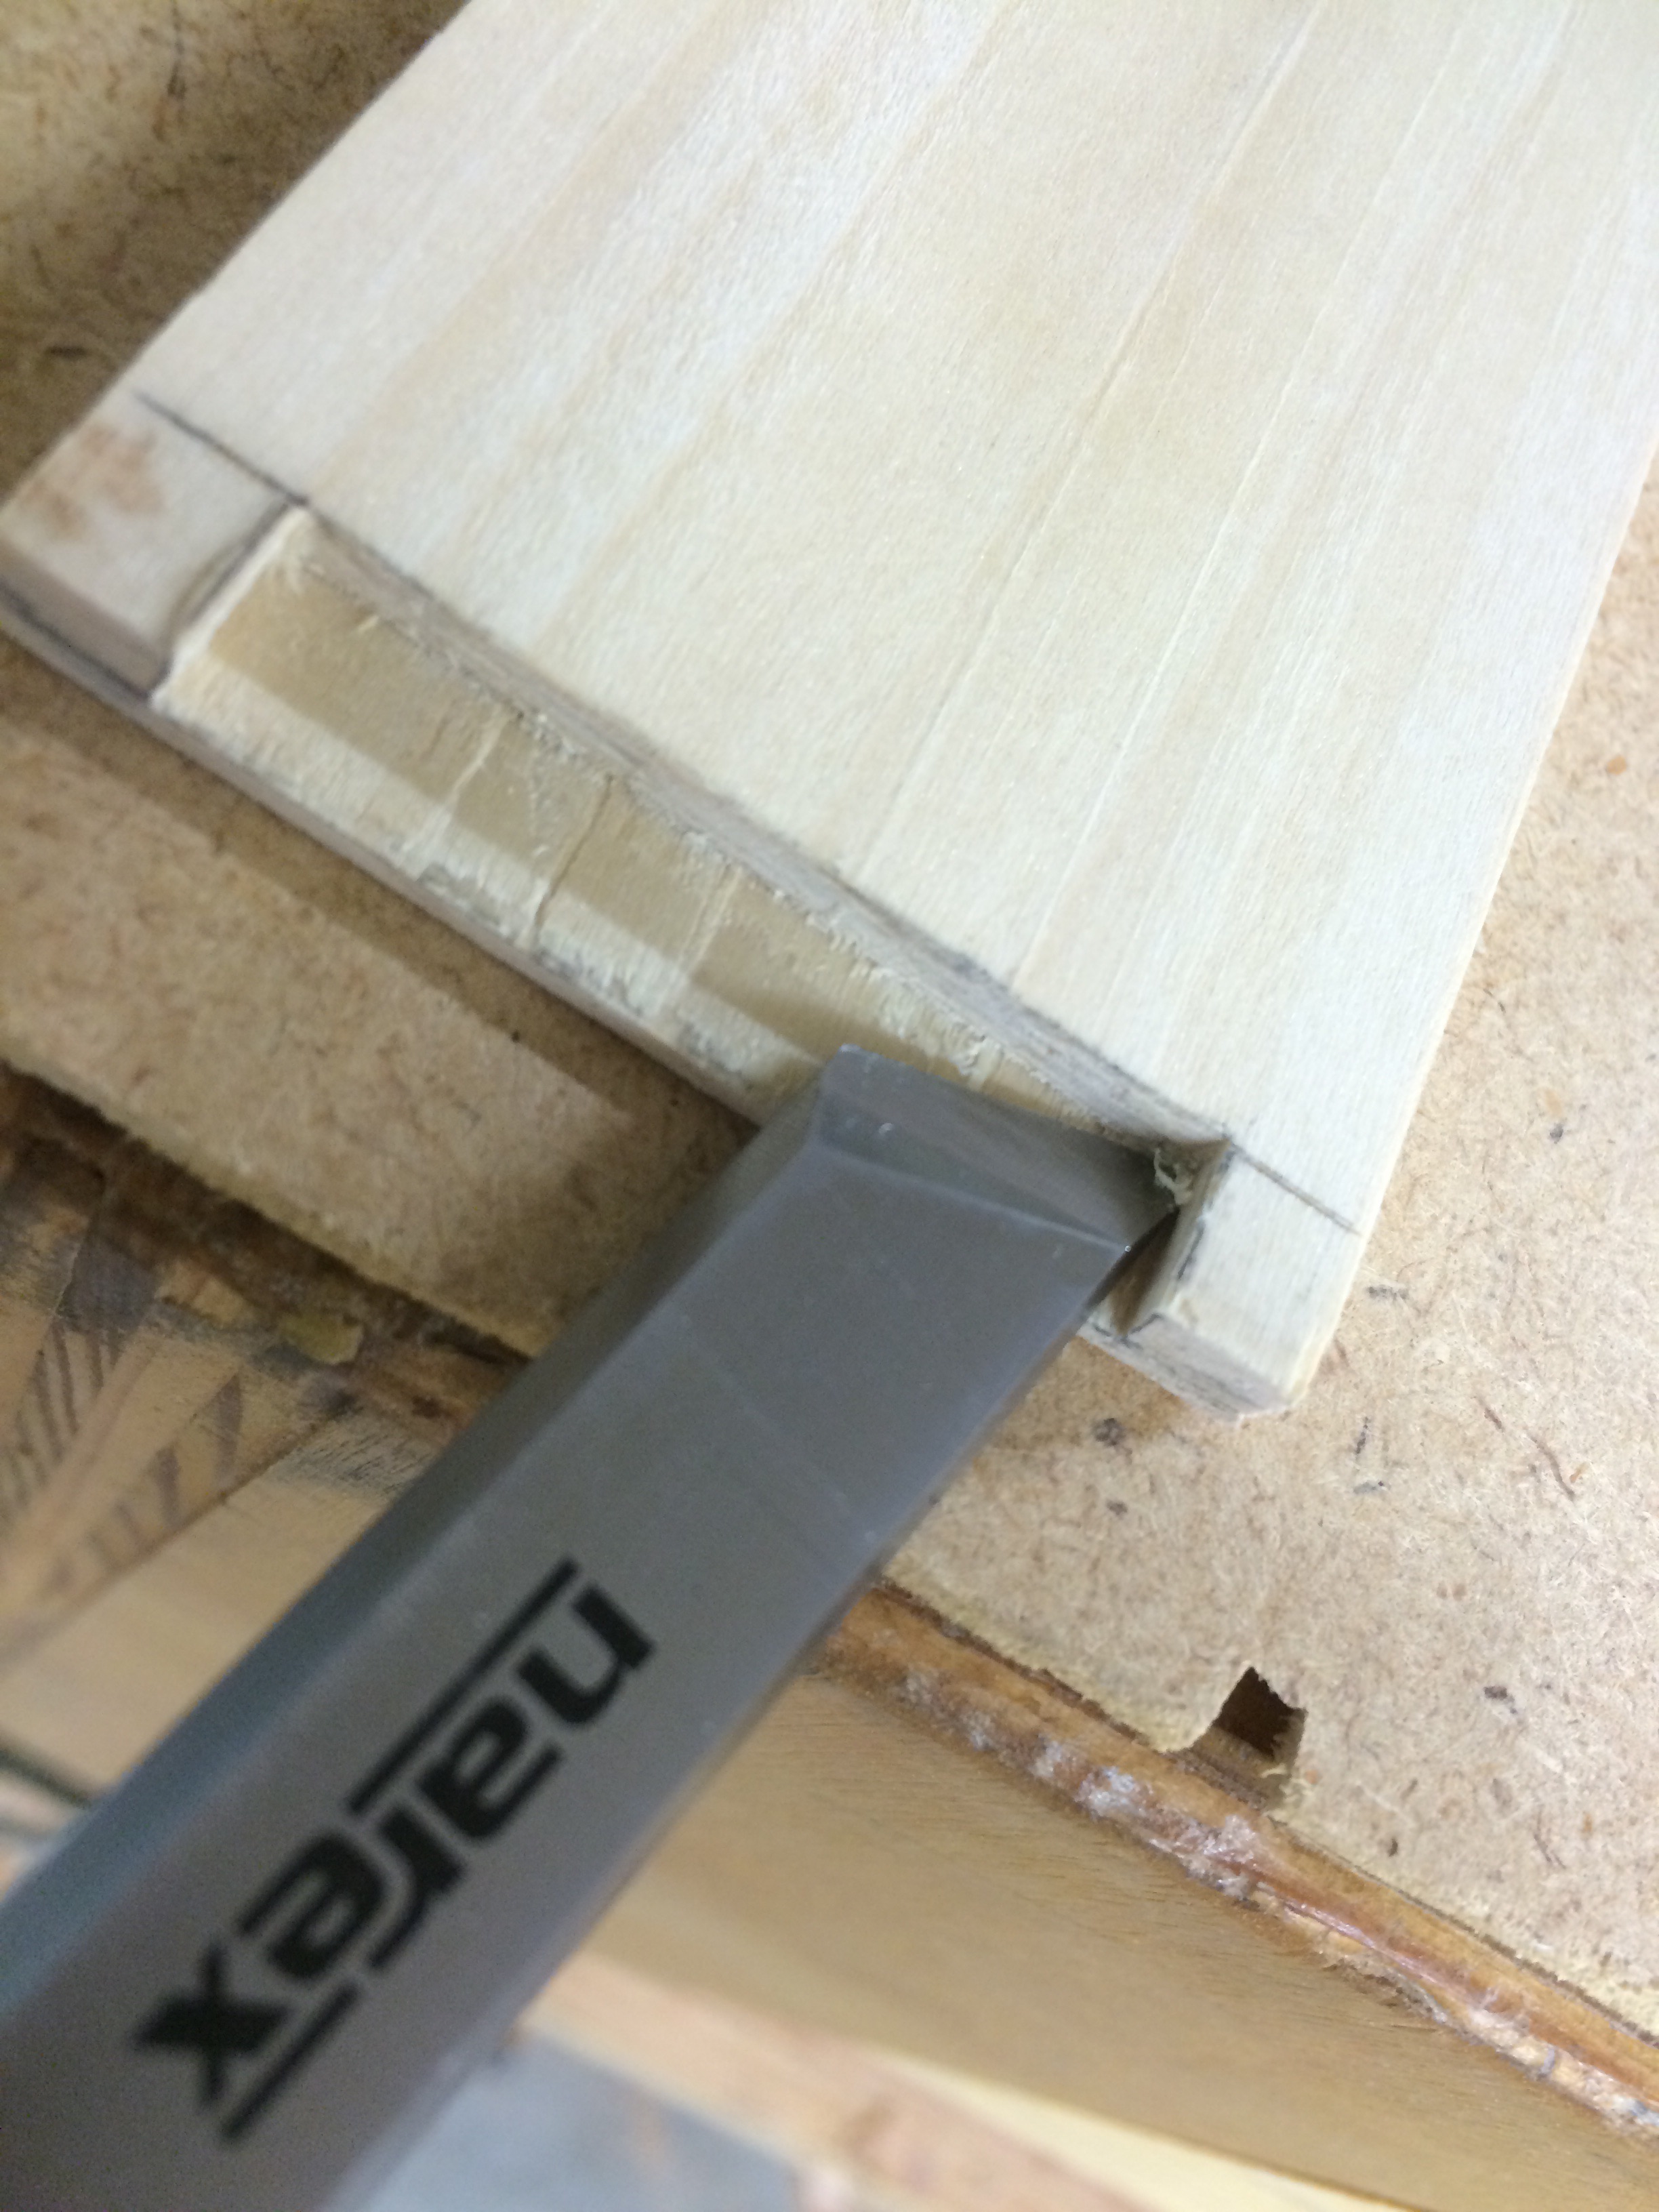
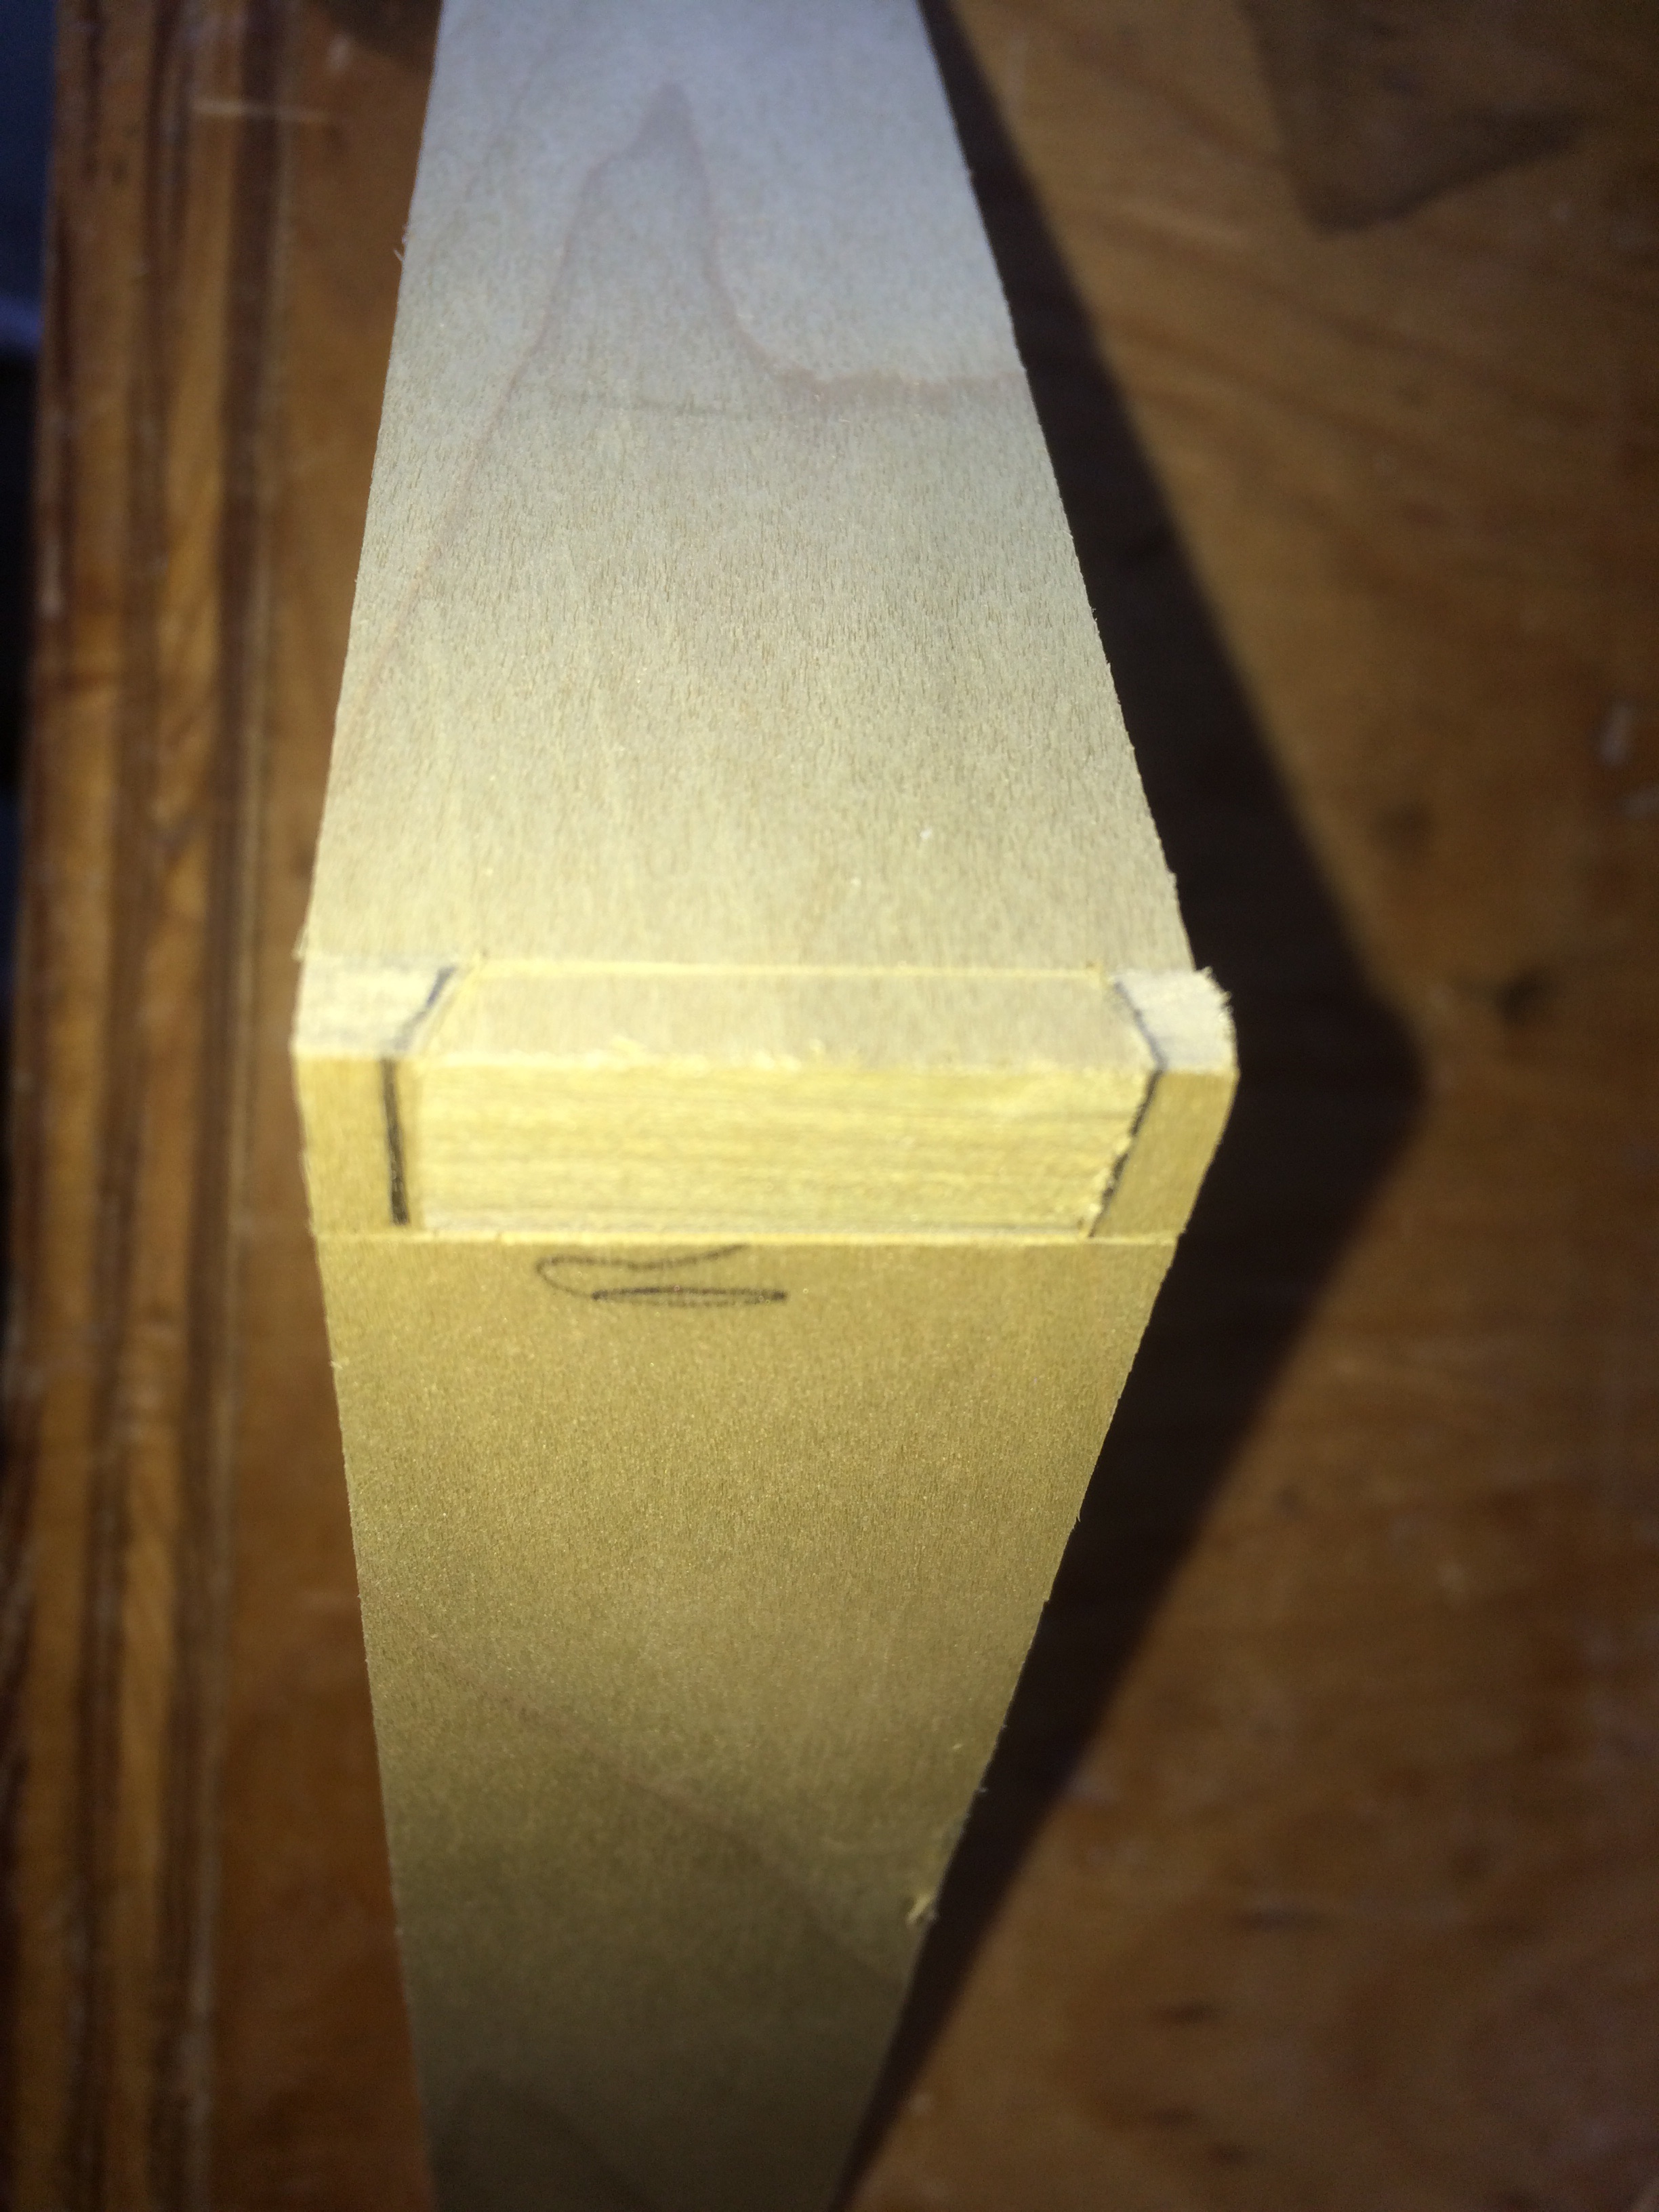
I set up the side on the front and marked the location of the blind tail recess. Two of these were micro half blind dovetail joints. I used my skew chisels to get into the corners to clean up the recesses. I did not make the other drawers with half blind dovetails since I was going to glue on a drawer front.
Now that the sides and fronts were ready to be joined I had to make the groves for the bottom. I measured about 1/8″ up from the bottom of the tails on the sides, set up the table saw fence and blade height, and cut the grooves in the sides and fronts. The backs were cut to the width of the top of the drawers to the top of the grooves so they can be slid into place and removed if necessary.
The bottoms received a bevel on three sides to match the grooves in the sides and faces.
Once all the parts were made and labeled properly the drawers were glued up.
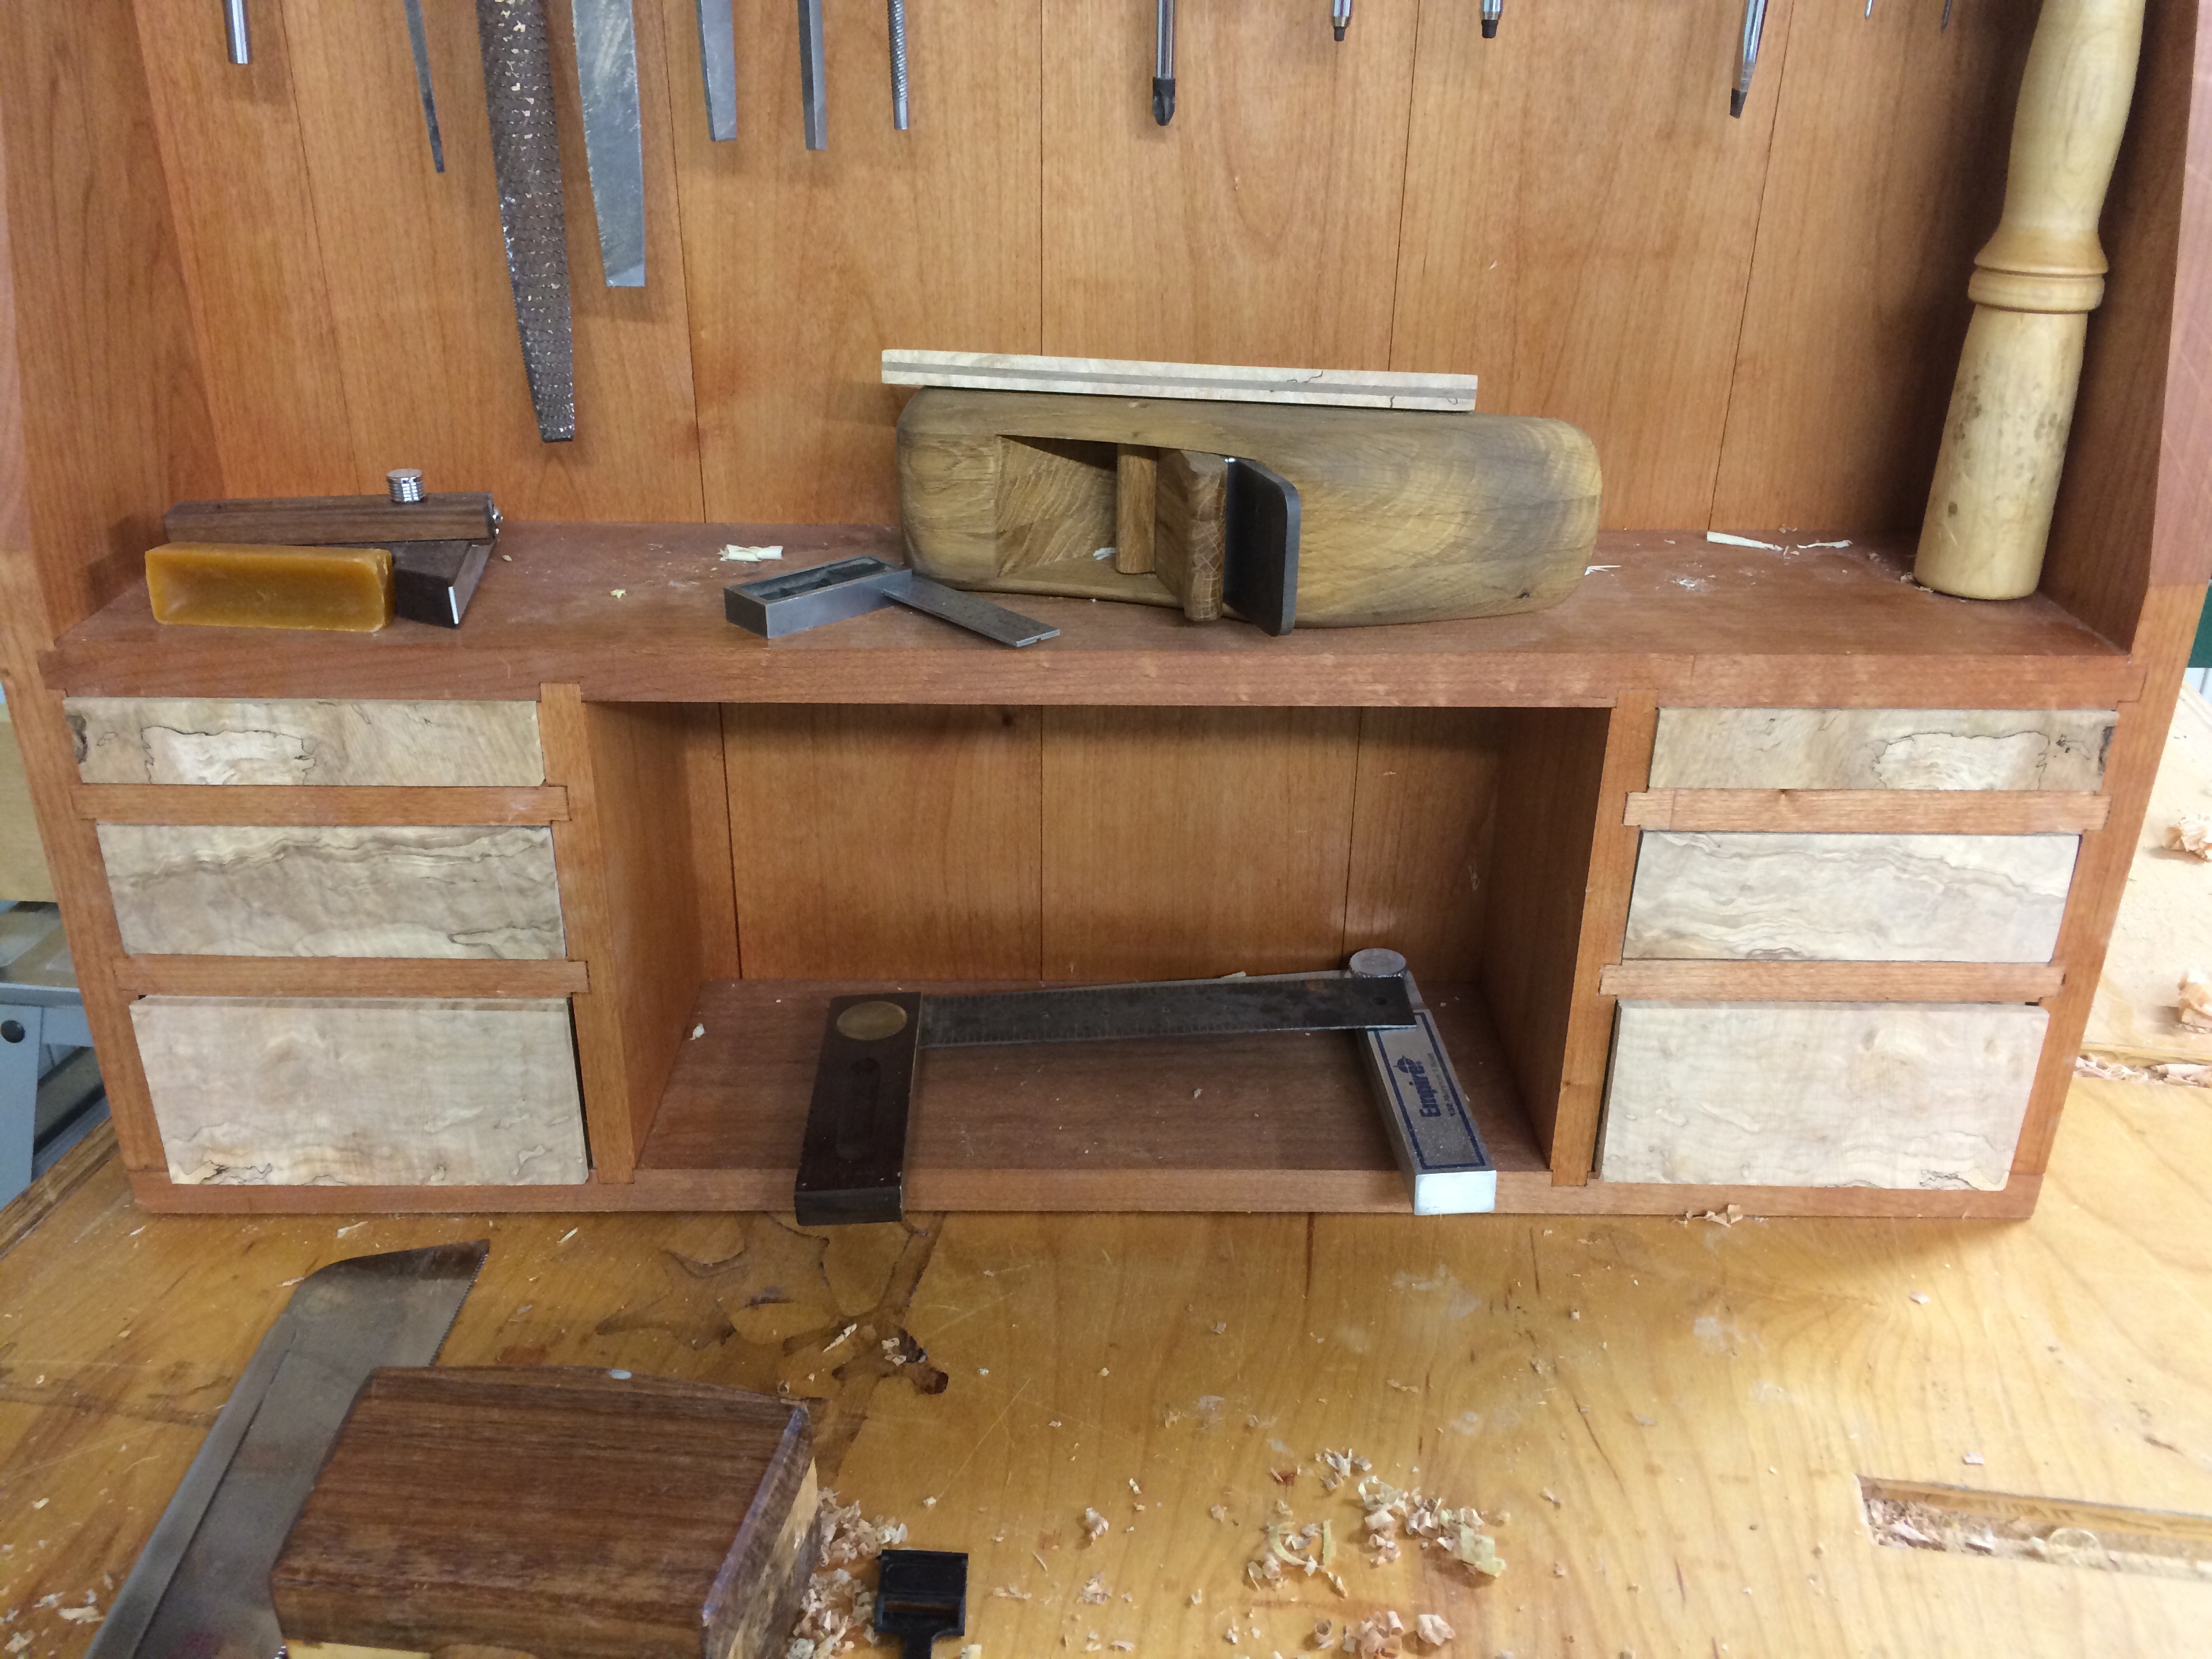
The drawer fronts were made with air dried figured spalted maple. I had three pieces to work with that were just the right width for each drawer front. I resawed each piece and book matched them to each side. I glued the smooth face to the drawer front once the dovetails were cleaned up and then sized the drawers to the opening.
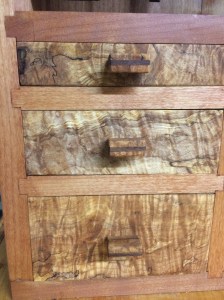
For the handles of the drawers I wanted to keep with the maple theme. I glued a few strips together with a walnut sandwiched between. Then I ripped a bevel on each face at about 5 degrees leaving about a 1/4″ flat from the front to the bevel.
I cut each piece to about 1″ long and drilled one hole in the walnut strip to attach to the drawer front. I initially was going to do two screws to keep the pull from twisting but I felt it would be easier to install a single brass screw versus to. I choose 6 screws over 12 any day.

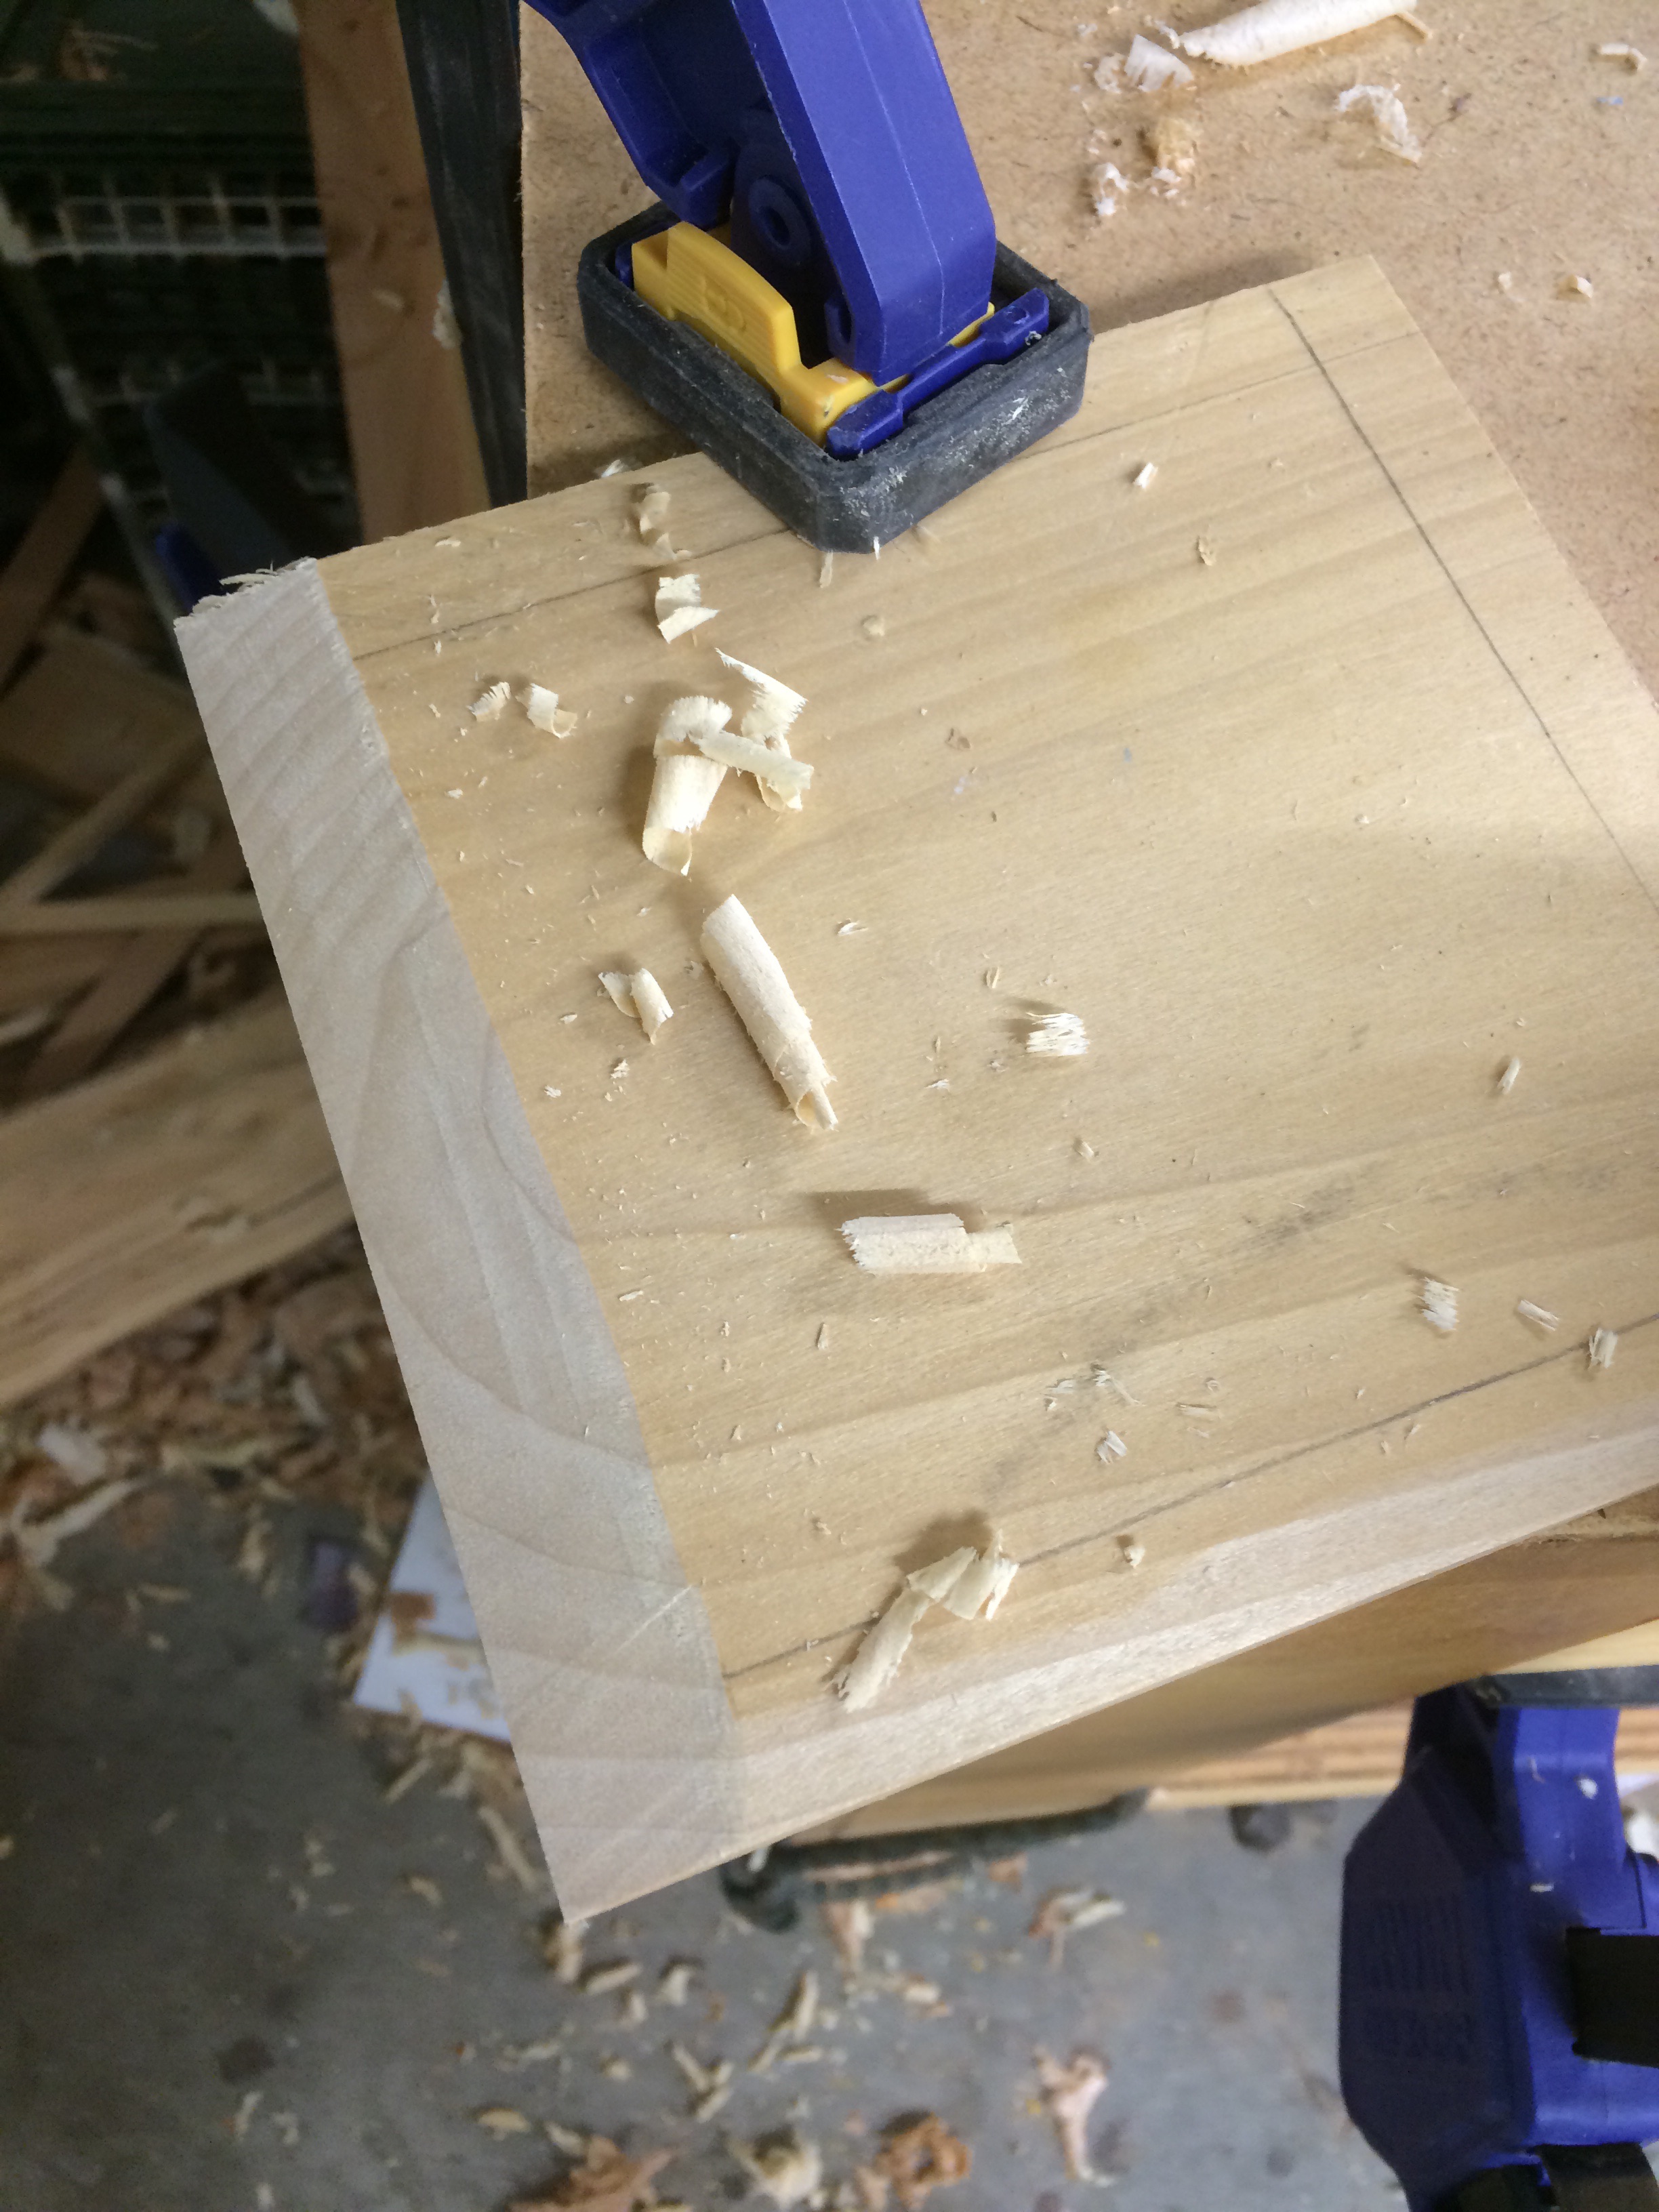
Once the pulls were installed, I could work on getting the fit more fine tuned since I had a way of removing the drawers. I did this by removing a bit of material with a block plane and retesting the fit until I was happy with the result.
I have so many handled tools I made that I needed install a second rack to hold everything. I used the same method as before in part 1 to make the second rack and I installed it with screws from the sides and plugged the holes using a tapered plugs from the same material, alder.

Here is the finished chisel rack.
Now I just have to have some wall space to hang it on. Time to build a furnace/water heater closet.
