
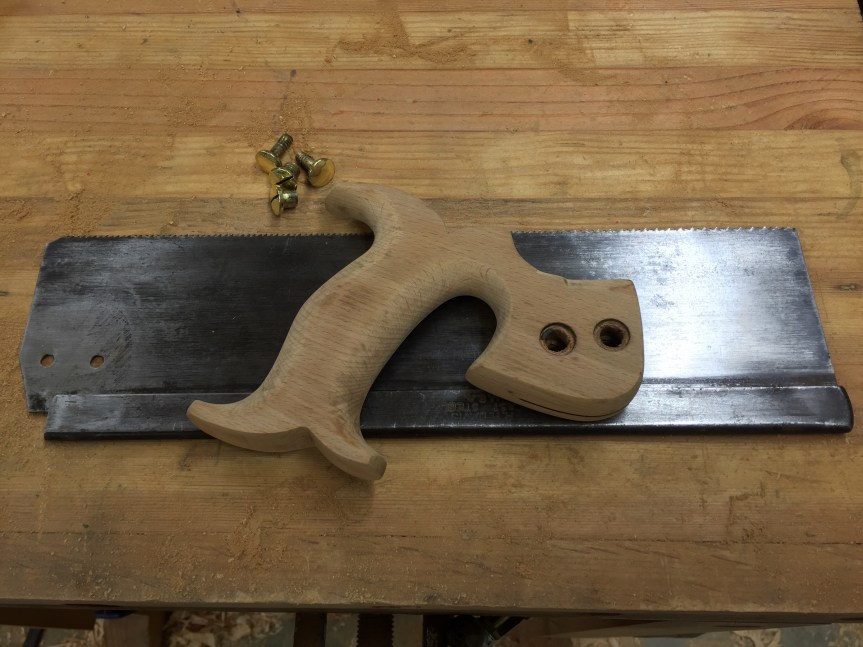
I purchased this Back Saw on eBay at a good price. The points that sold me on the saw were the following: the handle was in good condition, no broken horns or cracks; the plate was already cleaned of rust; Tom Fidgen has a saw from the same maker and he said it was a gem.

The down side of this saw is that it has a steel back. It is a little light for my liking but for the price I paid and it’s intended purpose (my son’s future tool chest) it will do job just fine.
Upon arrival I noticed a significant curve in the spine which caused the saw plate to have a bow, a detail the seller neglected to mention. 4 star review for his description. The curve could have been due to the saw being dropped on the toe causing the plate to look as it were canted. This could be a difficult issue to solve if the plate had been kinked. After I removed the handle and spine it was evident that the plate was in good shape just needed proper tension and adjustment once the spine was replaced.
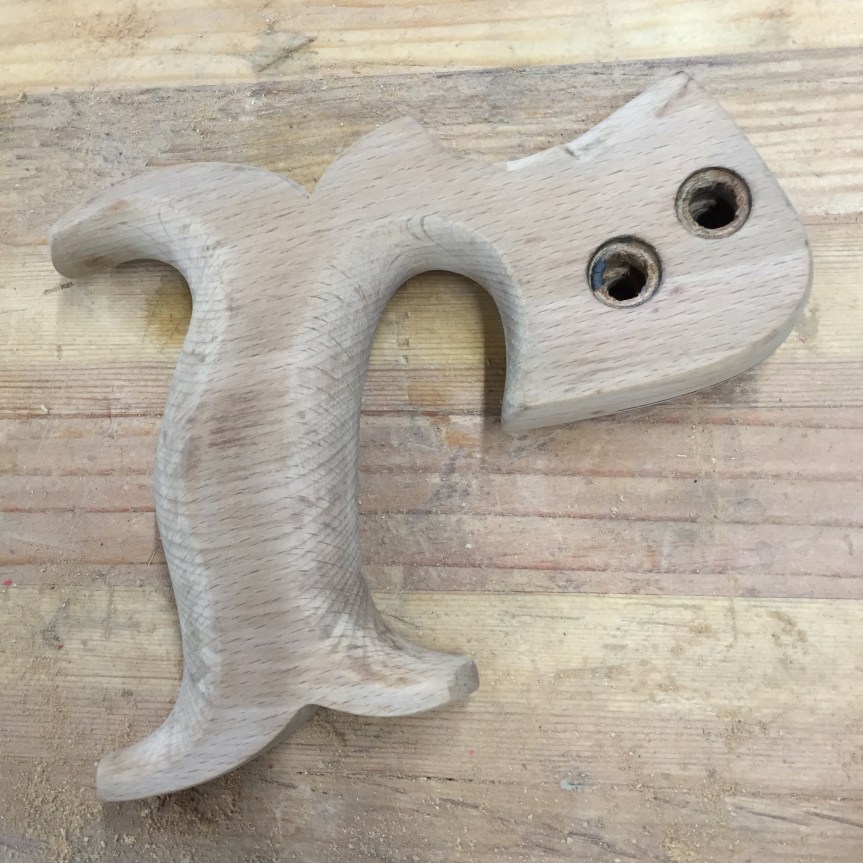
I followed the directions from various articles and videos (just search “back saw restoration” on YouTube or Google) on how to straighten a saw plate. It was merely a case of using two adjustable wrenches in opposition to each other to twist the spine to manipulate the saw plate back into alignment. I am not going to go into detail here other than say it took a bit of practice to figure out how to get the plate straightened. Once the toothline was straight I began sharpening for a rip configuration. This saw has a 12″ plate 2″ cut depth and 12 points per inch. Sharpening is simple and straight forward.
With the teeth sharpened, set, and the brass nuts polished it was time to remove the old finish from the handle. I used a bit of sand paper starting with 100 grit to remove the old finish, then 150 to clean up from the 100 grit paper, 220 to smooth the handle, and 320 to finish it off.
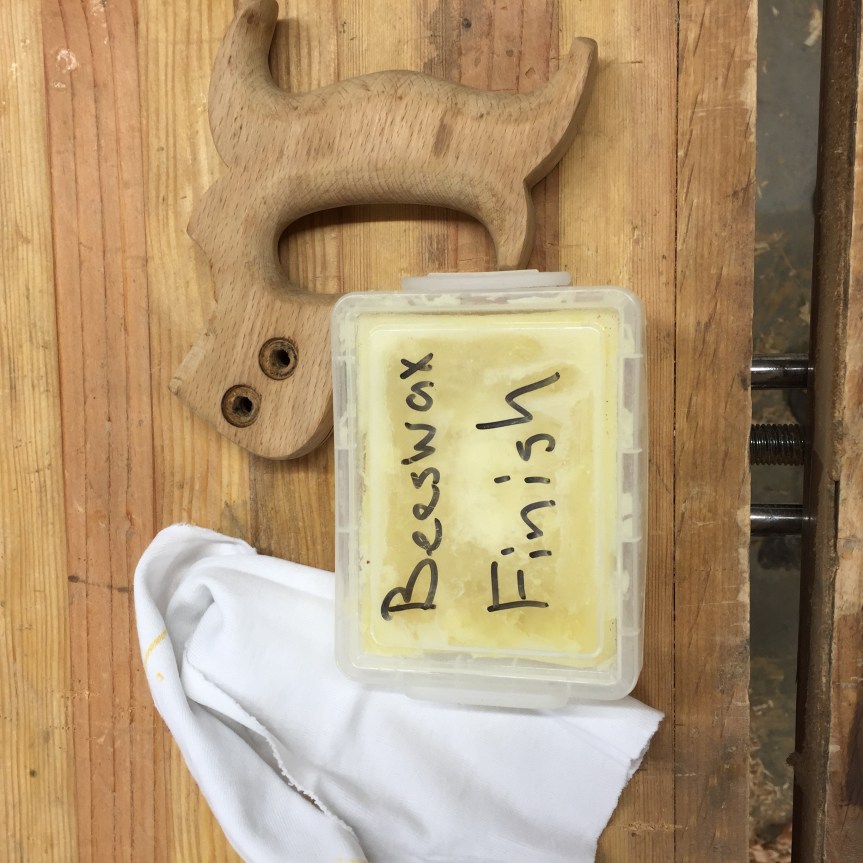
To finish the handle I used a simple wax/oil blend consisting of Beeswax, boiled linseed oil, and a thinner. An article on how I made that can be found here. I simply rubbed the finish in with a cotton cloth and rubbed off the excess.
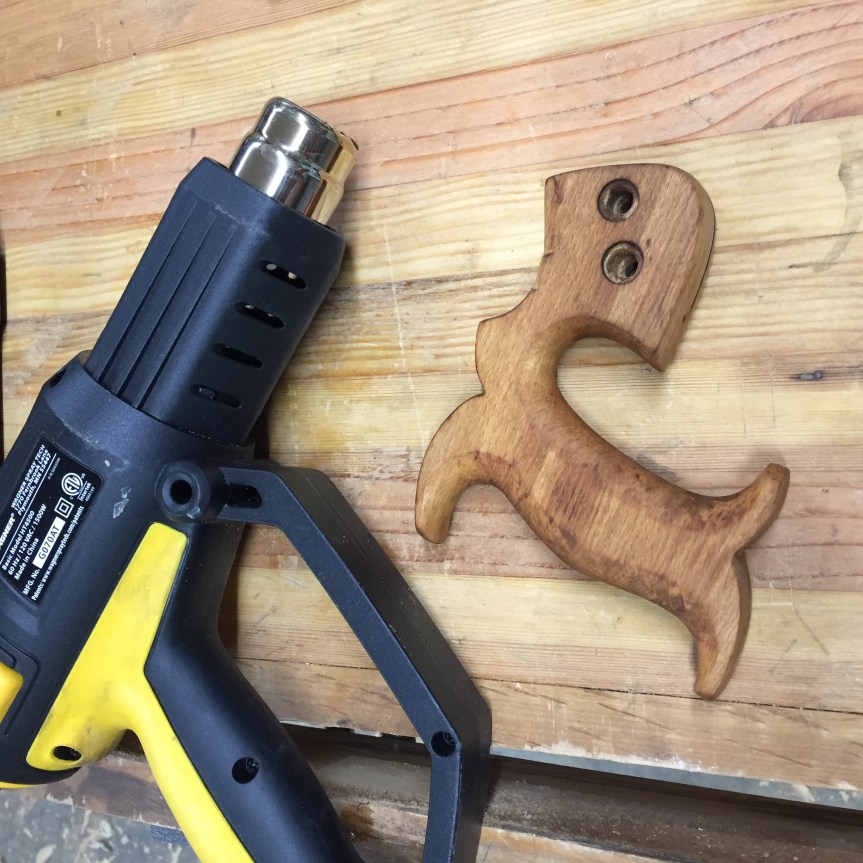
Then with a heat gun I melted the wax finish into the surface and gave it a final rub down for a smooth feel. A video on that finish style can be seen here.
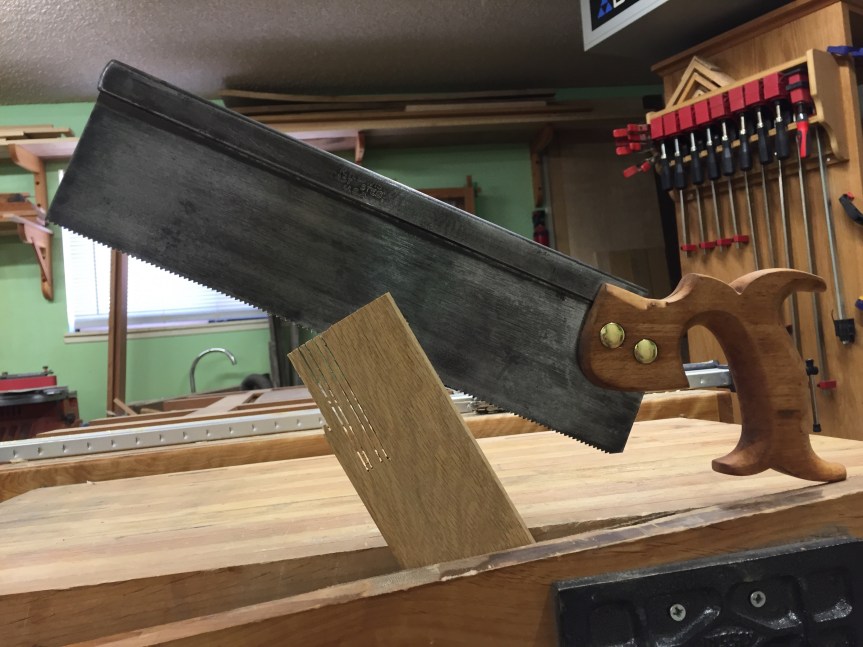
With the handle fixed back onto the properly tensioned saw plate and a few test cuts it was evident that this saw was going to be a nice addition to my, er, my son’s tool chest.

Nice write up. I have 3 or 4 vintage saws that I have disassembled and are currently waiting for some love. I guess I should get to it.
Thanks, Mike. Getting the saw cleaned and straight is definitely the most time consuming part.