
When I started woodworking as a hobby I was obsessed with acquiring wood. Obviously, one needs wood to be a woodworker, and so my hoarding, or collecting, rather, began. I purchased a box of domestic and exotic wood cut offs from Rockler and I have had them in my shop for over 3 years now. I guess I did not want to waste the wood that I invested about $70 into since I had no way of flattening the surfaces for any kind of joinery. I was limited to turning and much of the contents of the boxes were too small or thin to turn with much success.
I now have a nearly complete shop and the capabilities (and ability) to flatten, square, shape, and refine surfaces using power and hand tools. Also, in light of turning my shop into a shop/studio, I need to thin the collection of dusty cut offs, exotic and domestic. Youtube had a myriad of videos produced by talented woodworkers demonstrating their ideas on how to utilize their scrap wood. One youtube channel I am particularly fond of is wortheffort or you can see his blog at wortheffort.com. Recently, a video was released on his site about making a try square. Now I had a project for a few pieces of the scrap wood from my cut off bin and who does not need another square. My lovely wife said “doesn’t your wood come square?”, she just doesn’t get it.
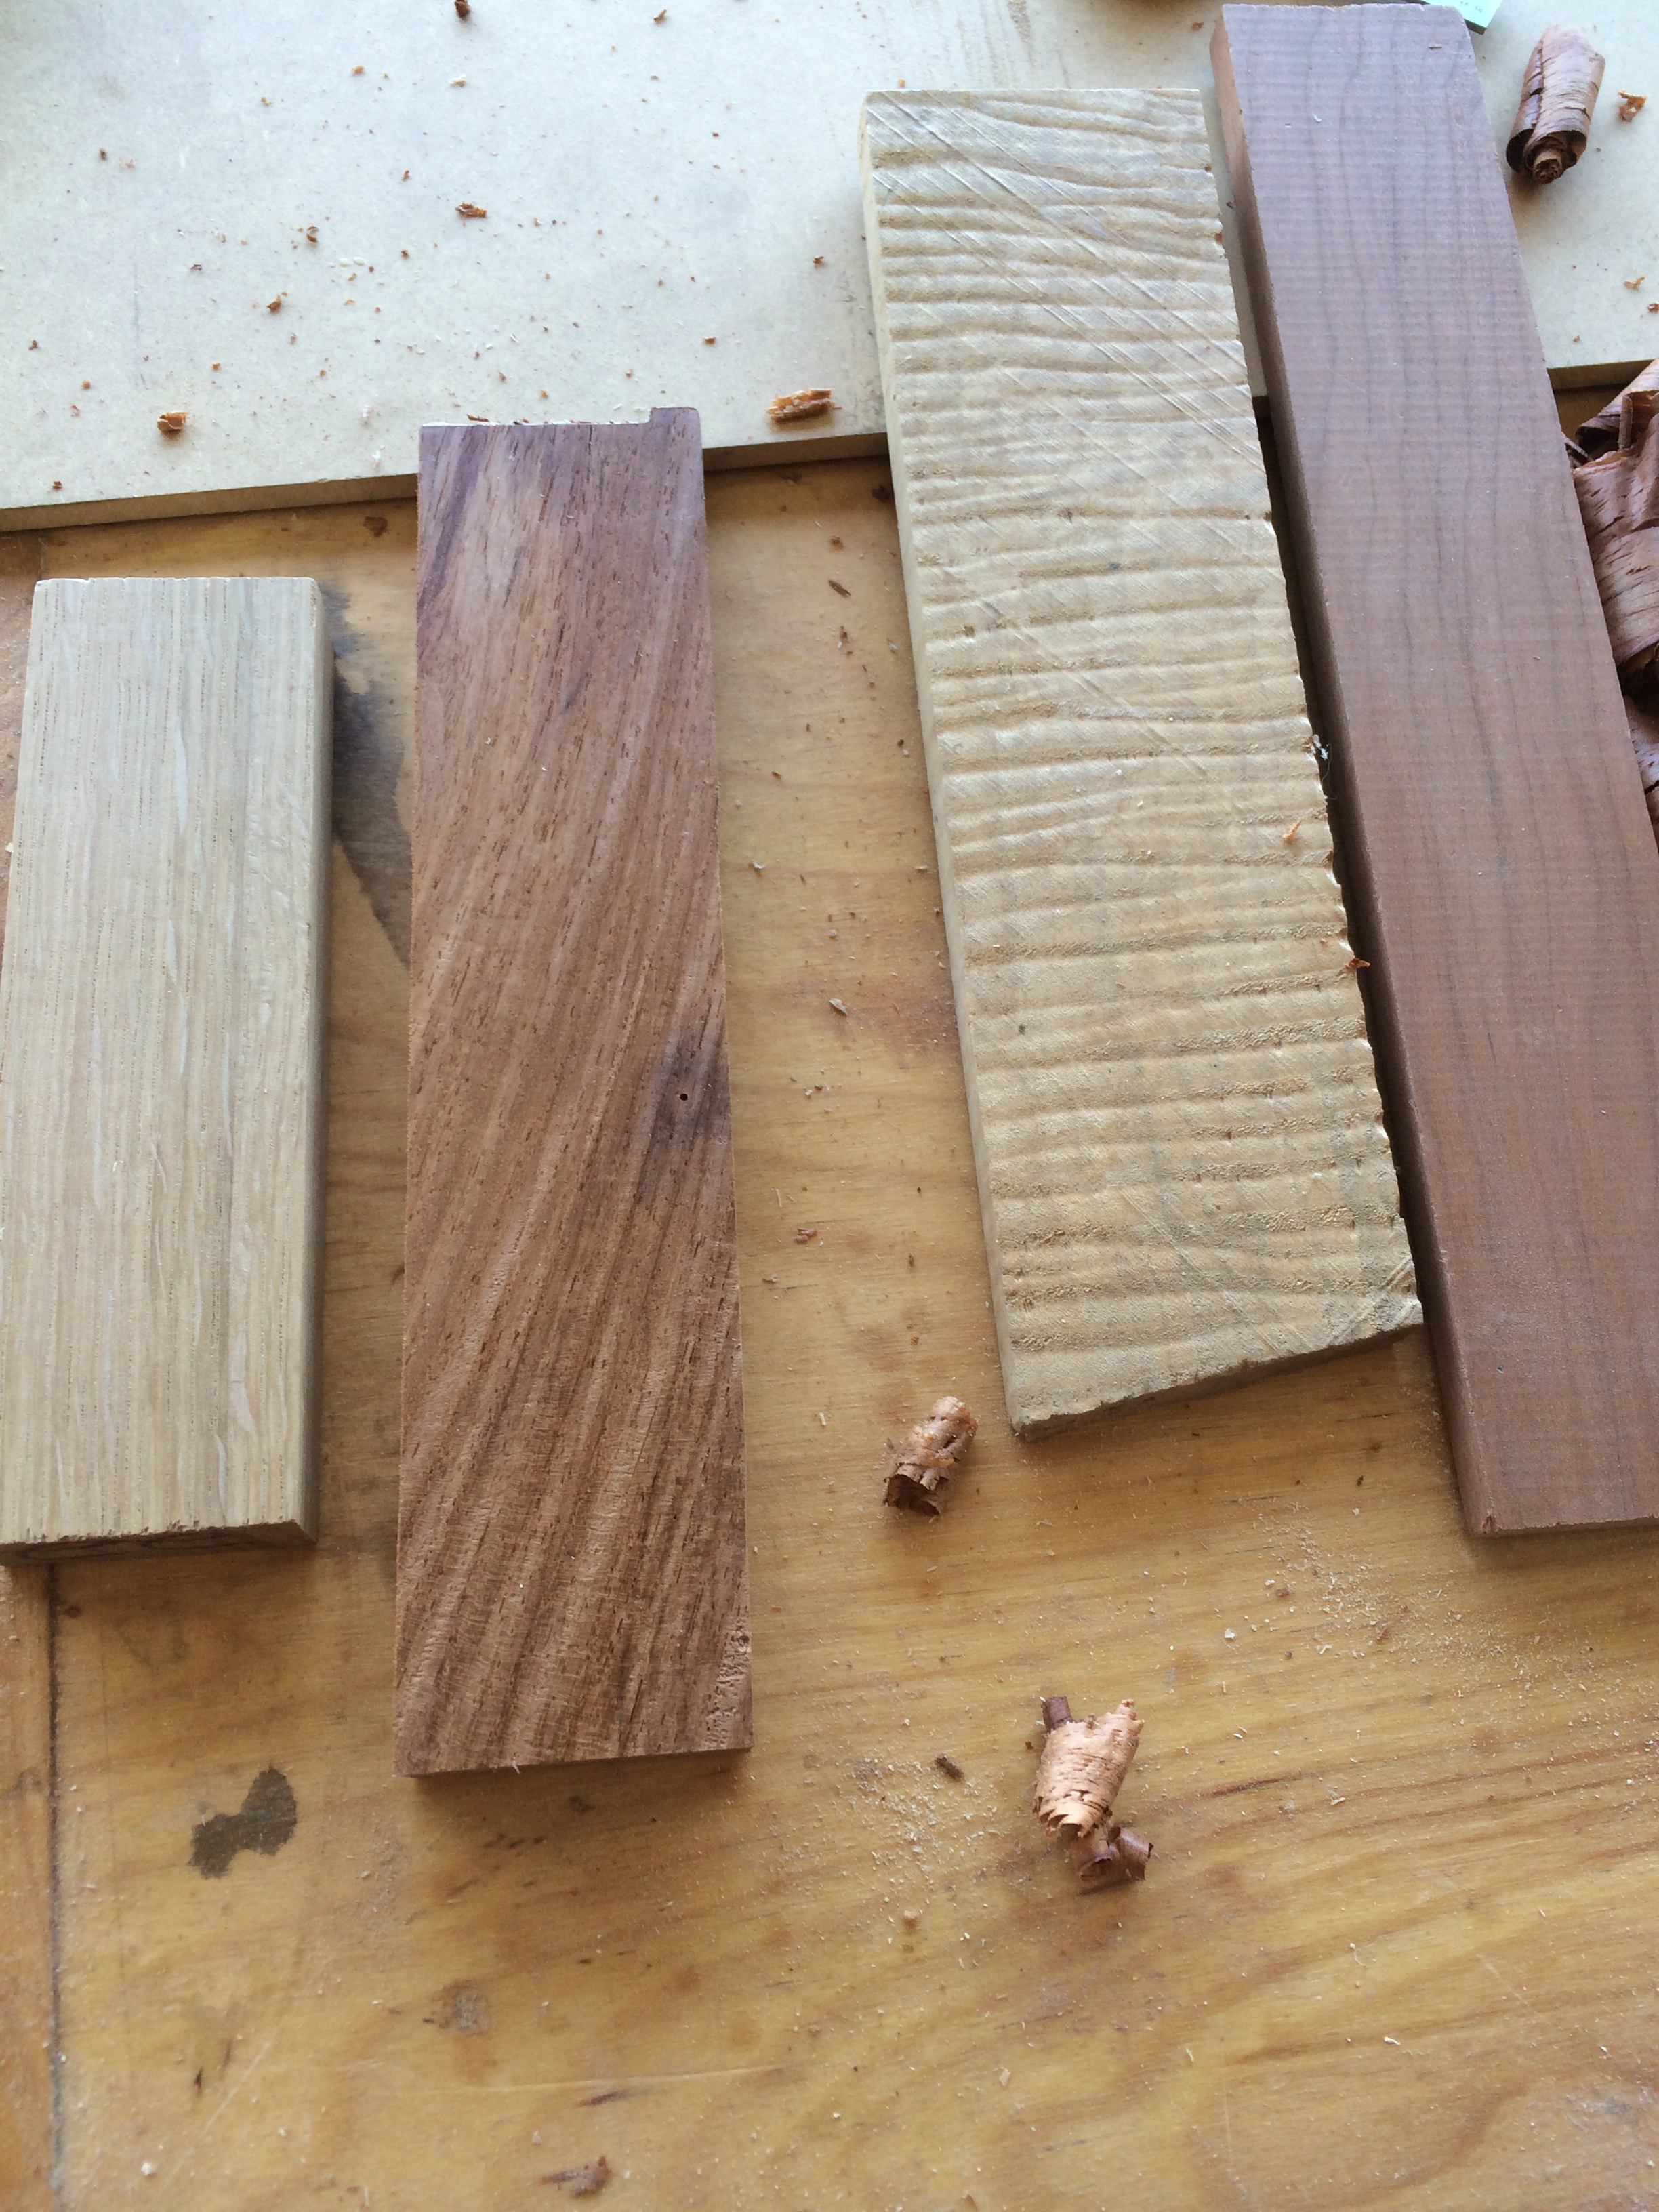
Rifling through the cut offs I found a piece of rosewood (origin unknown), cherry, quarter sawn white oak (QSWO), highly figured maple, white oak (not shown), and figured hickory (not shown). I began the milling process starting with the stocks (below left) milled to about 5/8″ thickness and then the blades milled to about 5/16″ thickness. I left the blades as wide as milling would allow because I could.
If you watch the above video on youtube about this project you will see how it is done with hand tools. I chose to use the band saw to cut the bridle joints and to cut the decorative profiles.

When the profile was cut and cleaned up at the oscillating spindle sander the blade was ready to be glued into the stock. I glued the pieces together, lightly clamped the joint, checked squareness with my double square, and tightened the clamp fully.


Once the squares were out of the clamps it was time to adjust the square for squareness. This is done by referencing the stock off a straight edge of a board or sheet good, striking a line, flipping the square 180 over the line, and scribing another line on top of (or really close to) the first line. Below you see three tries. If the square is not square it is adjusted by planing the area that is high and tapering the blade until the lines are concurrent (essentially marking the same line twice).

Finally, sand the surfaces (leave the stock edge and blade edge in tact) and apply the finish of choice. I rubbed on some tung oil and I will follow up with some clear shellac, maybe. I do like the close feel of the tung oil alone though.
For the next entry of this series I will be making a few marking gauges of various lengths.
