
Last summer I built a raised bed garden for my wife. She loves having a garden (though I am the one who maintains it) and enjoys not only the fresh organic vegetables but also the growing experience for the kids. But with eating a lot of fresh veggies (being a vegan household) we produce a lot of plant based material. We have had a few different types of composters from piles to pits in the ground but I found one last year that was the tops. I was looking through the leevalley.com gardening pages and found the Yimby Tumbler Composter. It looked like it was a good type of composter but you never know until you have it on hand. I showed it to my brother-in-law and he said “you can make that yourself with a water barrel and some 2x4s.” Well, yes, he is right, but it would cost more than the Yimby in materials and my time so purchasing this compost tumbler was a no-brainer. Months passed and I was walking through my local home center and say the same compost tumbler in the gardening area. Needless to say I brought it home with me, even though I was only there for a couple Japanese Eggplants.
Upon opening the box I found the instructions to be lacking. There were pictures and diagrams but very few assembly instructions. The base was simple enough to assemble with the included hardware but the barrel itself was tricky and you need to pay attention to the assembly process and how everything lines up. The whole tumbler takes about 1 hour to assemble and only requires a #2 Phillips bit in a cordless driver and a small socket set (for the legs).
After following the instructions for assembling the metal legs you need to be sure the sides of the barrel are aligned properly. Be sure the side vents are in the same position on each side before attaching the first panel (1) to the sides.
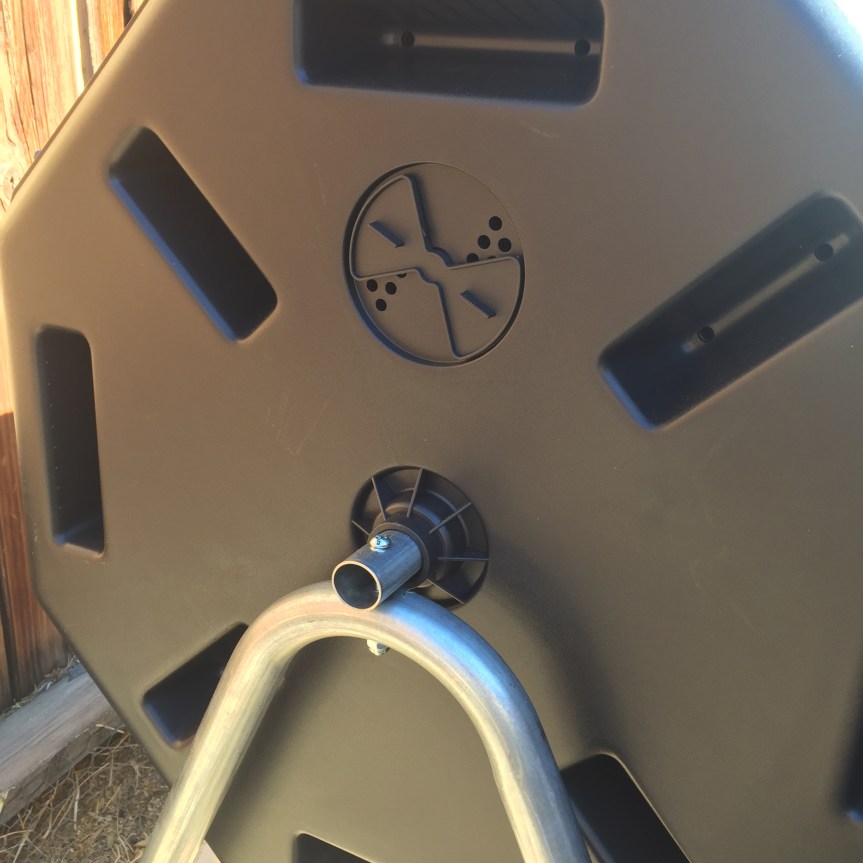
If you don’t, you will be scratching your head wondering why the manufacturer forgot to drill holes for the tabs…don’t ask how I know that. Each panel has a number, 1 and 2, and they alternate upon assembly. Just keep attaching each panel with the screws and nuts until you come full circle and attach the opening panel last.

At this point, have a drink because you deserve it for reaching into awkward places while holding tiny nuts…and bolts, don’t forget those.
Find a nice sunny place near your garden and level it out before you place it. You will be adding water to the compost and if the tumbler is not level the water will pool on one side leaving half of your compost too wet and the other…well, not wet. If you are getting started you may want to add the compost starter material which you can purchase at the home center with the composter or just use compost from an existing composter. I had a lot of compost to start with so I just used that.
Now the beautiful part. I filled one side of the tumbler with plant cuttings and vegetable scraps/cuttings within a couple days. I closed the lid and let it sit for 7 days and turned the tumbler 10 times each day. When I went out to dump the next load of material into the tumbler the full section was now less than 1/4 full. Yes, the full barrel sitting in the hot sun broke down the plant material that much in that little bit of time. I kept filling it up and between additions the food waste was broken down into rich compost. I now have 2 tumblers and the first one, which was full when I bought the second, has room for more material to be added. These tumblers are wonderful, especially if you live in a hot climate as I do.

If you are thinking of starting a garden and making your own compost, consider the Yimby Tumbler Composter. It is inexpensive and very effective at making rich compost from your plant material.

I like your writing style Sean. I often wondered how well these worked as I’ve only ever had ‘traditional’ compost piles with worms doing the work.
Damo
Thanks, Damo. I have been impressed with these tumblers. The piles we had never seemed to work very well.
I bought a very similar, if not identical, composter from Canadian Tire (I live on the east coast of Canada) this past spring. I also use it to fertilize raised beds, and have been very impressed with the ease of use and capacity of this composter. Thanks to the two separate sections, you always have at least one bin of “cooking” compost, and another to add fresh compost. The only negative is that you have to be careful not to overload either side, since filling it to capacity can cause a separation in the lowest panel, allowing liquid to escape… lesson learned. I also keep a rain barrel nearby that collects water from my roof and gives me water for both composter and garden. Thanks Sean for all of the great content on your sight.
Tony