It has been a year since my last pallet project. For the past 3 years Sterling Davis hosts an event titled the “Pallet Upcycle Challenge” and this is my second time being involved. For more info on Sterling’s event click here.
Plans are available in the sidebar in exchange for a donation amount of your choice.

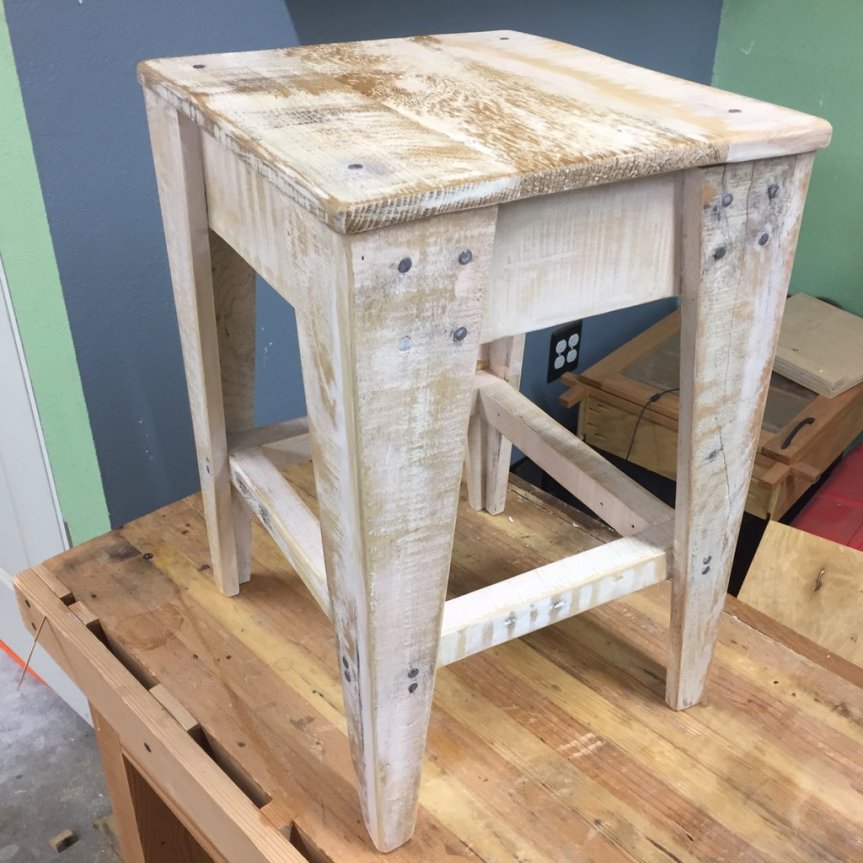
Since that first project, here, I had acquired several pallets and I needed to thin the herd. I found a few different quick projects that I thought would be a good way to part with some of them. One of which was this stool. I liked the simplicity of it and seeing that I needed a better stool for my shop it would make a great temporary addition until I can make my Rush Seat Stool.
To get started with this project I had to break down a pallet. Because this stool only used smaller parts I was able to cut the thin slats from the pallet supports with a jig saw. These pieces were just over 19″ long. The nails were pulled from the three thicker supports to ensure no damage to my power tool blades.


Each slat then had an edge cleaned up at the table saw with a taper sled. This allowed me to get a decent cut at the miter saw to cut the pieces to final length. Then I ripped a taper on each let part. 4 pieces had a 1/2″ foot and a 2-1/2″ top and the other 4 pieces had a 1″ foot and a 3″ top. This is because the pieces are 1/2″ thick and when they are butt jointed to form a leg they will look symmetric.


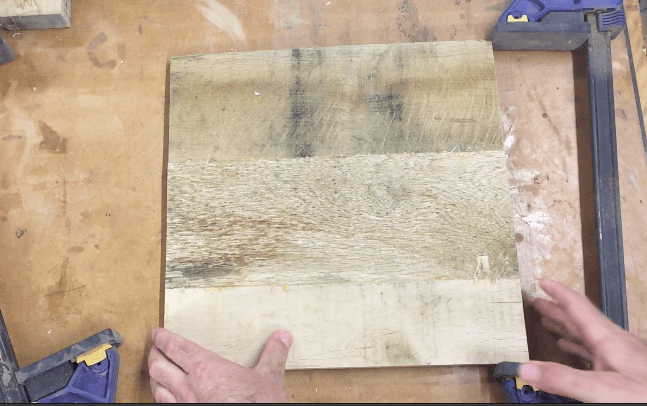
The seat pieces were cleaned in the same fashion and edge glued to make a panel. The legs were glued at the same time to cut down on the time wasted waiting for glue to dry as these 5 pieces were the only parts that were glued.

To keep everything as square as possible during assembly (which is nearly impossible to do with non milled pallet wood) I made 2 sub assemblies with the top stretchers, or aprons, and 2 legs. The aprons were positioned with the legs, pre-drilled, and nailed together with the pallet nails that I sharpened points on to help with the driving in.


When the legs were complete it was time to get a measurement for the other 2 aprons. I did this by setting the 2 leg assemblies upside down on the seat and positioning them so there was a slight overhang on the seat. Then I took the measurement and cut the pieces at the miter saw. There were attached in the same fashion as the other stretchers this time using shorter nails as I was driving them into the sides of the aprons instead of the ends as done prior.


With the 2 legs now connected I could now cut the lower stretchers. This is just as simple as the aprons. Take the measurement, cut to length, pre-drill, nail into place. The only trick is to place them high enough on the legs so the but joints are hidden behind the legs. This position is entirely dependent on the severity of the leg taper. Mine had to be about 6-1/4″ from the bottom.


Not attach the seat. It is as simple as placing it into position so the overhang is equal around the base, pre-drilling, and driving the nails in 4 corners. Now you have a functional stool though it is going to be really rough as nothing has been sanded yet. Do that now using 80-100 paper on a sander of your choice. I used 100 grit on a random orbit sander and sanded for about 25 minutes.
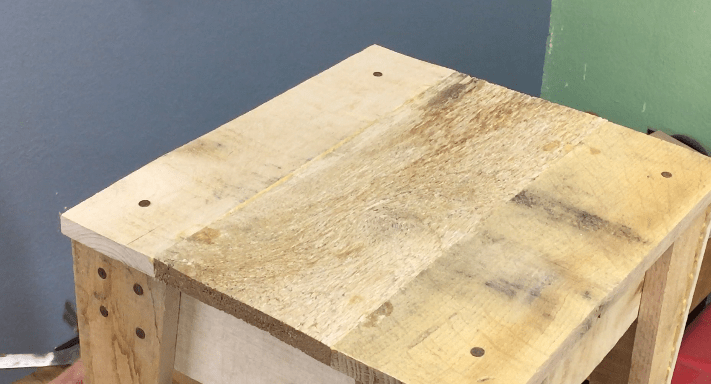
The surface could be sanded further if you like the plain wood look, which would have been nice as I had a good looking quarter saw piece of oak on the seat, or do as I did and whitewash, paint, or stain the stool for a different look altogether. I used General Finishes Whitewash mixed with Vintage Cherry, Orange, and Medium Brown dye stains for added subtle color. Once the wash was mixed I daubed and brushed it on with a sponge brush. When mixing these colors on a surface it is best to use long strokes of each color overlapping the next then allowing it to dry. This makes the colors blend and look like the piece had been painted several times over the years.


With a 150 sanding disc on the random orbit sander I sanded through the wash to reveal wood beneath and broke the edges of the seat, legs, and stretchers even more. This gives the stool an old worn appearance.


Finally the stool was given a good coat of Minwax Polycrylic water borne finish. I like this finish the best for reclaimed wood indoor projects as it retains the natural wood look without darkening over time. Also, the whitewash is water based and I didn’t want to use a topcoat of an oil based finish. Just my preference really.

After it has good time to cure I then lightly wipe the surface with 400 paper to smooth it out and it is ready for it’s photo finish.