


This last week I participated in a community build started by Chris Wong of Flair Woodworks called the “Shop Stool Build-Off.” It was a lot of fun and took a lot of time, on my part. Since I spend so much time going over the process of making anything, it took me several days of reviewing plans and watching the video I purchased for my build (Wood Works Ep. 112), courtesy of David J. Marks, before I even put blade to MDF (for the Wood Works fan you will understand that). I took me 7 days of work, some of which were 10-14 hours. It could be done much faster if the builder is more experienced and confident with their approach.
Day 1
Lets start here. It seems fair and natural for all woodworkers. I got the plans in the mail and I began looking through the cut list and the diagrams and quickly realized I would need the video to help. After watching the video, I rewatched it. David just made the whole build so simple and straight forward. There was no way I could mess this build up, I was confident in that. So I rummaged through all my small scraps of 1/4″ MDF or any template material I could find to start making my templates. I then shaped my stretcher template to the planned length. Then I cut a strip for the stretcher placement in relation to the under side of the seat. Lastly, I shaped the 16″ sq. seat template. This is when I realized how big this stool was going to be. But I guess my butt will only get bigger over the years.
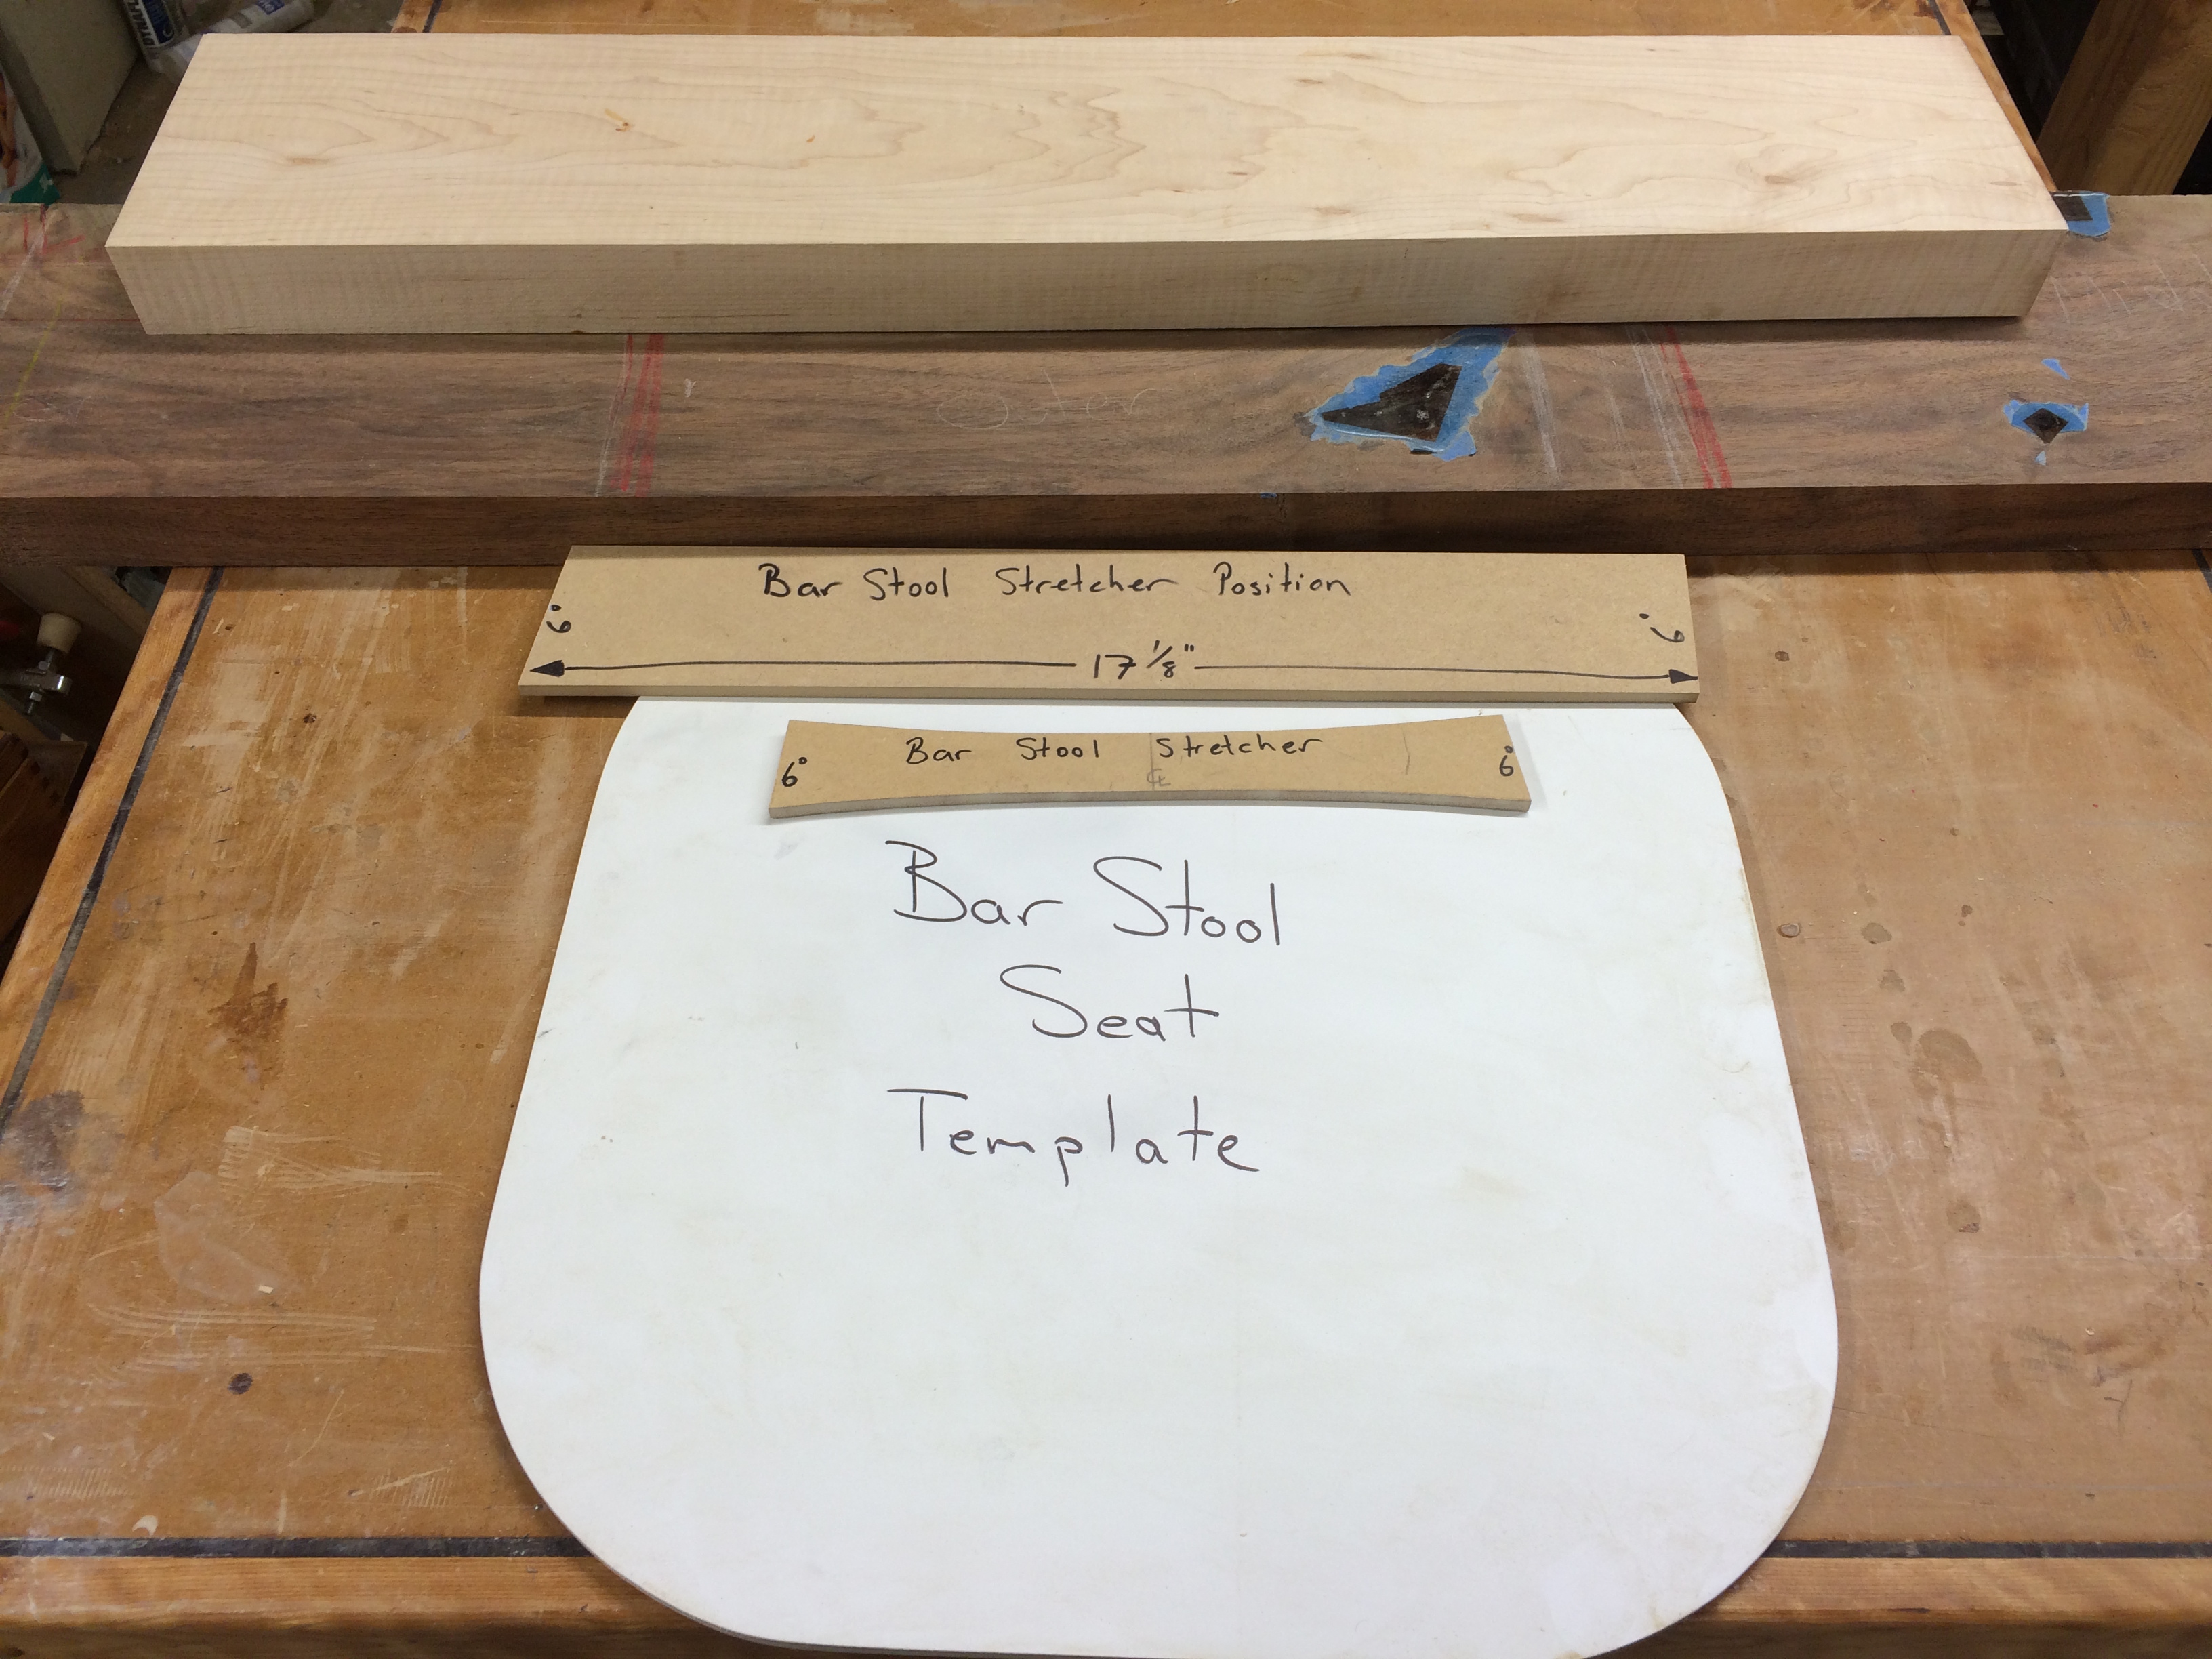
After I shaped the seat template, I traced it on my assembly table then rotated the template 90 degrees to check for symmetry. It was only off by about 1/16″ from the original position. I was pleased so this where I called it quits for the night.
Day 2
The next day I had more time to work (after watching the video plans again a few more times) so I began by cutting the legs to rough dimension. That process when by rather quickly so I decided to finish the process and cut and plane them to final dimension.
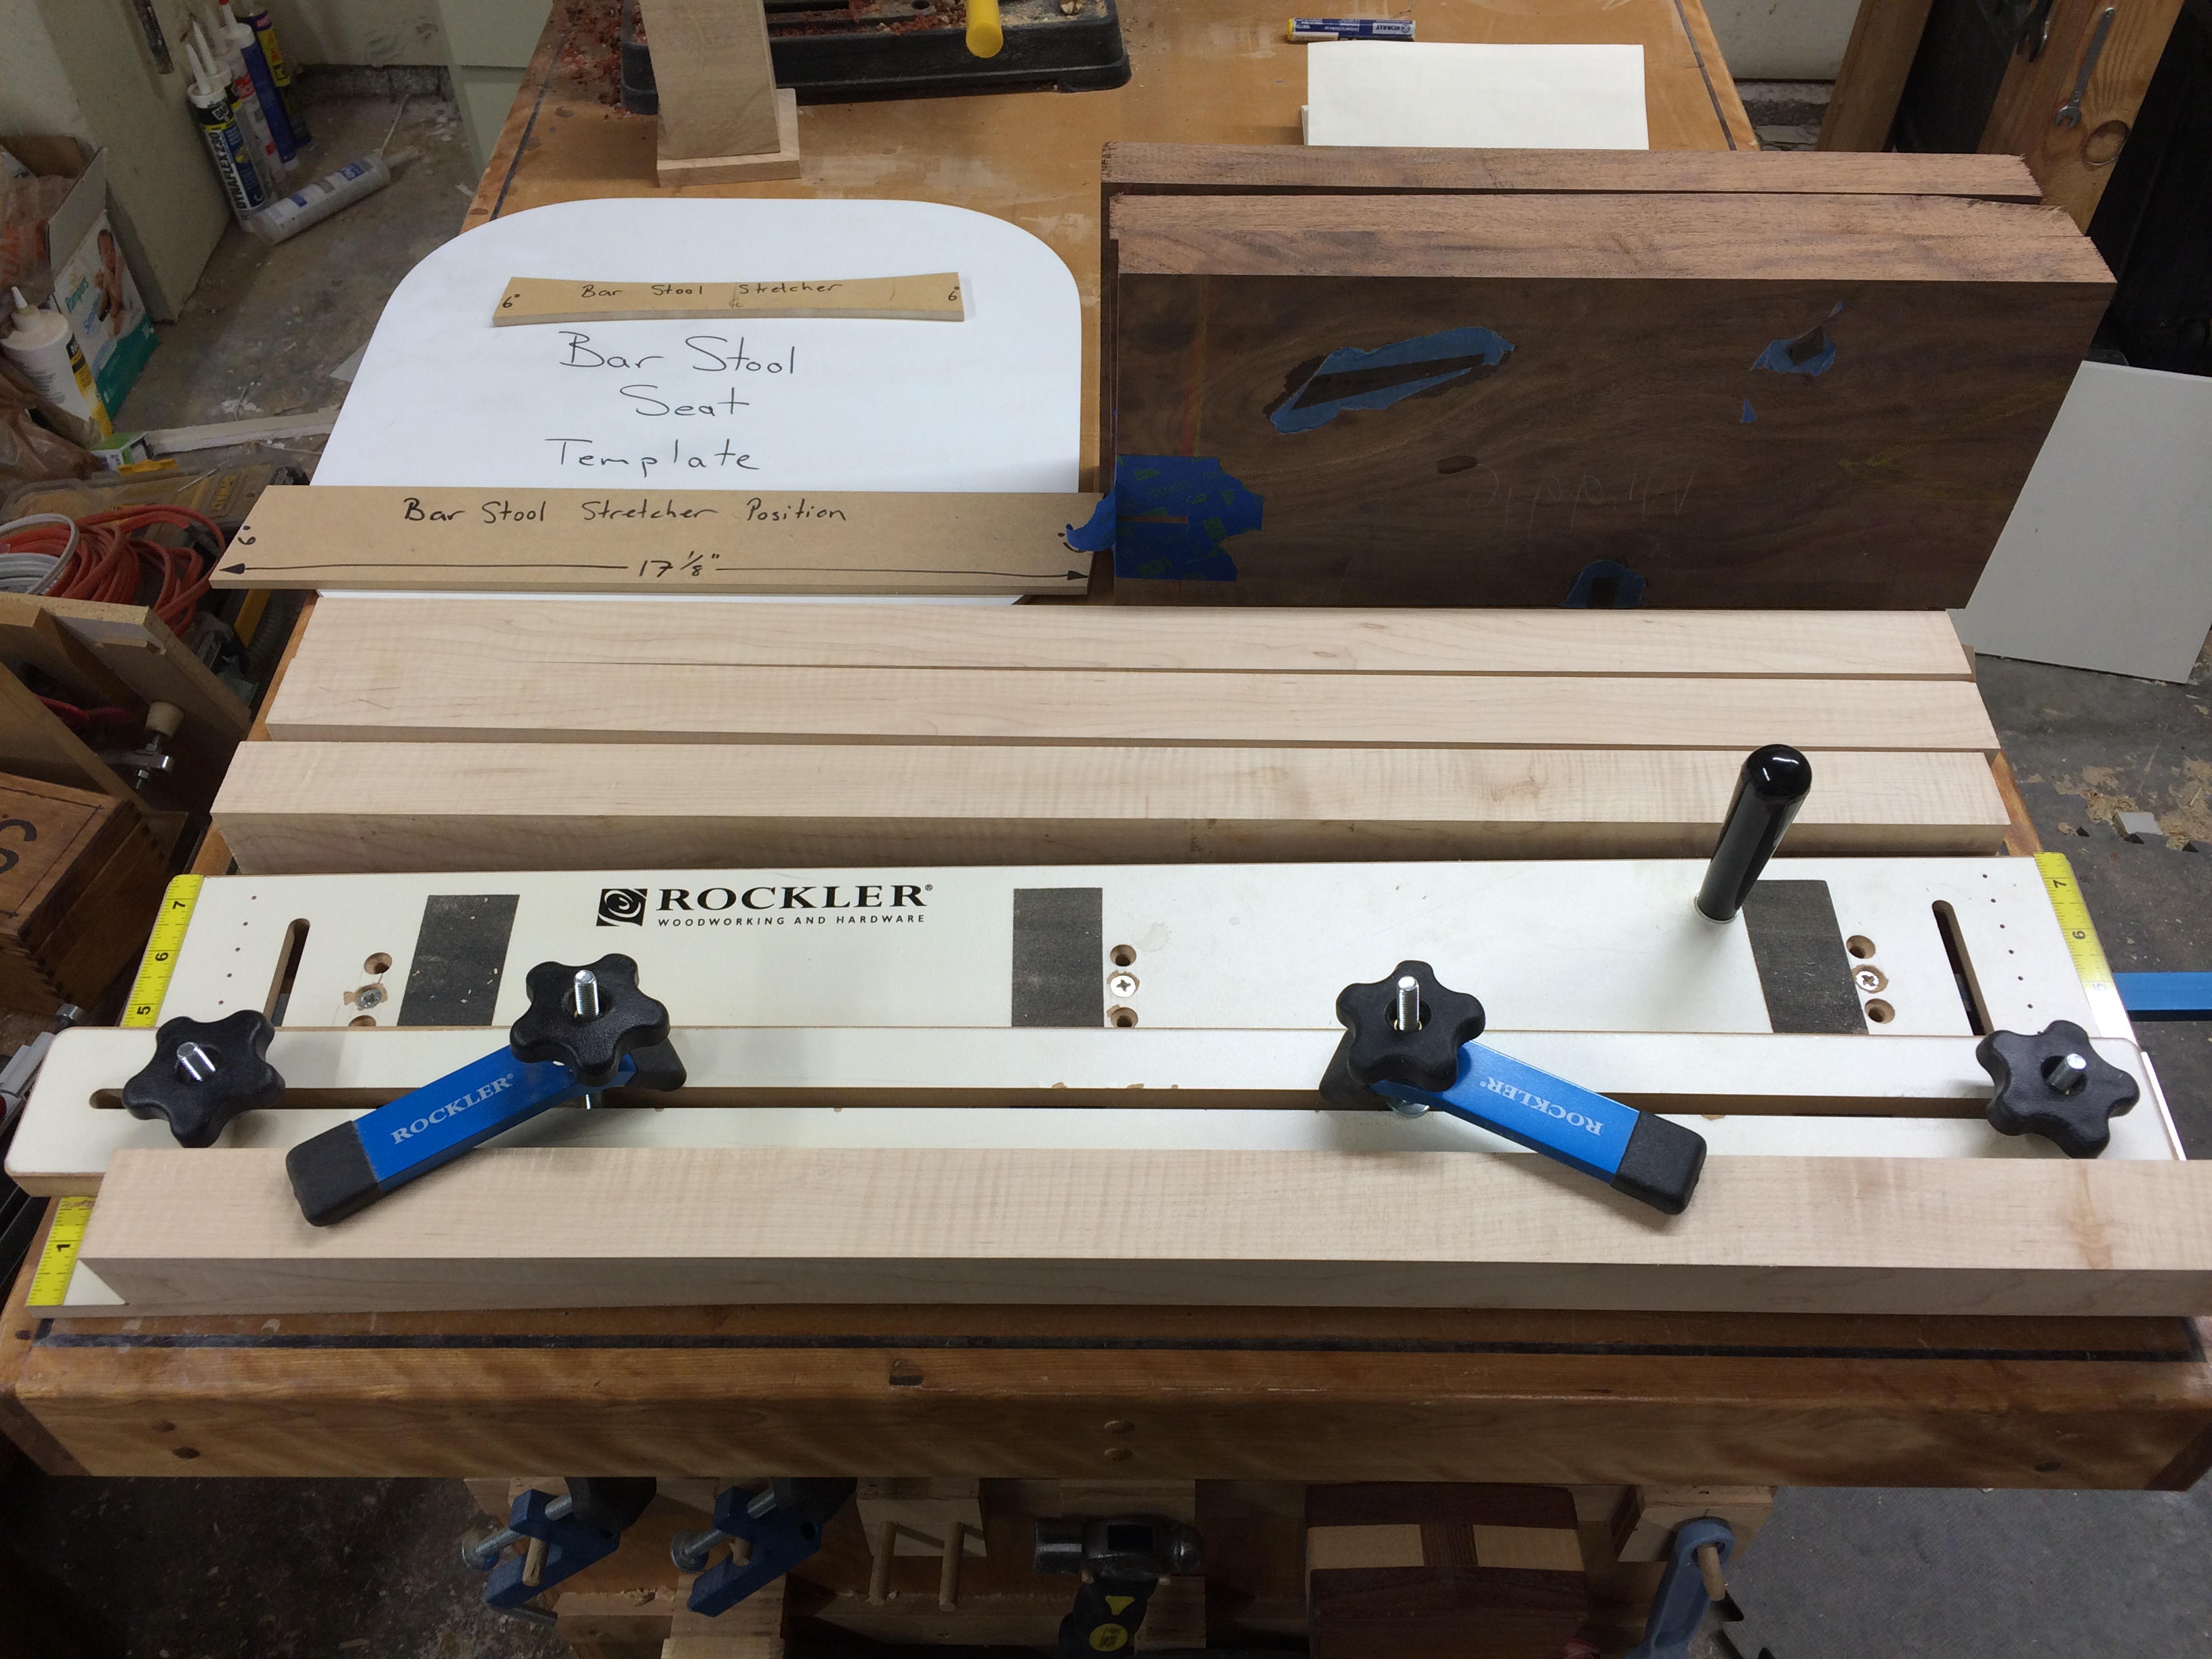
I then cut the seat blank into three equal parts and jointed the faces and corresponding edges. I then had just a few moments left in the evening so I pulled the Rockler Taper Jig off the shelf and positioned the stop for the correct taper of the legs. End day 2.
Day 3
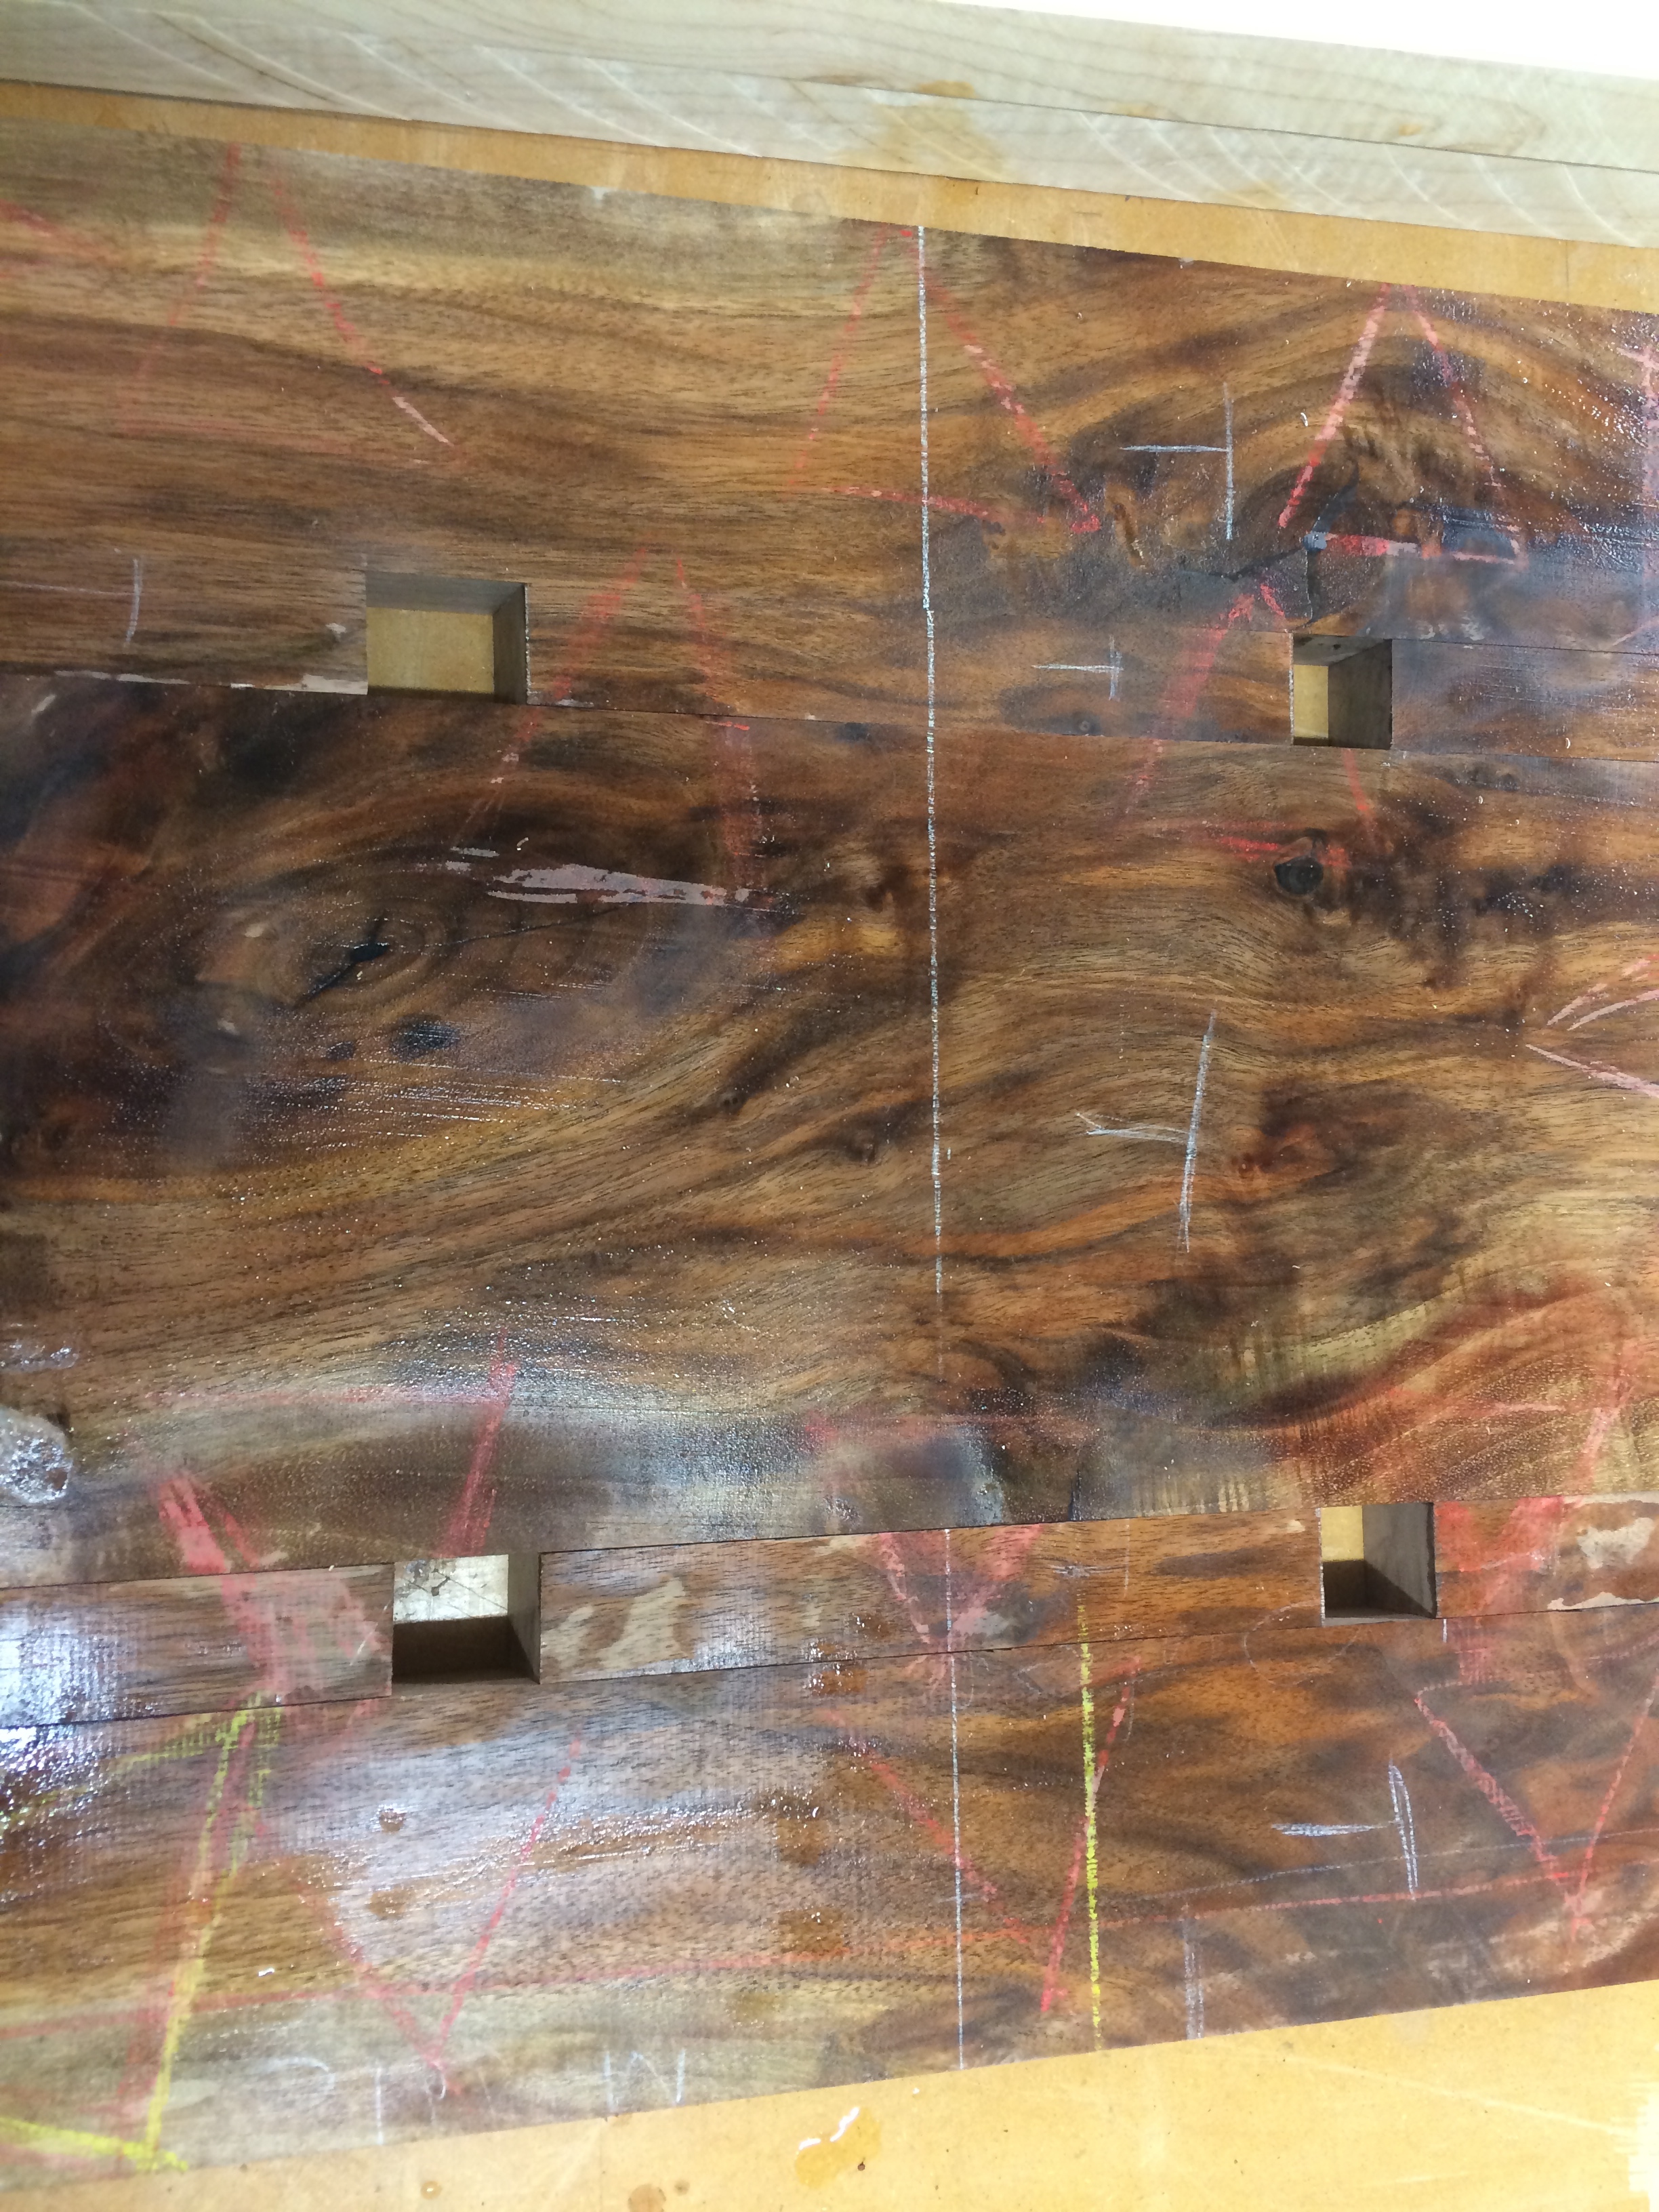
I got started this day early. My wife (bless her) gave me the afternoon and evening to work so I tried to get as much done as possible to prepare for the weekend assembly of the stool. I figured that with the glue ups in all the stages it would take 9 hours of waiting for glue to dry (using the suggested polyurethane glue) not including the time to clamp the assemblies, scrape the squeeze out, and smooth the joints. So I started tapering the legs. All went well but I must have a dirty blade or I was feeding the stock through too fast because on one side (usually the first cut of the taper) it had significant blade marks. The other side of the taper a much cleaner face. So I took the ugly sides to the jointer and cleaned them up there. Making sure the legs remained square. After all the legs were clean and tapered I began with the milling of the seat parts. I had filled knots several months ago with West Systems Epoxy so I had to plane that off the surface. So I ran the previously jointed face down through the planer and took just enough passes to remove the epoxy from the surface. Then I marked a center line and cabinet maker’s triangle on the seat and the parts to ensure proper repositioning of the strips I was to cut off from the sides. As I was ripping the 1-1/16″ strip off the side piece I noticed the work was pinching the splitter so I stopped the saw and finished the cut at the band saw. In retrospect I should have started there in the first place and then cleaned the edges and trimmed to final width at the table saw. When all the pieces were ripped to thickness with the appropriate bevel angle, I repositioned them on the table and checked for accuracy. It was good enough so on to choosing stock for the four stretchers.

I pulled out the center of the board that I got the legs from and used that as my stretcher material. One piece had a nasty knot in it but, luckily, it was far enough from the final length of the stretchers that it wouldn’t make it into the piece. End day 3.
Day 4
I started by checking the color of the seat by wetting it with some water. It looked great but there was some blotching I wondered if I would have to contend with. After some thought, I decided to let the wood do what it does naturally.
I then milled the stretchers to final width and thickness after measuring the position on the legs. I still left the stretchers long at this point. They are individually glued into place after the legs are laminated into the seat.

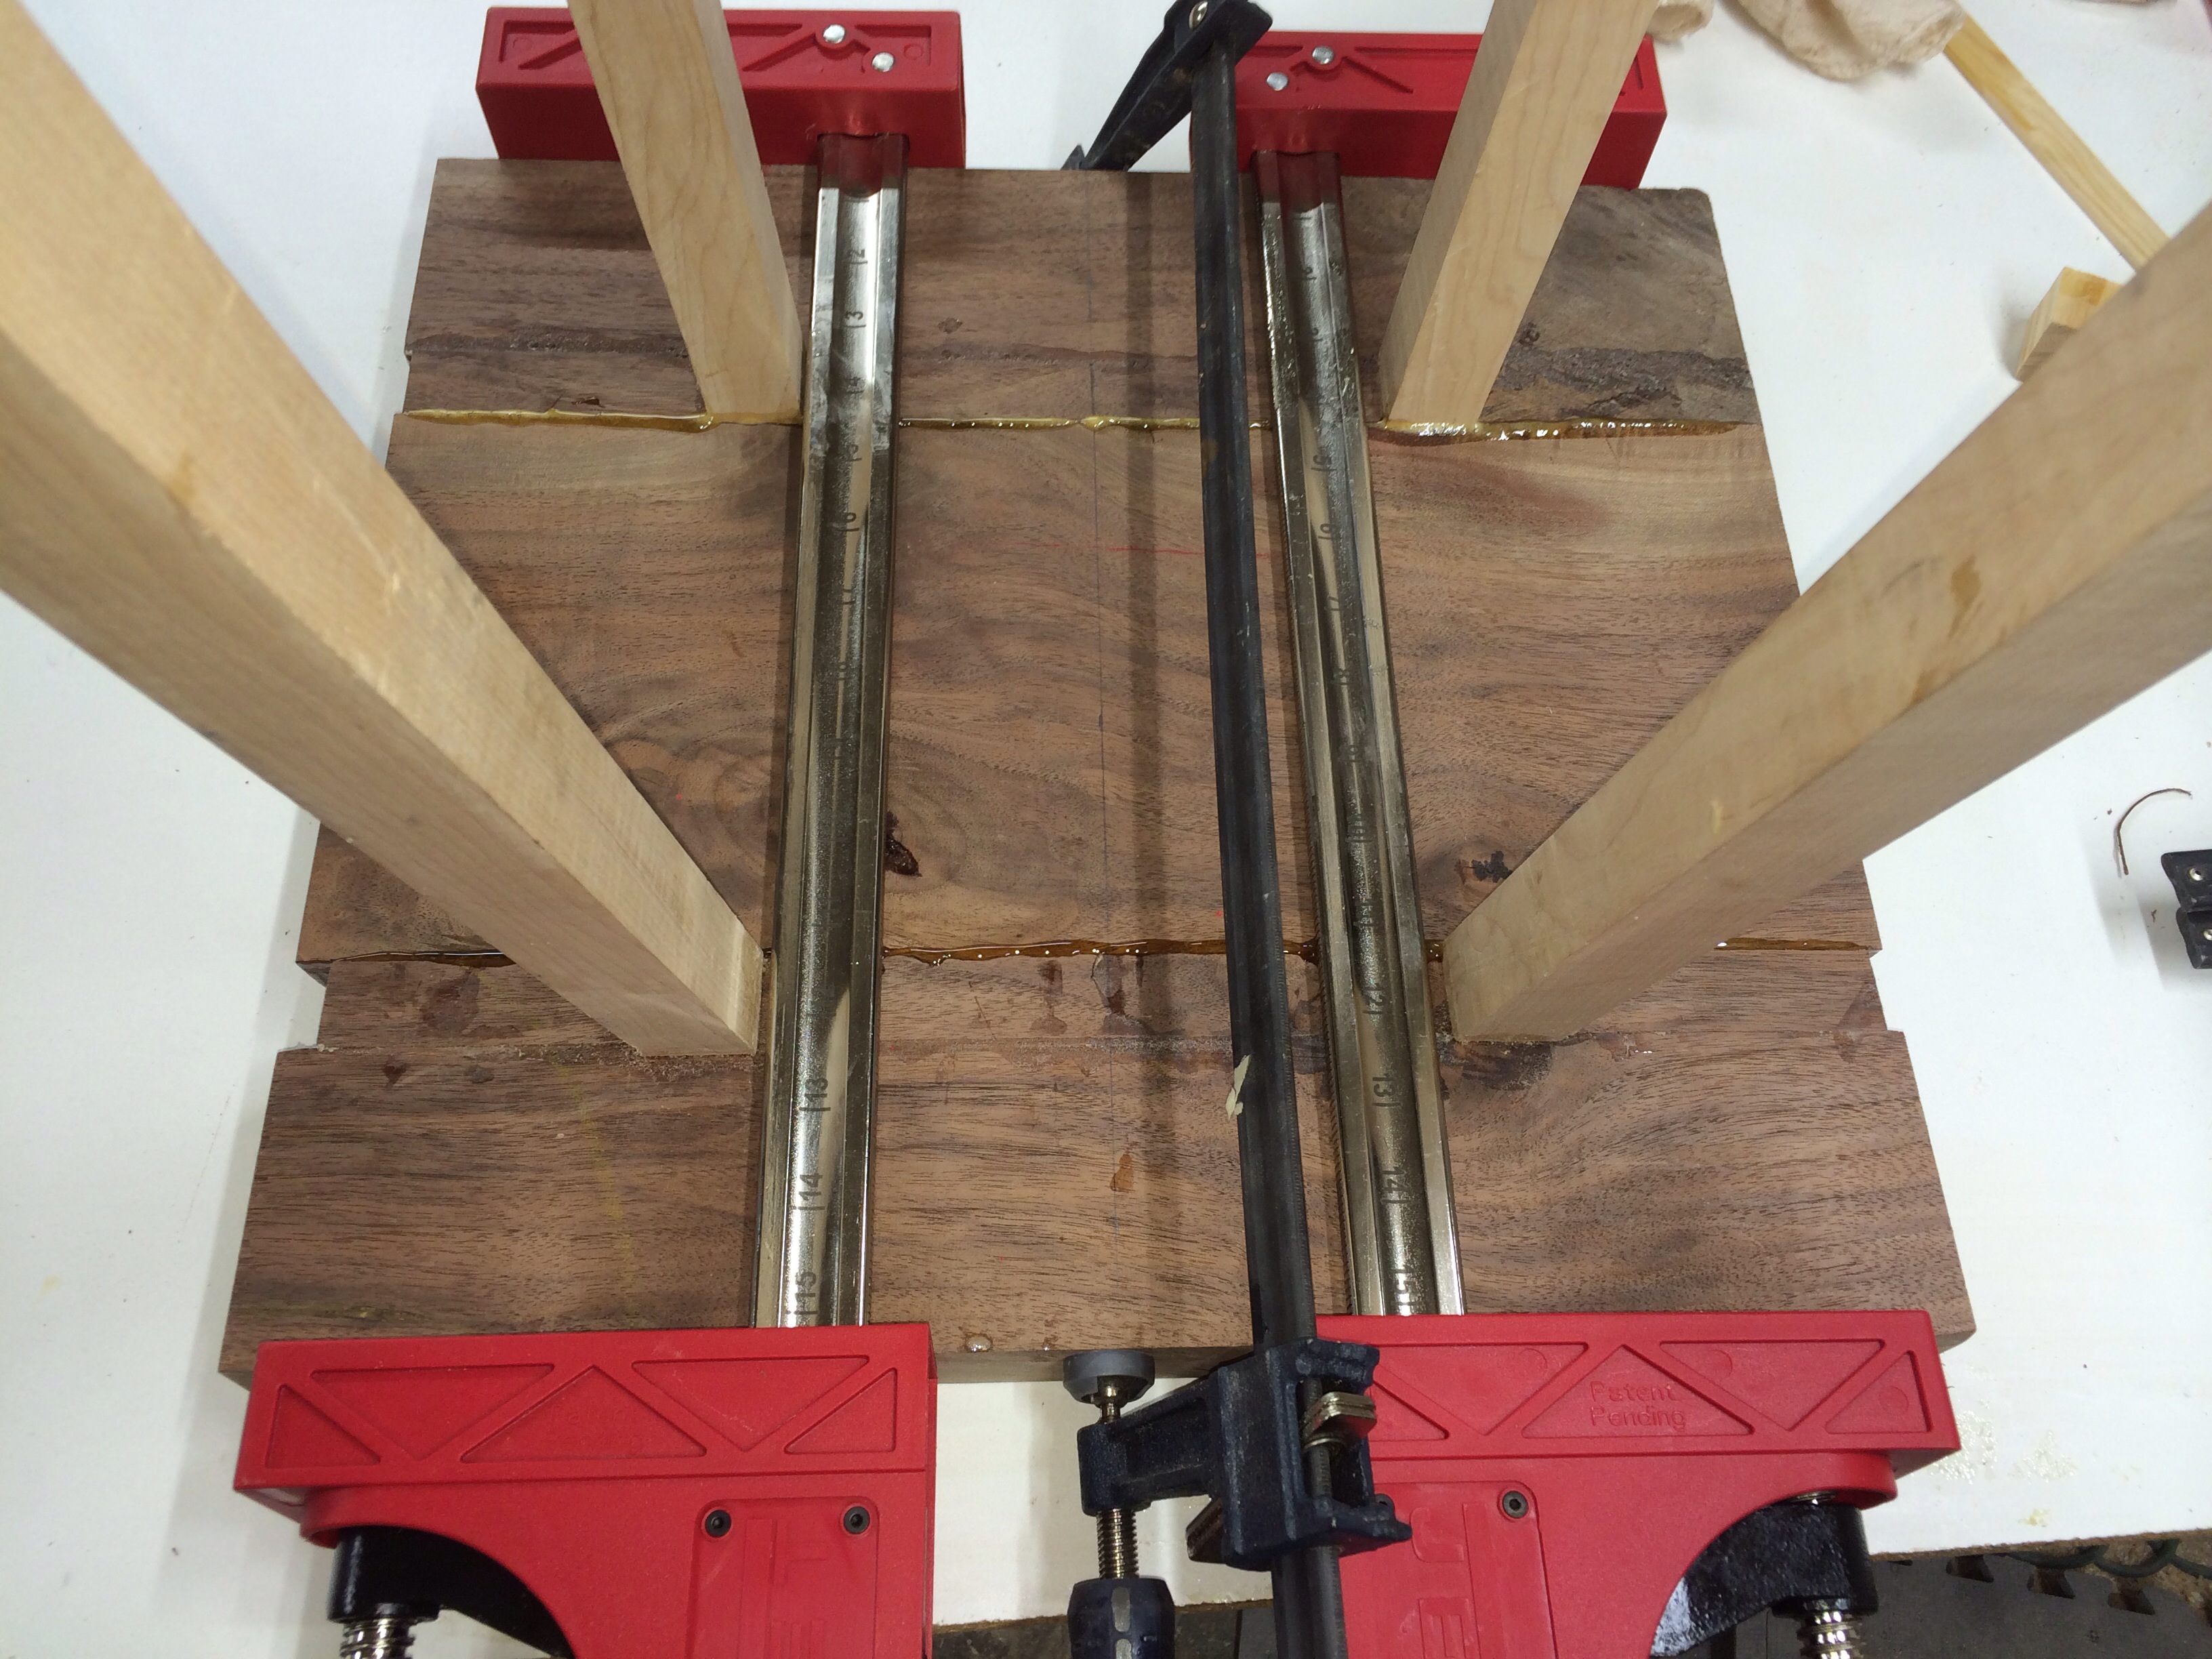
Then began the first glue up preparation. I cut scrap pieces of pine at the same angle as the legs to keep the clamp heads square. I affixed them to the legs with carpet tape and prepared for the glue up of the legs to the middle spacer pieces of the seat (these were cut to the same width of the middle portion of the seat).

The glue up went flawlessly.

Until, I unclamped the assemblies and realized I clamped them with the wrong faces down. No I had to clean up a surface to prepare for the next glue up. See, the surface mating to the outer sides of the seat needed to be flush with the legs so they could be paired immediately. I was so worried about getting the legs in the proper position that I neglected to think ahead (if I had watched the video again a few more times I may have caught that detail) Flushing that surface took quite some time and still it was not perfect. I just hoped glue and clamping pressure would help. End day 4

Day 5
After removing the leg assemblies from the clamps and cleaning the squeeze out, I ran the face the mate with the center portion of the seat across the table saw removing about 1/16″. Note I never changed the bevel angle of the blade after ripping the seat parts. Doing this gave the surface a nice clean face and a little shoulder on the leg for the seat to rest making it look like it actually was mortised in.

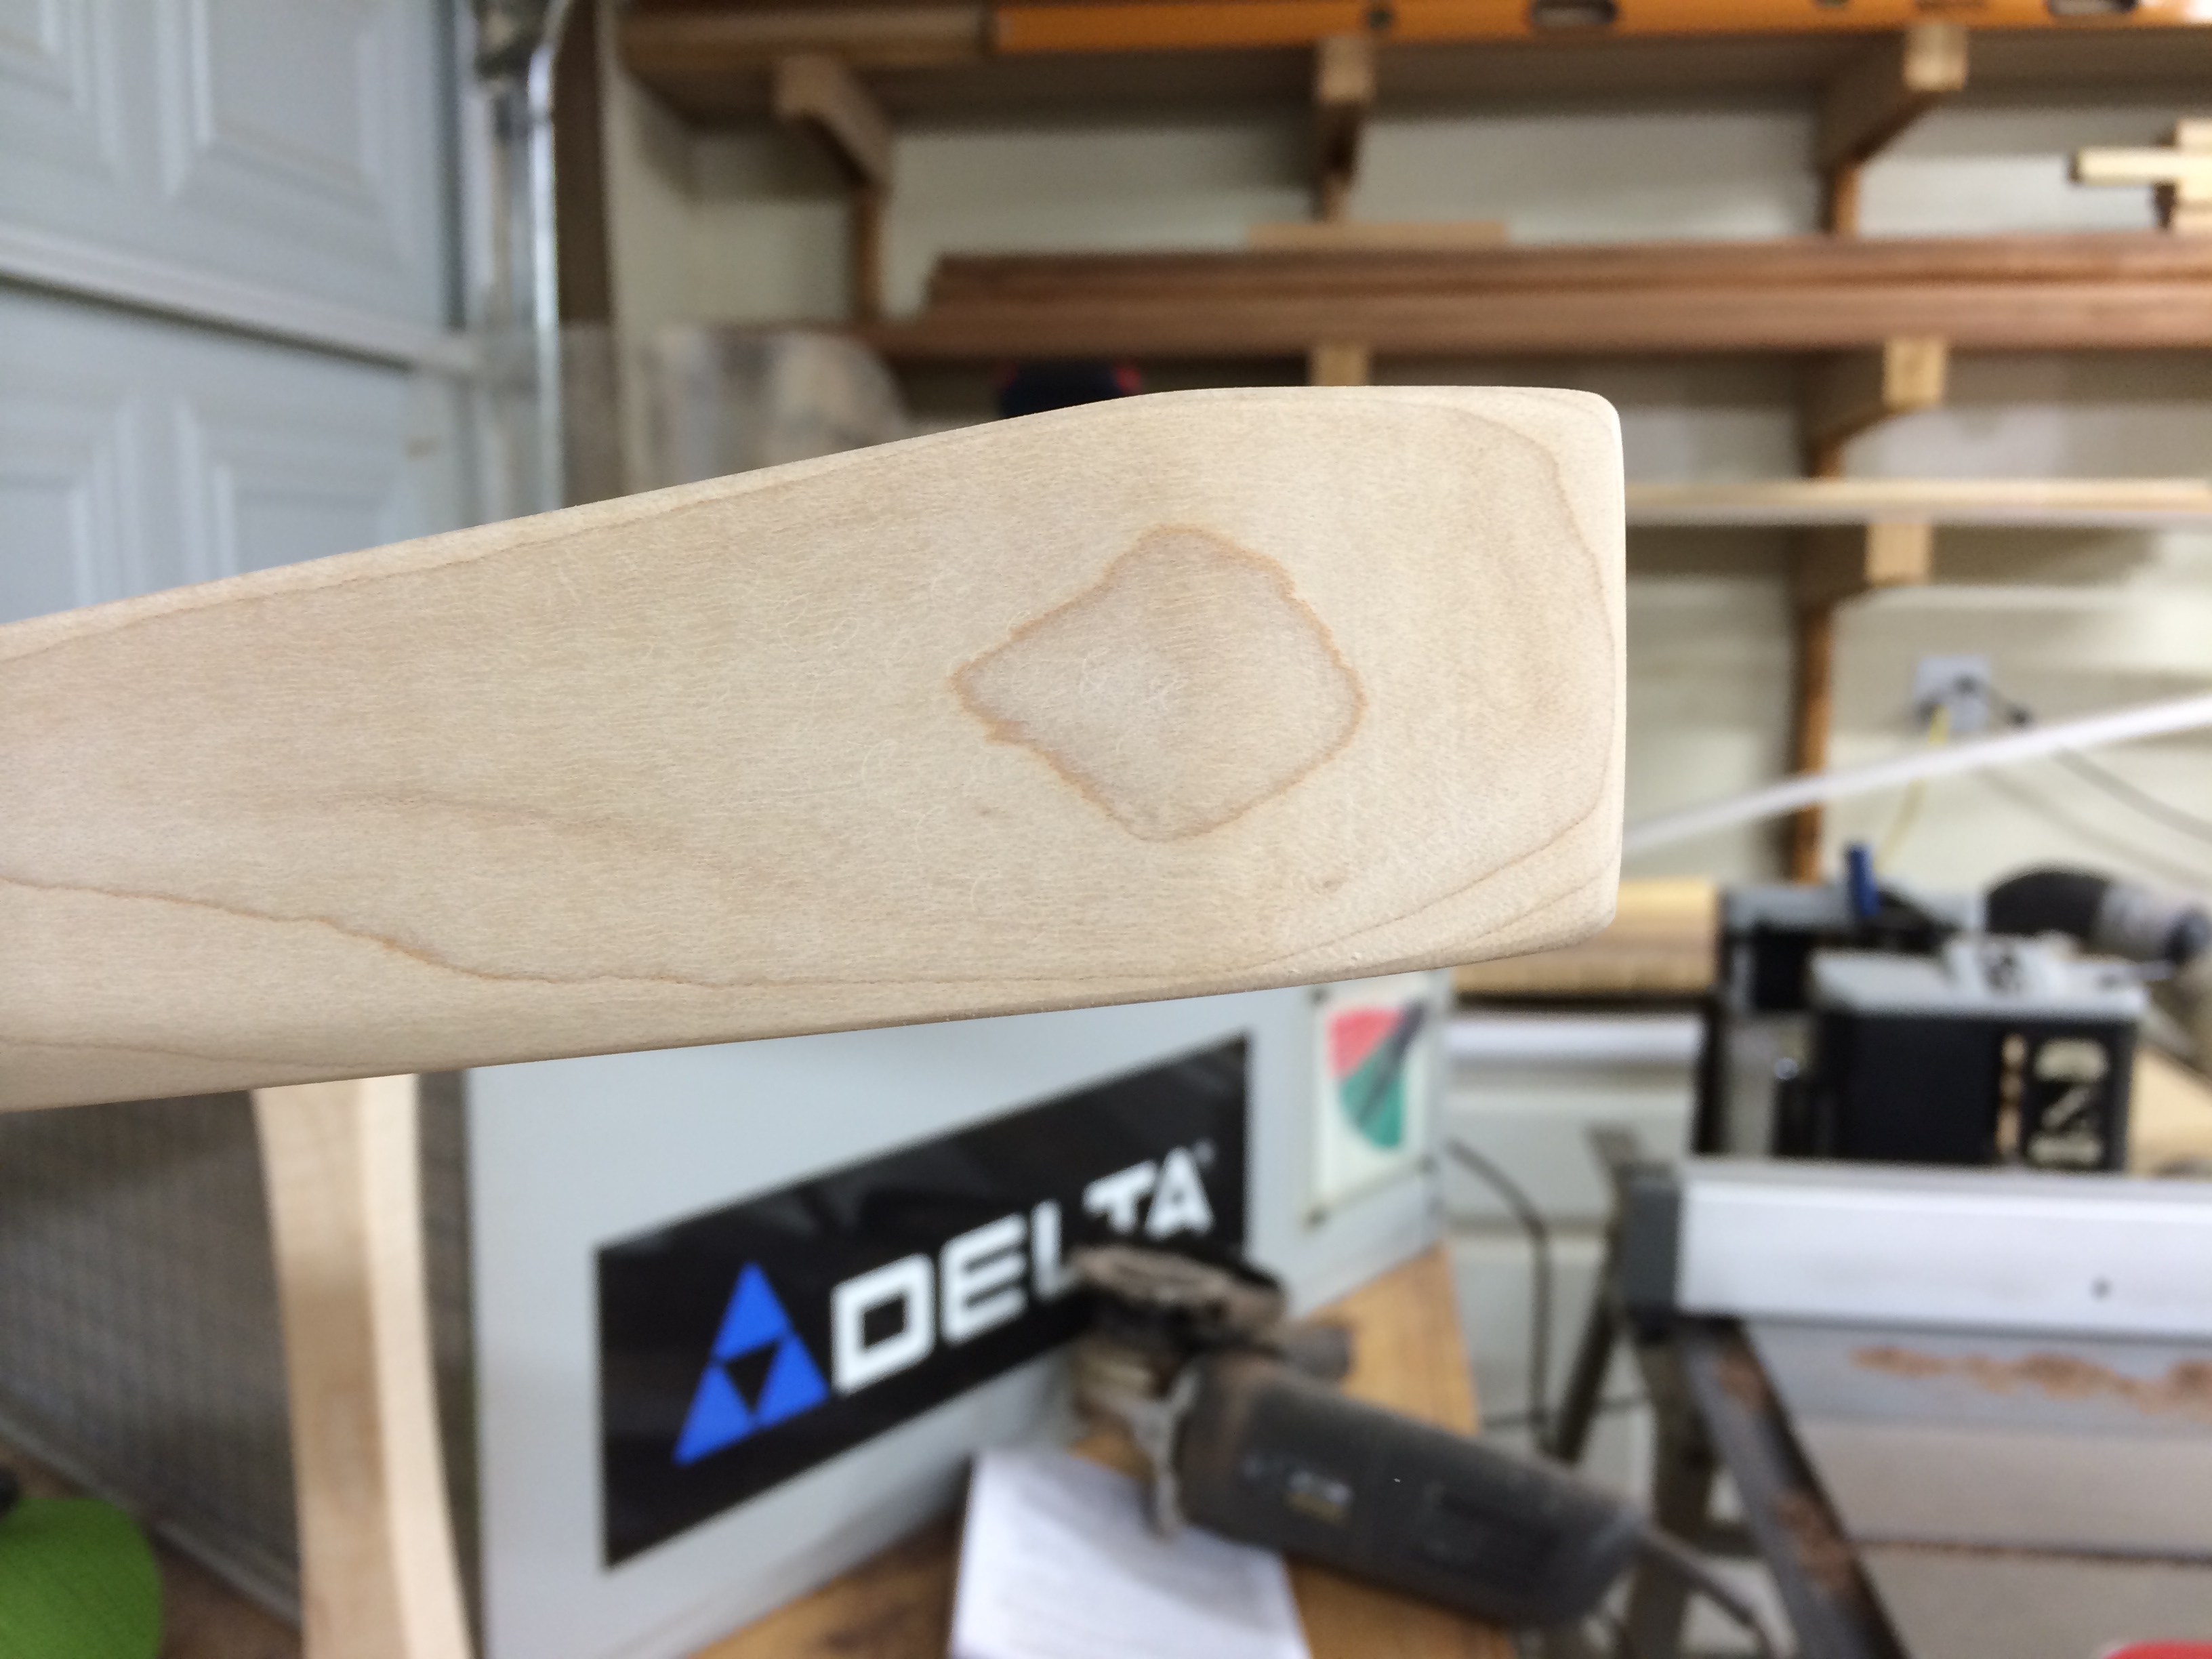
While the seat was clamped up I decided to shape the stretchers and cut each to length…one at a time on the length part. As I was routing, the bit came off the end too quickly and took a chunk out of the nice curve. I initially panicked and then I remembered a trick from watching my friend, Marc Spagnuolo, repair a pencil holder, mirror frame, and table stand from router error.

So I flattened the mistake, picked up the scrap piece from the curve that was cut from this piece, cut out a rectangle larger than the mistake (making sure the grain was close enough to match), and CA glued it back on. Wait after spraying with activator and then shaped back to the template and sanded smooth.

Because this is a long-grain-to-end-grain joint, I didn’t want there to be any breaking so I kept some of the clamps on to hold pressure as I drilled 1/4″ holes for the aluminum pins. I used aluminum because I thought it would look better with the Maple than brass. Also, I used rod that was 1/16″ larger in diameter than the plans called for so I had to make sure I spaced them enough not to interfere with each other. I marked the placement, used an awl to start a hole for the brad point bit, covered with blue tape, re-established the marks with the awl, and began drilling. 16 holes in all. Then came time to insert the pins. The plans called for CA glue but I wanted something more substantial so used more 5-minute epoxy. I glued one side at a time, waiting for the glue to get thicker before turning it to the next side. Rinse and repeat 3 more times.

I removed the tape used a Fein MultiMaster with a metal cutting blade to cut the protrusions shorter (the photo is before cutting). Then used a Bastard file to reduce them close to the wood. That SOB shaved them down fast.

Once all pins were about 1/16″ proud of the surface, I began sanding starting with 100 grit paper on my random orbital sander. I progressed up to 150 grit and then began the 1/8″ round over of the edges. The edges that the router could not reach were done by hand. An 1/8″ round over is easy enough to do by hand I should have saved the $30 on the bit and rounded them all by hand. Then I sanded with 180 grit paper and called it a night at 12am Monday morning. End day 5.

Day 6
Monday afternoon I got a start on this right away. I started with shaping the seat by cutting it out with a jig saw (only after fixing the template on with hot glue). The set the router table up with a pattern bit and copied the seat to the template. Note that I marked center lines on the seat and the template to match up before cutting with the jig saw.

I routed to the template in 3 total passes as I didn’t want to get any tear out when going from the end grain to the long grain. Making small passes when was key here though Walnut machines very well I have noticed. After flush trimming the seat I the rounded over the top with a 1/2″ radius bit. The plan calls for a 3/4″ radius but but I didn’t have one and my seat is slightly thinner than David’s so I made it a bit proportional by sanding to get an approximate radius of 5/8″. Notice the picture below has a rough uneven surface? The template was the flat surface for the router table so I didn’t worry about smoothing it out. Also, I was going to be slightly reshaping the profile by hand.

Next came the fun, and very intimidating part. I had never sculpted wood before. I do not recommend taking a tool that you are unfamiliar with to a project but I didn’t have time to practice on anything else so I just took it slow. What a blast that was! I found that some cutting motions produced a much cleaner surface than others so I tried to maintain a low, flat angle to the surface and using my arms as one with my body. This helped me keep control of the grinder and aggressive disc.

After approaching the marked boundaries I continued with 60 grit paper on my sander to flatten the sculpting and blend the underside with the bevel. I couldn’t be happier with the result. What an experience that was.

I didn’t take any shots when scooping the seat because I was having too much fun and it almost cost me the seat. I did not lift the grinder high enough when moving it away from me and it dug and carved a line right across the middle of the seat. Lucky for me I still had 1/4″ of material to remove from that area. So no harm done but my heart did jump when it grabbed and tugged away from me.
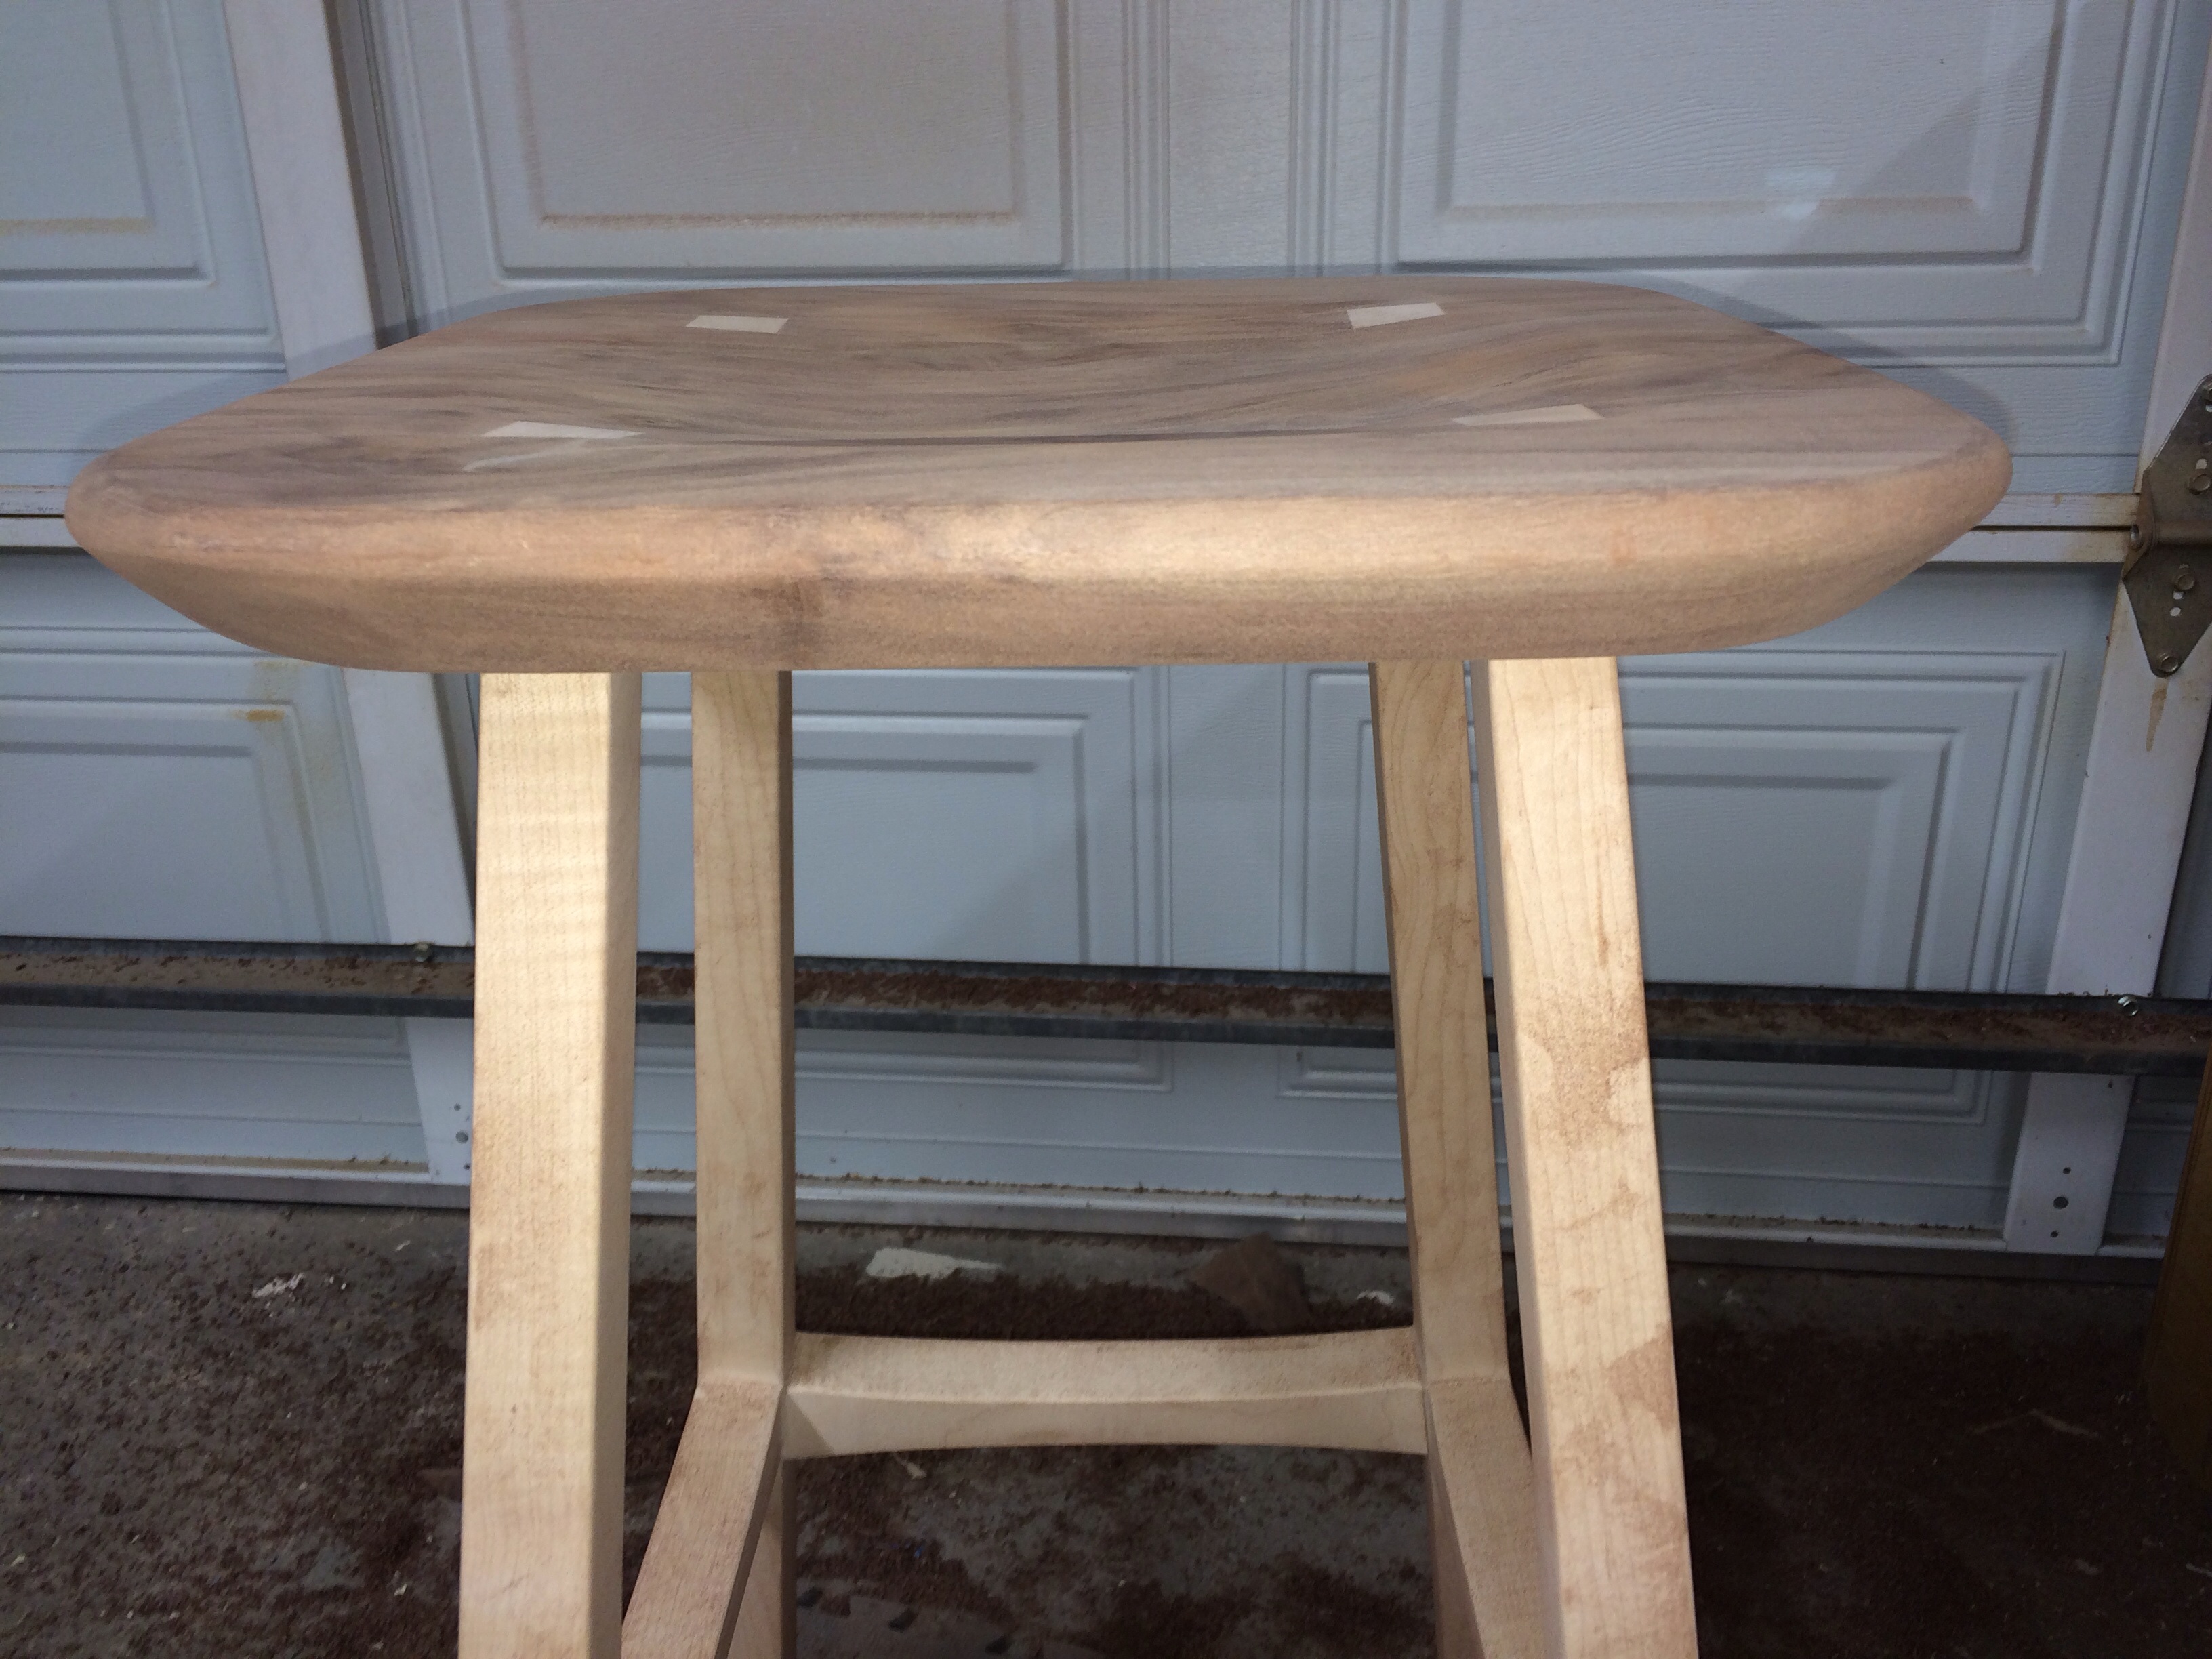
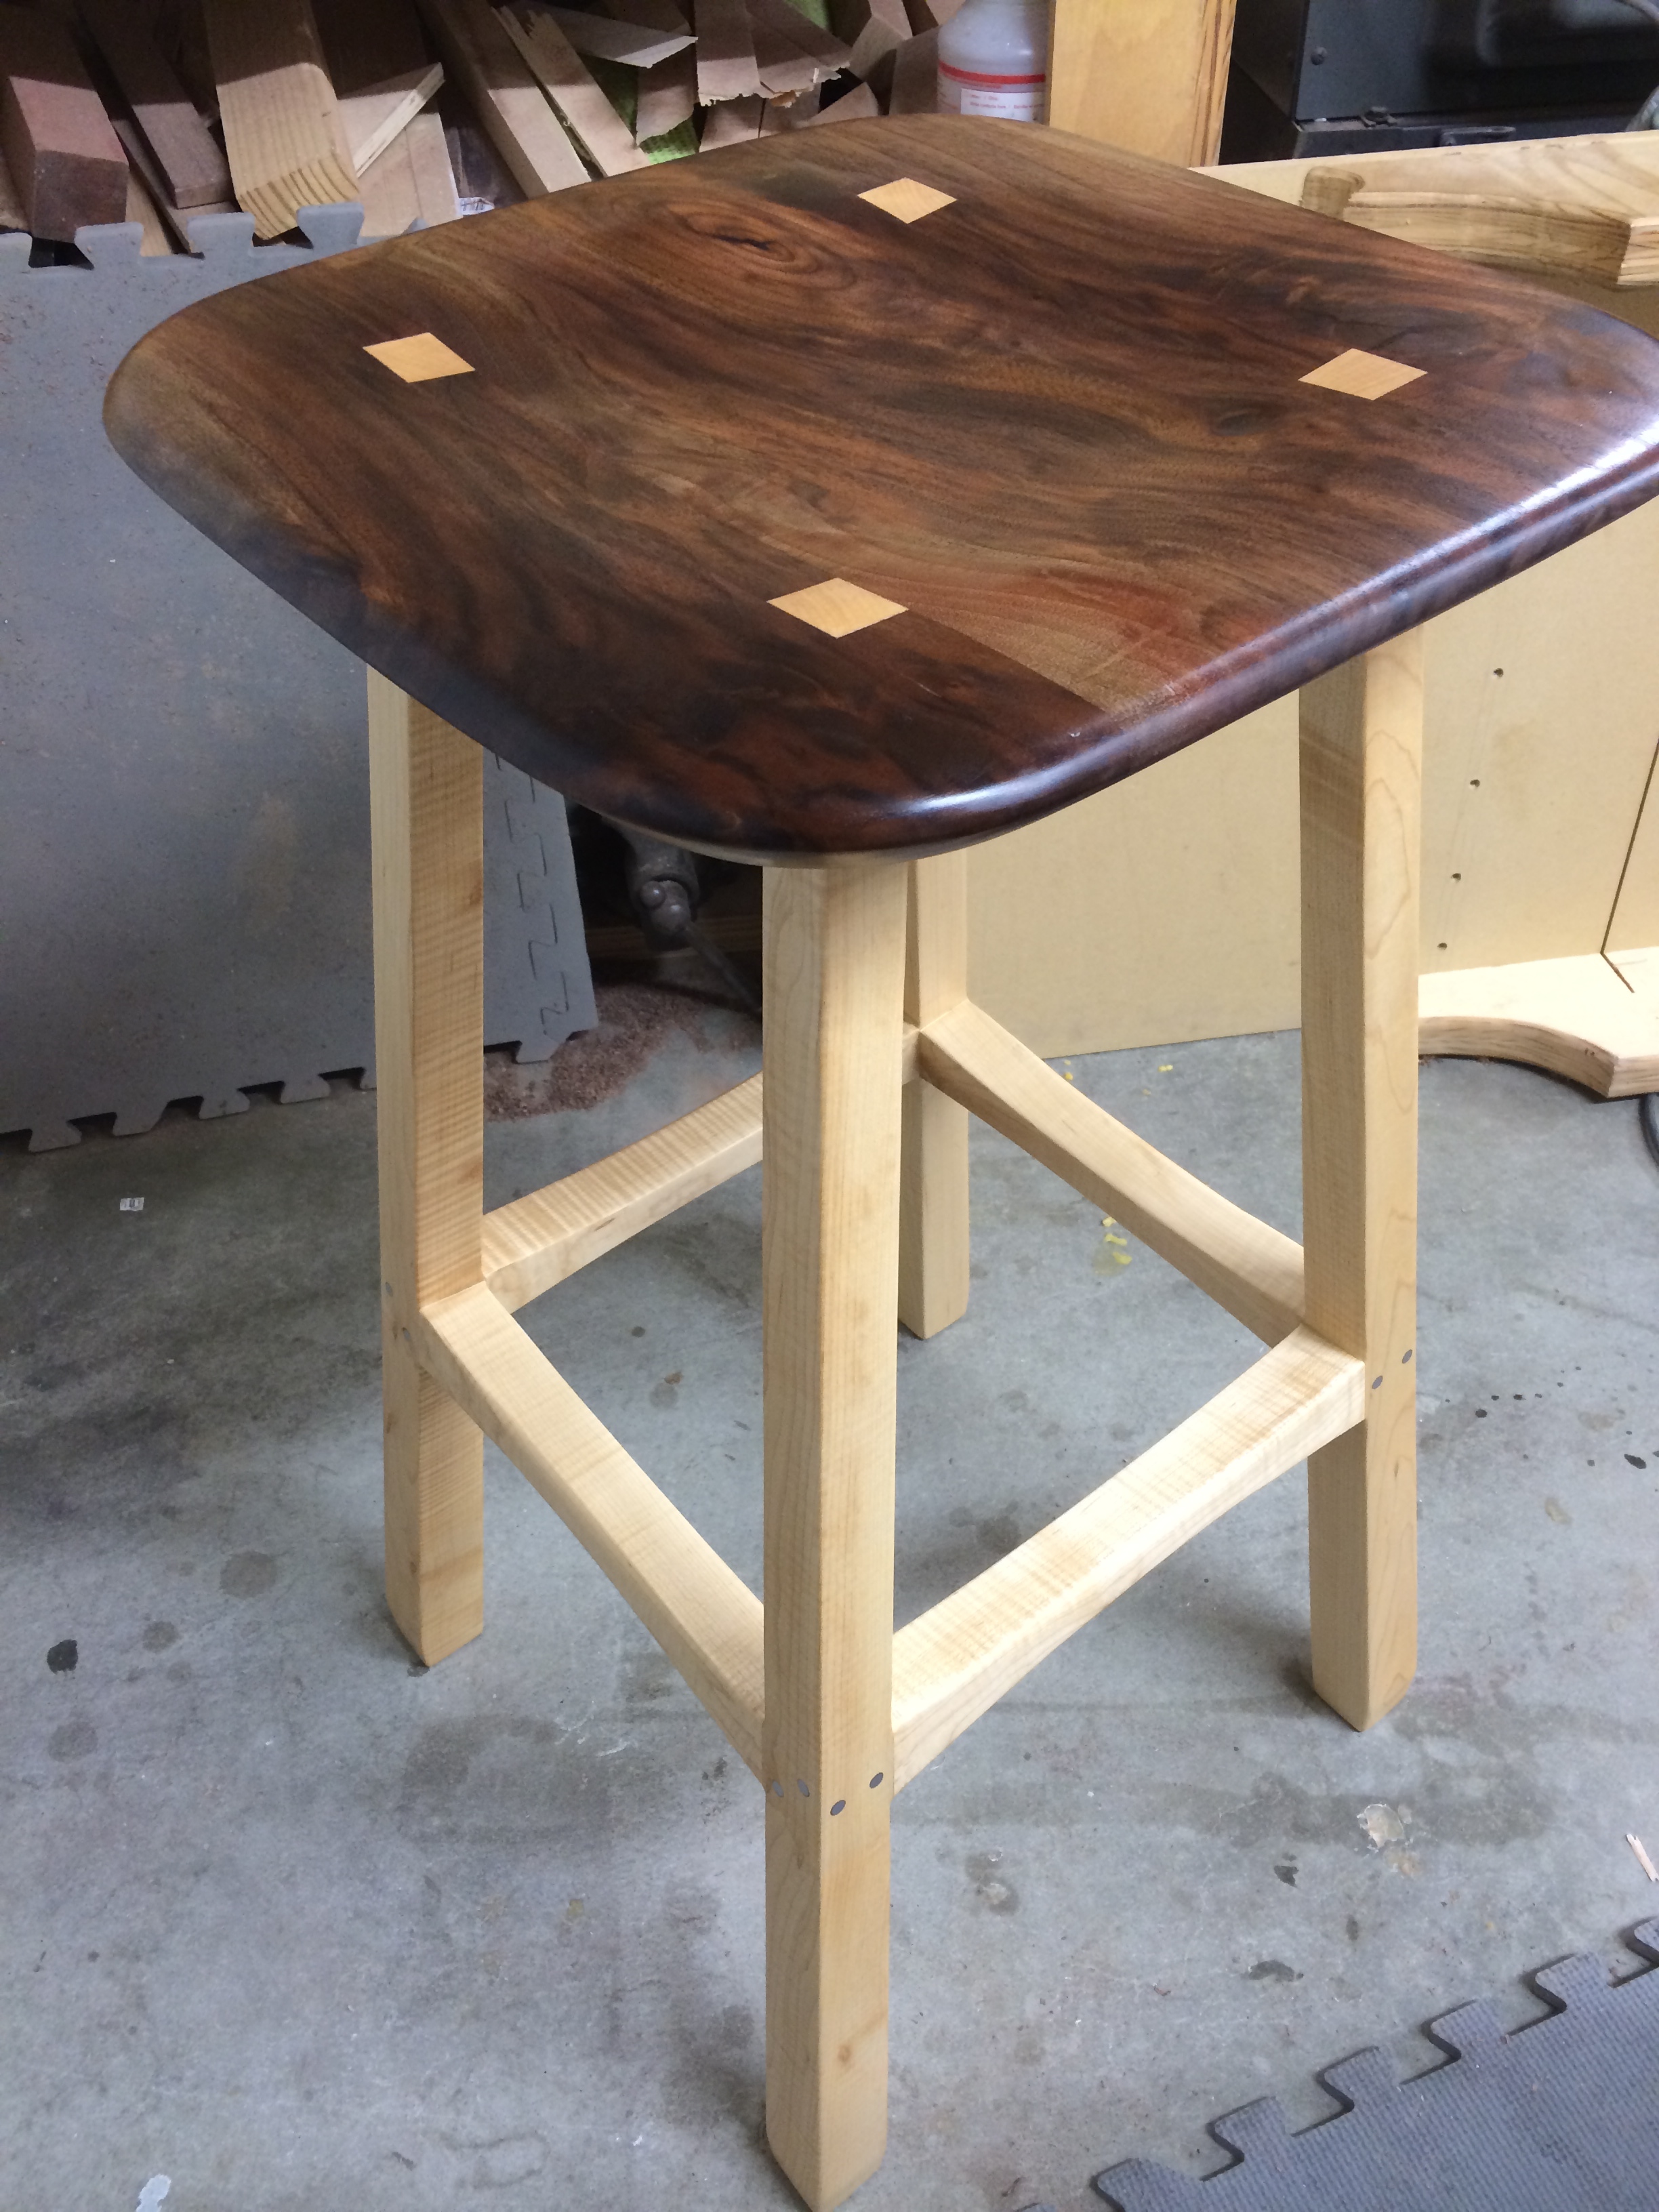
Finally a look at the nearly completed shop stool. I was thrilled to get to this point and then I kept thinking of those stretchers and feet. Something was amiss. There needed to be more done to shaping them. So I went to bed and thought about it. End day 6.
Finale
I had about 5 hours left of work to do before the first coat of finish was to be applied. I marked out on the stretchers where I wanted the new profile to be and began with a rasp. The new profile was much better. I continued with the bottom of the rail and repeated the same thing on the other 3 rails.

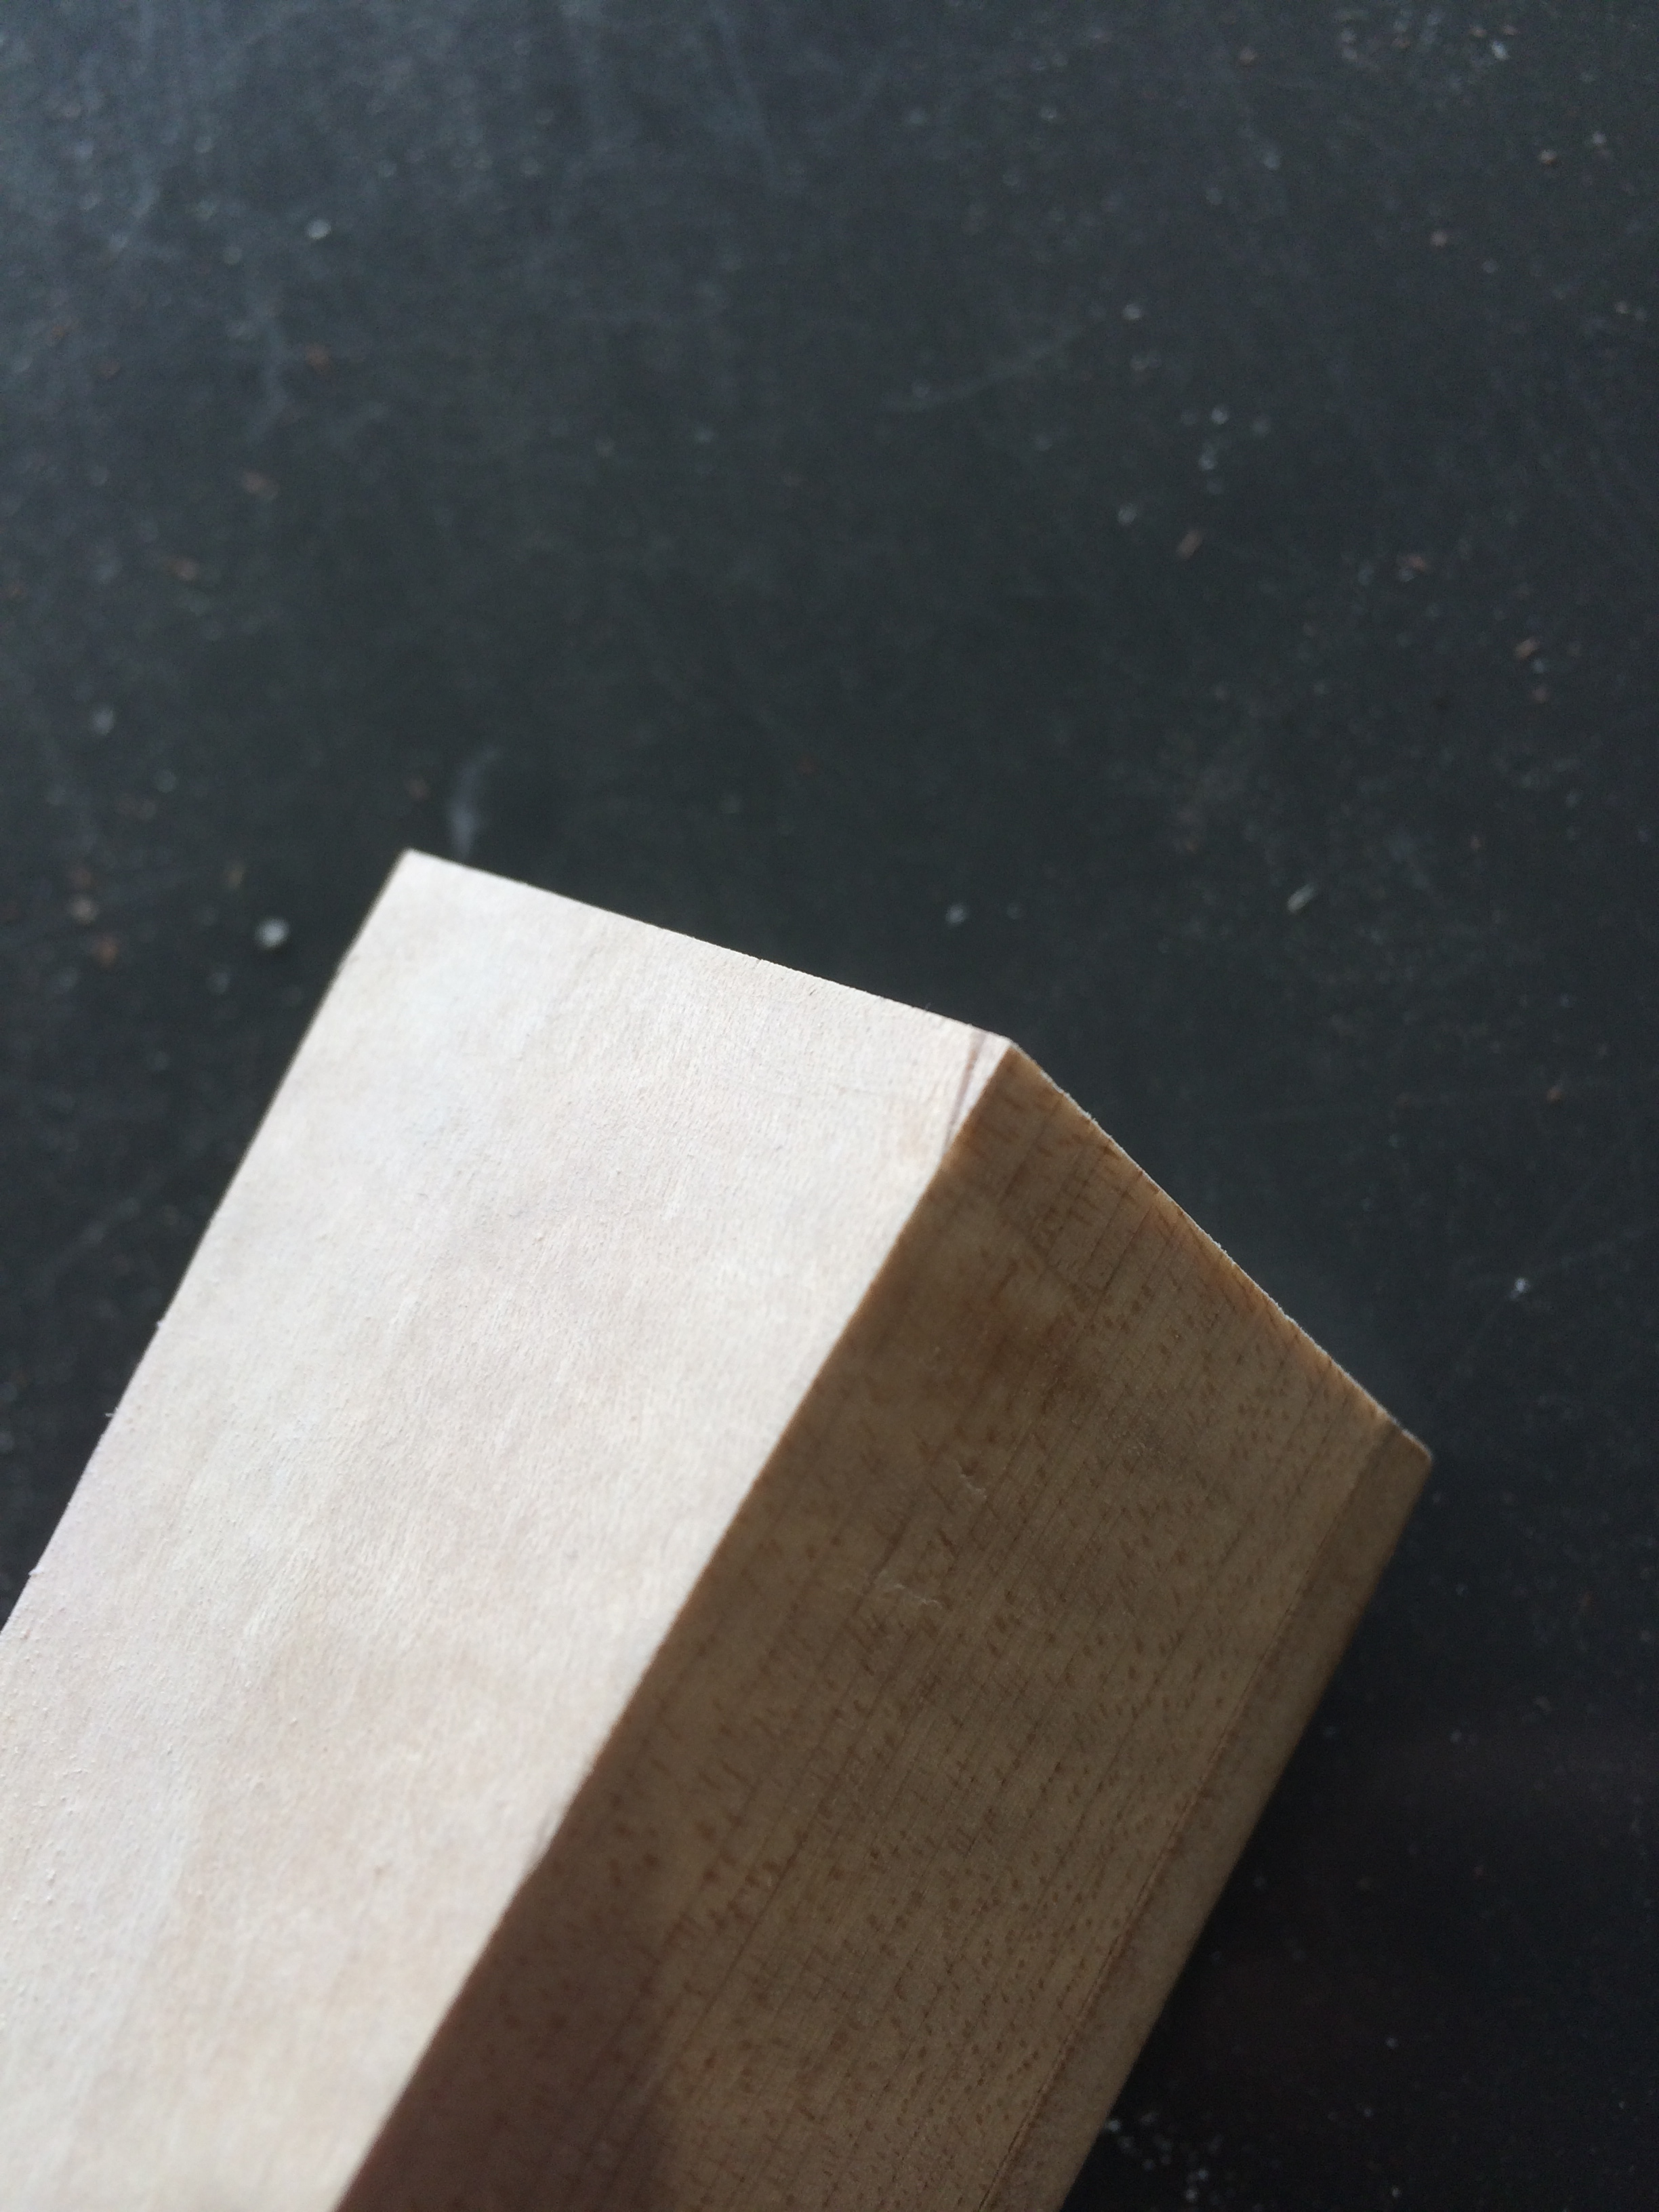
The feet needed some treatment too so I made some marks and removed a little material from the two front faces of each leg. Checking my progress with a square as I went to make sure I was not making a bump or dish in the foot.

I sanded through to 220 grit paper and here is the new foot. I considered giving the feet “hooves” by routing out a tenon on each foot and then gluing in strips of Walnut but since I had little time left I kept it simple. It turned out fantastic.
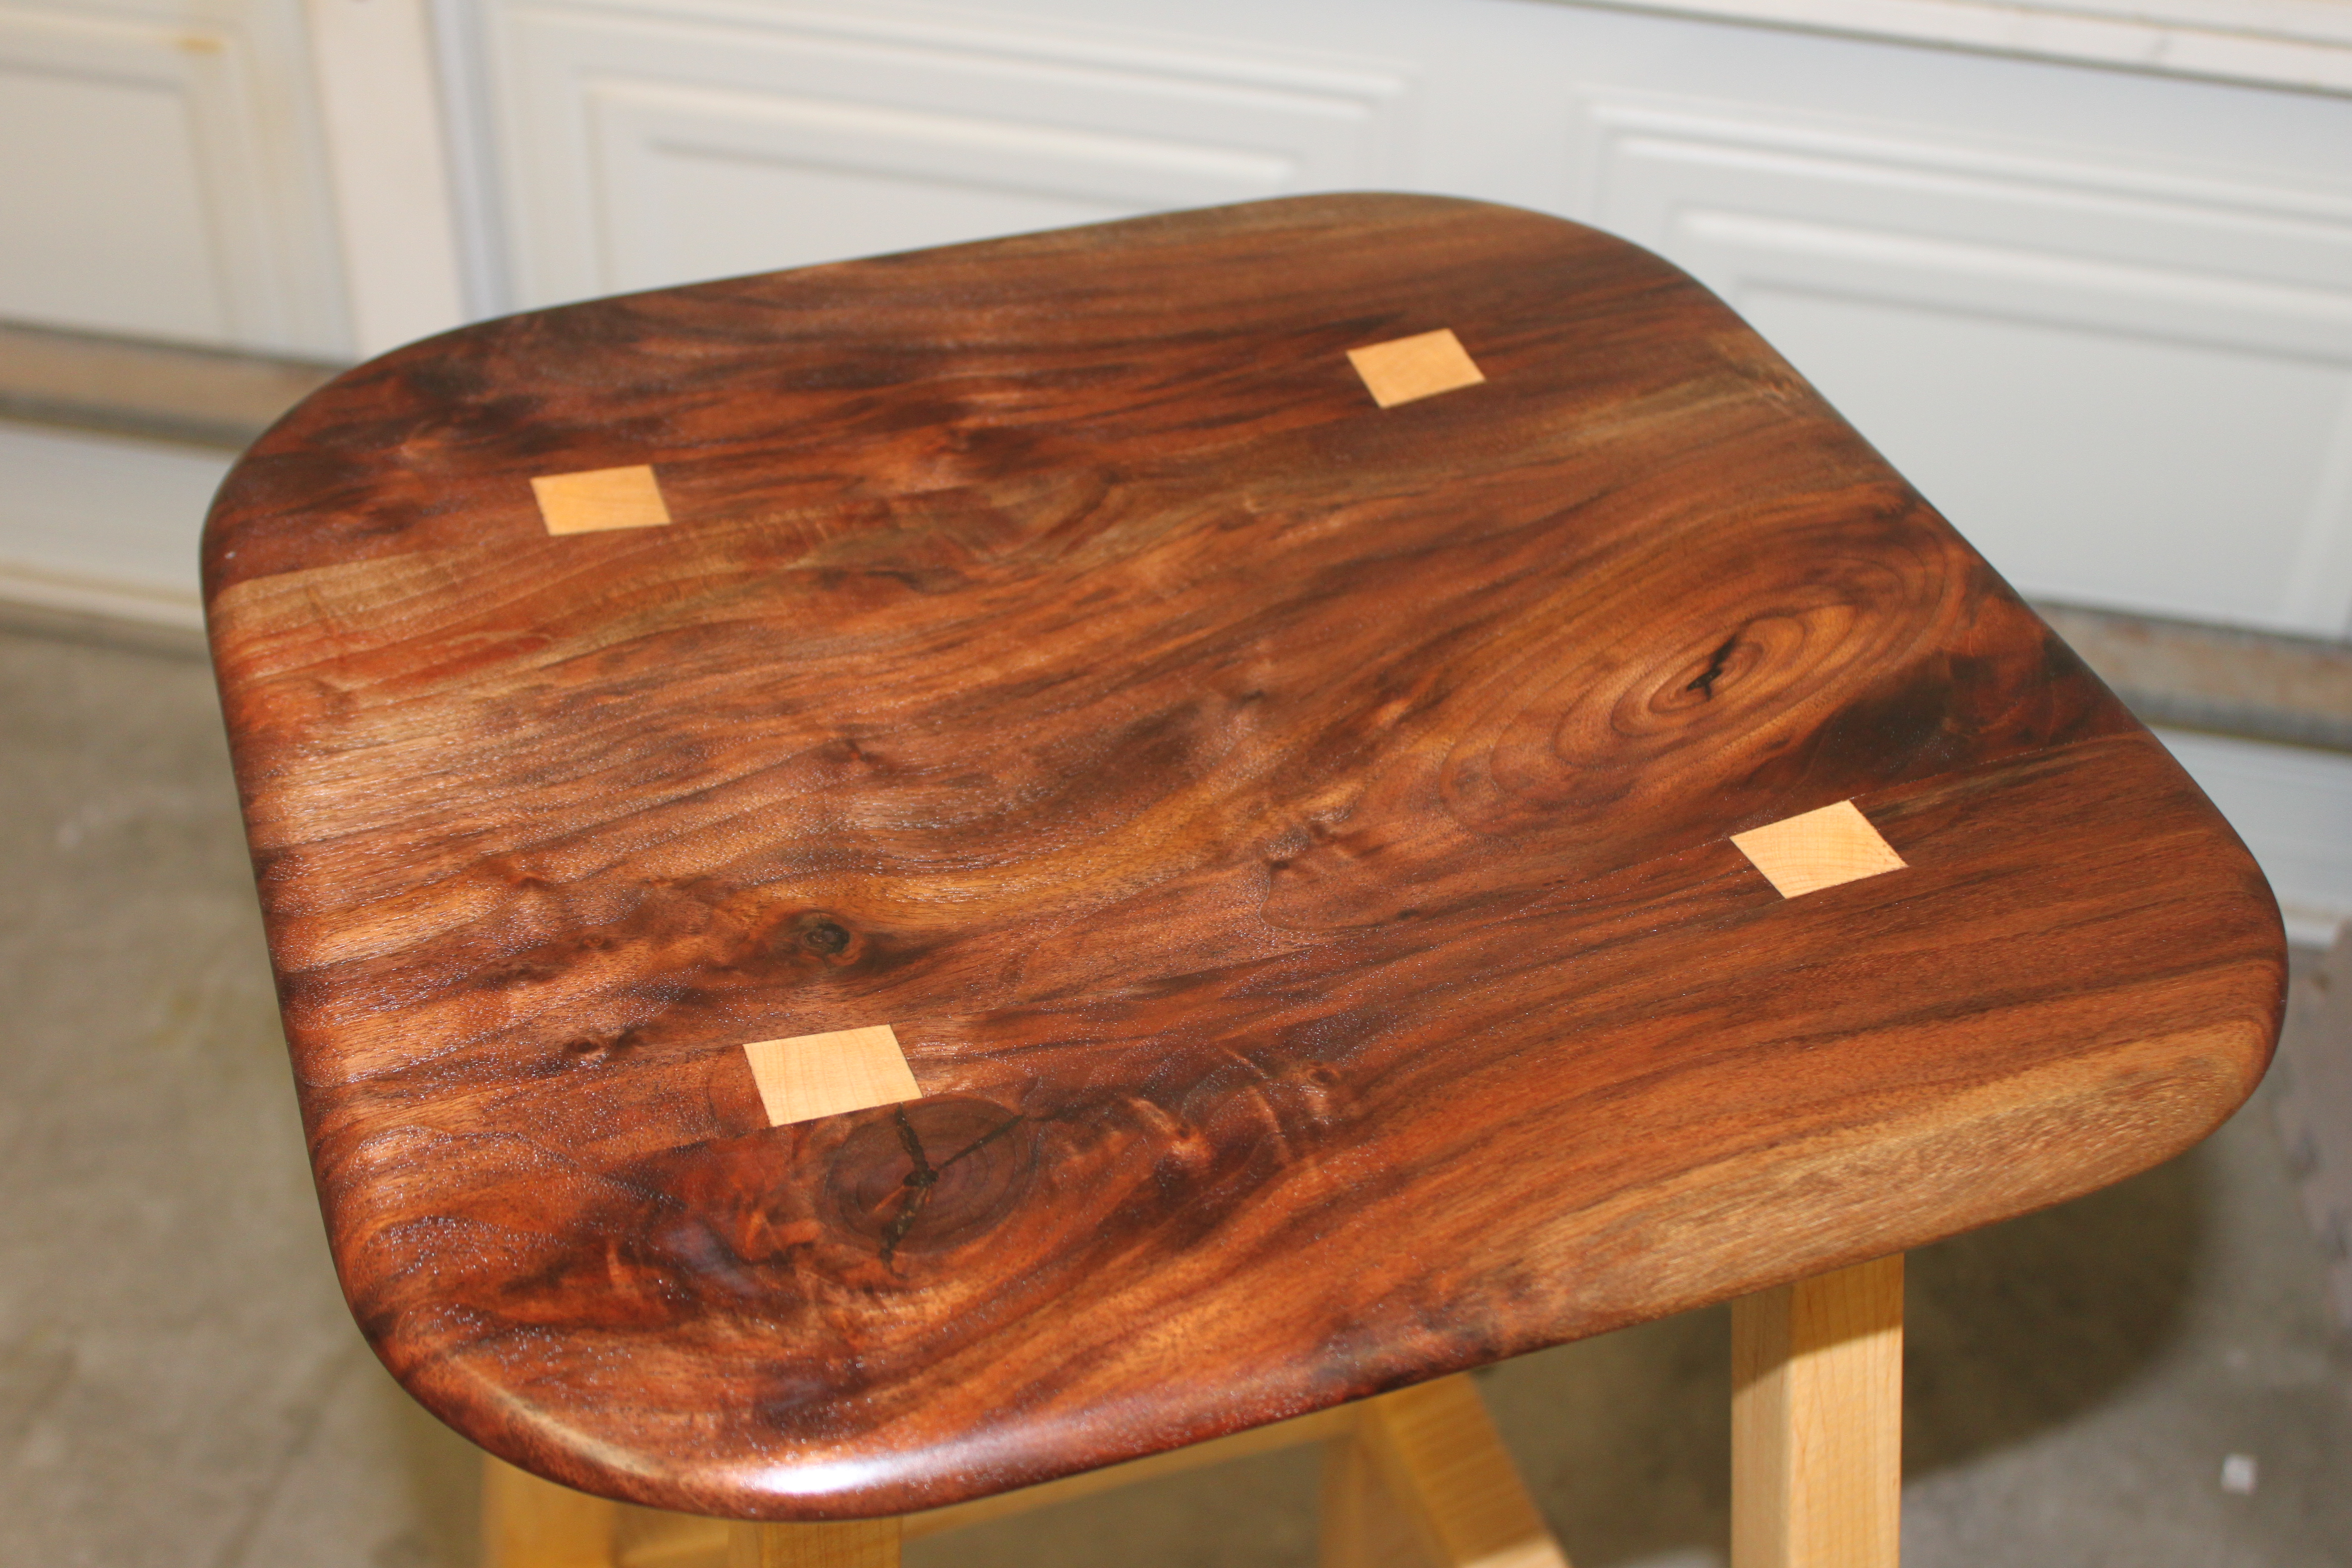
Here she is all poised and ready to go her it’s first taste of tung oil.

…
Oooooooooo…
Ahhhhhhh…
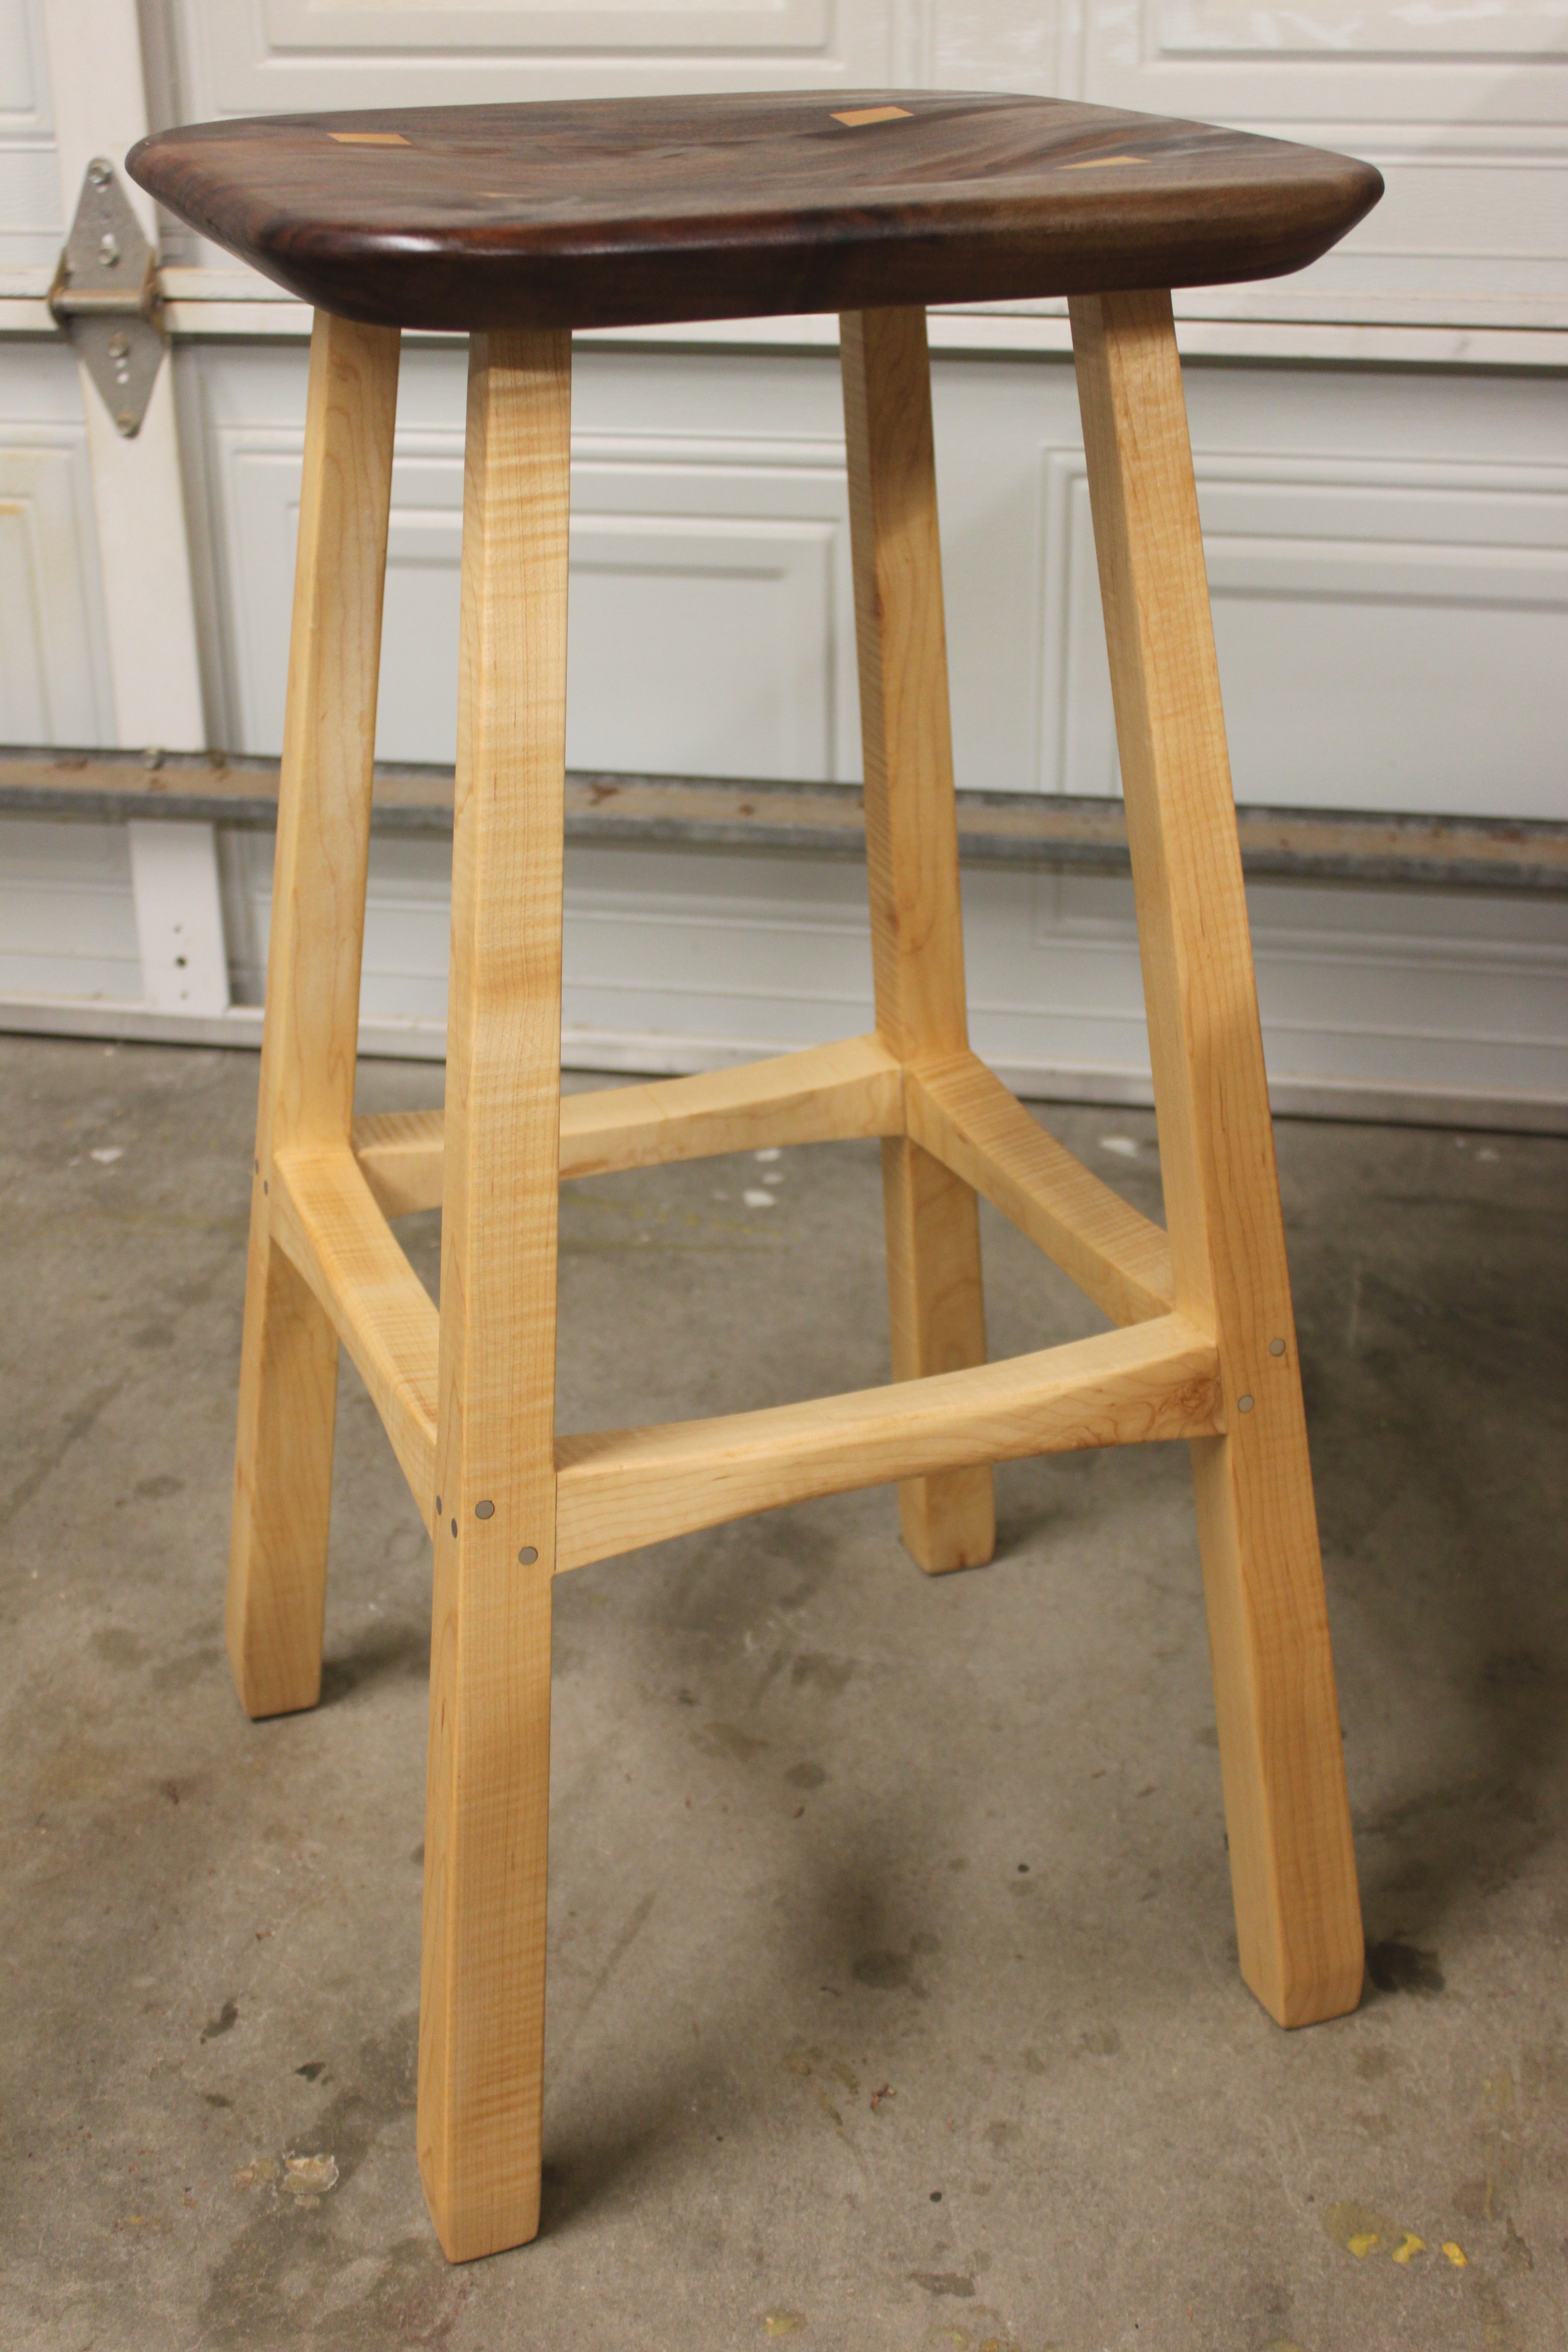
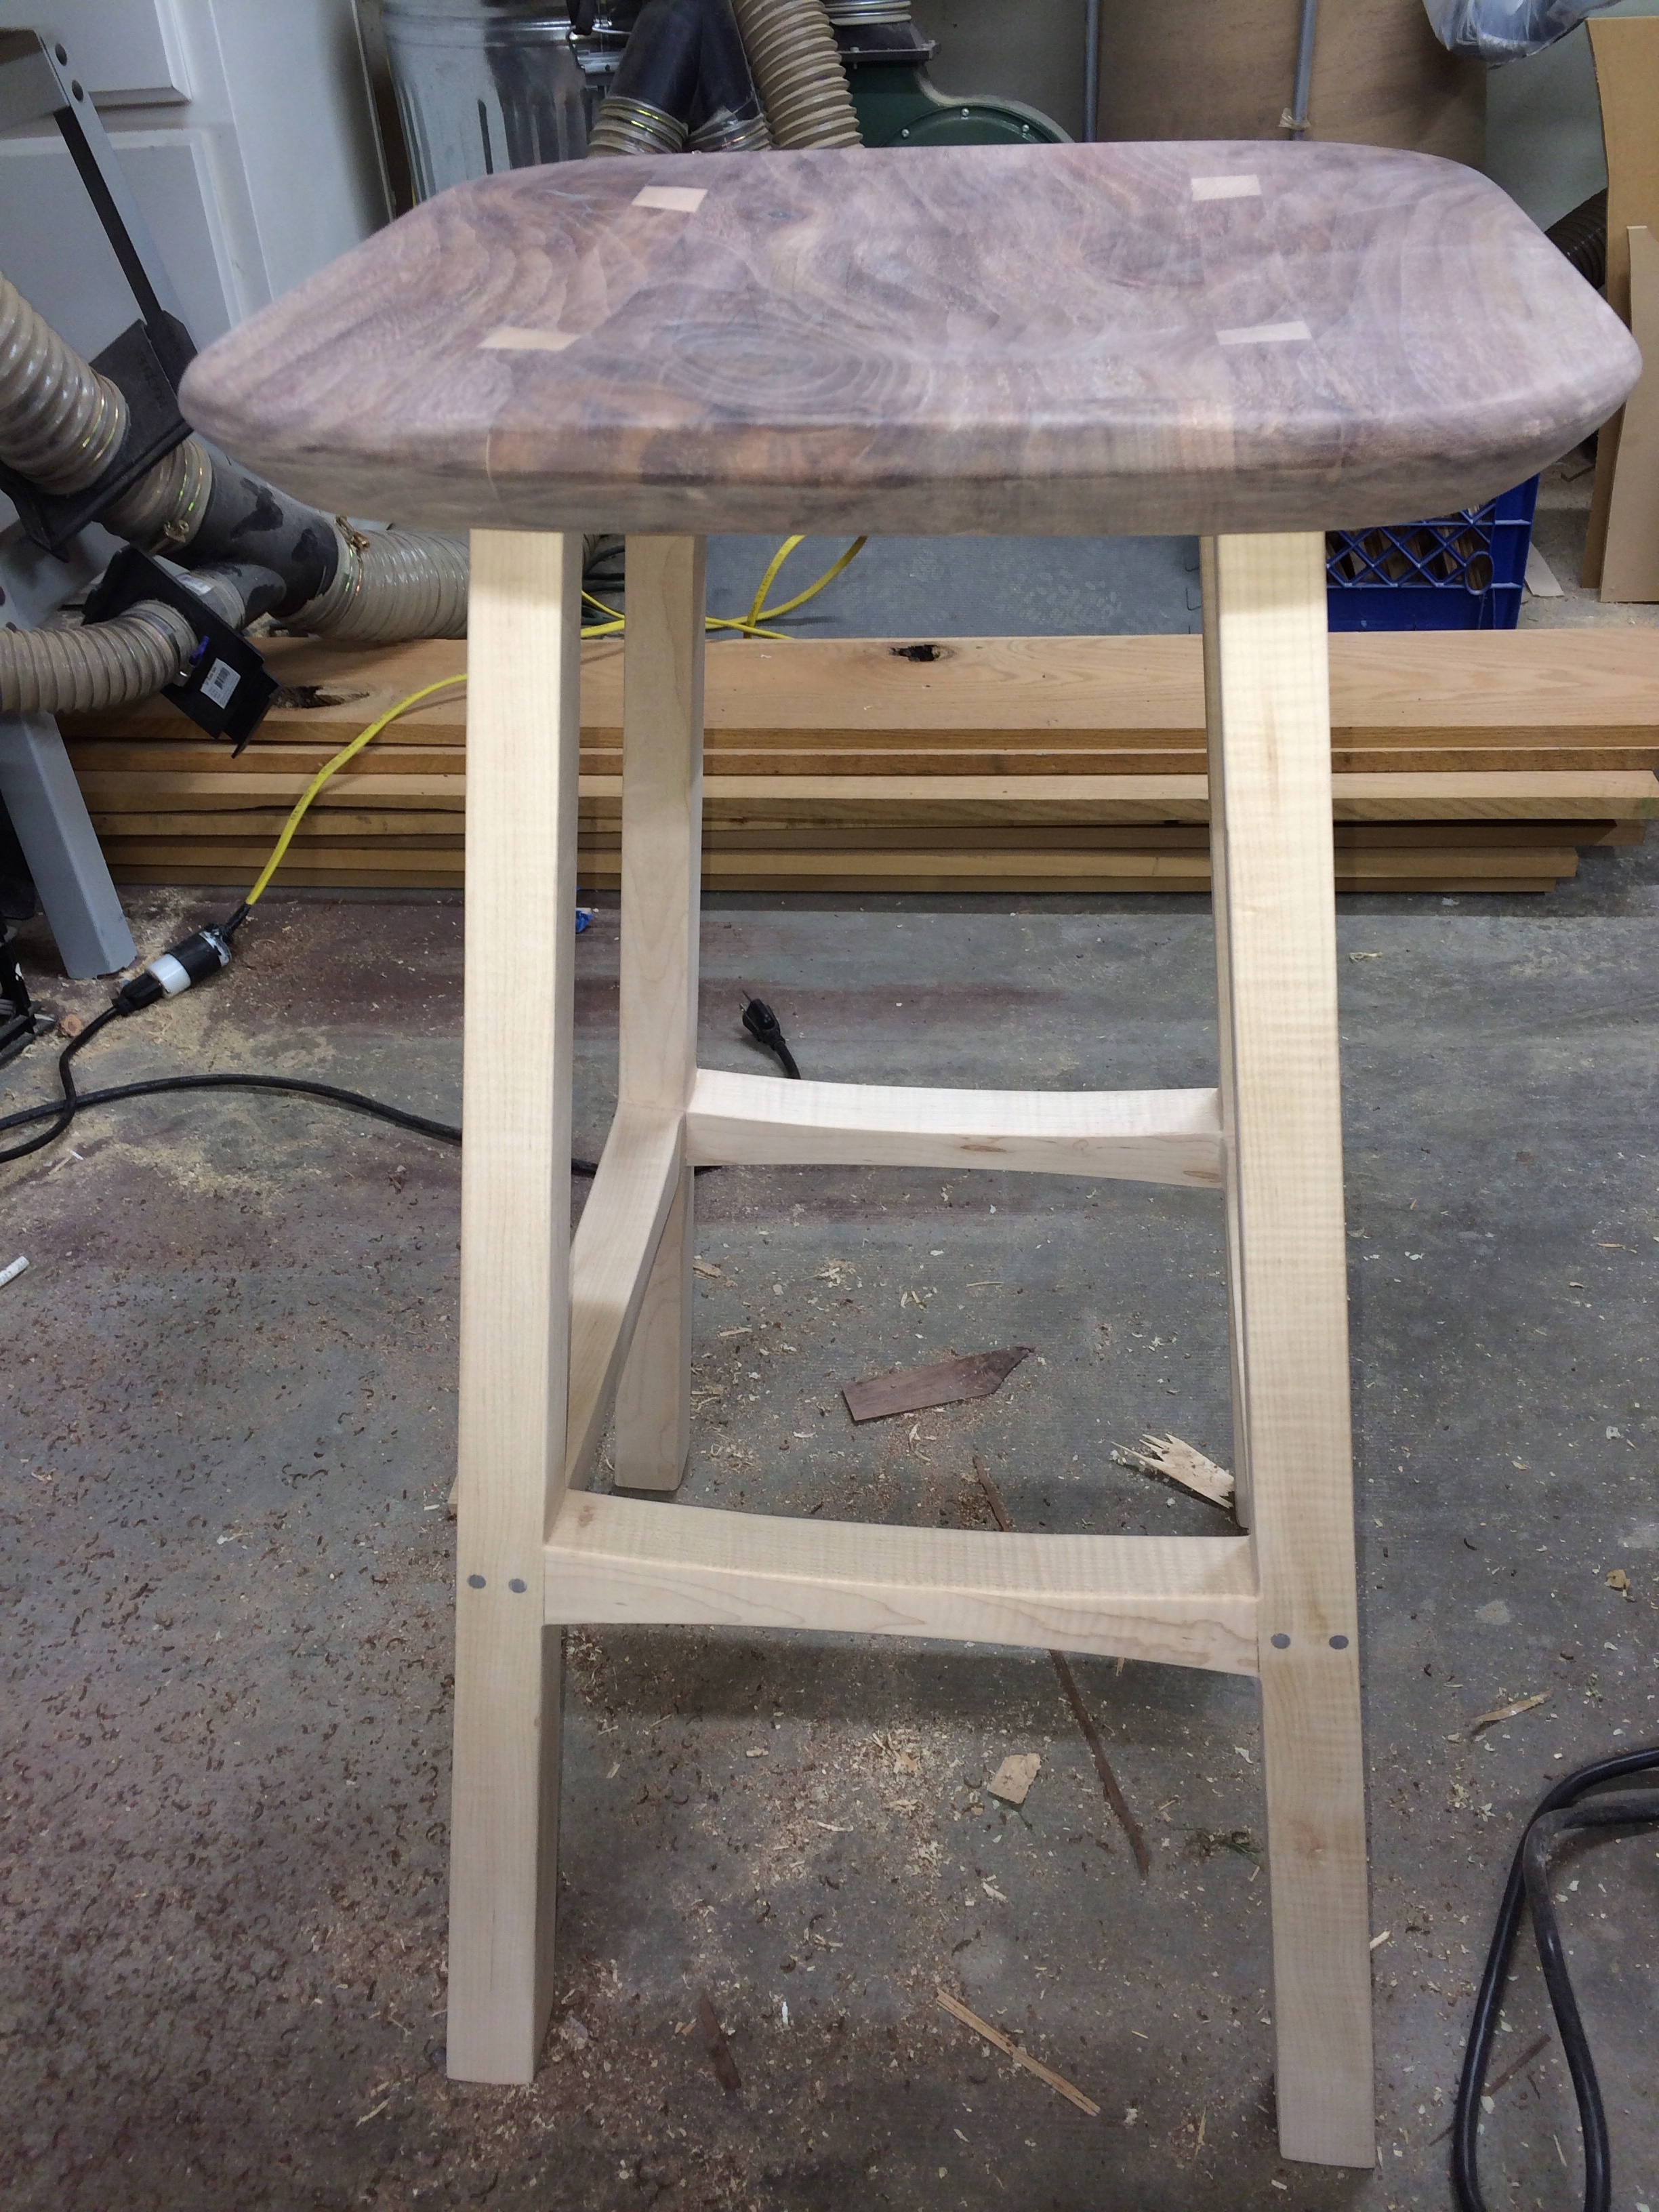
Pretty good looking I must say so myself. Lovely figure in that Maple too. The aluminum pins stand out nicely as well.

I hope you enjoyed this write up. I had a blast making this stool, participating in the “Shop Stool Build-Off”, and looking at all the other participants’ builds and designs. It was a long week so I am going to rest now.

If you want to have some fun and solve build problems before you begin try Google Sketch Up 8. It’s free and I use it a lot on all of my projects. I like to get creative. Some projects I may not ever build but it is fun designing them.
Thanks, David. I do use SketchUp once in a while but mostly for cabinet work. I am not proficient enough with it, yet, to do curves, tapers, bevels, etc. I once designed a threaded stud to have a machinist make for me and he said he has seen better drawings on a bar napkin. Not the nicest compliment but it was useful feedback, I suppose.
Very Nice!
Thank you, Leh.
amazing work and excellent instructions, thank you very much